How do I use Arctera Backup Exec to backup Microsoft 365 to Wasabi?
Arctera Backup Exec provides the capability to back up and restore Microsoft 365 data to Wasabi. Please follow the instructions below to configure your Microsoft 365 backups.
Note: Your specific backup software application handles the data restoration process. As many potential variables can affect your unique environment, it is strongly recommended that you seek guidance from your backup software's technical support team if you encounter difficulty or have application-specific questions.
Prerequisites
Backup Exec ver. 25.x and above
A local deduplication storage disk configured in Backup Exec
Configure Wasabi as a cloud storage server following the instructions outlined here.
An active Wasabi account
Wasabi Bucket - See our Bucket Creation Guide
Access & Secret Key Pair - See our Access Keys Guide
Configuring a Tenant for Microsoft 365
Select the Microsoft 365 server, then log in to Backup Exec and navigate to the Backup and Restore tab.
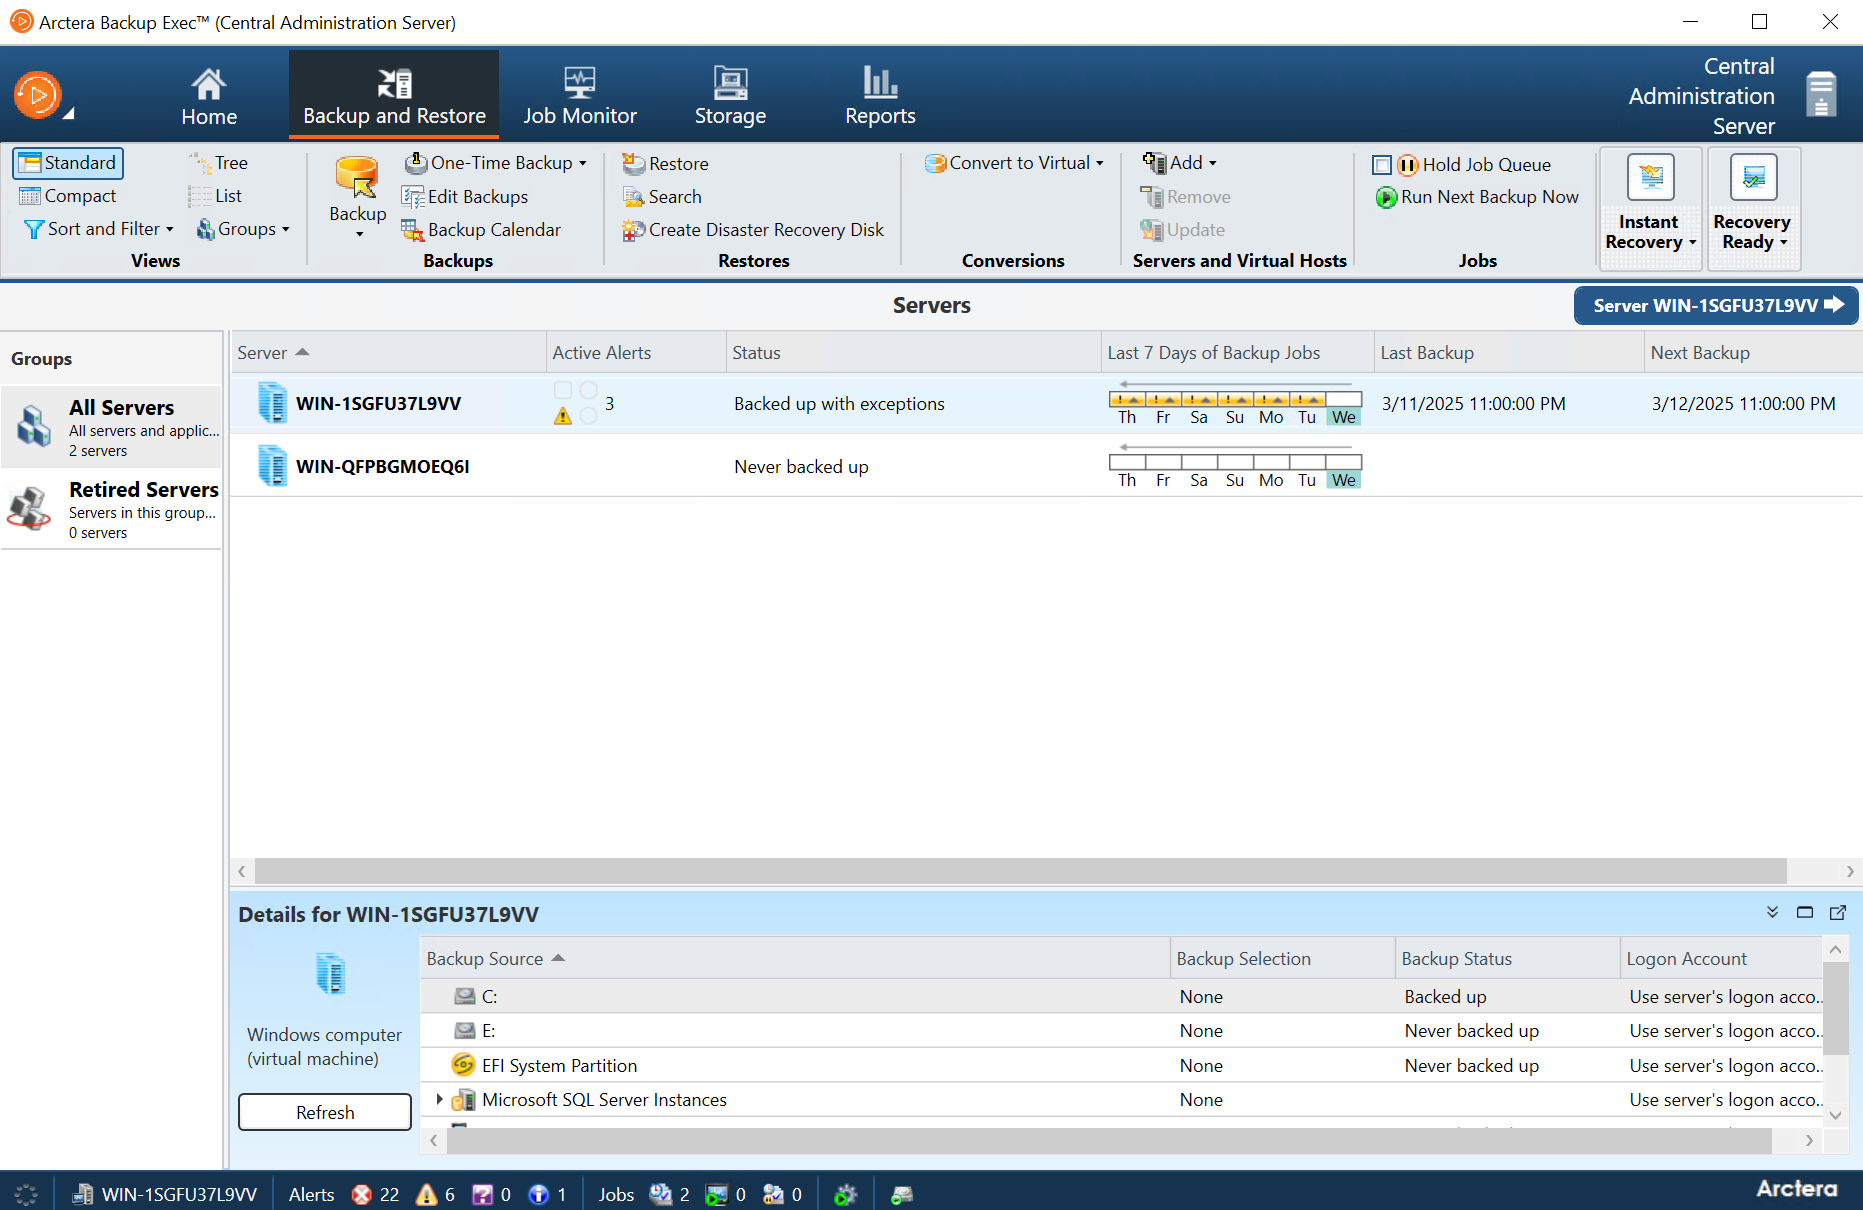
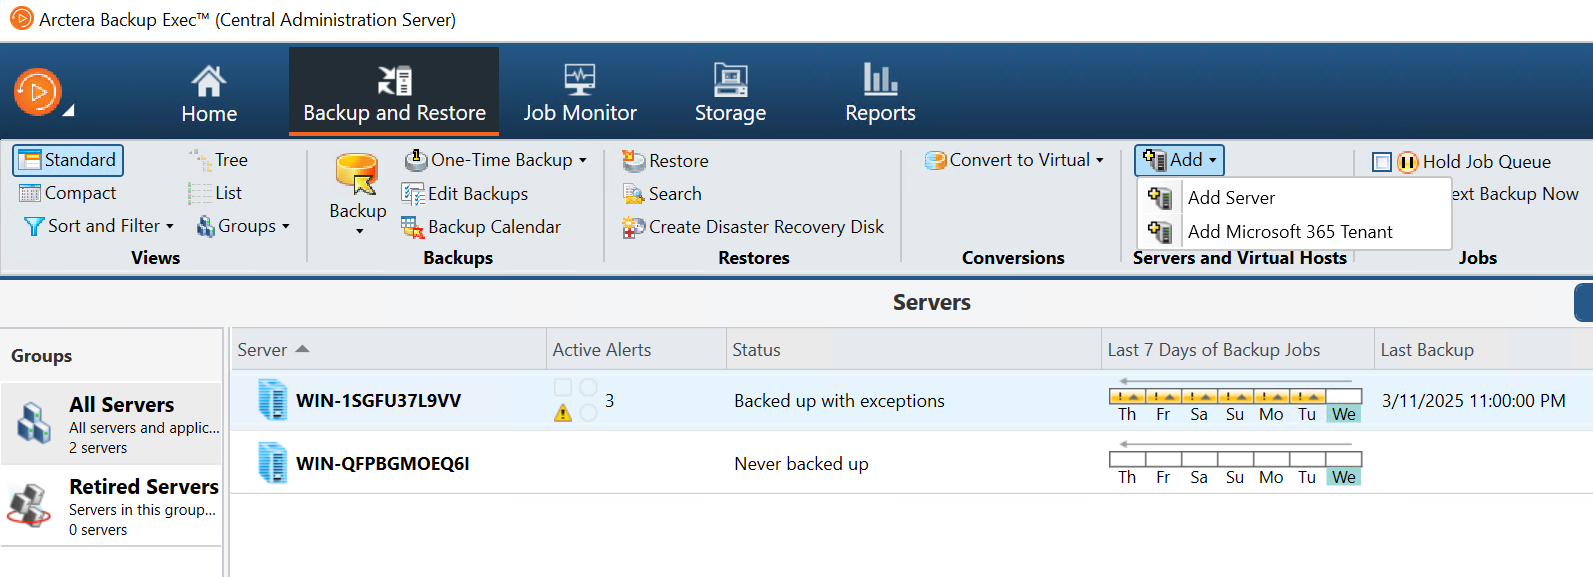
Click the Servers and Virtual Hosts group, then click Add and select Add Microsoft 365 Tenant.
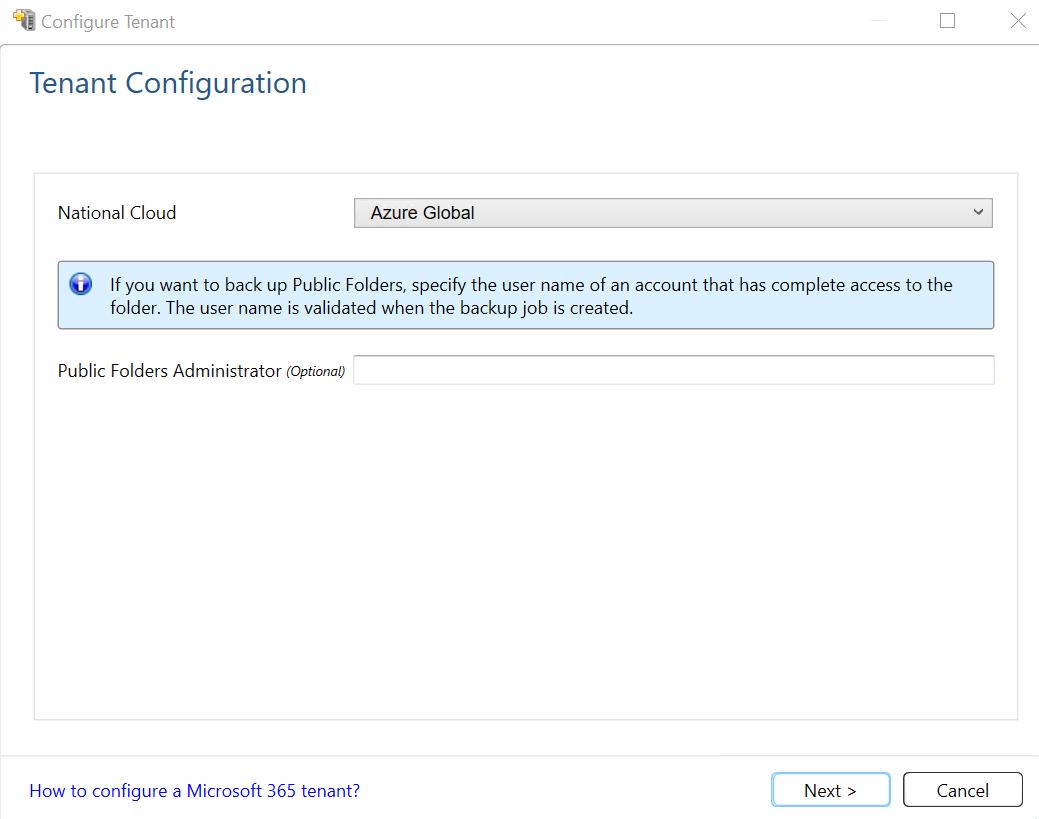
In the Configure Tenant wizard, select the desired cloud and click Next.
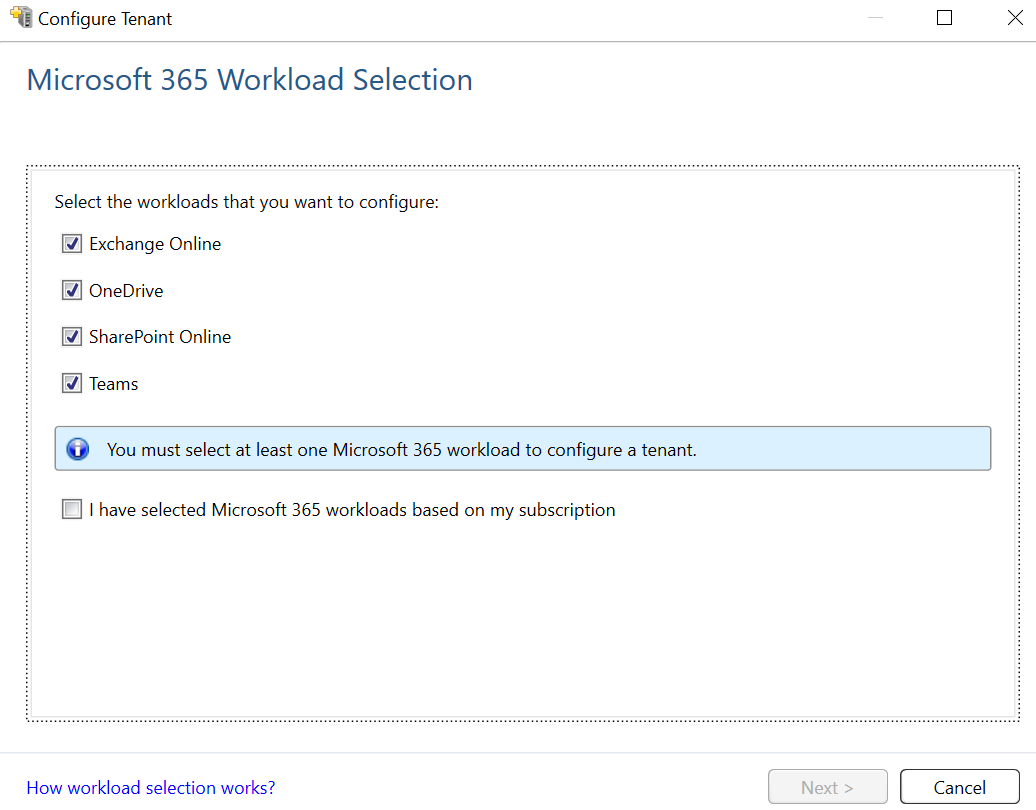
Select the workloads that you want to back up, check the boxes for the workloads that you have subscriptions to, then click Next.
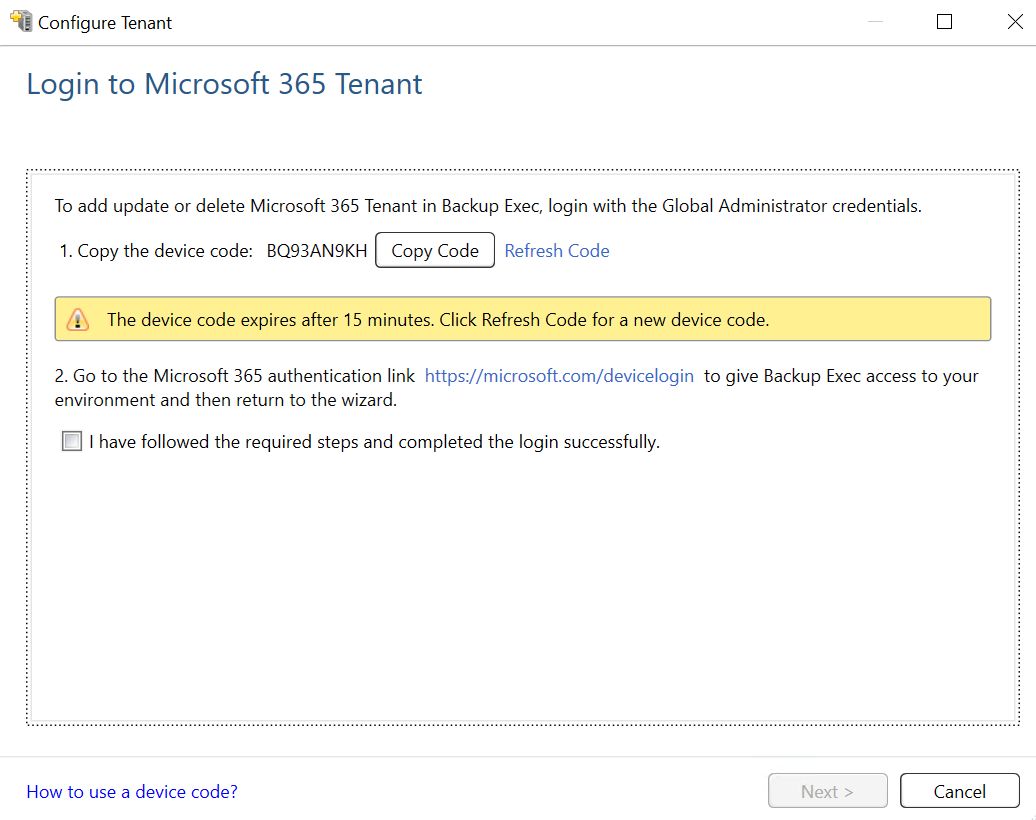
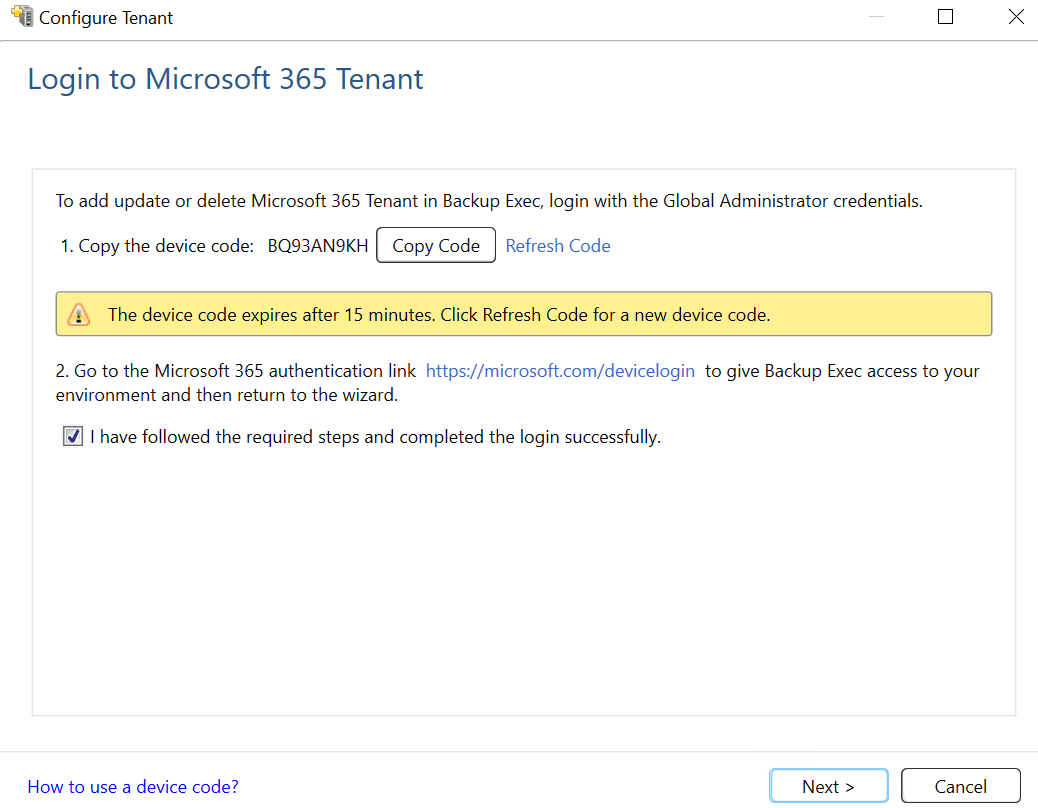
Click Copy Code and then click the Microsoft link.
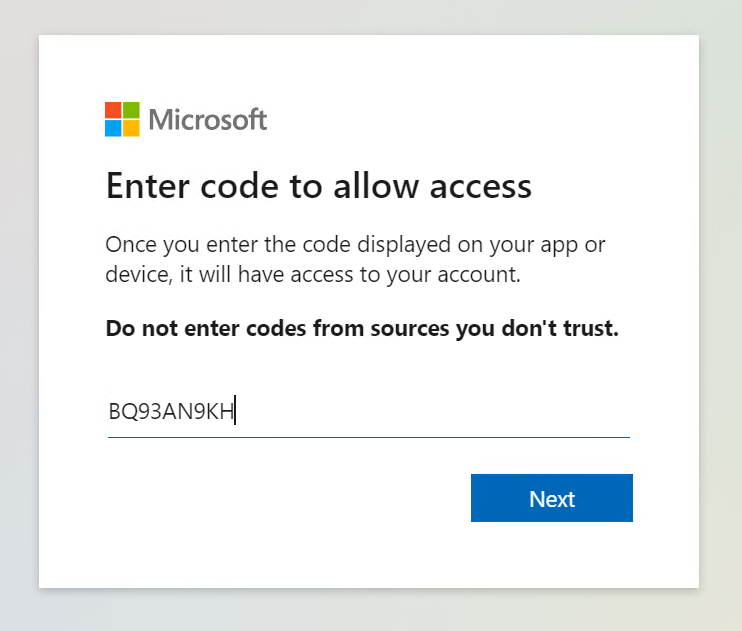
Paste the code and then click Next.
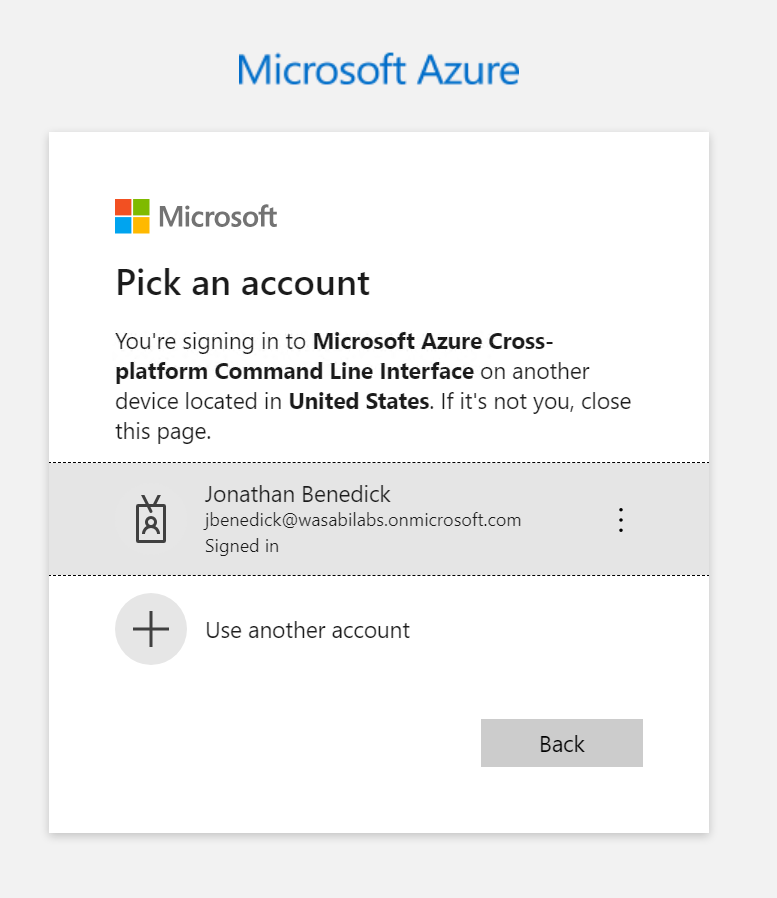
Select the account, if already populated with admin permissions to the M365 environment, otherwise click Use another account.
Close the window and go back to the Arctera Backup Exec platform.
Check the box to confirm that you have completed the required steps, and then click Next.
Review the summary page and then click Finish.
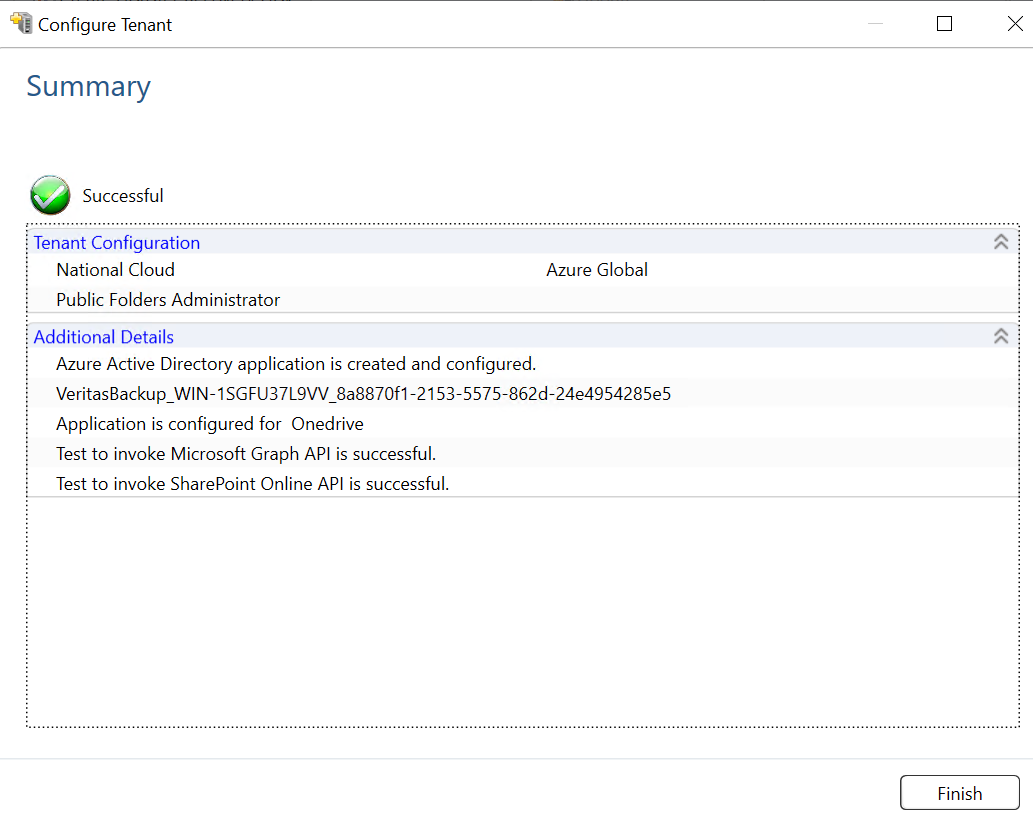
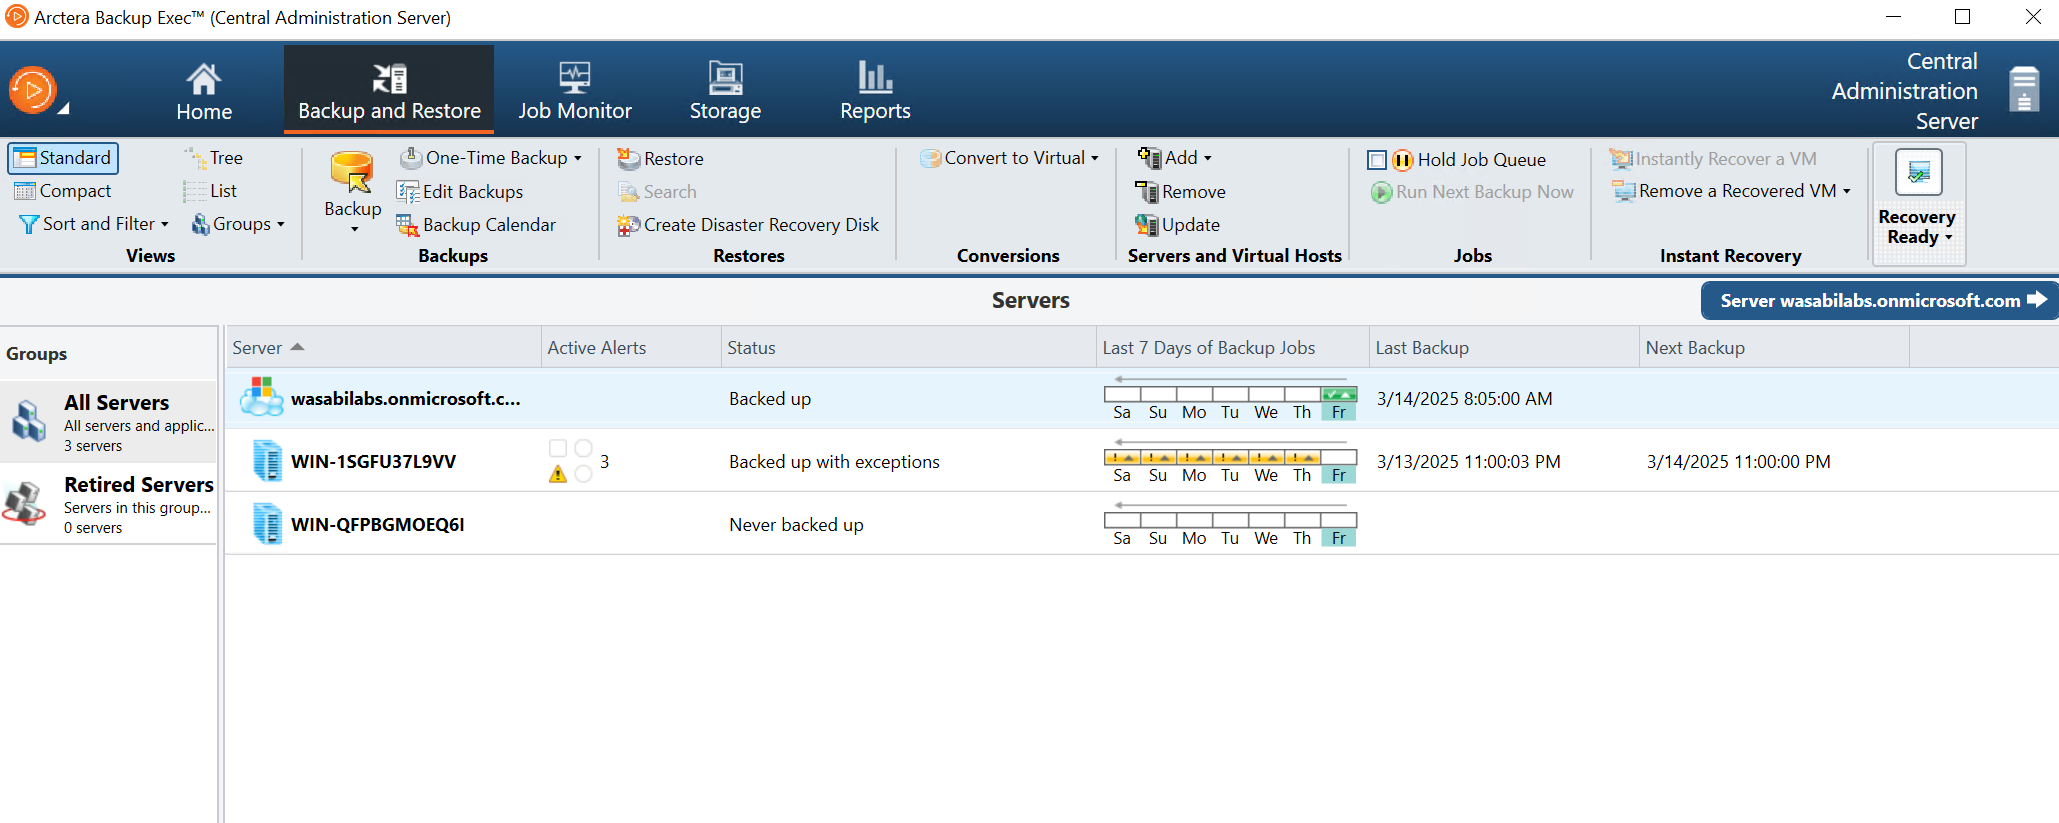
You will now see your Microsoft 365 environment in the Servers list.

Configuring a Microsoft 365 Backup
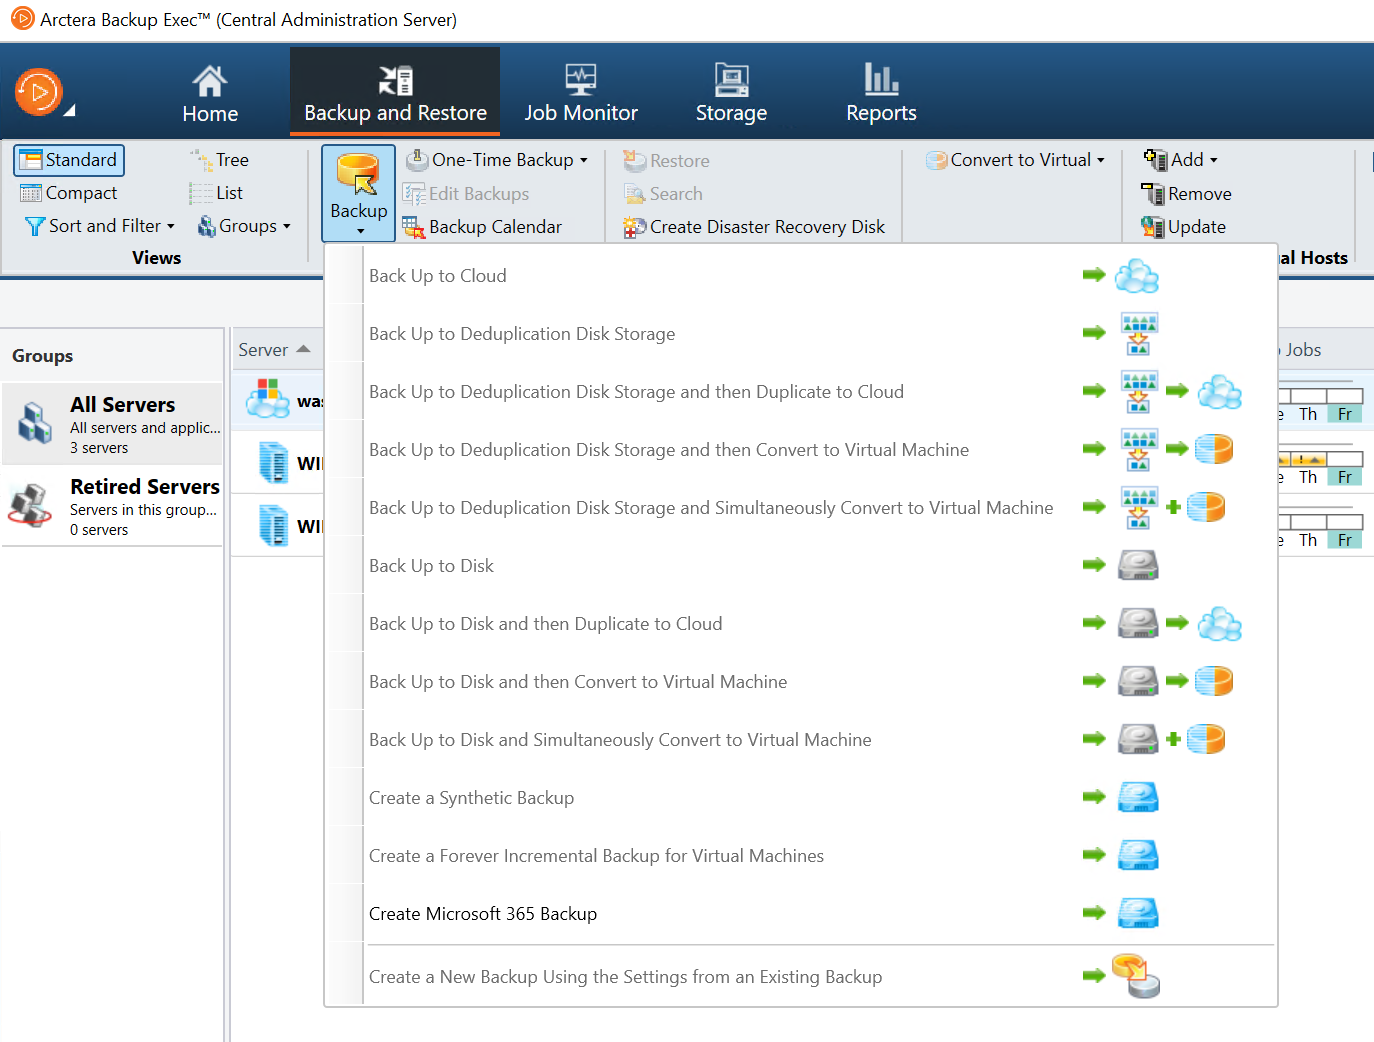
Click Backup and then select Create Microsoft 365 Backup.
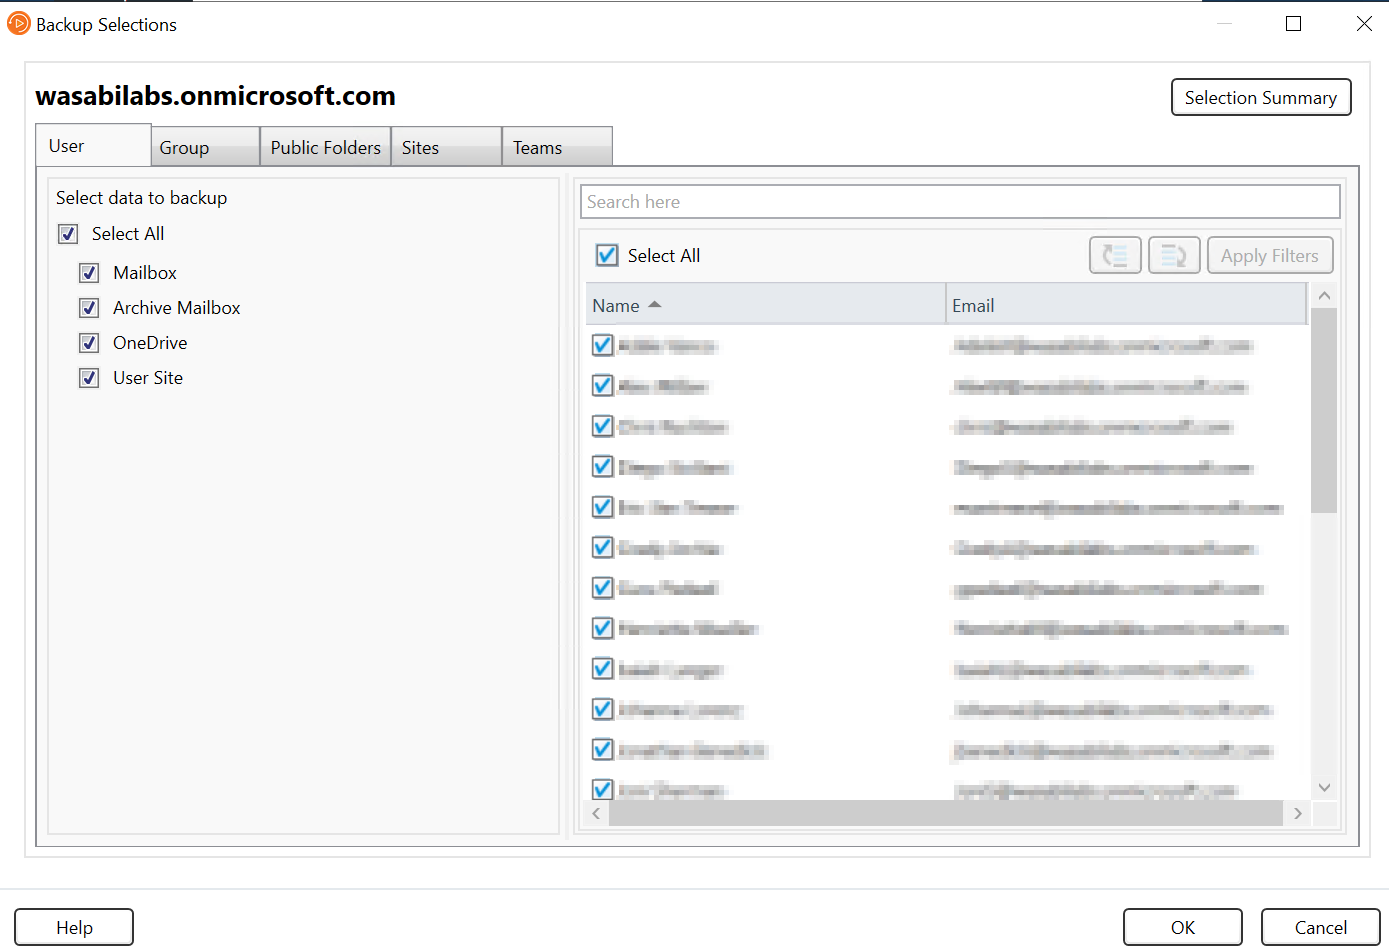
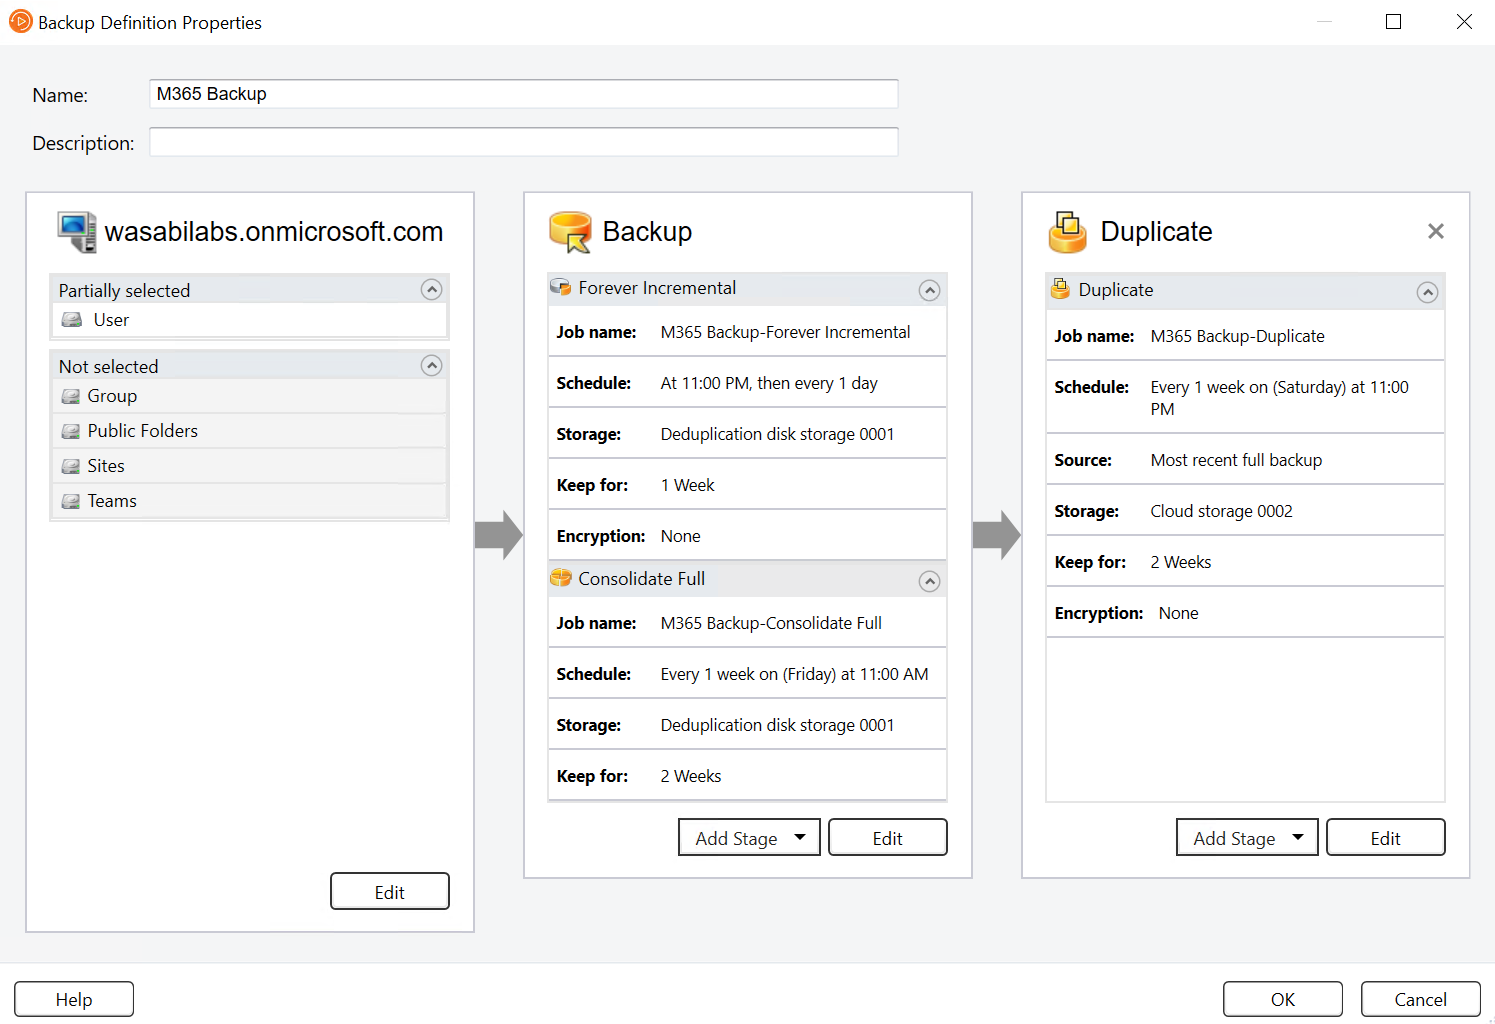
In the Backup Definition Properties window, provide a Name for the backup, then click Edit to add the components to be backed up in the Microsoft 365 tenant.
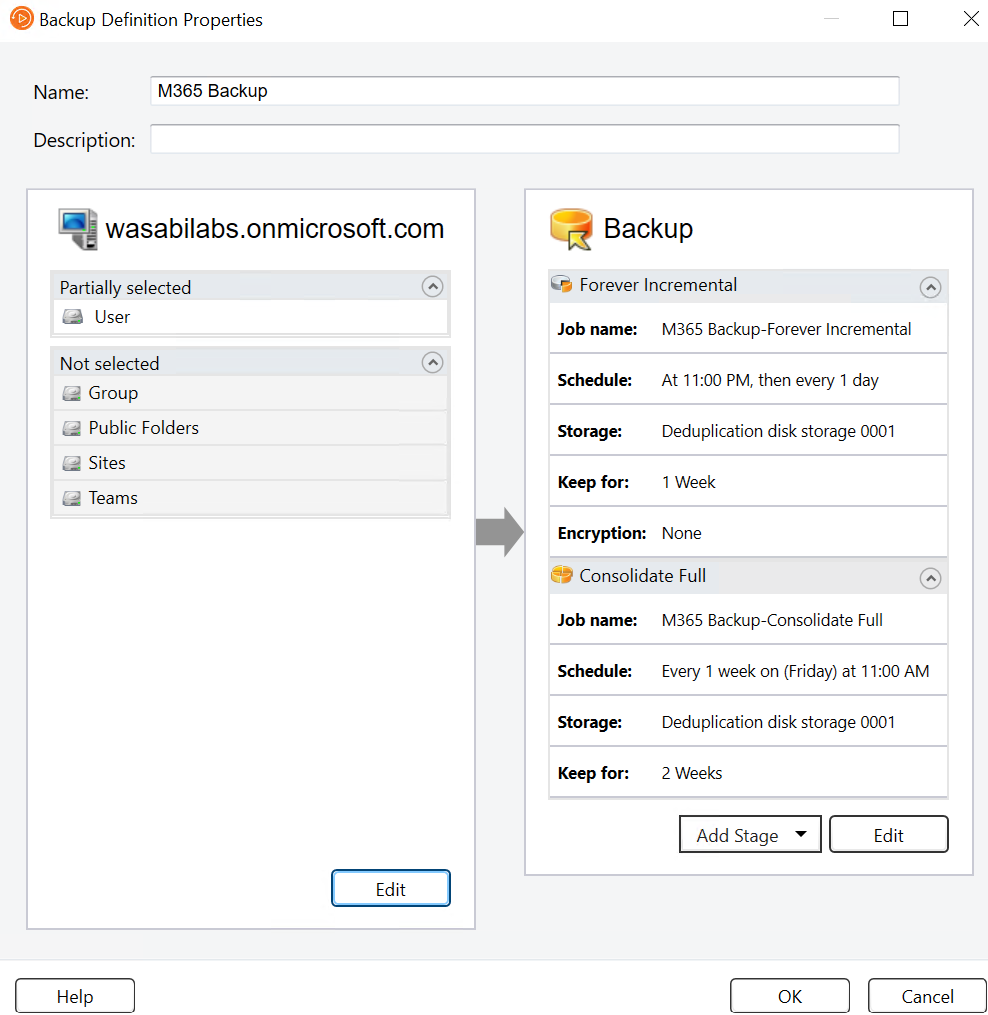
Select the desired components and click OK.
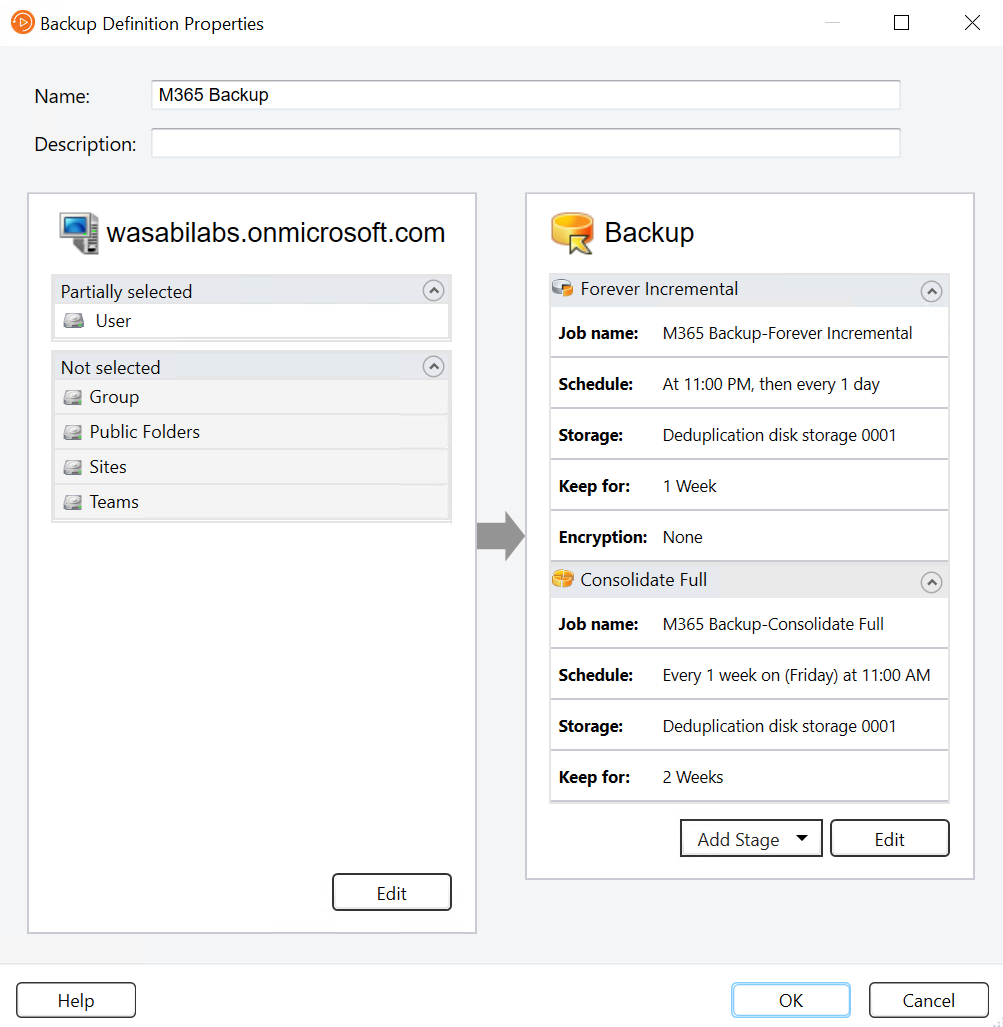
For primary backups, the Forever Incremental, Consolidate full, and Custom full templates only support deduplication disk storage. Duplicate backups can be targeted to any supported storage.
The primary backups will be stored on the deduplication disk storage. You can make changes to the schedule and retention periods by clicking Edit.
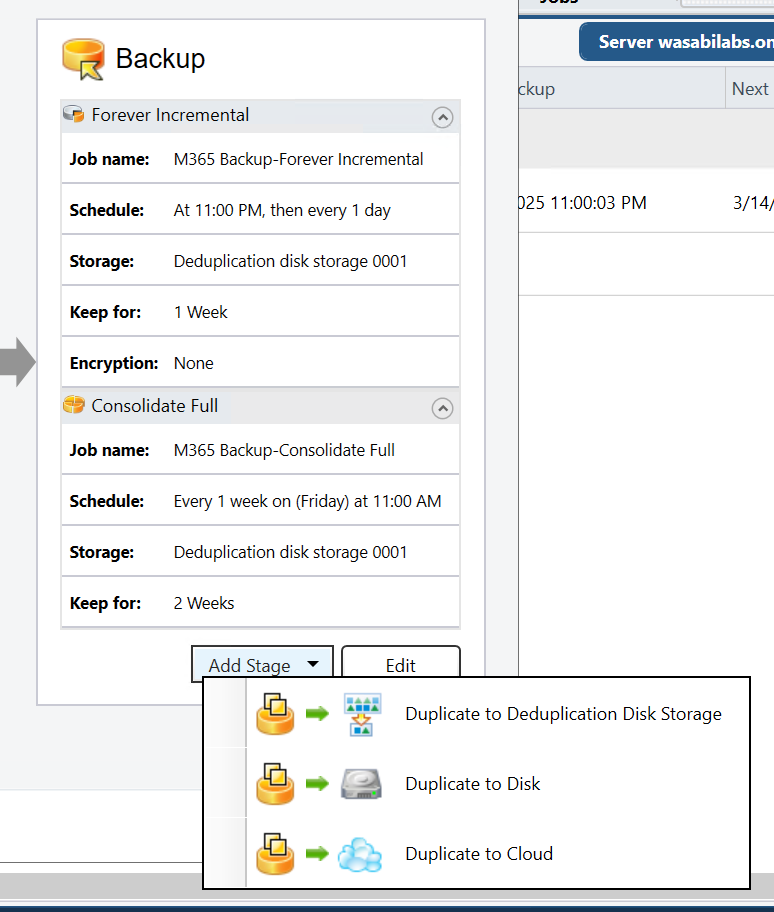
To duplicate the backups to Wasabi, click Add Stage and then select Duplicate to Cloud.
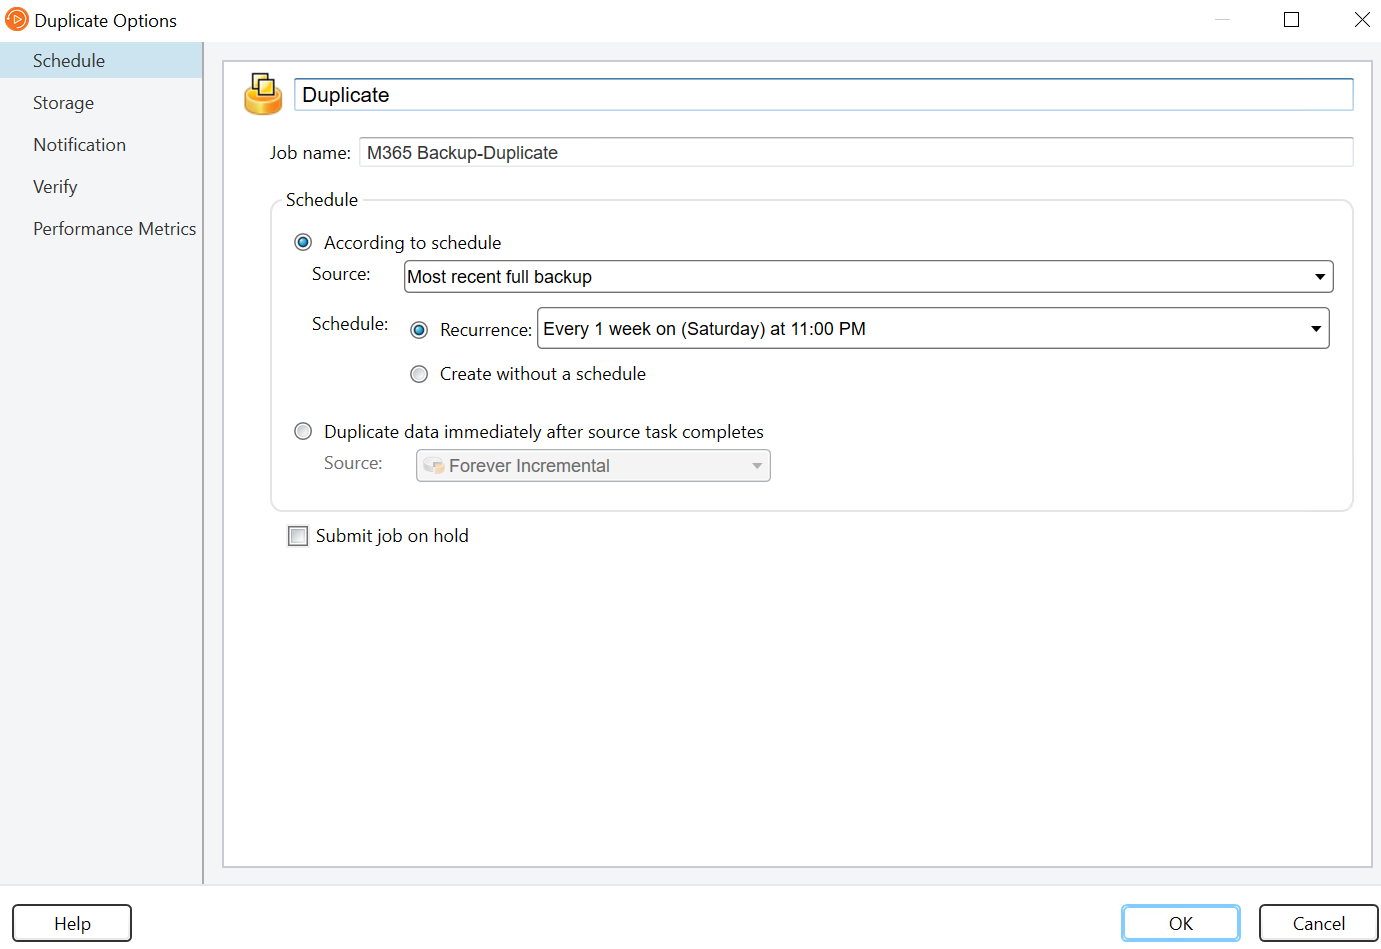
In the Duplicate section, click Edit.
In the Duplicate Options window, configure the desired schedule in the Schedule tab.
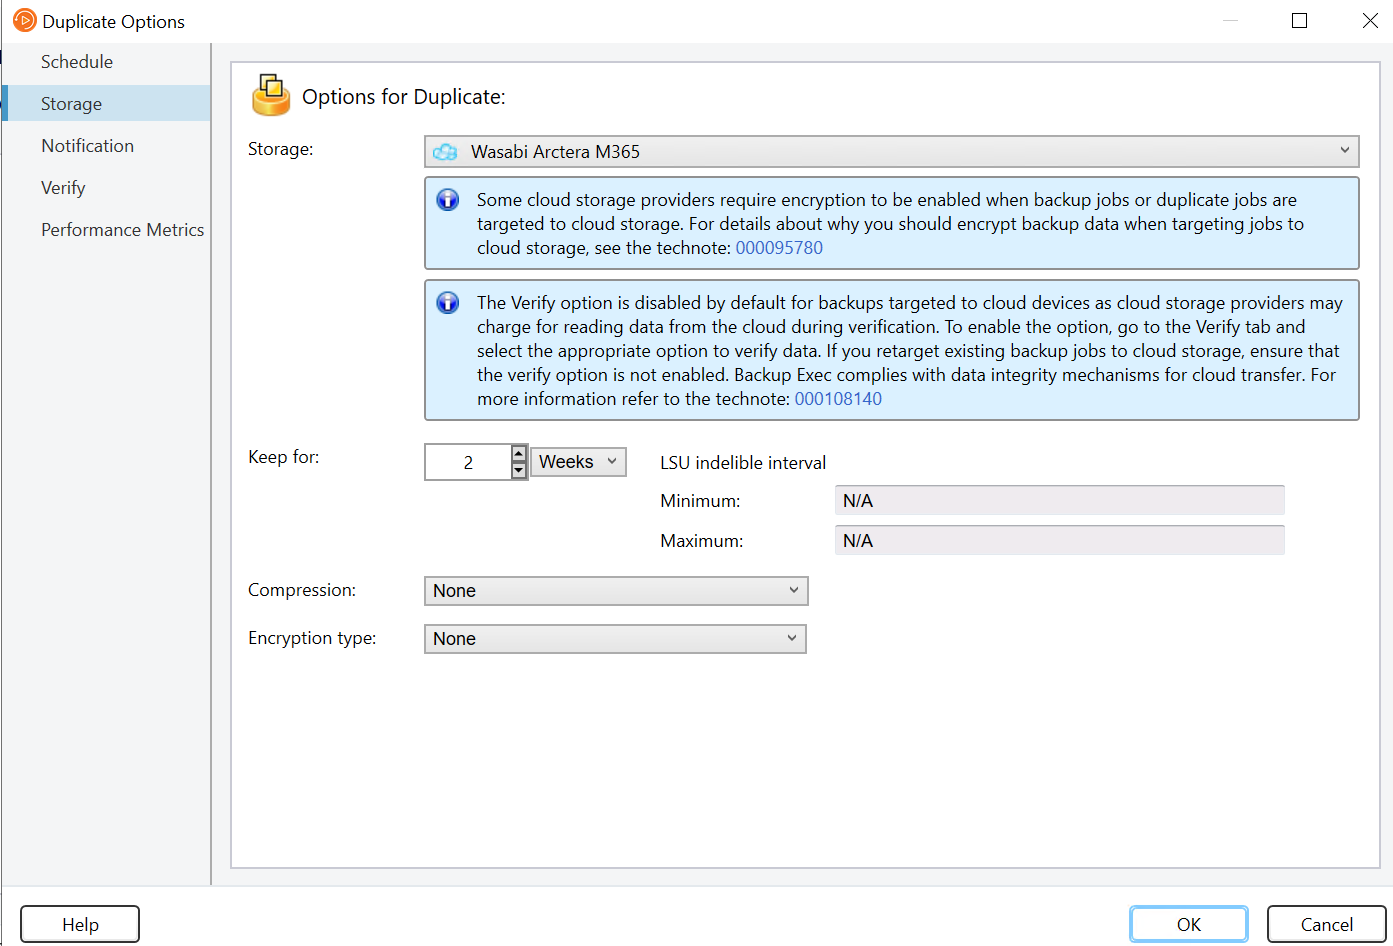
In the Storage tab, select the Wasabi cloud storage server and click OK.
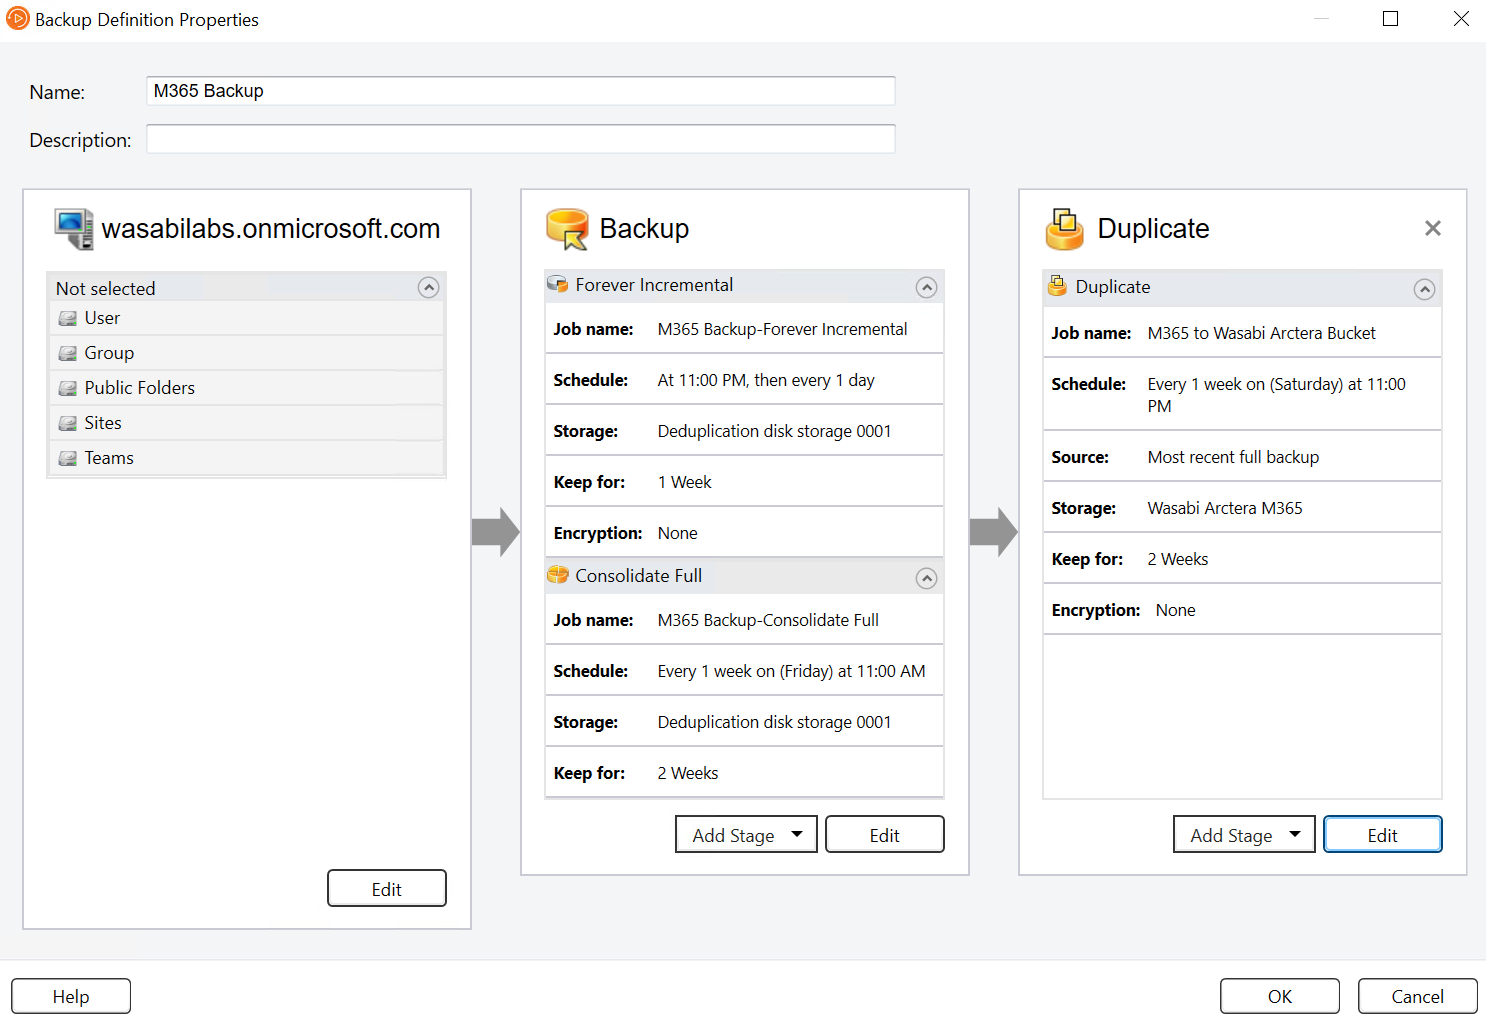
The Backup Definition window displays all the stages of the backup. Click OK to save the backup.
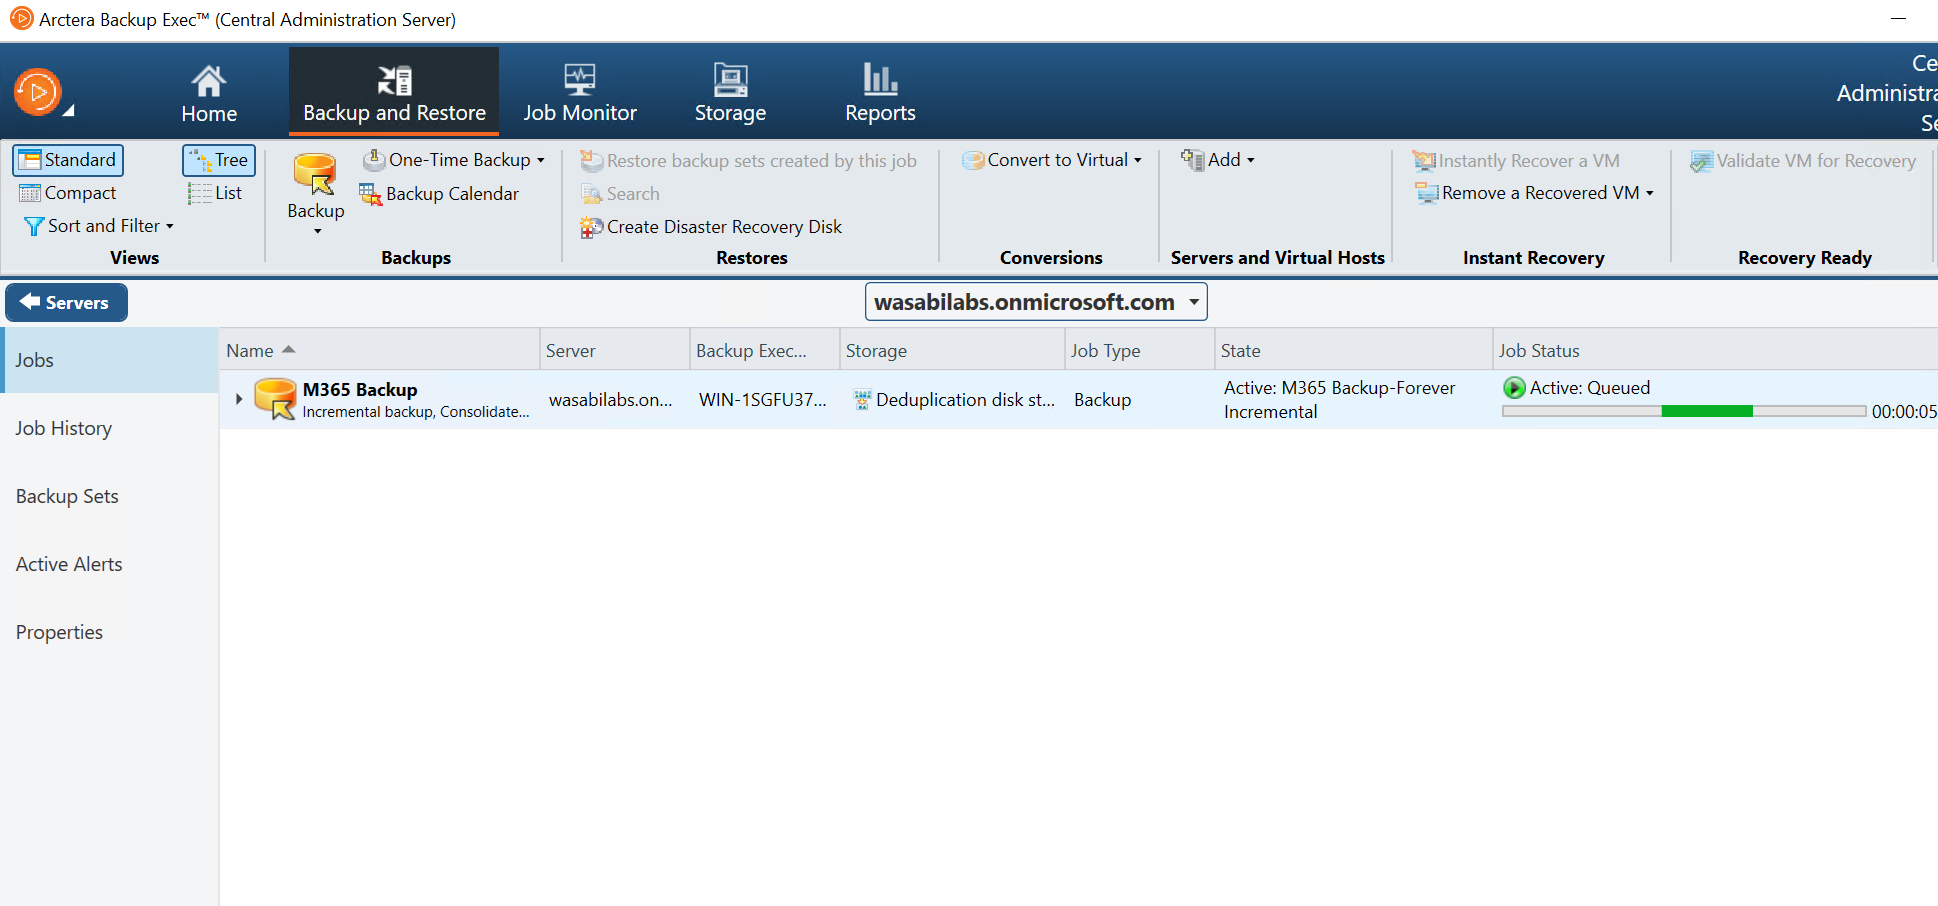
The backup will be displayed under the Microsoft 365 server. Right-click the backup and select Run Now.

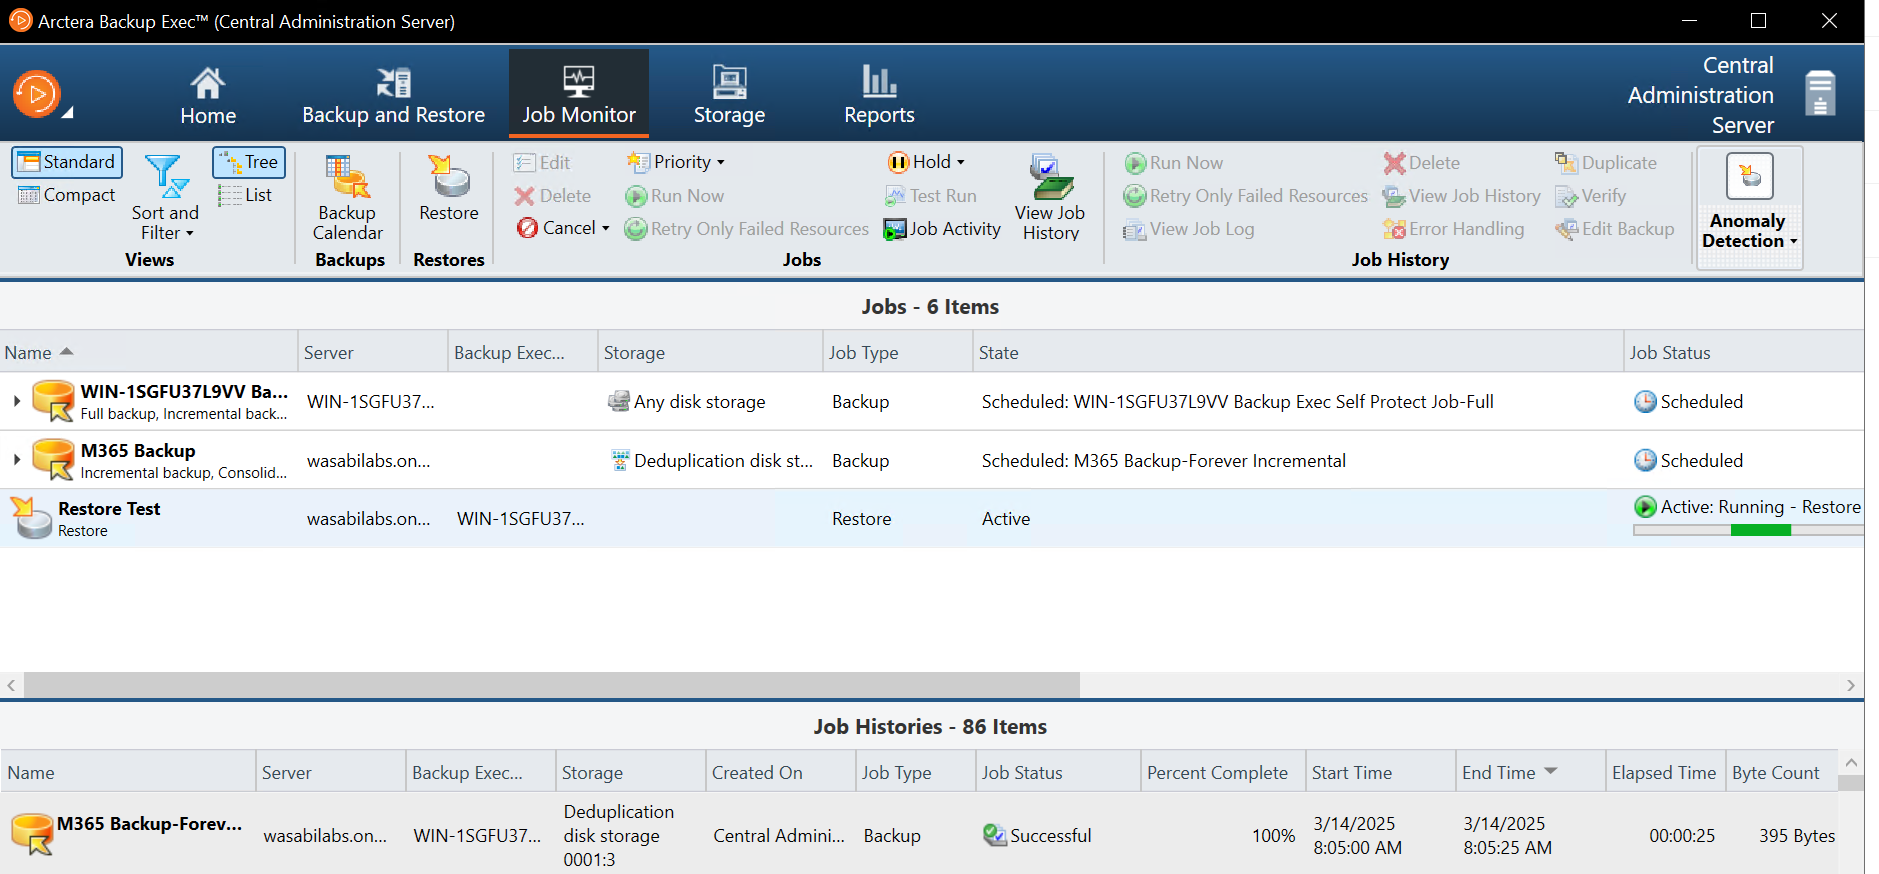
The job progress is displayed under the Job Status column.
Restoring a Backup
Select the Microsoft 365 server and click Restore.
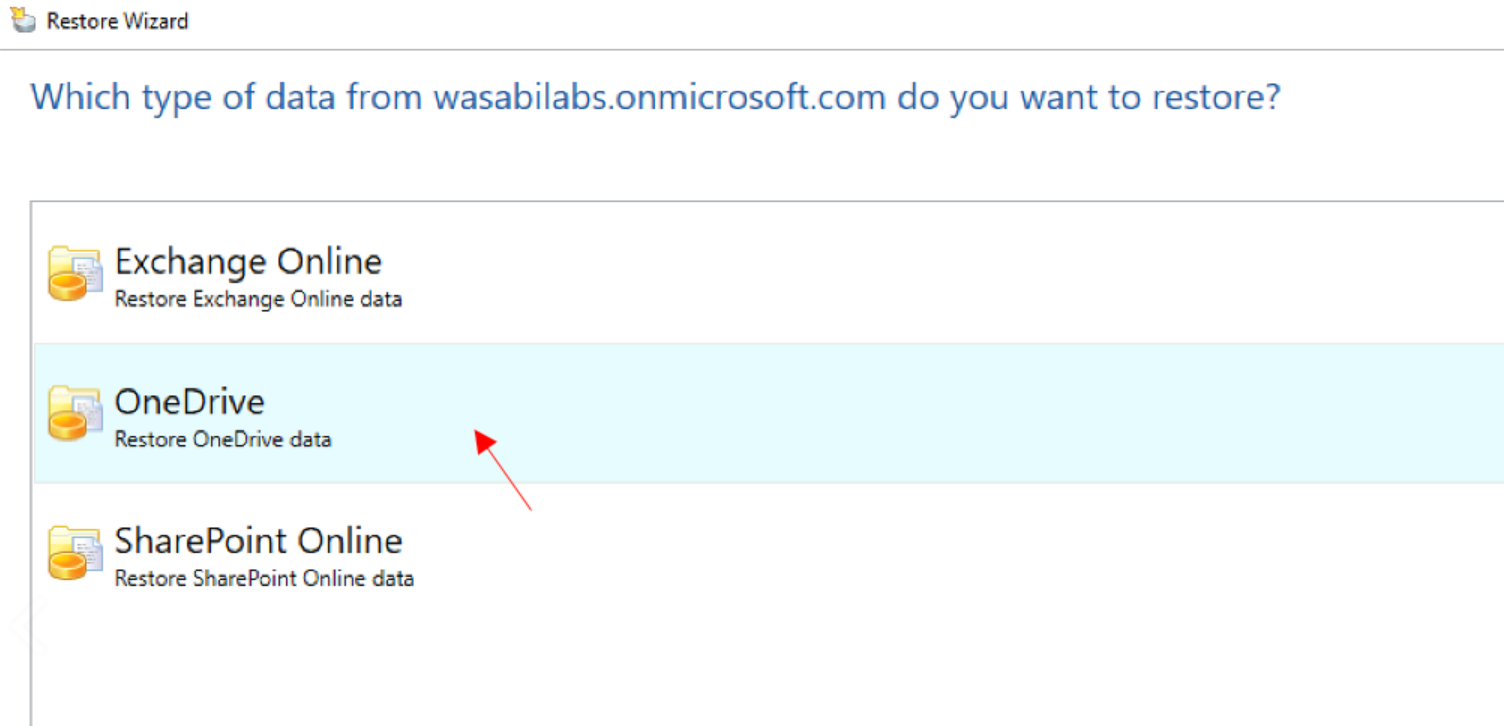
Select the type of data to restore and click OK.
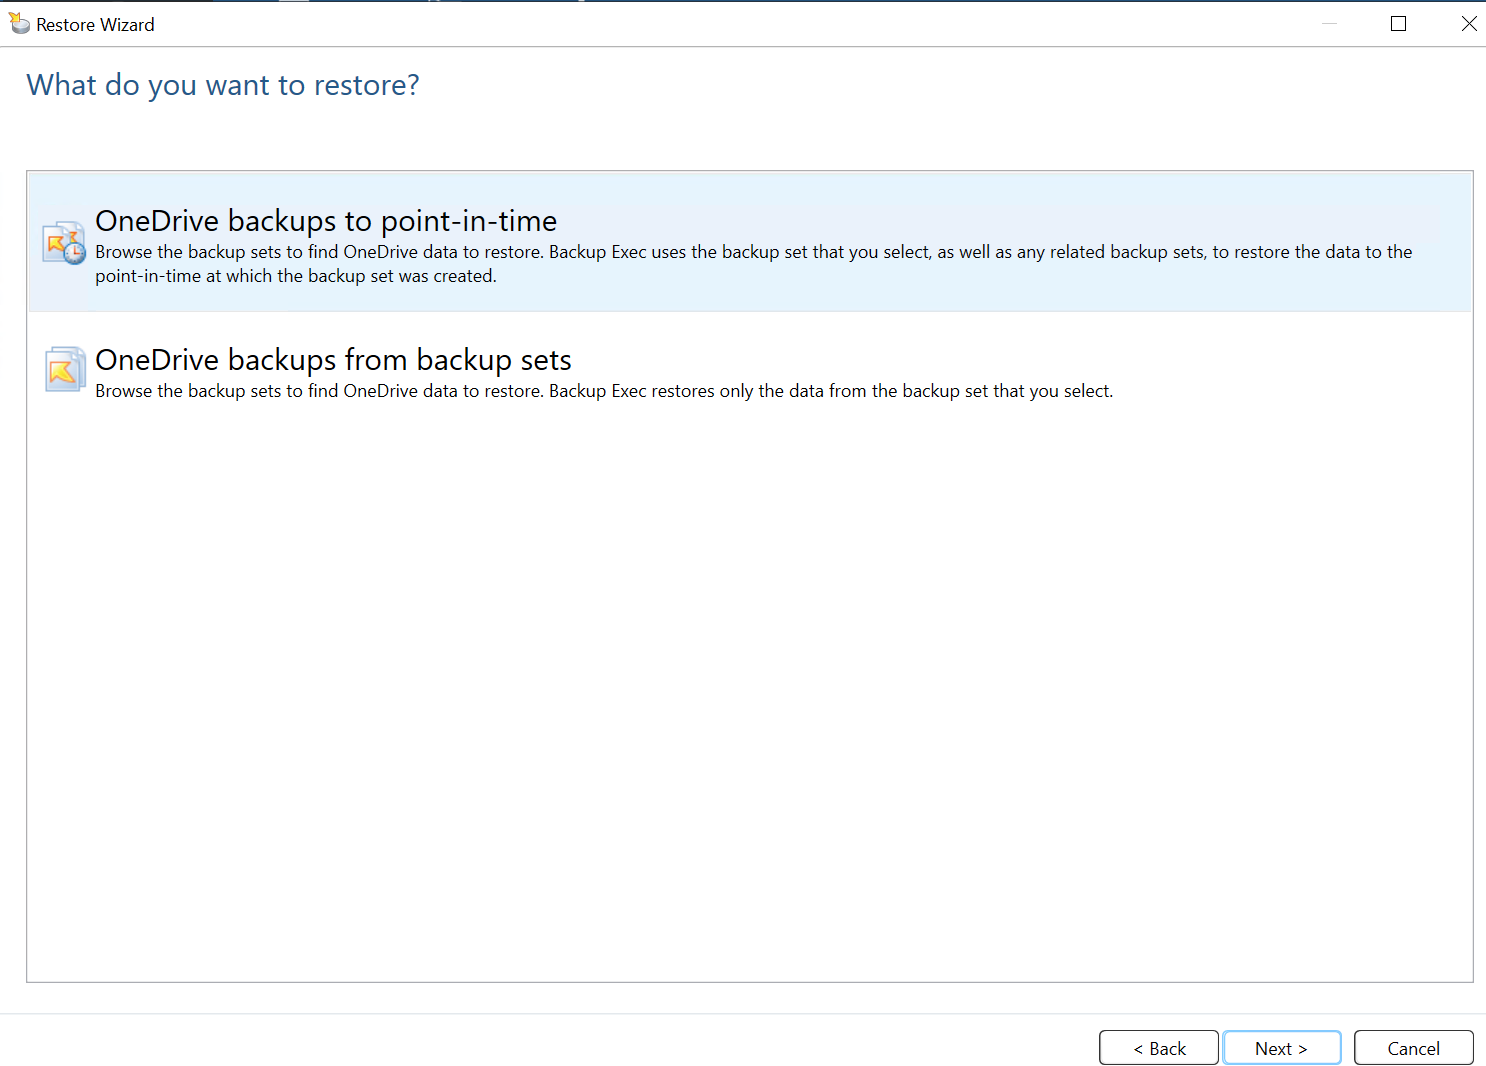
Select the option to restore and click Next.
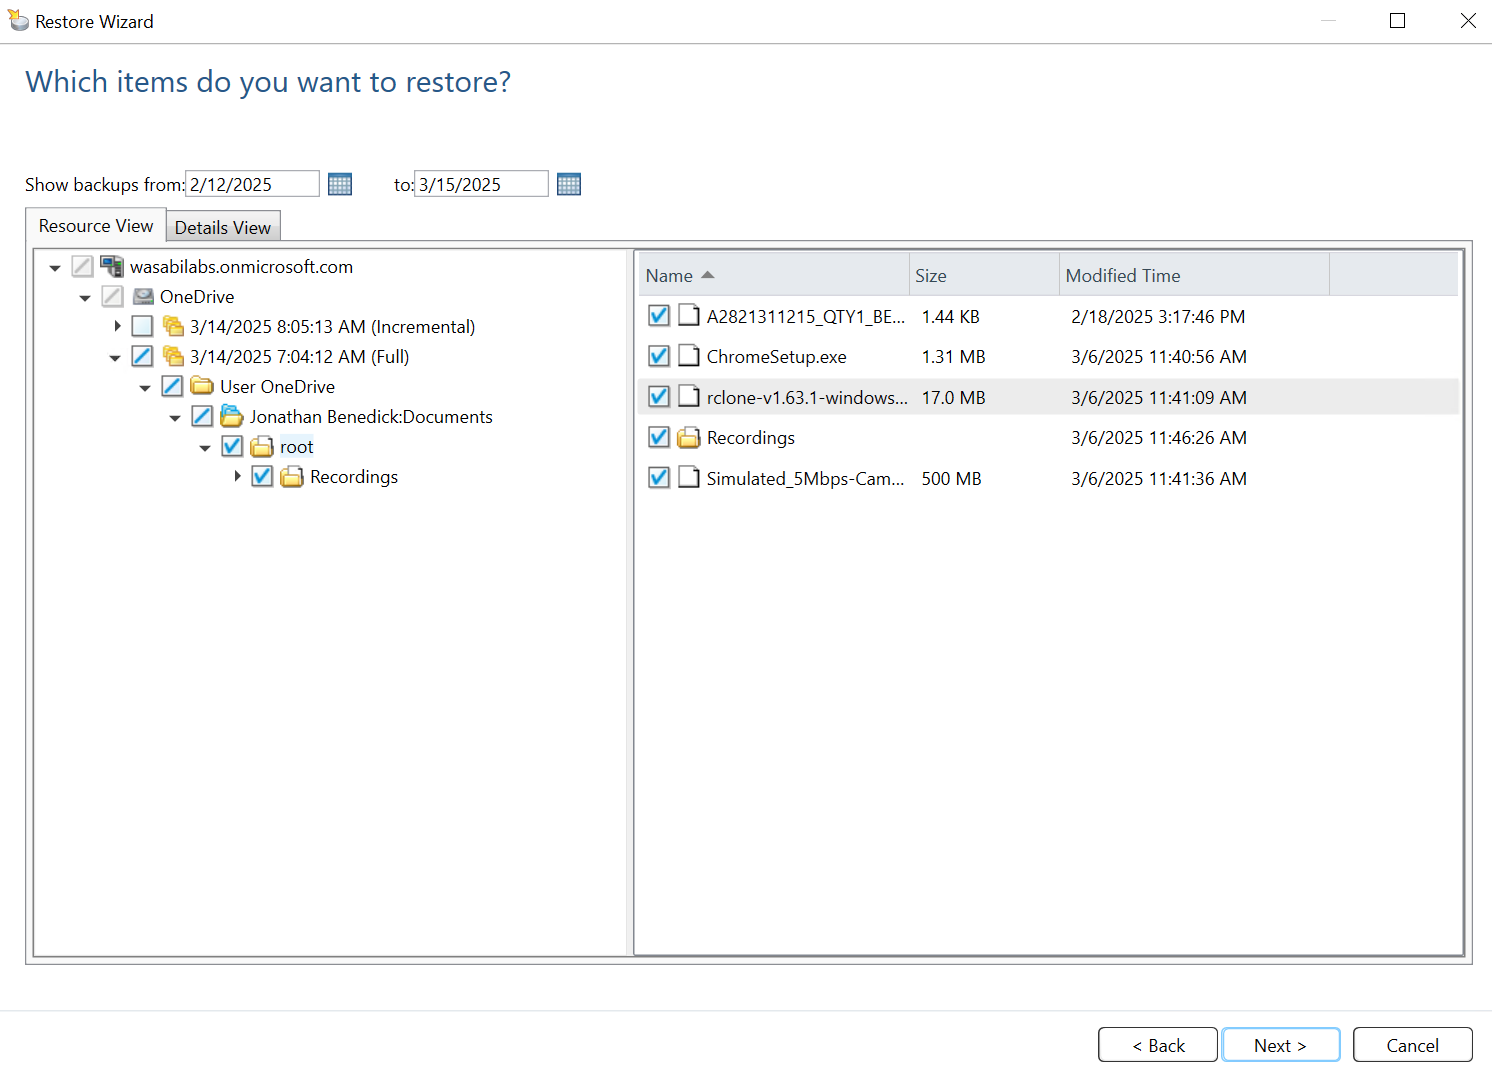
Select the items you would like to restore and click Next.
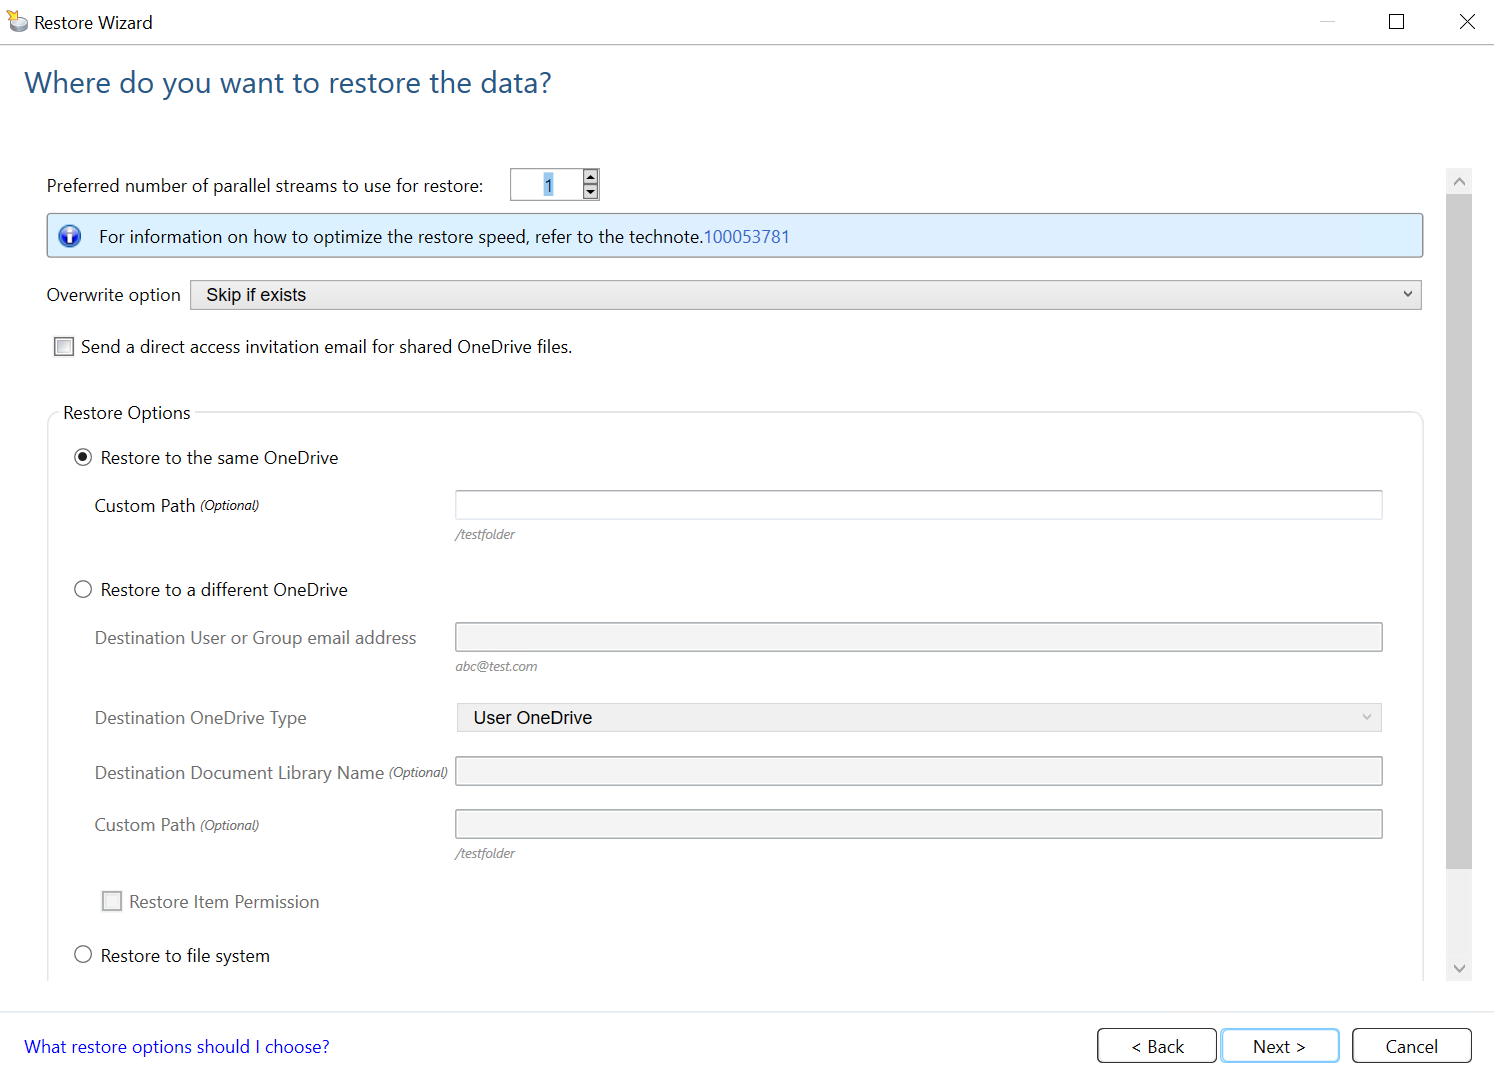
Select the location to restore the data and click Next.
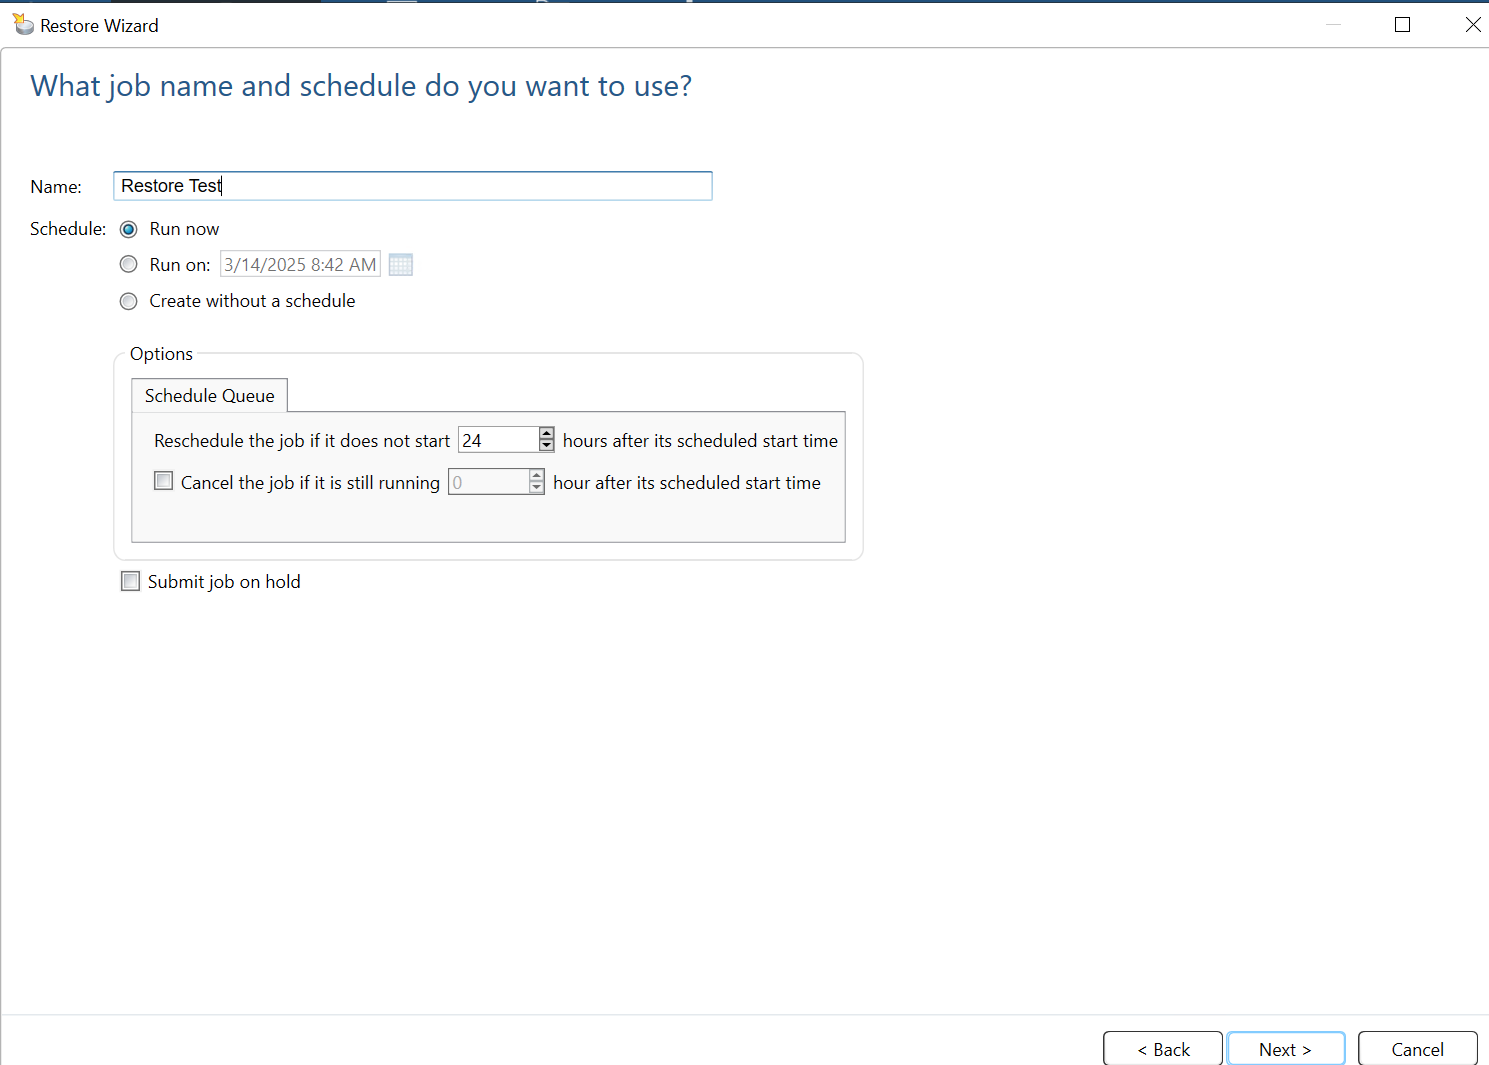
Enter the name of the job to restore and click Next.
Review the job summary and click Finish.

The job progress can be viewed in the Job Monitor tab.