Understanding User Roles
The WACM platform allows you to create four types of Control Account user profiles with distinct roles:
- Control Account Admin — The Admin role allows all actions within the platform. This role is ideal for the administrative user who manages the entire Wasabi cloud storage implementation, including Wasabi storage and WACM.
- Control Account Staff — The Staff role allows all actions within the platform except creating new users. This role is ideal for an employee within the admin staff.
- Control Account Staff (Lite) — The Staff Lite role allows all actions within the platform except creating new users and deleting a sub-account.
- Control Account Viewer — A Viewer is a read-only privileged user. No information is hidden from a user with viewer privilege. This role is ideal for the finance or billing department, which requires access to utilization data, invoice data, etc.
Reviewing Account and User Profiles
In addition to the general user Profile, notice the Account profile and Users profile: 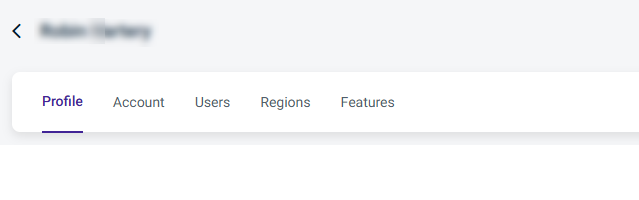
Each user you create has a profile, and each sub-account you create also has a profile, which is described later. All WACM platform users (Admins, Staff, and Viewers) have access to user profiles to personalize the user account. To get started, let's create a new user.
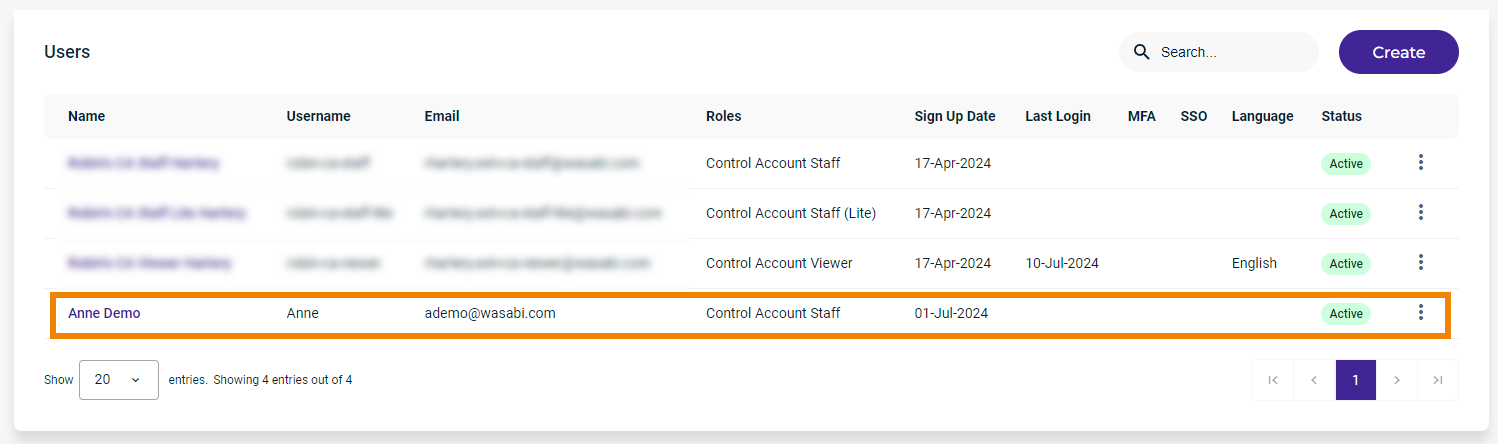
Creating a User
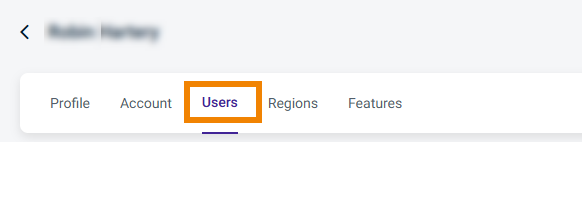
- From the Profile page, click the Users tab.
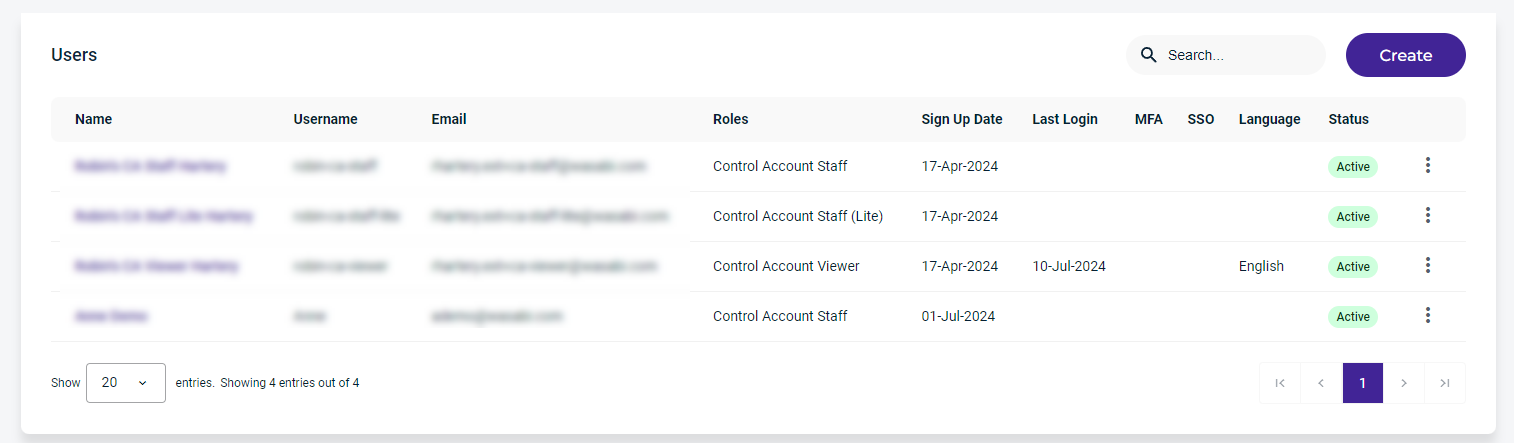
 The Users page is displayed.
 - Click Create.
 The Create New User form is displayed.
 - Enter the required information.
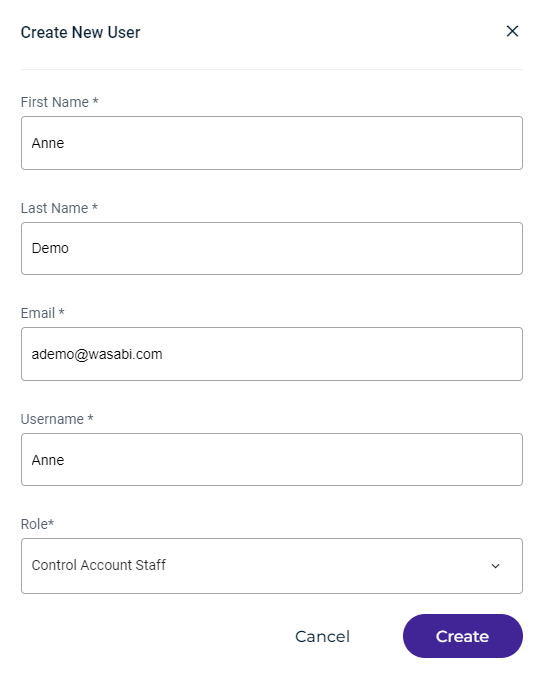
- Click Create.
The new user will receive a Welcome email from Wasabi. To activate the account, the new user must click the link Verify your email address.

After the new user account is activated, the new user will appear on the Users page.
Repeat these steps to create additional users.