How Do I Migrate Veeam Backup for M365 v8 from Azure to Wasabi using WCSM?
Veeam Backup for Microsoft 365 v8 empowers customers to securely back up Microsoft 365 to on-premises or cloud object storage. Wasabi has been validated to work with Veeam Backup for Microsoft 365 v8.
This article details the procedure to migrate a non-immutable Veeam Backup for M365 repository from Azure Blob Storage to Wasabi using Wasabi Cloud Sync Manager (WCSM). WCSM is a paid managed service that performs cloud-to-cloud migration without requiring the customer to download and re-upload backups.
Prerequisites
Veeam Backup for Microsoft 365 v8 or higher installed and licensed. This solution was tested with v8.1.
Active Microsoft 365 account.
Active Azure blob storage account.
A standard Azure non-immutable container.
An active Veeam Backup for M365 repository with your M365 organization backed up to it.
Active Wasabi Cloud Storage account.
A Wasabi non-Object-Locked (non-immutable) bucket created and access keys.
High-Level Migration Steps
Follow the high-level steps below to migrate from Azure to Wasabi. These are detailed further in the sections below.
- Backups reside initially in the Azure blob storage container.
- The WCSM team performs an initial copy from Azure to Wasabi.
- The customer disables Veeam backup job(s) before the final sync.
- The WCSM team performs a final sync.
- The customer deletes the current backup job(s) pointing to Azure.
- The customer deletes the Azure repository.
- The customer adds a Wasabi repository.
- The customer verifies the restore points from Azure are available in Wasabi.
- The customer adds a new backup job pointing to Wasabi.
Wasabi Cloud Sync Manager Configuration
Wasabi Cloud Sync Manager (WCSM) is a paid, managed migration service. Refer to Getting Started With Wasabi Cloud Sync Manager for more information.
- Request a WCSM Account by either completing the WCSM Questionnaire or reaching out to your Wasabi Sales contact.
- Upon approval and notification of account creation, you will be able to log into the WCSM Portal. Follow the steps outlined in 2—Entering Credentials for Cloud Migration.
- This will require you to enter your Azure account credentials and Wasabi account credentials along with your container and bucket information.
Disable Backup Activities Before Final Sync is Performed
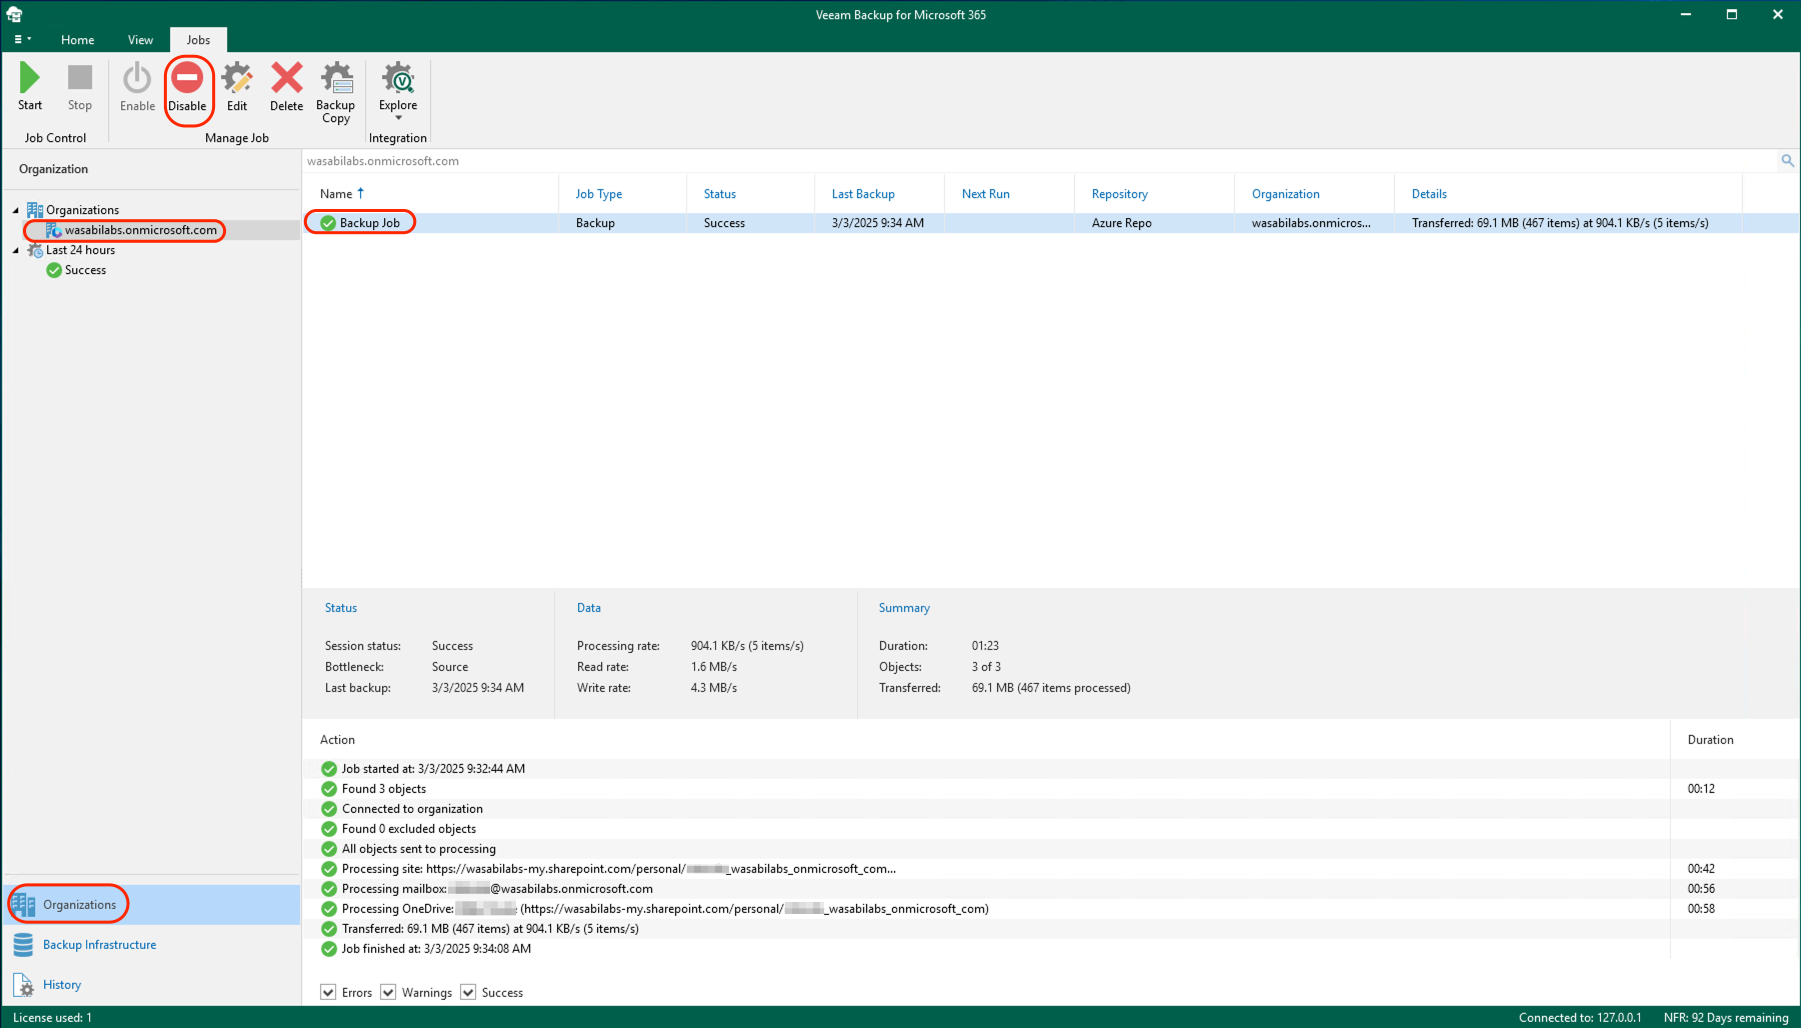
Disable the backup job(s) currently pointed to Azure.
- Navigate to the Organizations tab. Under Organizations, select your M365 organization, then select the job backing up to Azure. Click Disable.
Final WCSM Sync Will Be Performed on Agreed Upon Date
The final WCSM data sync will occur on the date agreed upon by the customer and the Wasabi WCSM team. This will sync any new backups performed to Azure and any Veeam backup expirations/deletions from Azure to ensure the same data resides in Wasabi. For a definition of the WCSM sync operation, review Migration Types.
Deleting Current Backup Job
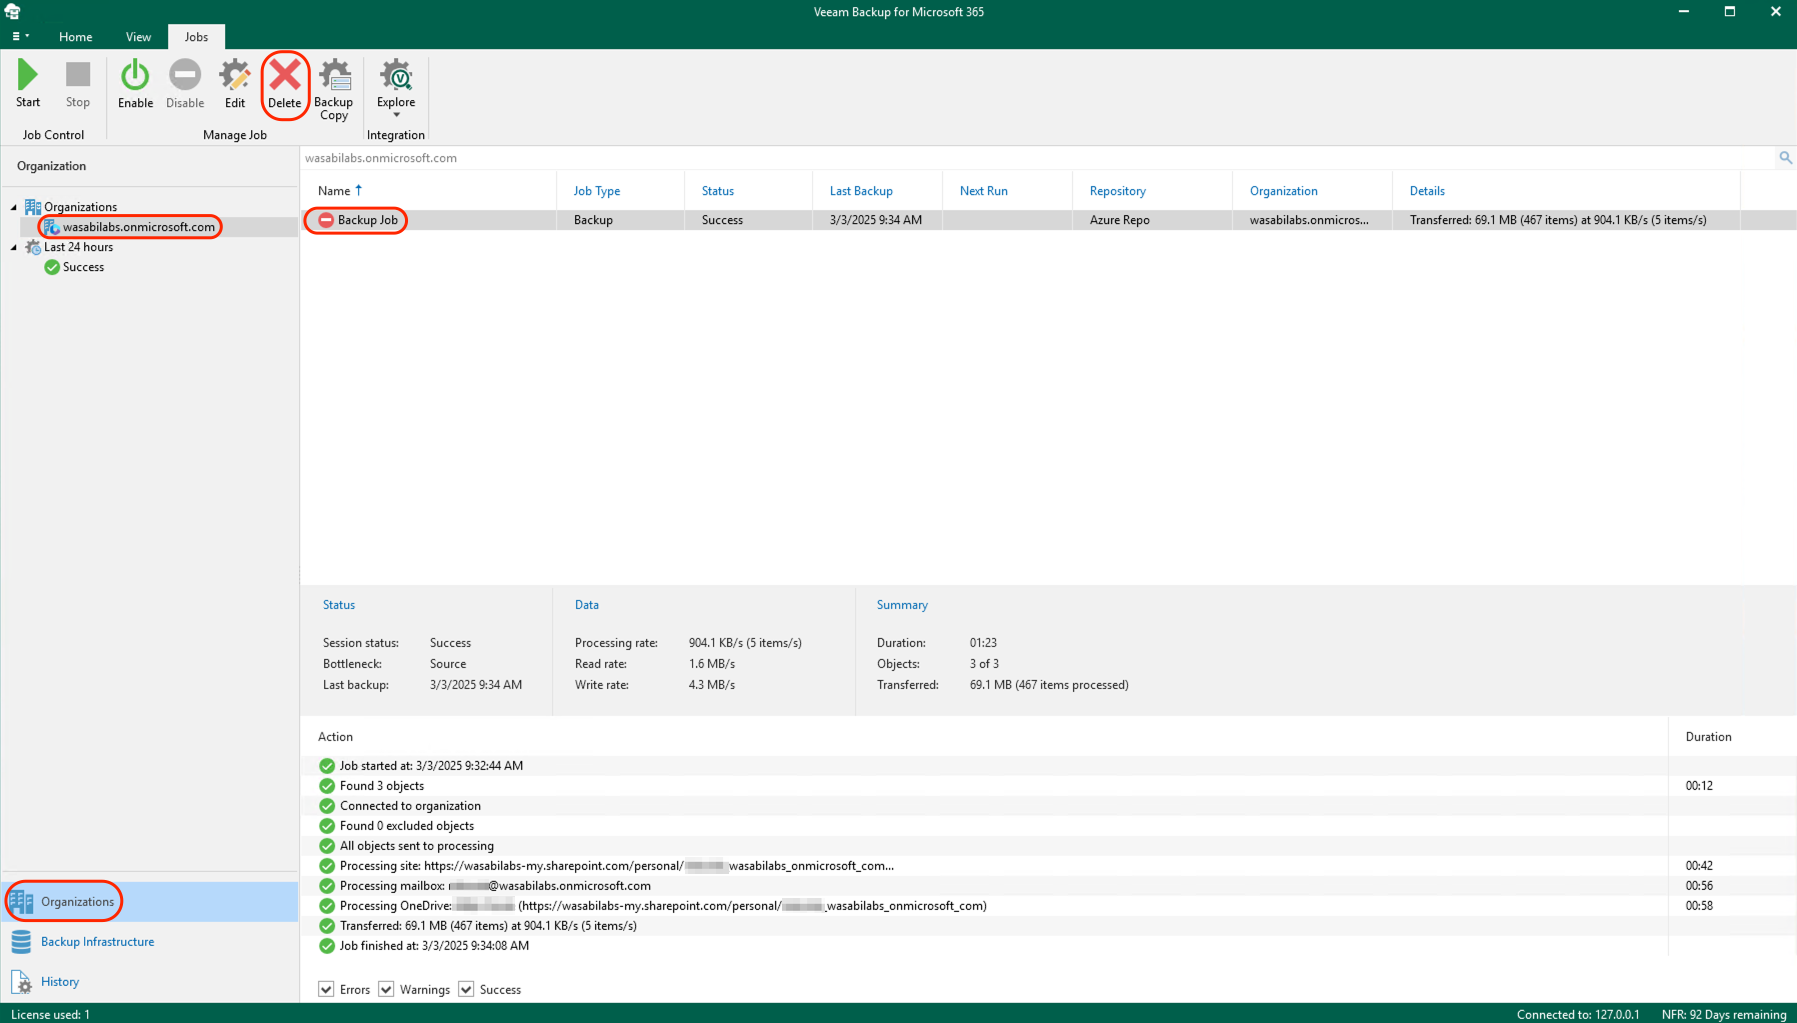
- Navigate to the Organizations tab and select your organization. Select the existing backup job that backs up to Azure. Click Delete at the top. Click Yes when asked if you want to delete the selected job.
Deleting Current Azure Repository
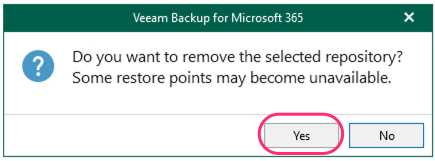
- Navigate to the Backup Infrastructure tab and select Object Storage. Select your existing Azure repository. Click Remove Repository at the top.
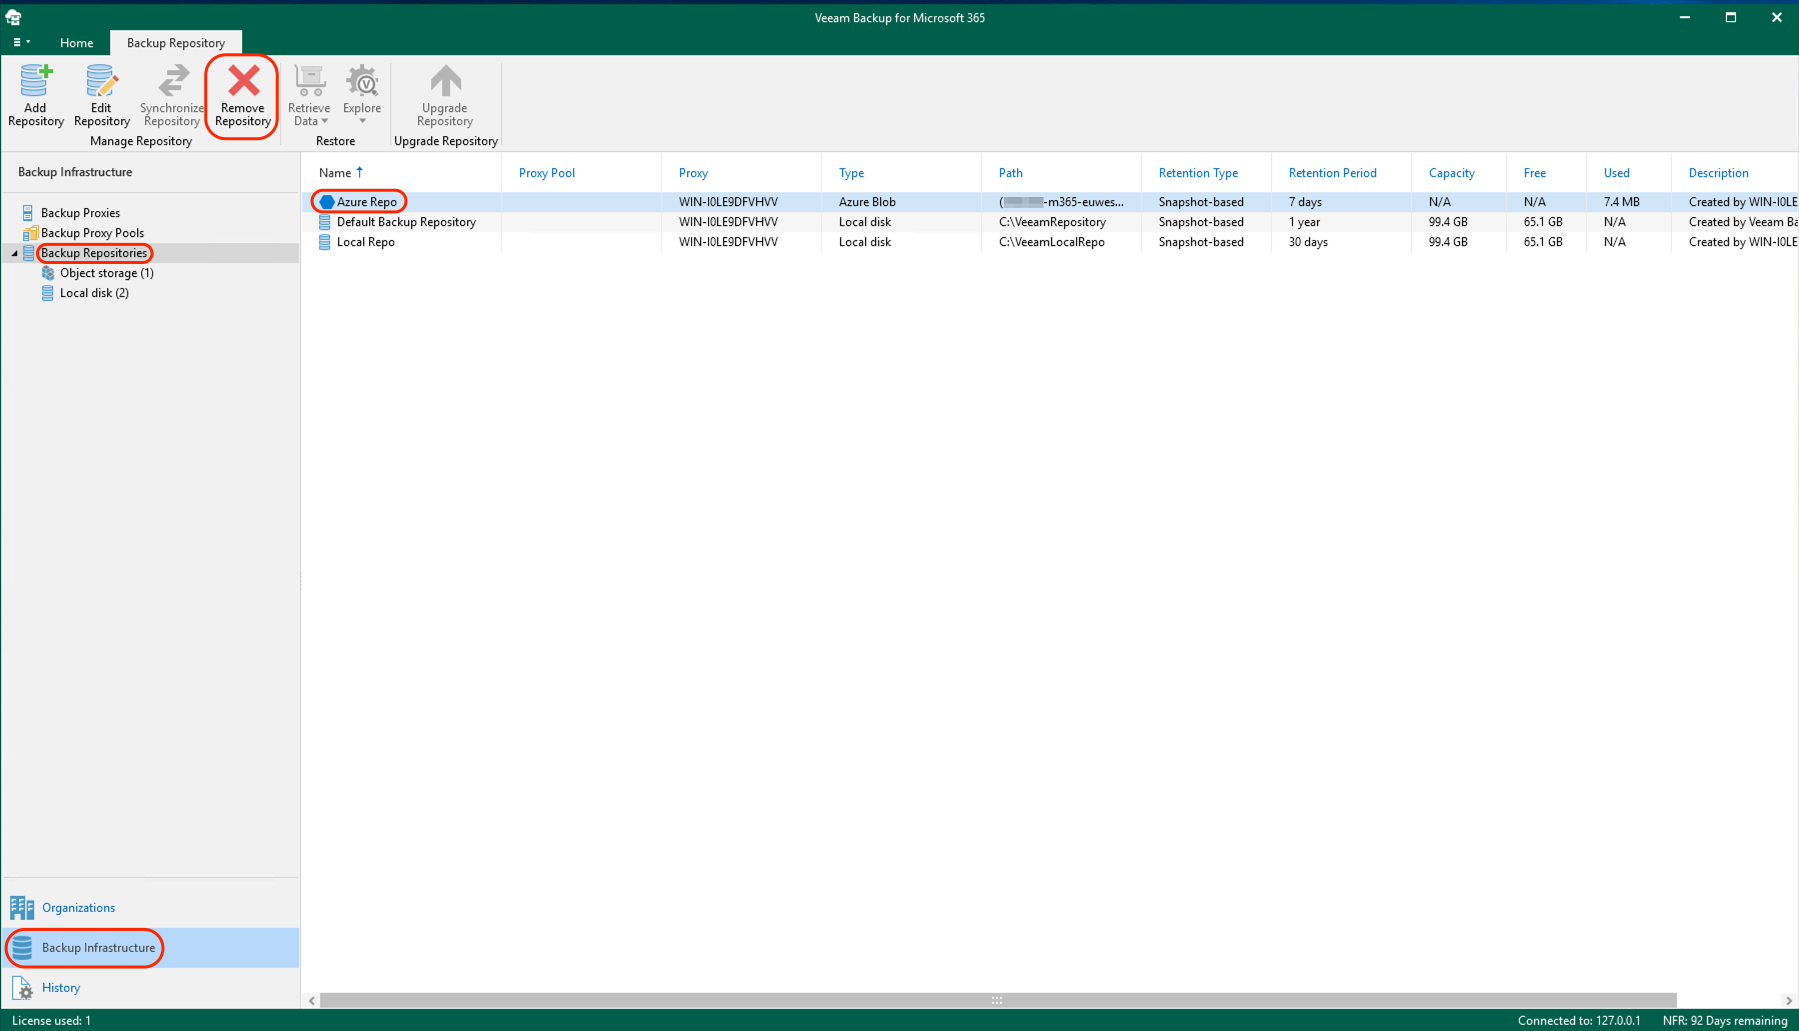
- Click Yes when asked to confirm.
Adding a Wasabi Repository
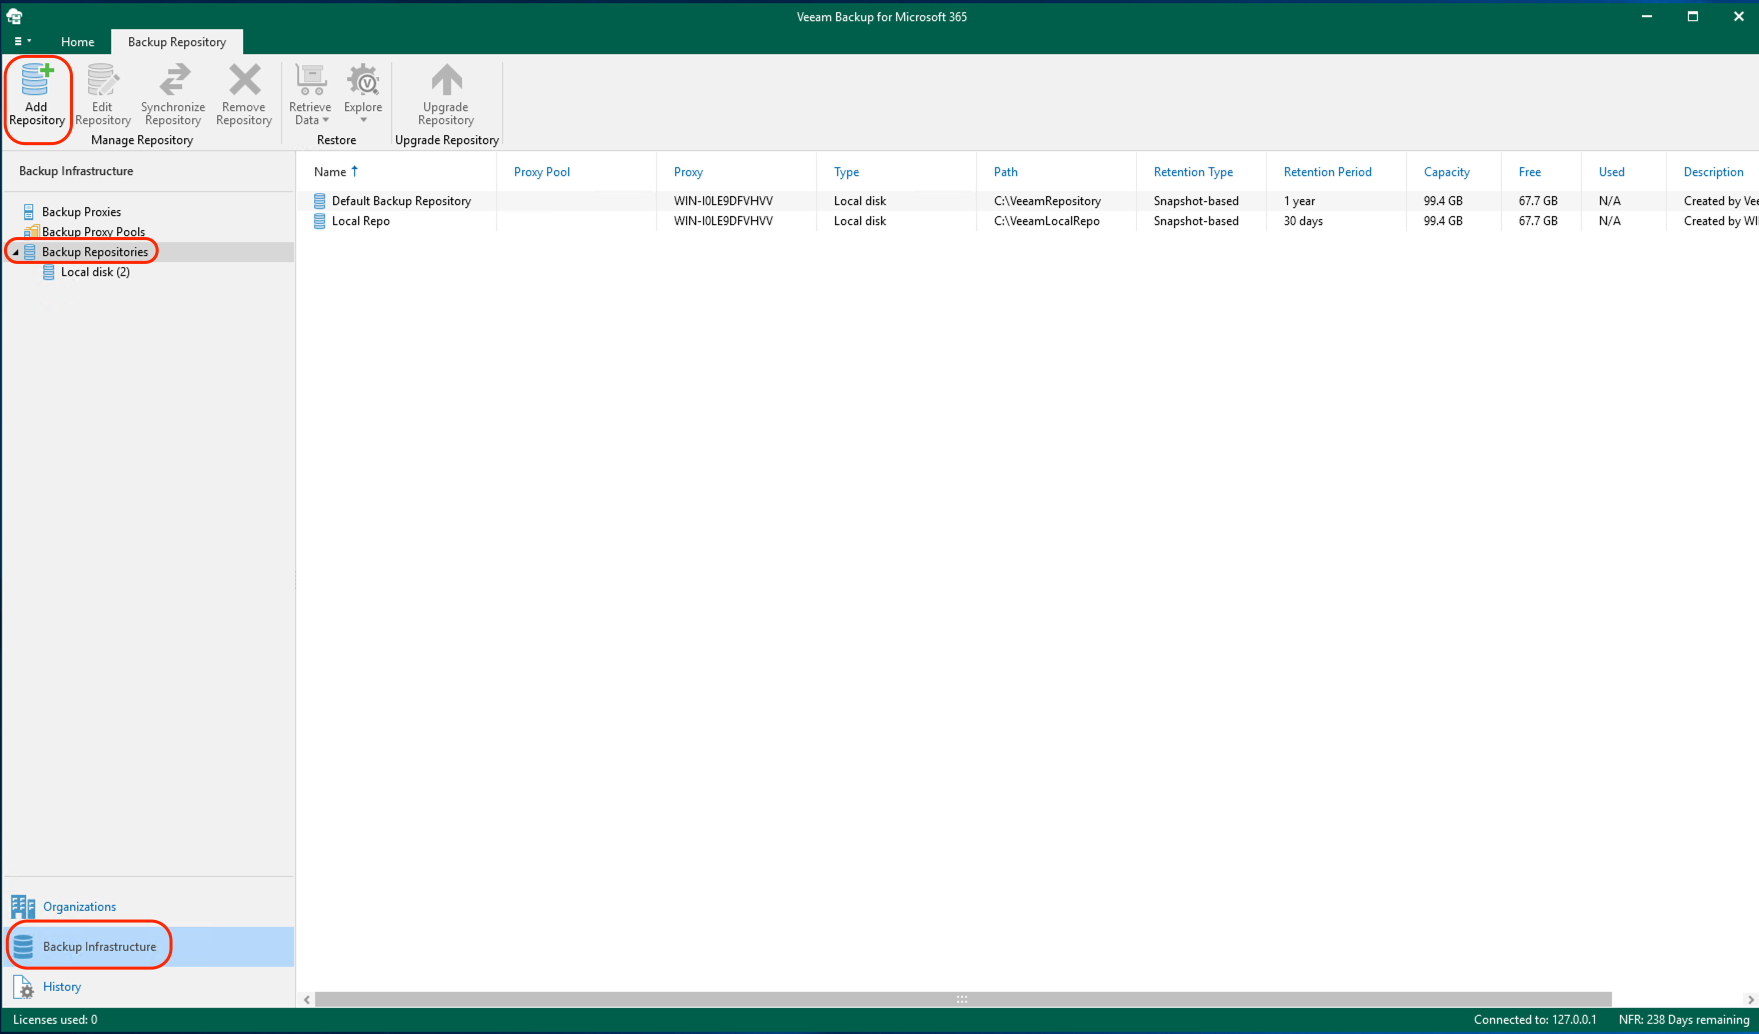
- Click Backup Repositories in the Backup Infrastructure tab. Click Add Repository.
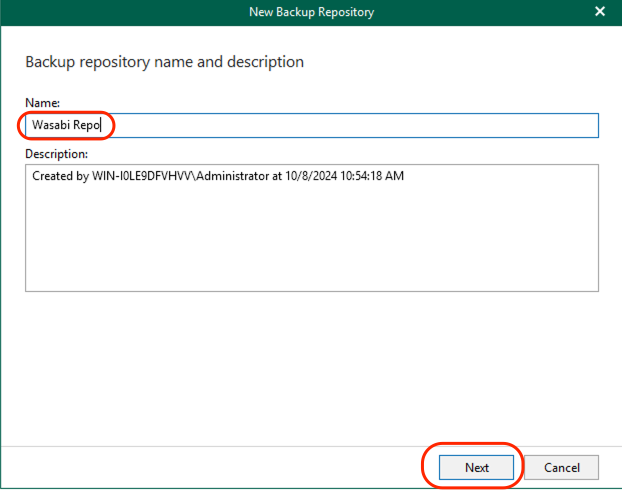
- Input a Name and Description. Click Next.
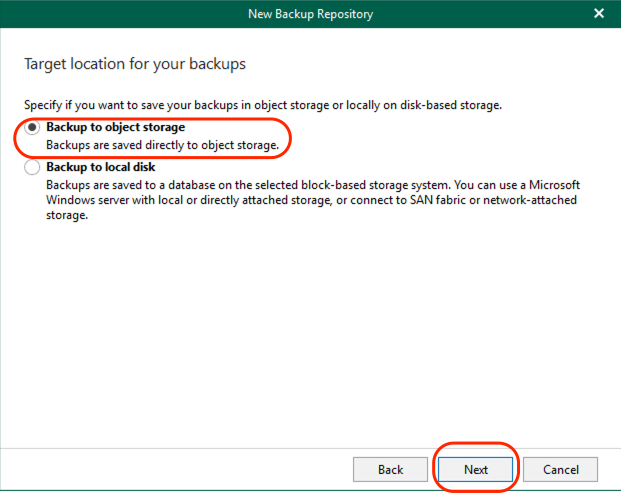
- Select Backup to object storage. Click Next.
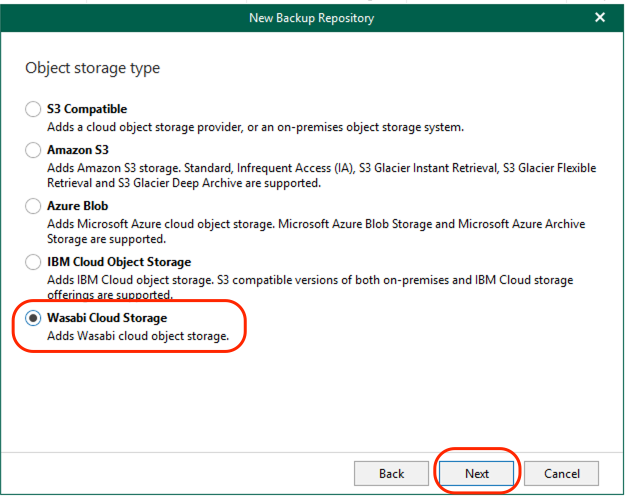
- Select Wasabi Cloud Storage and click Next.
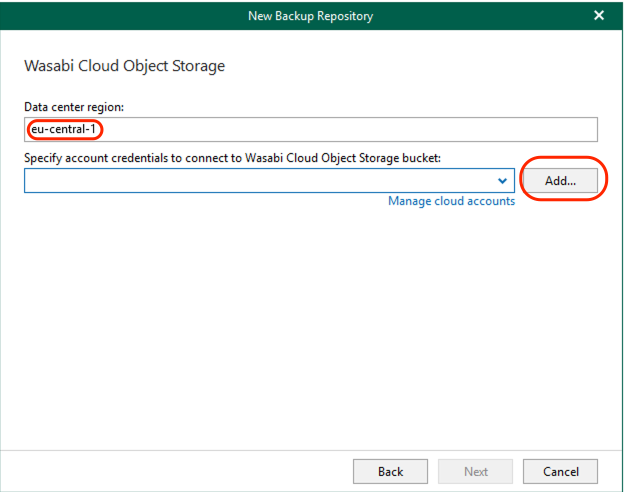
- Enter the region your bucket is located in. Click Add...This configuration example discusses the use of Wasabi's eu-central-1 storage region. Use the region your bucket is located in. For a list of regions, see Available Storage Regions .
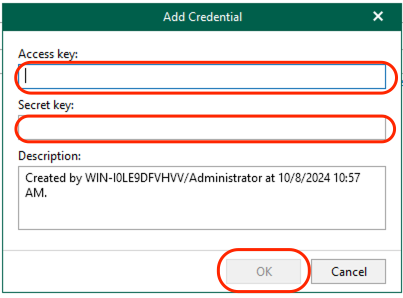
- Add your Wasabi access and secret keys and click OK.
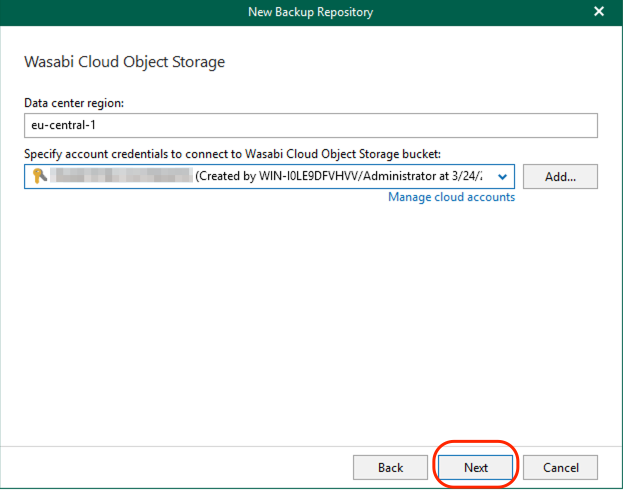
- Click Next.
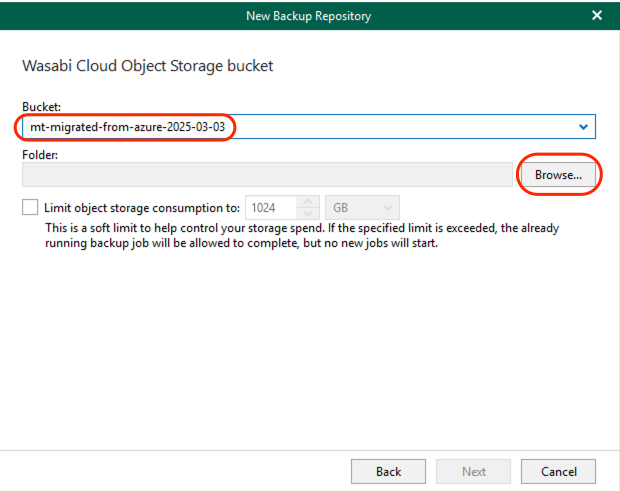
- Select your Wasabi bucket from the drop-down menu. Click Browse under Folder.
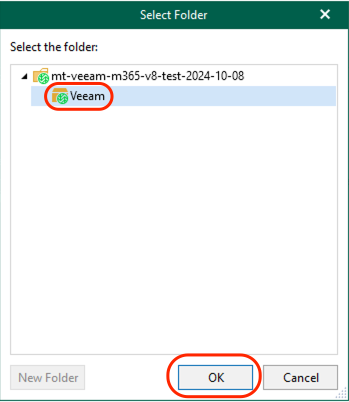
- Select the existing top-level folder in the bucket and click OK.
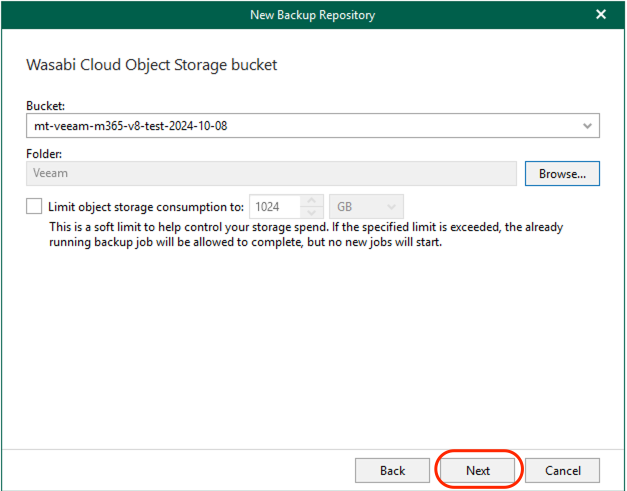
- Click Next.
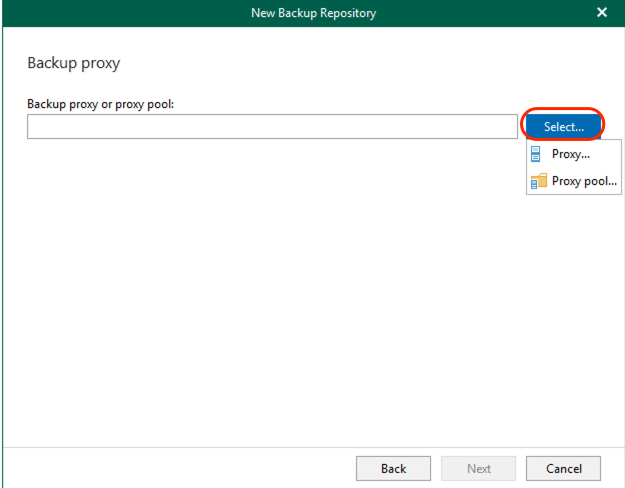
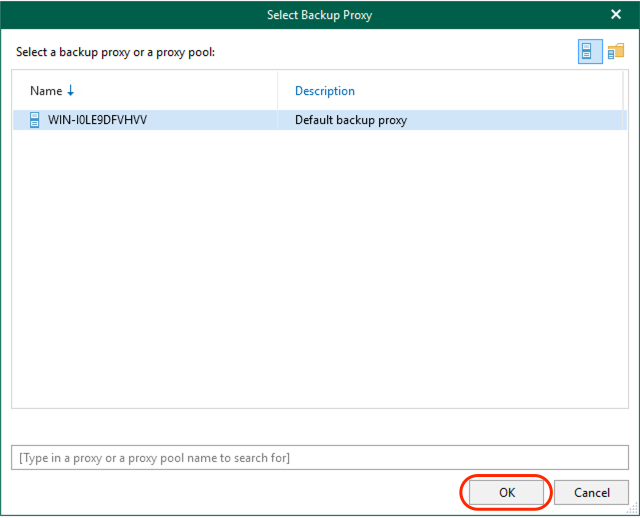
- Click Select and choose either Proxy or Proxy Pool according to your environment. In the following example, Proxy was chosen and the Veeam Backup for M365 server was selected.
- After a proxy or proxy pool has been selected, click OK.
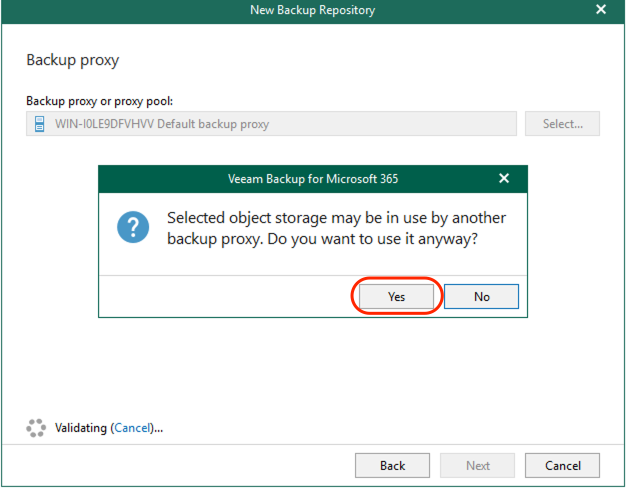
- Click Yes when prompted.
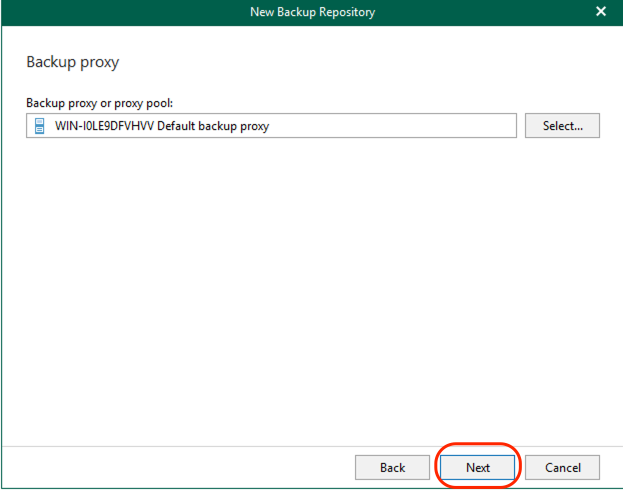
- Click Next.
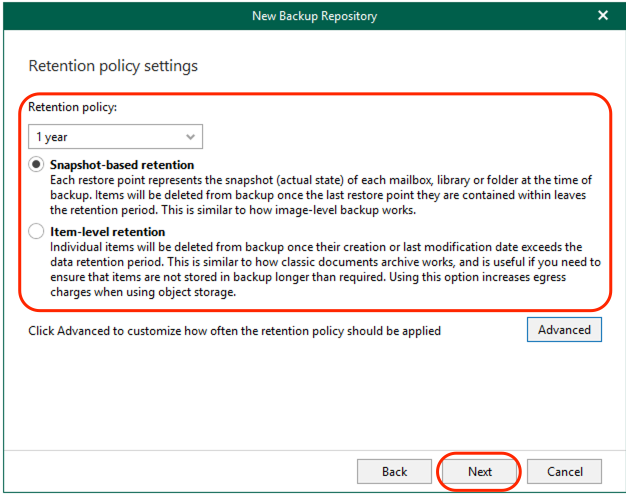
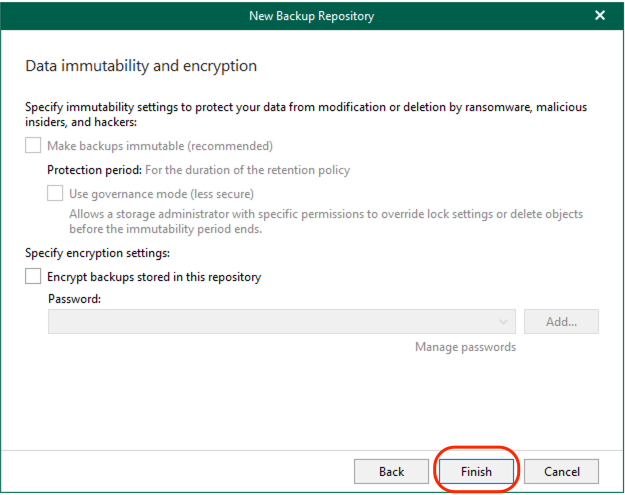
- Select the retention policy settings appropriate for your organization and click Next.
- Click Finish.
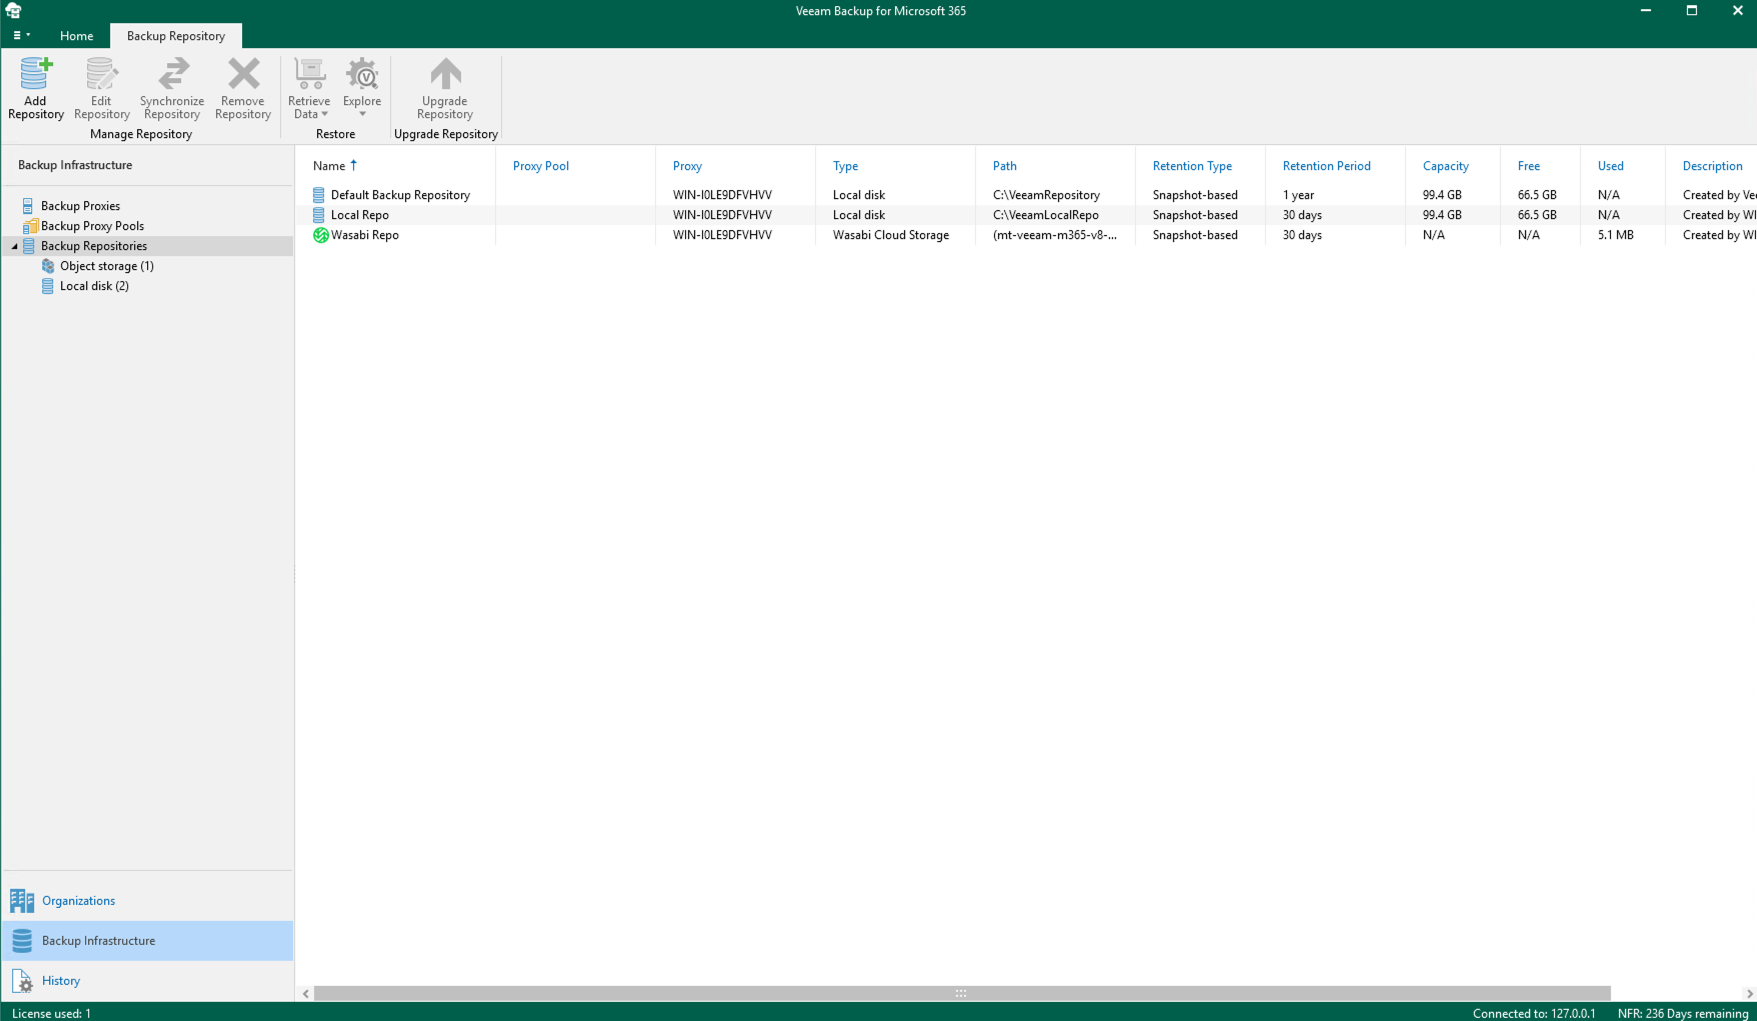
- The Wasabi Repo now appears under Backup Repositories.
Viewing Available Backups
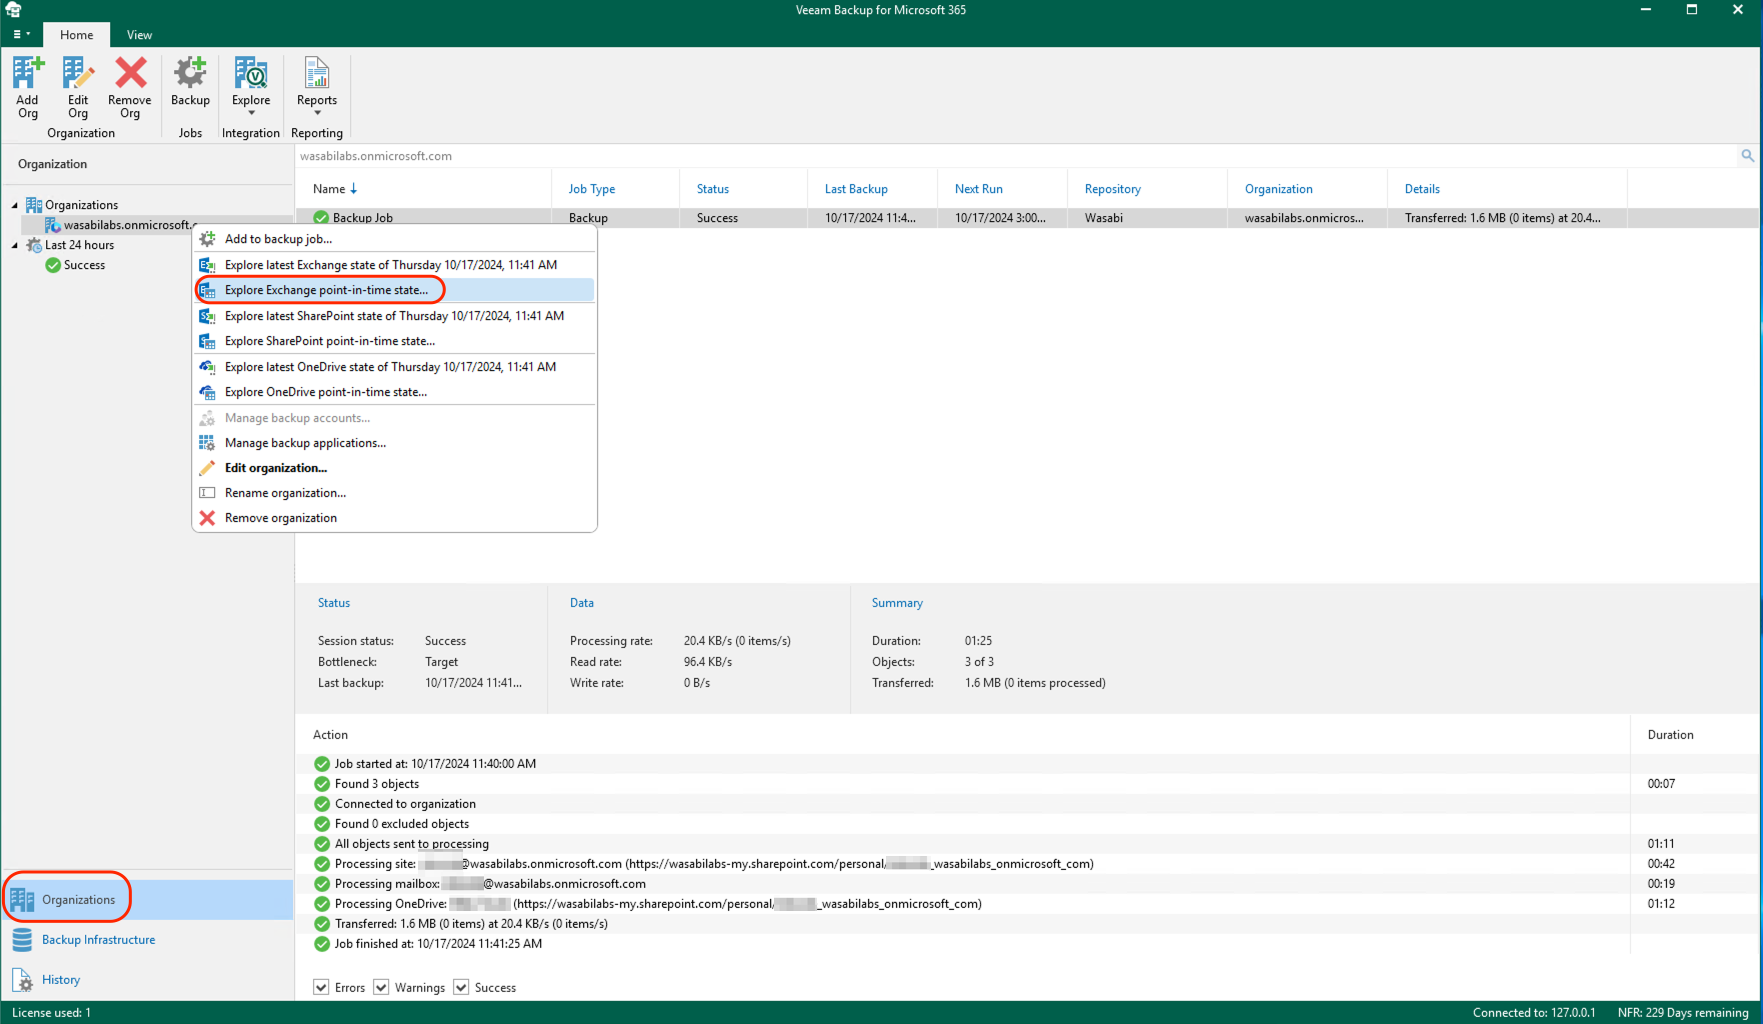
- Navigate to the Organizations tab. Under Organizations, select your M365 organization. Right-click on your organization and select Explore Exchange point-in-time state.
- Select the Use the following point in time radio button.
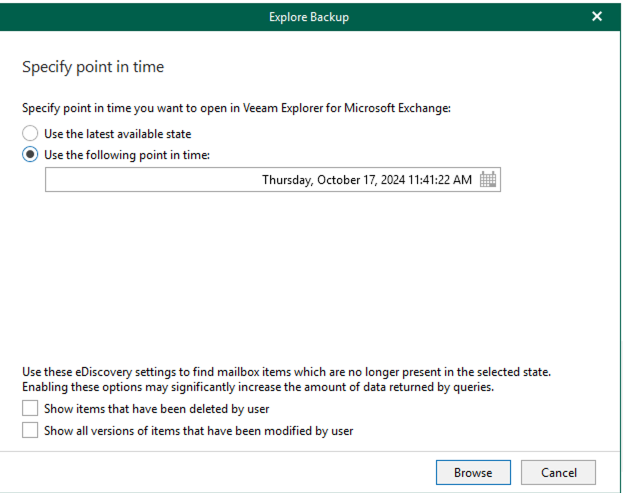
- Click the Calendar icon. You will see available restore points.
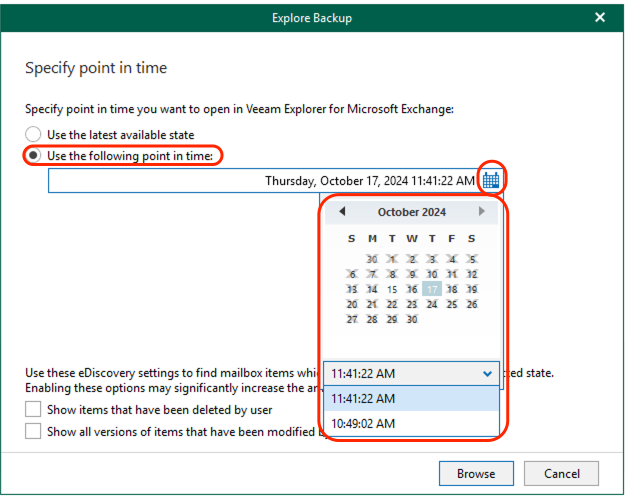
- Verify that your previous restore points from Azure are now available in Wasabi.
Adding a Backup Job
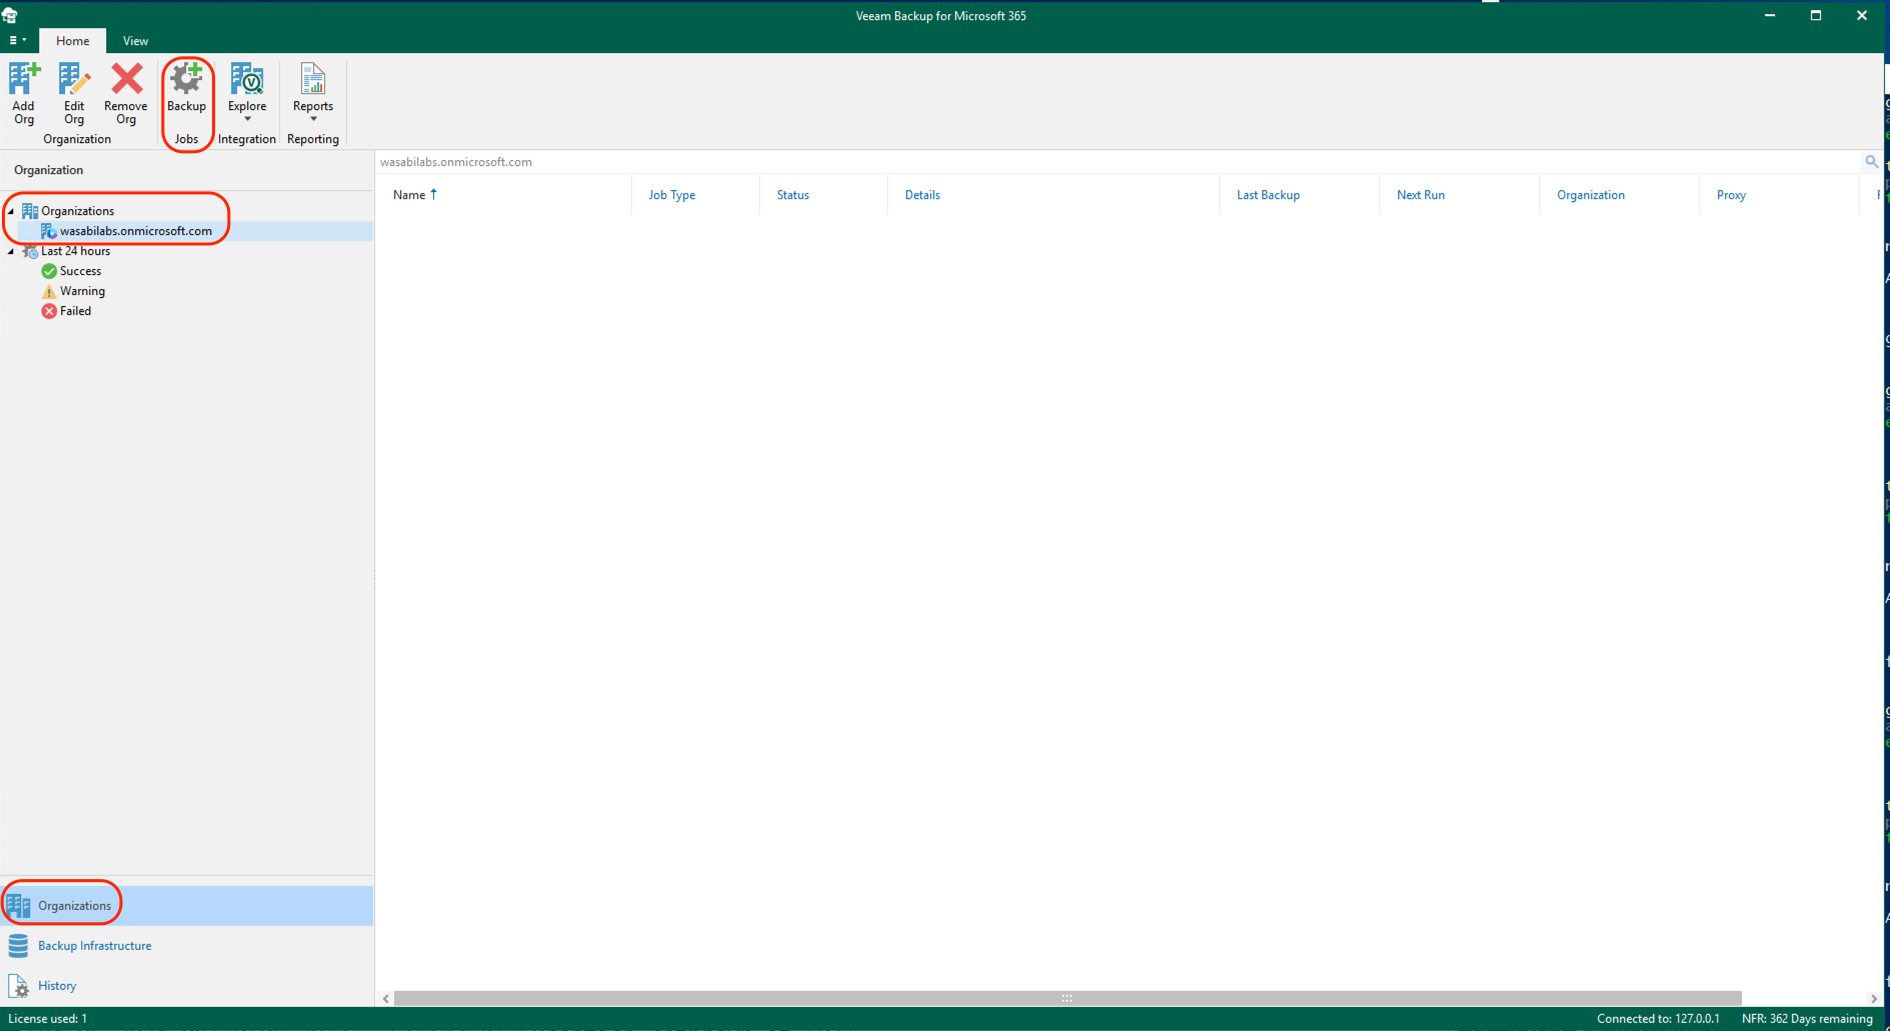
- Navigate to the Organizations tab. Under Organizations, select your M365 organization. Click Backup Jobs at the top.
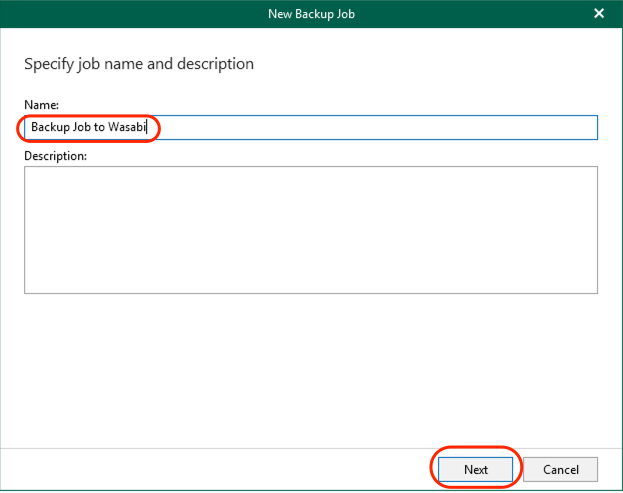
- Give the job a name. Click Next.
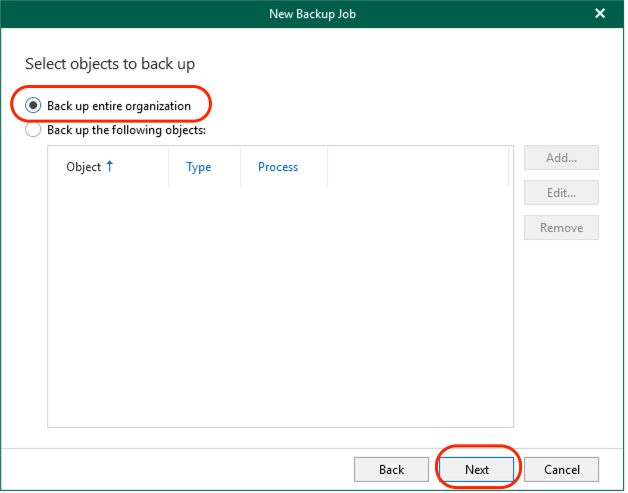
- Select the appropriate objects to be backed up. Click Next.
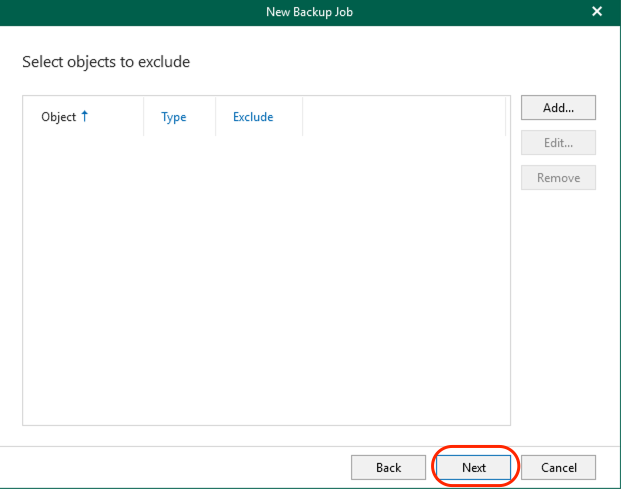
- Select any objects to exclude. Click Next.
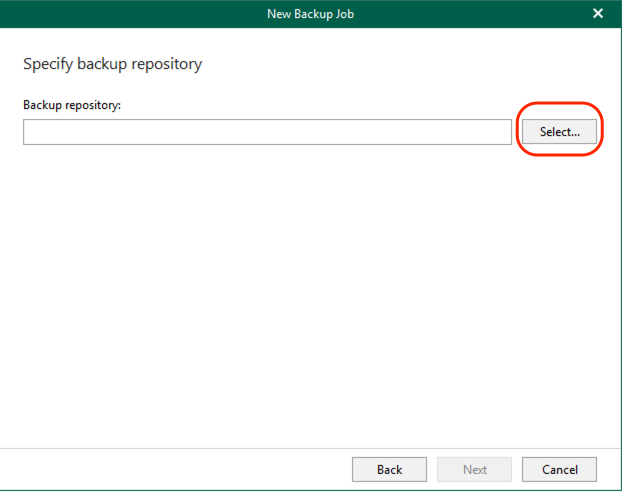
- Click Select.
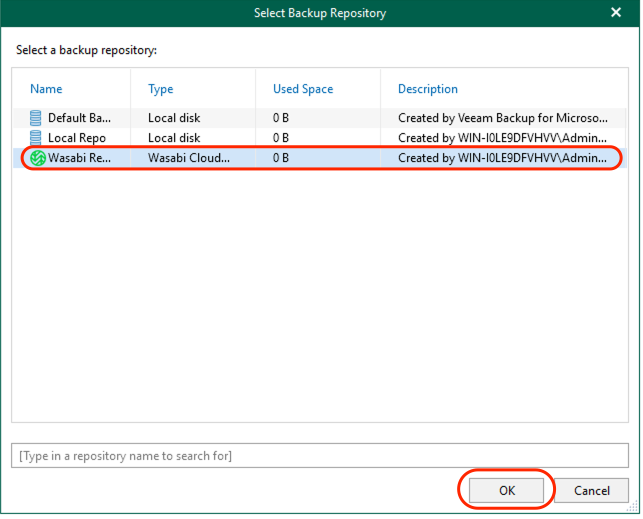
- Select the previously created Wasabi repository and click OK.
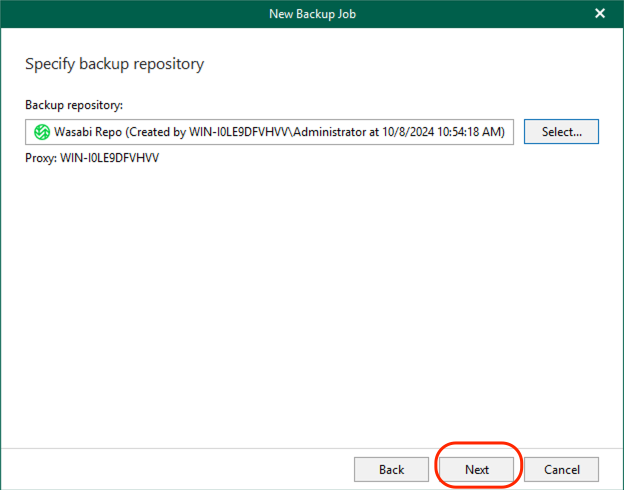
- Click Next.
- Select the appropriate scheduling options. Click Create.
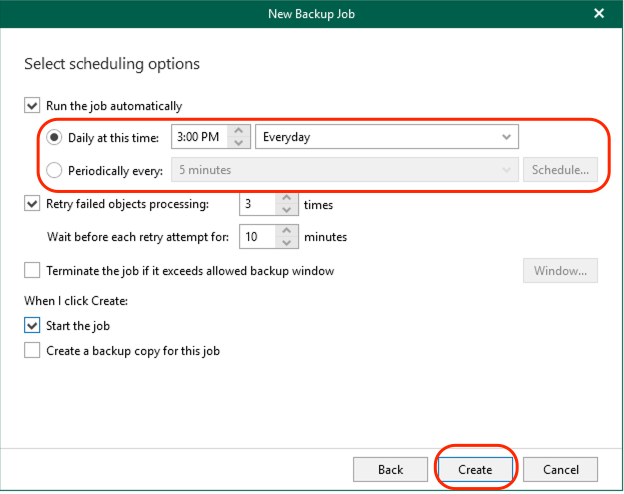
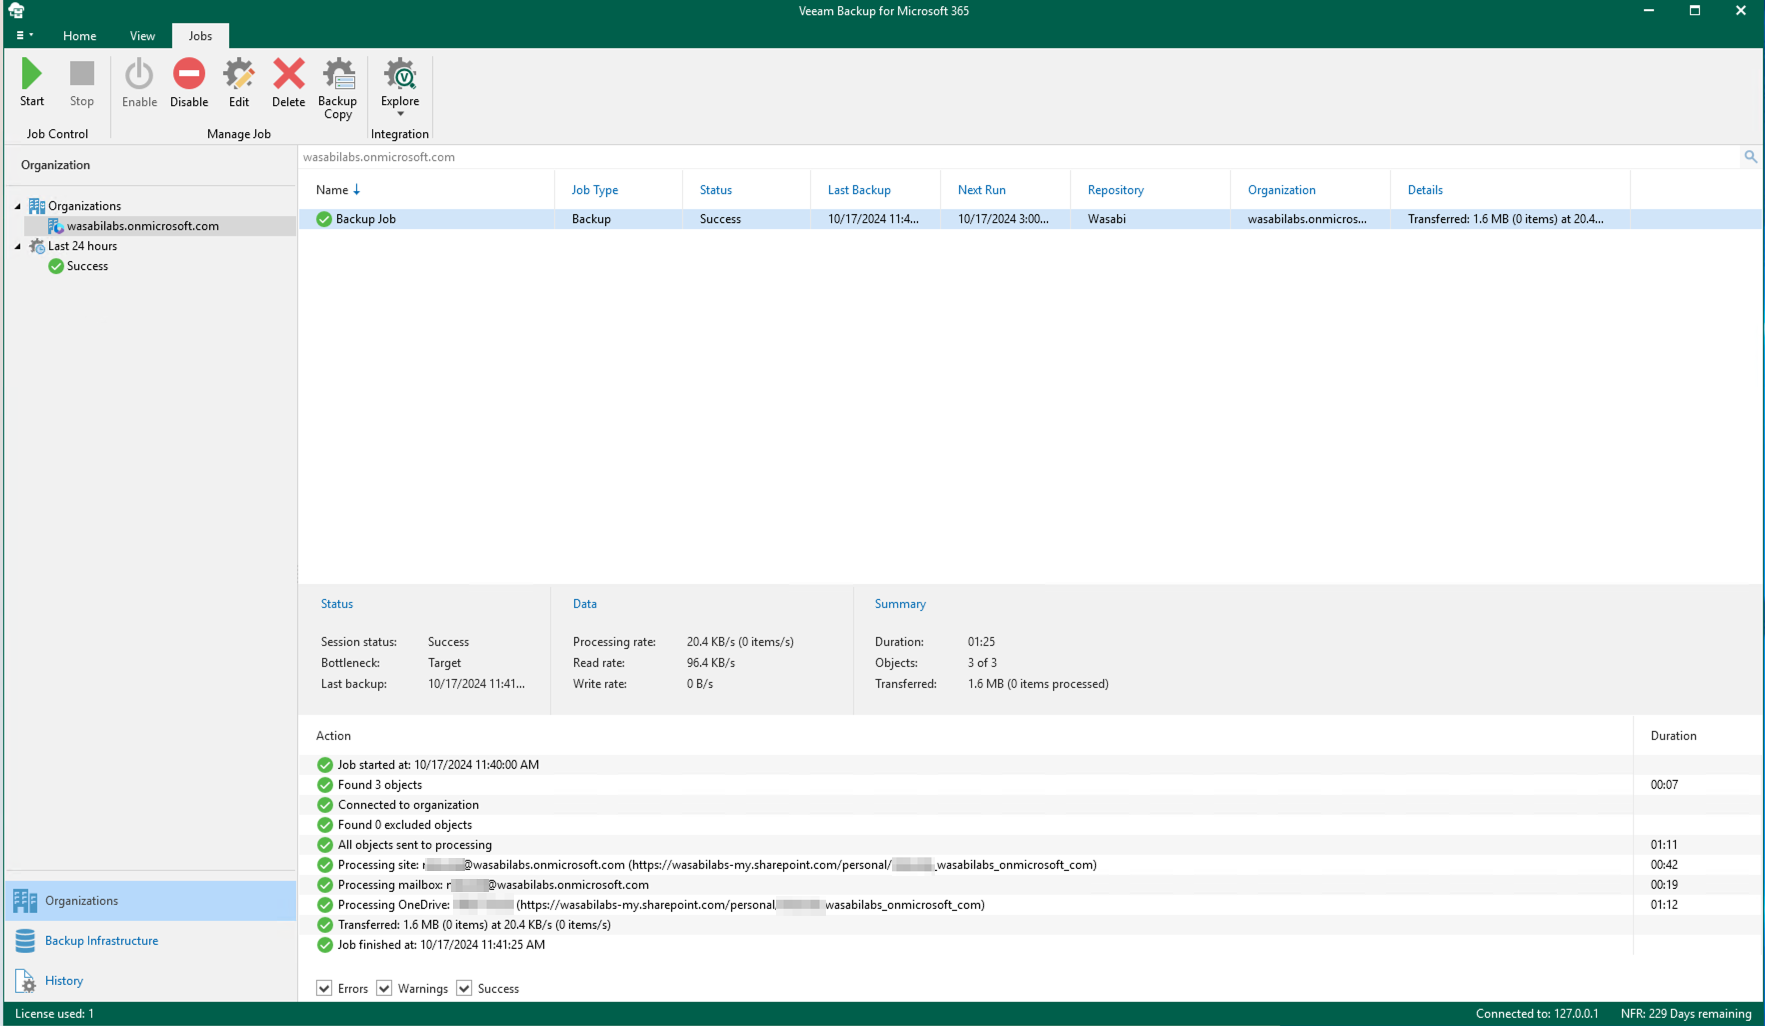
- Because "Start the job" under "When I click Create" was selected in this example, a backup job will be run to Wasabi. Below is an example of a successful job.