Archil is a service that enables caching of data from and concurrent writes to your Wasabi bucket. It functions by mounting your bucket as a local disk across multiple platforms, and it provides POSIX compatibility. This article describes how to configure Archil for use with Wasabi Hot Cloud Storage.
Requirements
An active Wasabi account (see Signing Up for Wasabi)
A Wasabi bucket (see Creating a Bucket)
Wasabi Console access
An active Archil account
Archil Console access
Access to your system(s) that require access to your Wasabi bucket data.
Configuring Wasabi
Log in to the Wasabi Console (console.wasabisys.com).
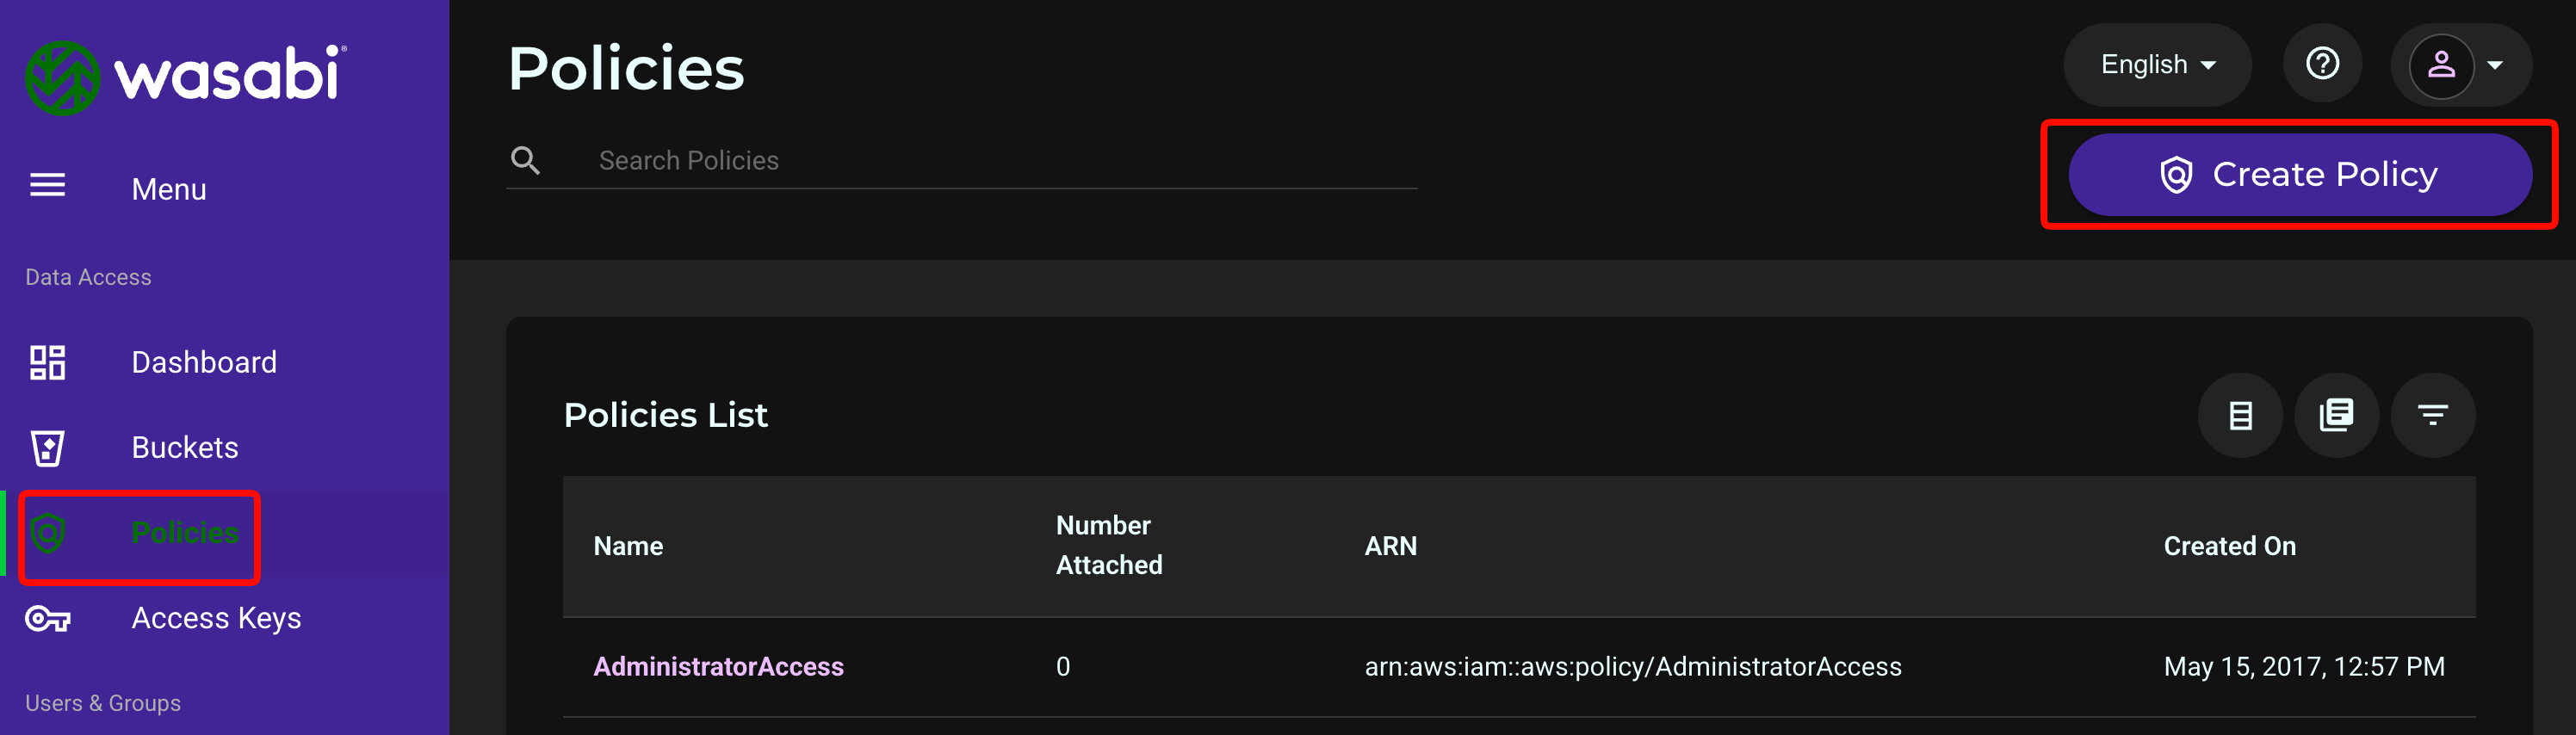
Click Policies.
Click Create Policy.
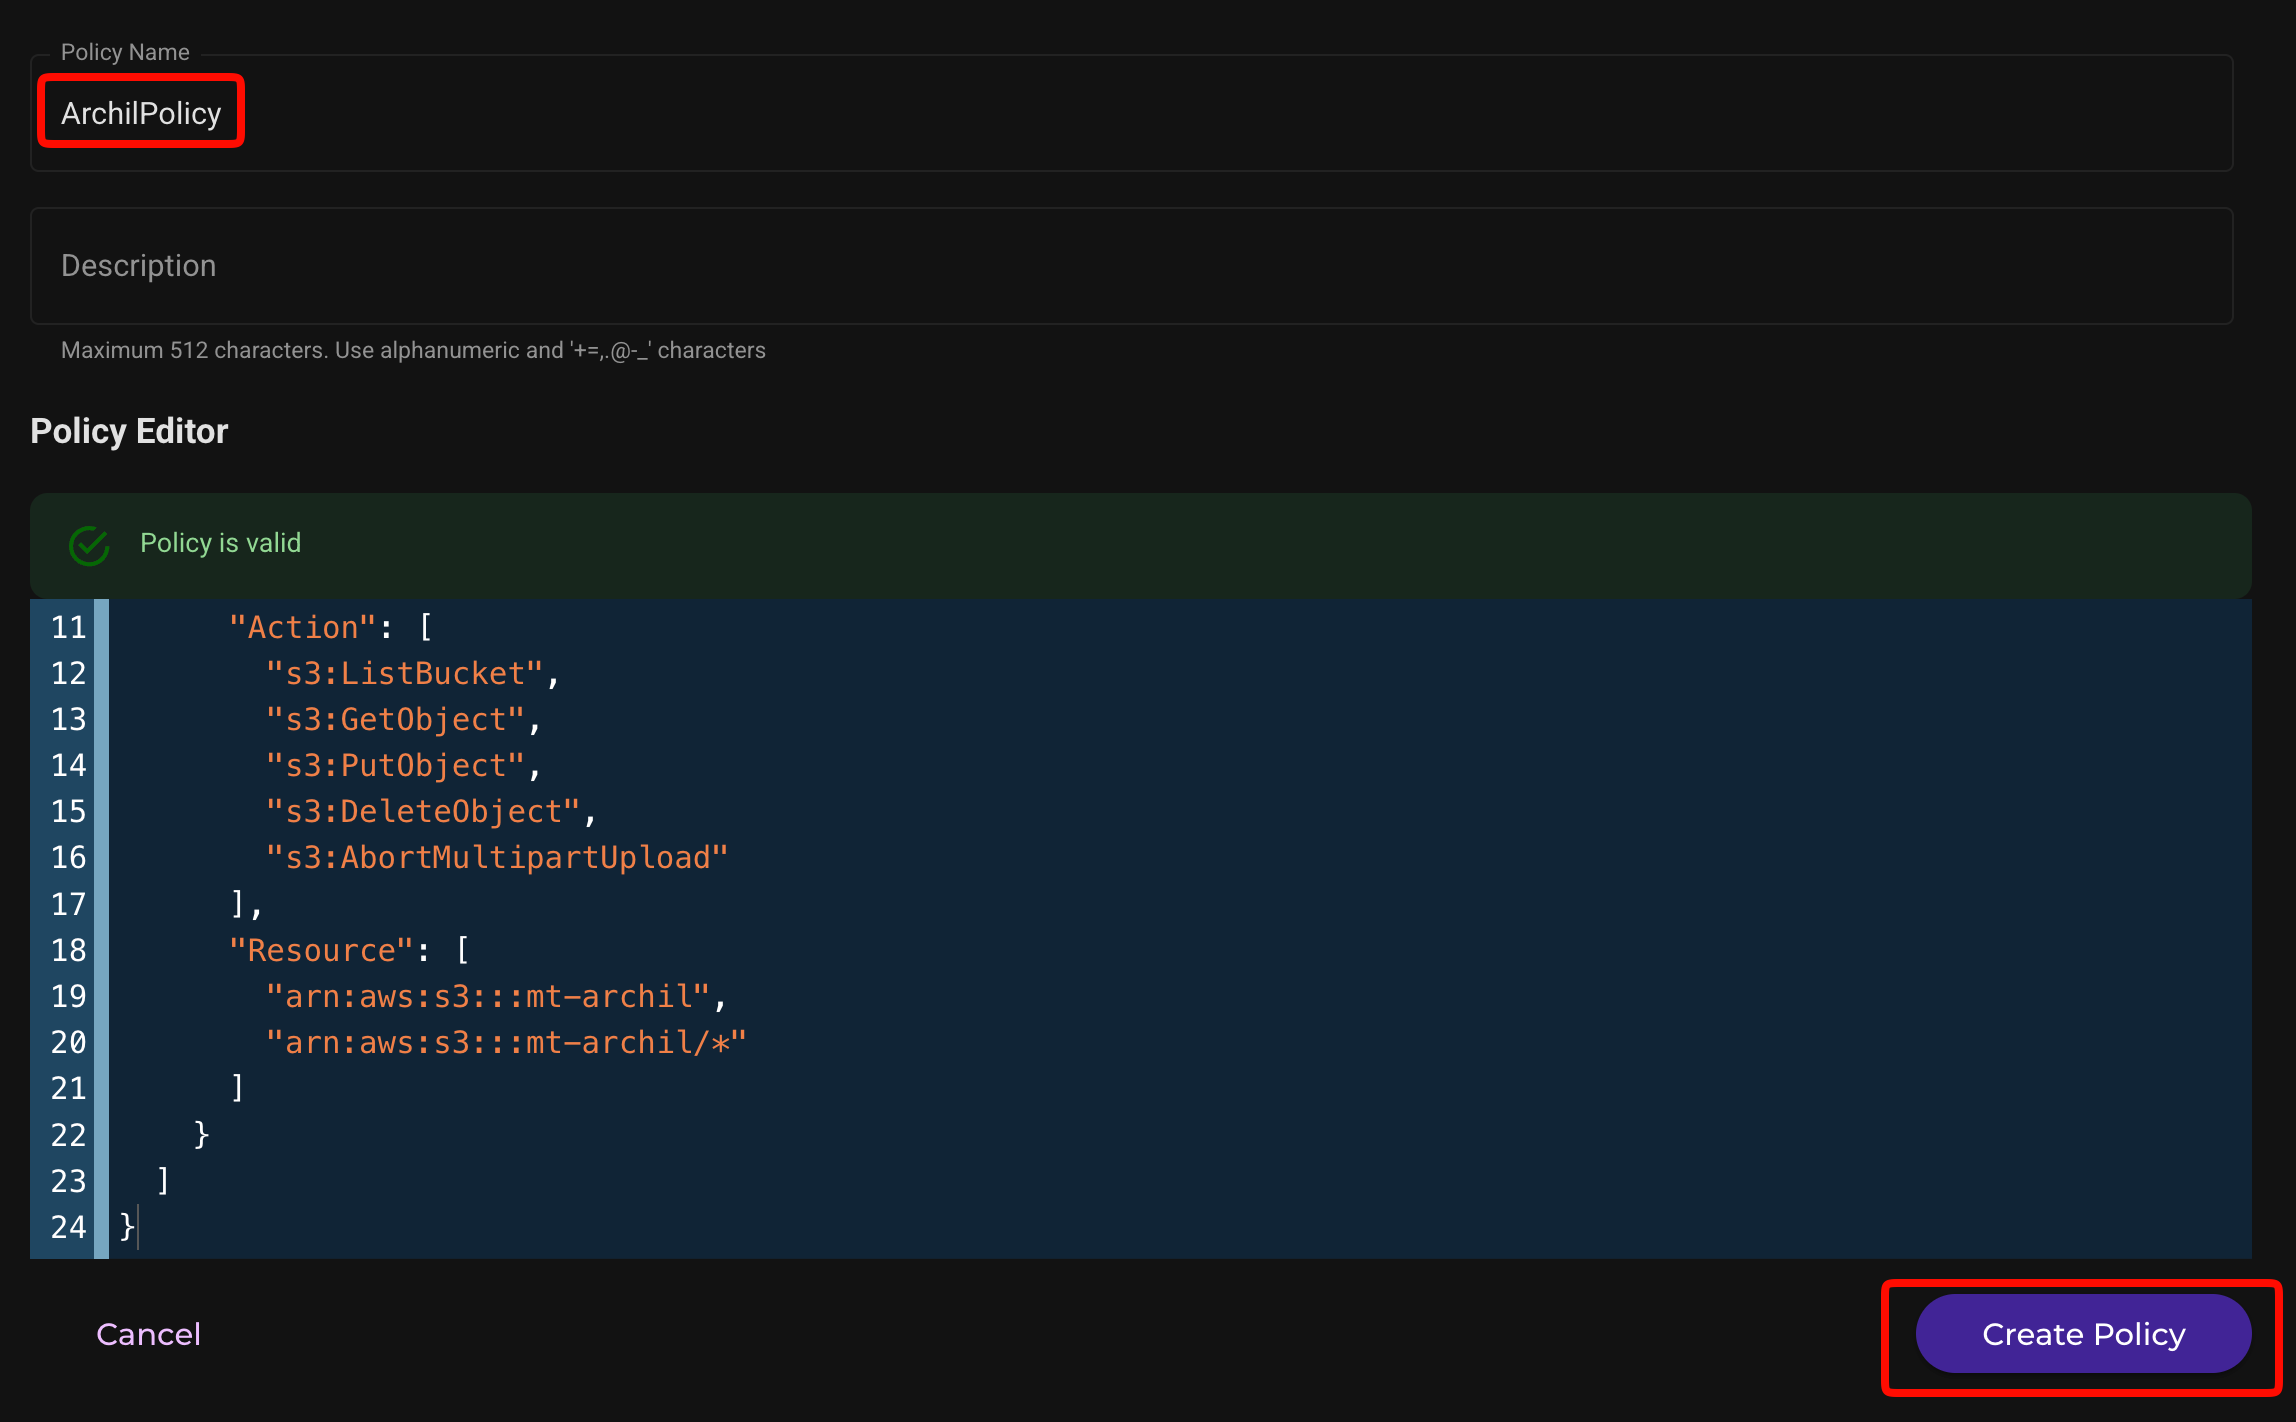
Enter a policy name (for example, ArchilPolicy).
Paste the JSON policy below into the policy editor. Adjust the S3 actions as needed for your organization. Replace YOUR_WASABI_BUCKET with the name of your Wasabi bucket.
{
  "Version": "2012-10-17",
  "Statement": [
    {
      "Effect": "Allow",
      "Action": "s3:ListAllMyBuckets",
      "Resource": "arn:aws:s3:::*"
    },
    {
      "Effect": "Allow",
      "Action": [
        "s3:ListBucket",
        "s3:GetObject",
        "s3:PutObject",
        "s3:DeleteObject",
        "s3:AbortMultipartUpload"
      ],
      "Resource": [
        "arn:aws:s3:::YOUR_WASABI_BUCKET",
        "arn:aws:s3:::YOUR_WASABI_BUCKET/*"
      ]
    }
  ]
}
Click Create Policy.
Rather than using Wasabi root account keys, a dedicated Wasabi user with programmatic-only access should be created and restricted using the policy created above. The resulting access key and secret key are what get copied into the Archil console later. For more information, see Creating a User Account and Access Key.
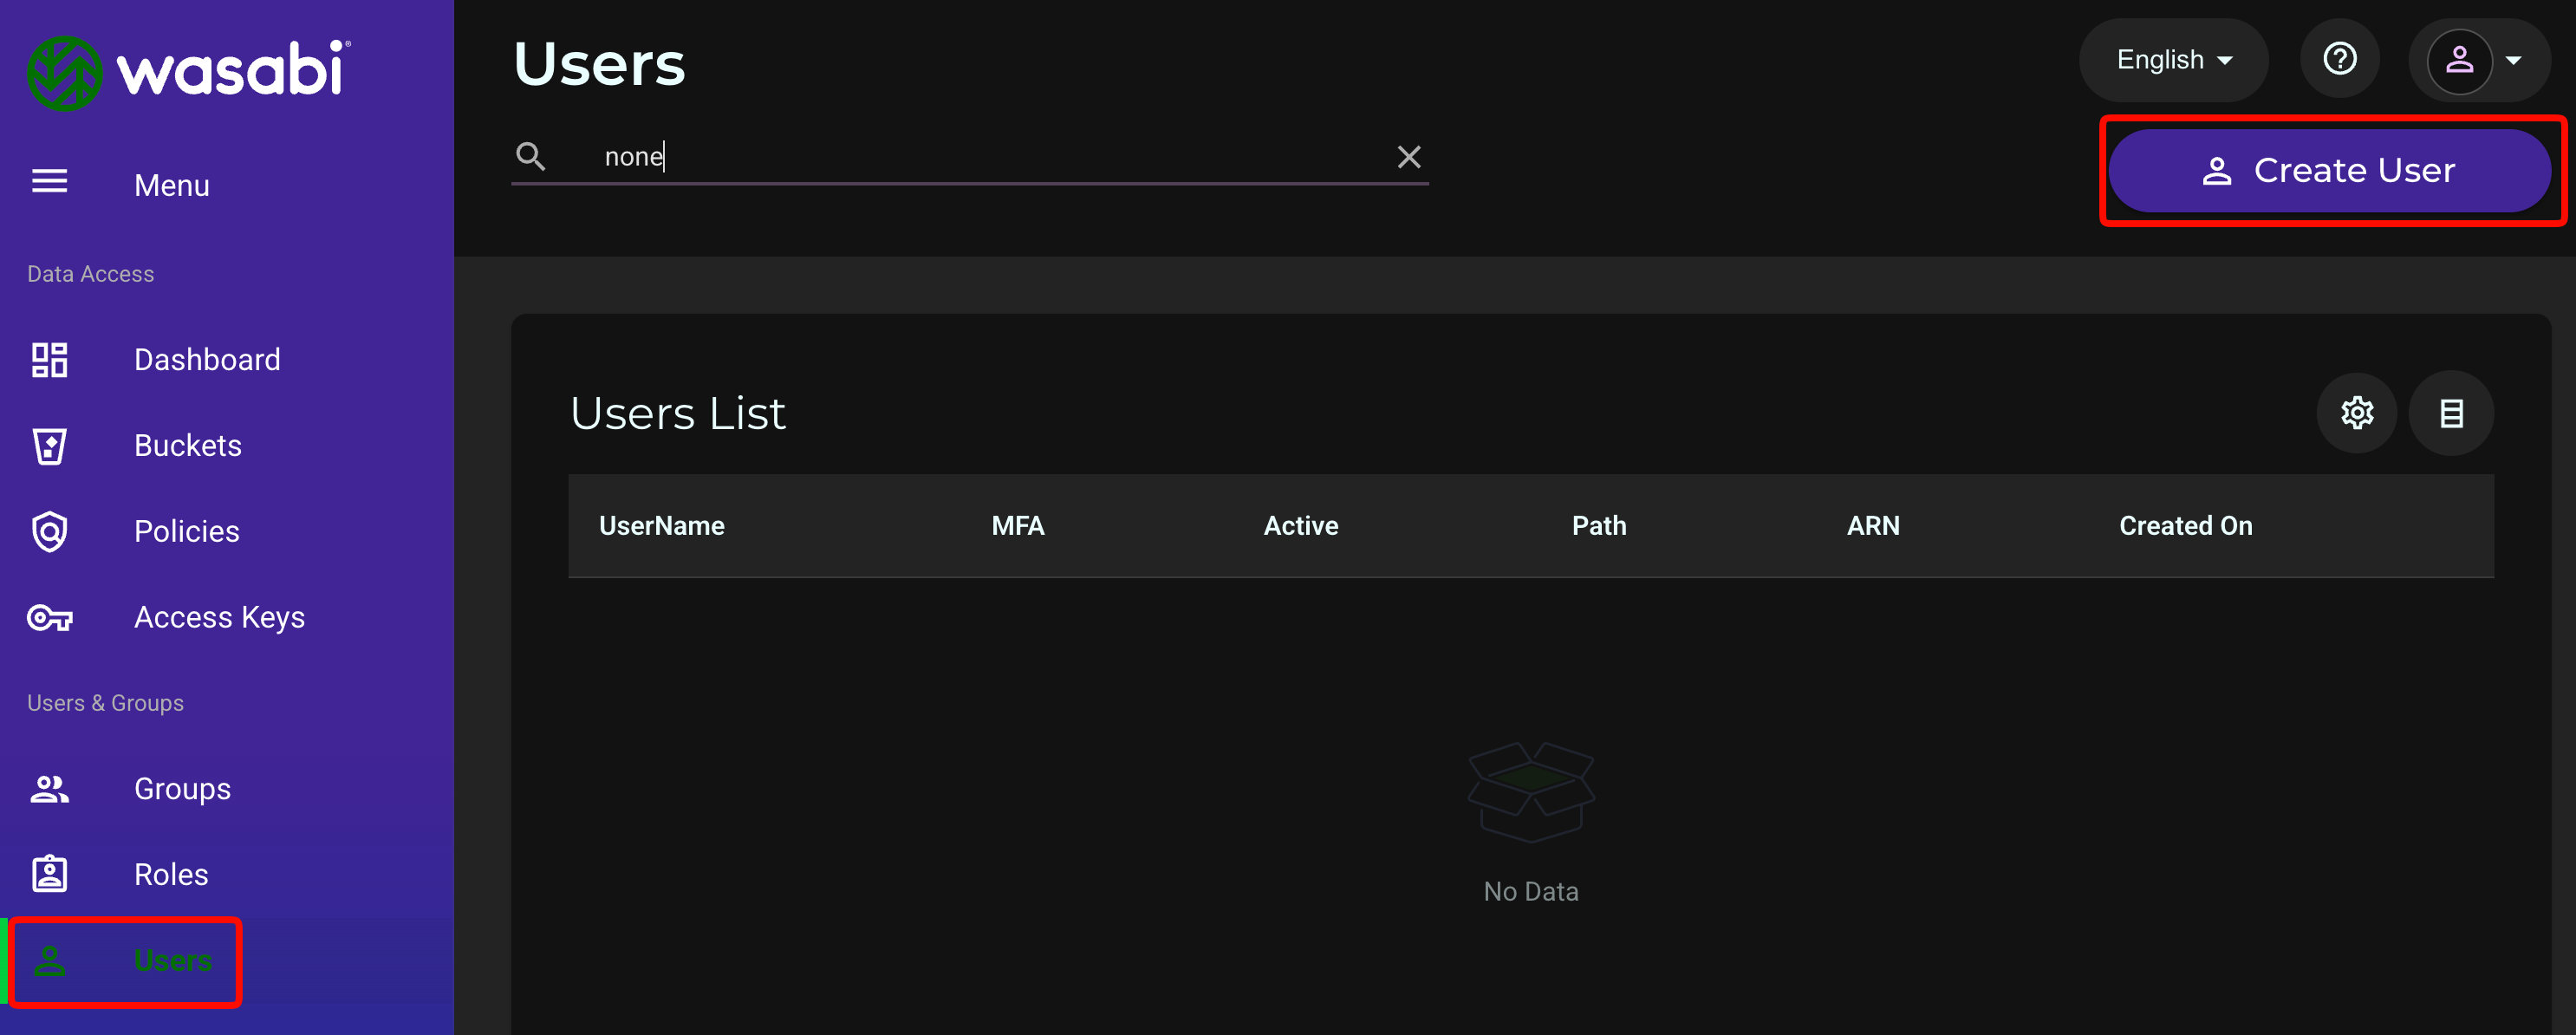
Click Users.
Click Create User.
Enter a name for the user.
For Type of Access, click the checkbox to enable Programmatic.
Click Next.
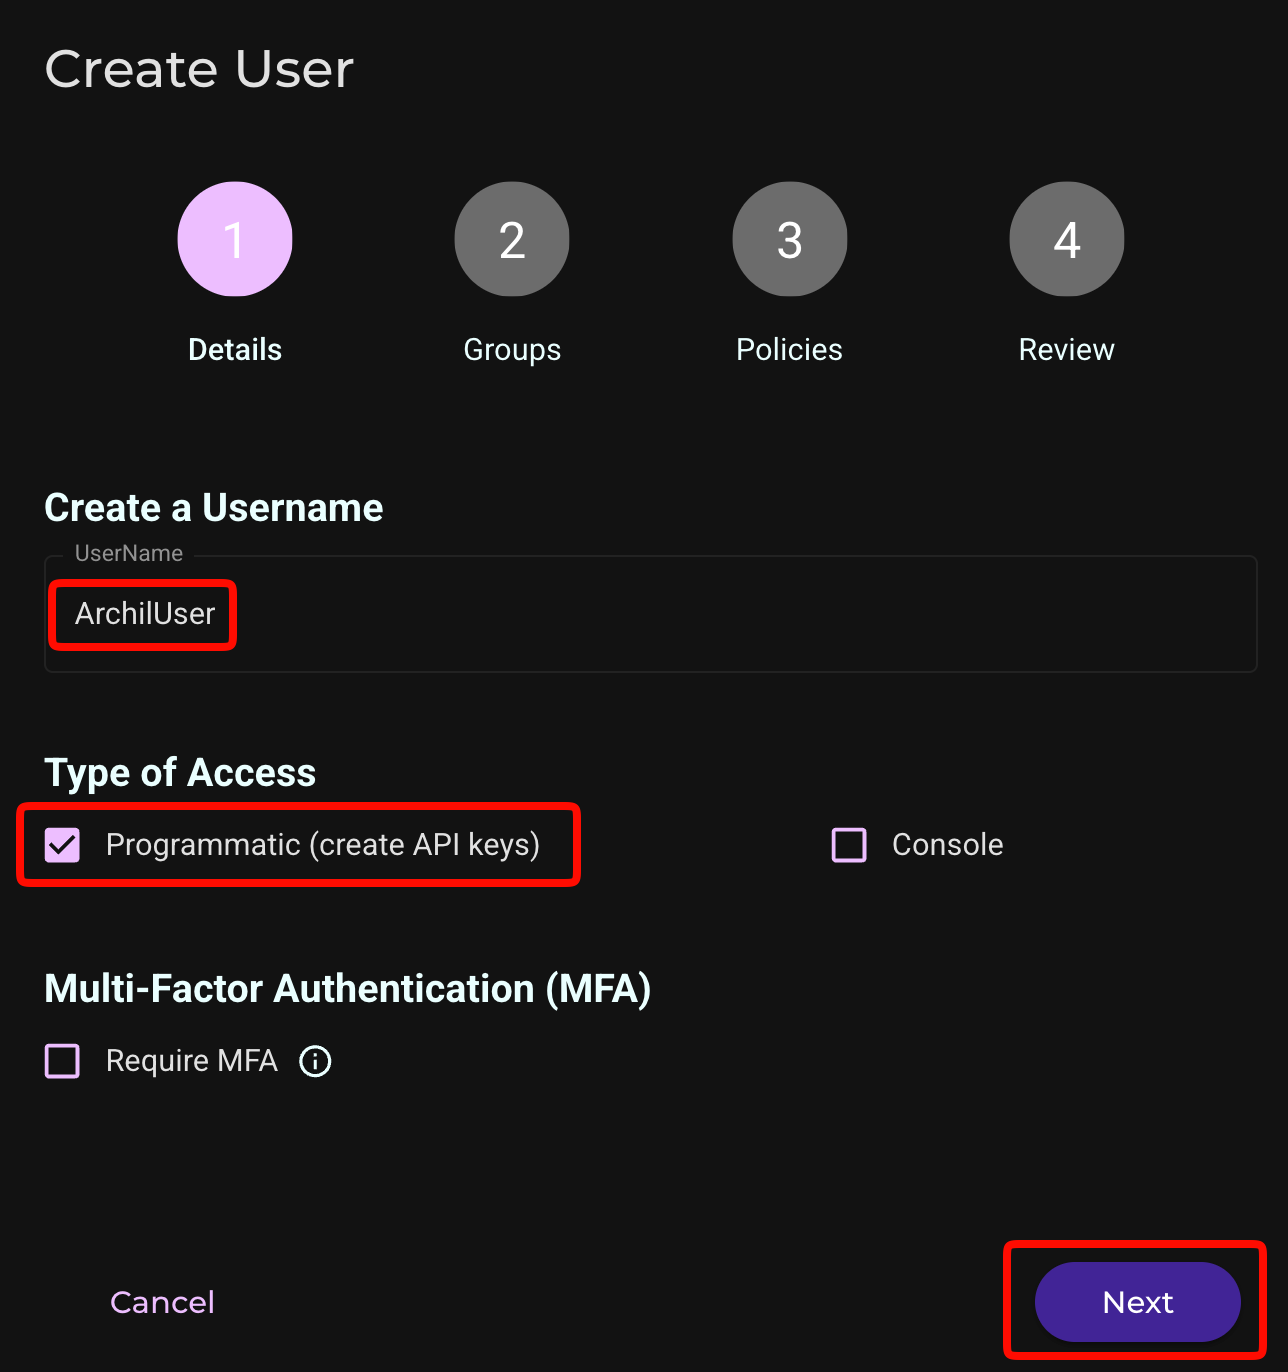
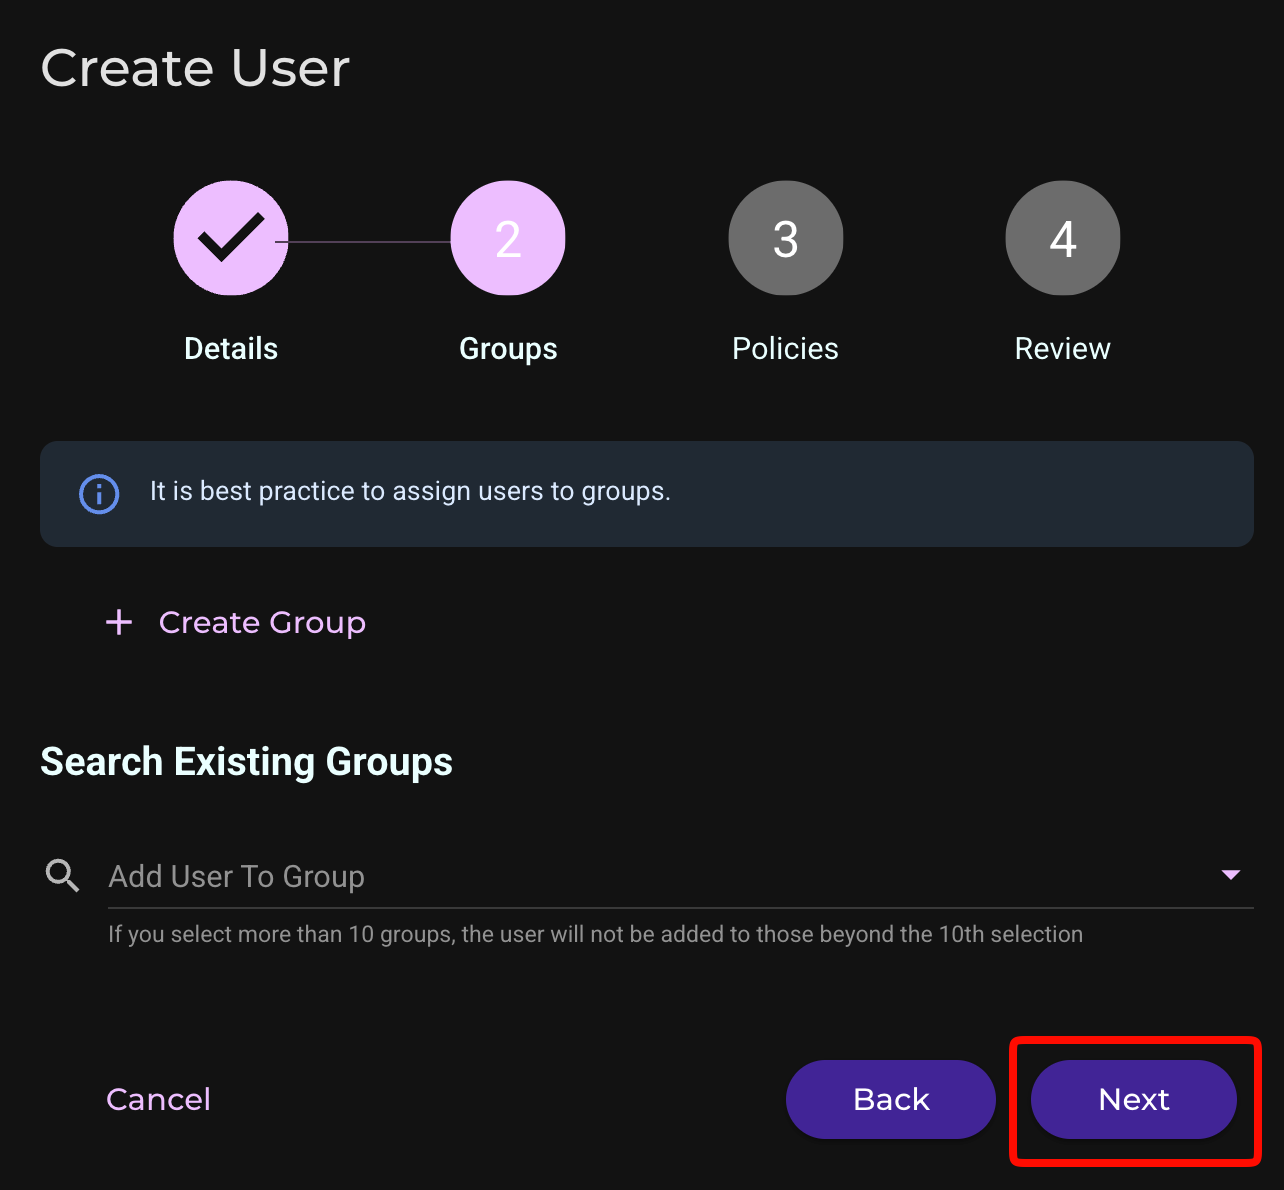
Optionally, assign a group.
Click Next.
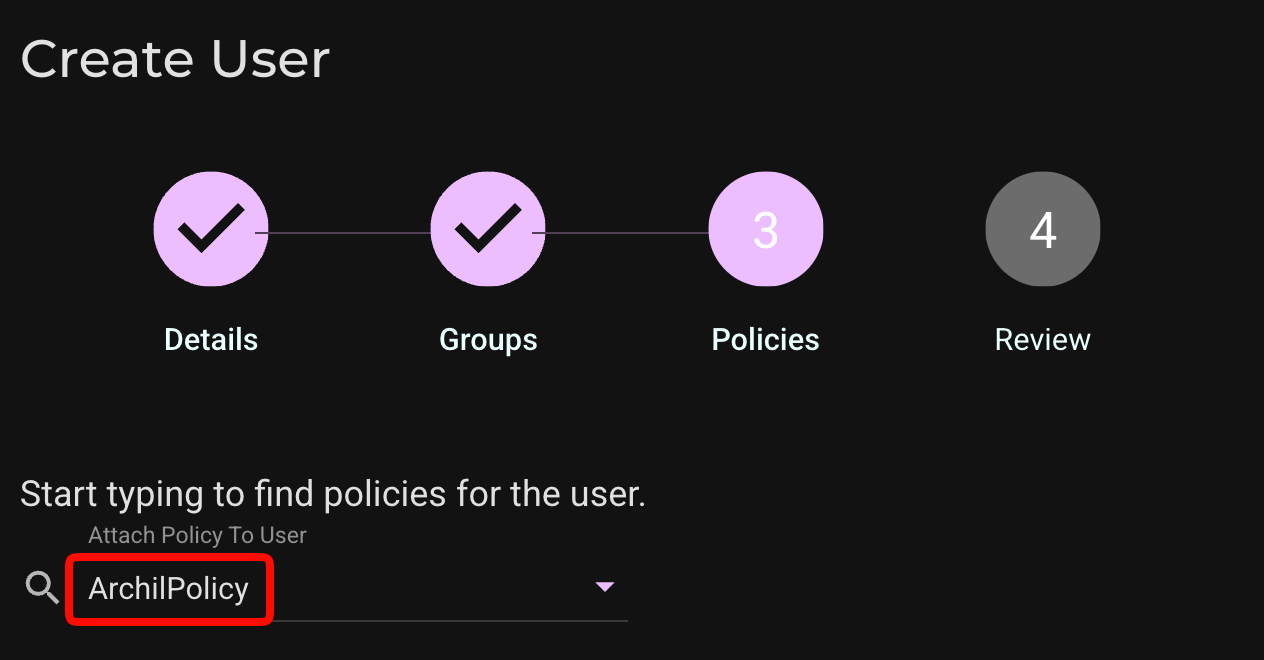
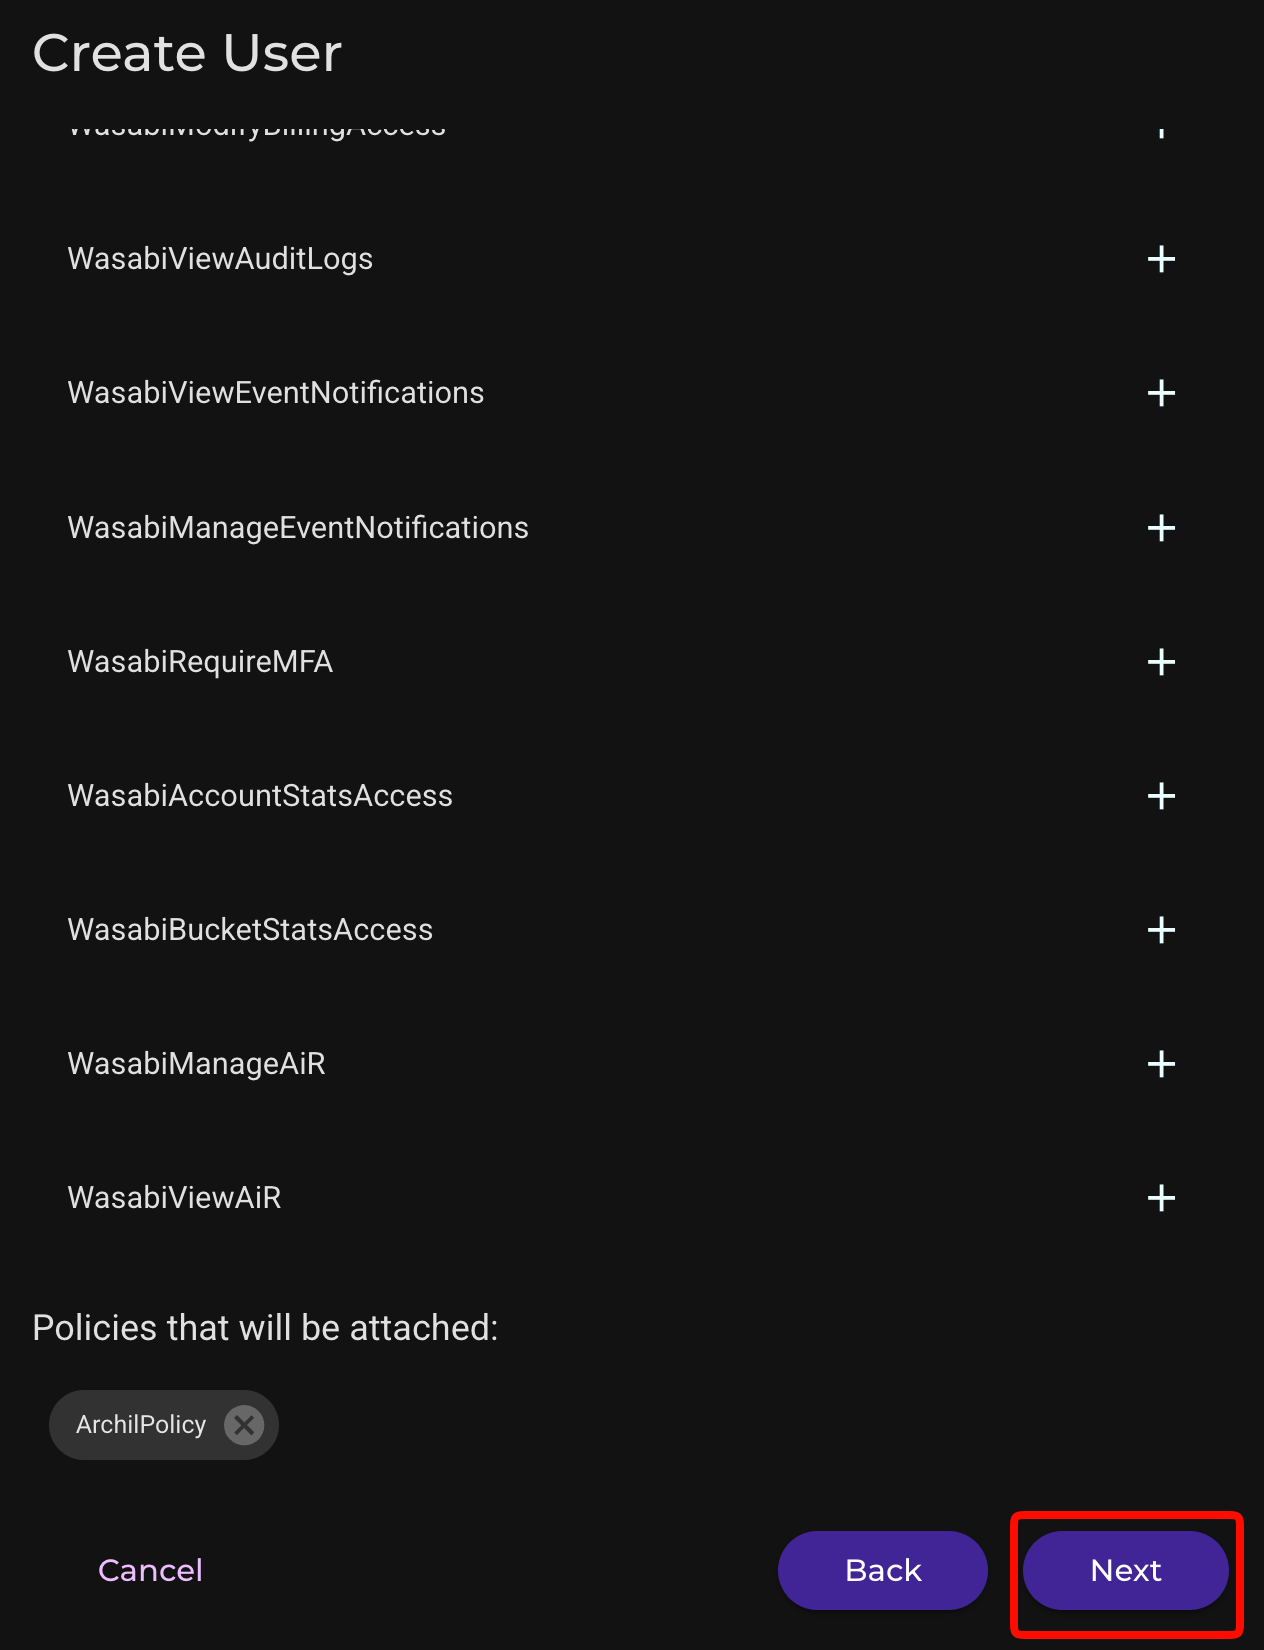
Select the previously created policy from the drop-down menu and scroll down.
Click Next.
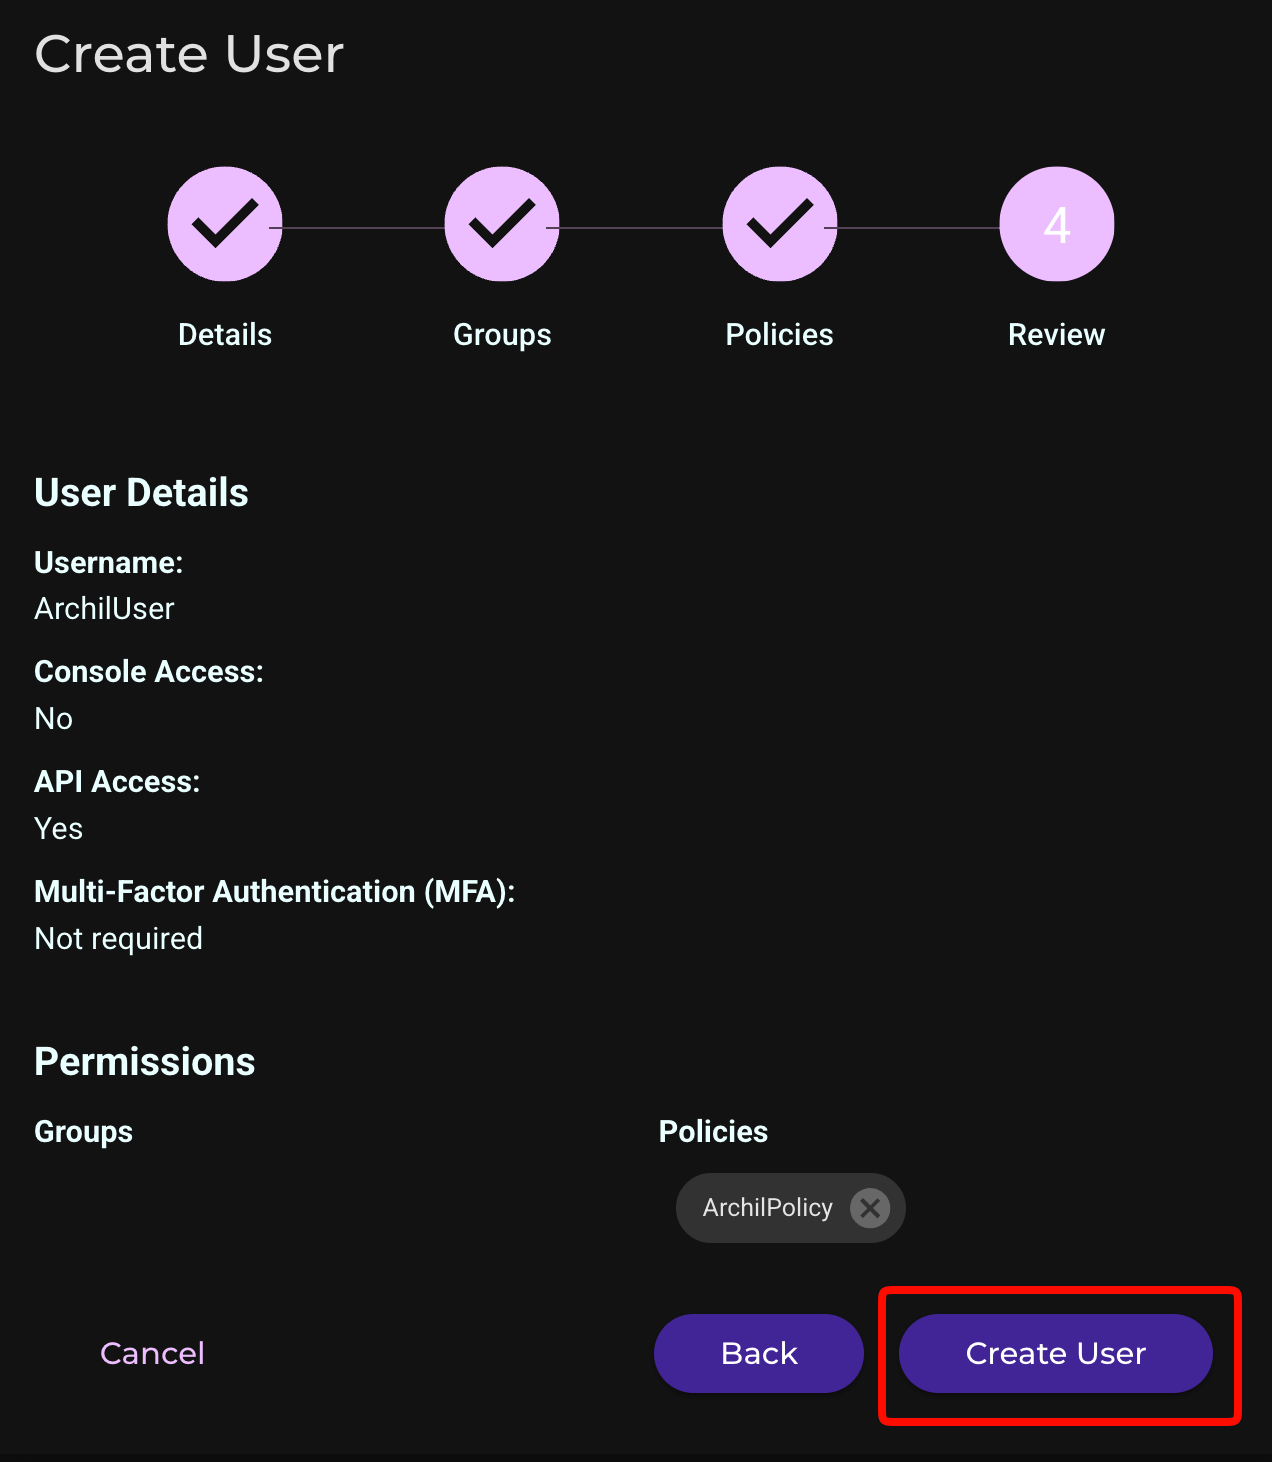
Click Create User.
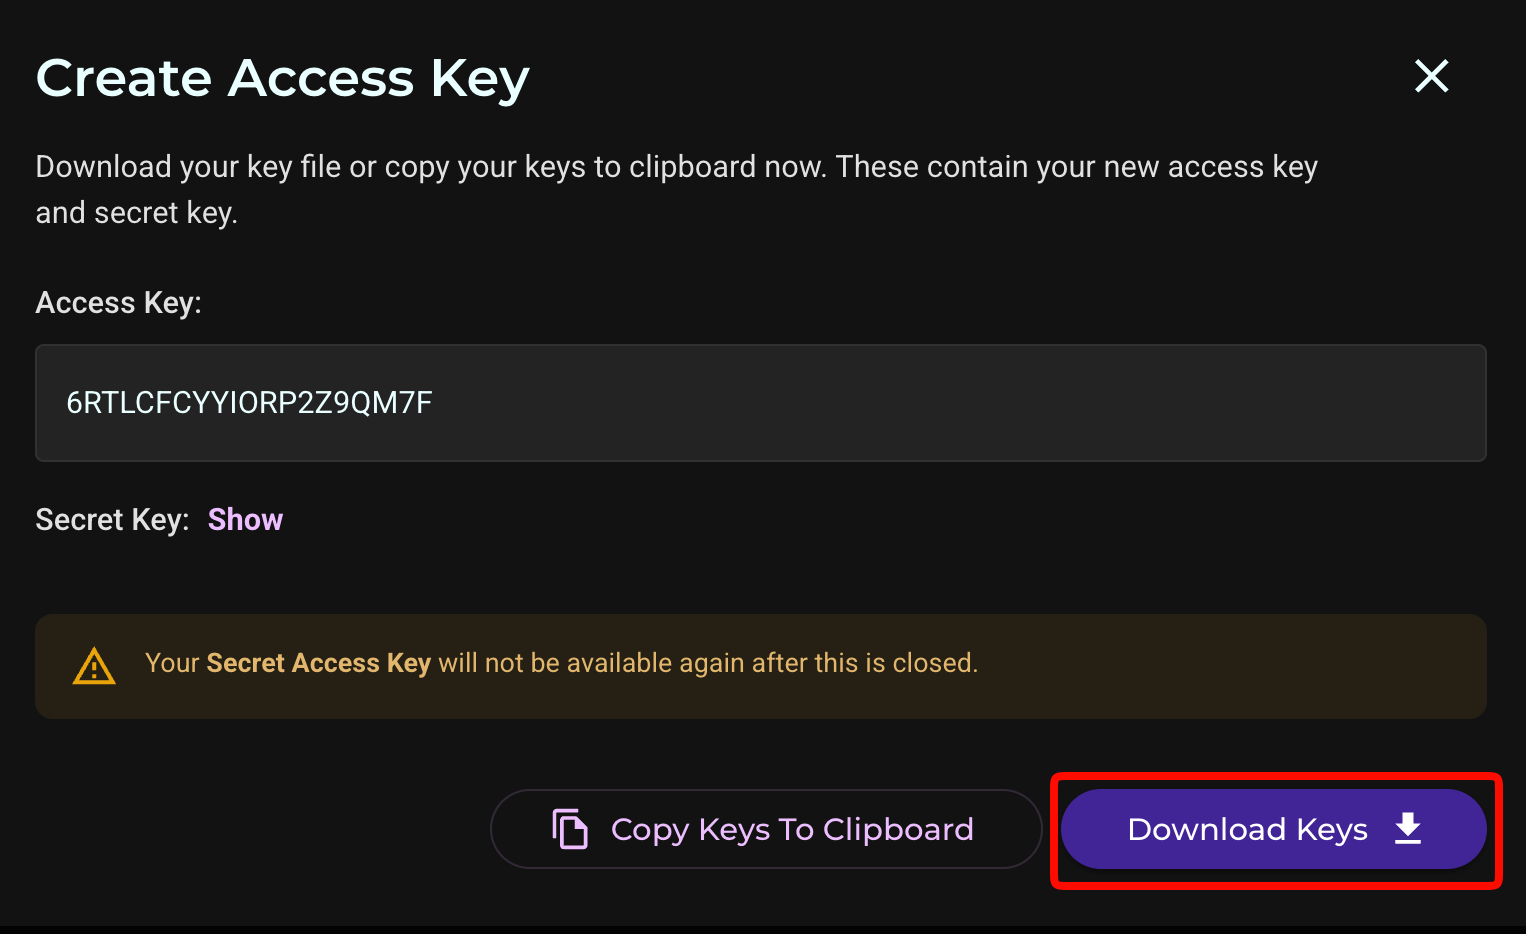
Click Download Keys. Be sure to save the keys in a safe location.
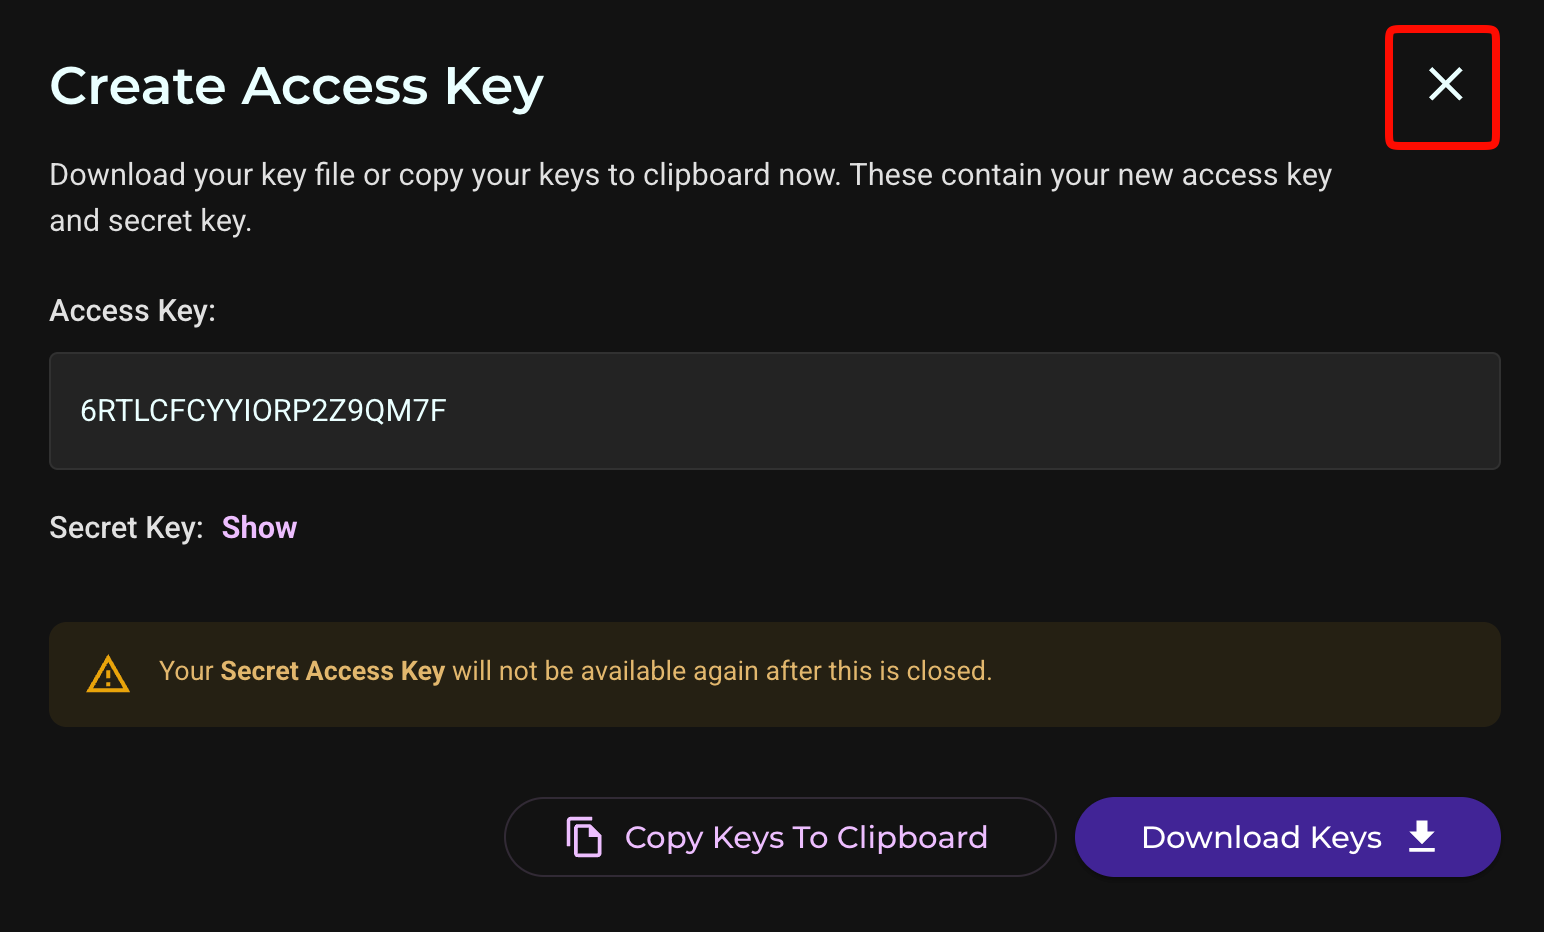
To close the window, click X.
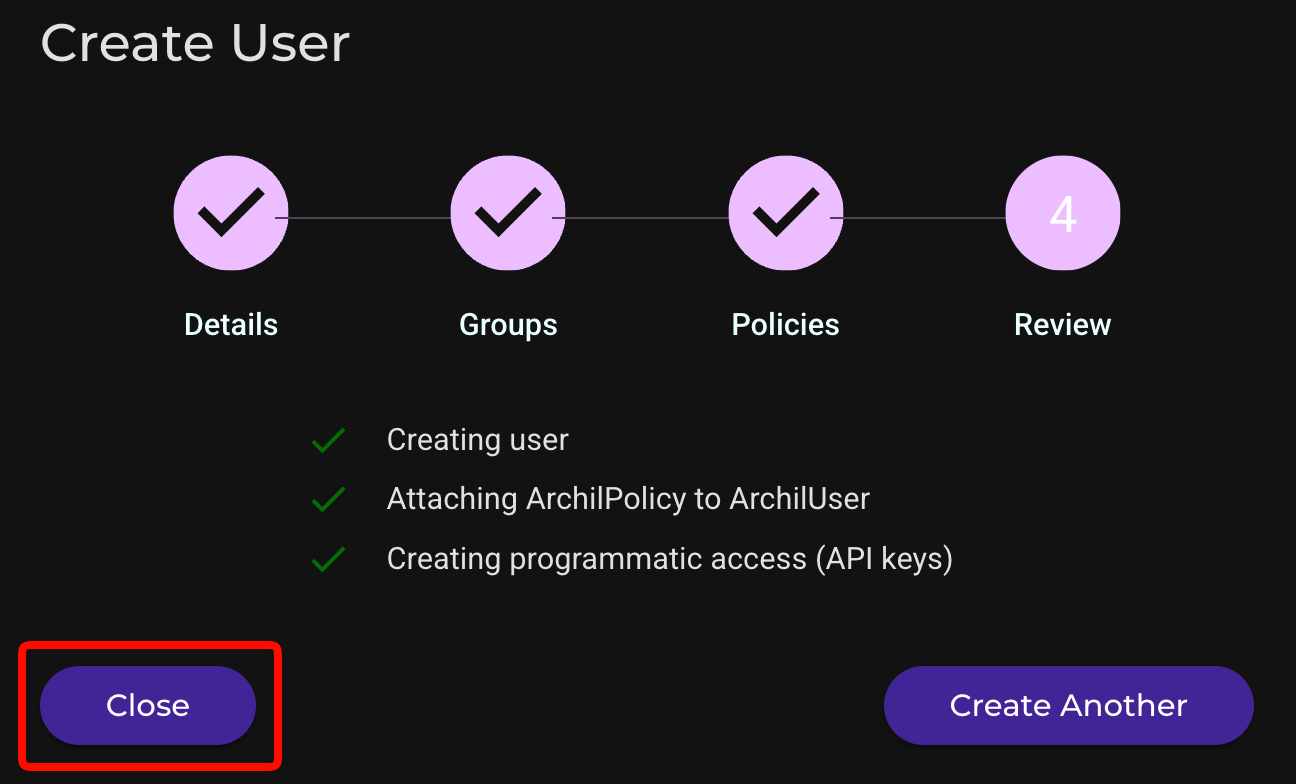
Click Close.
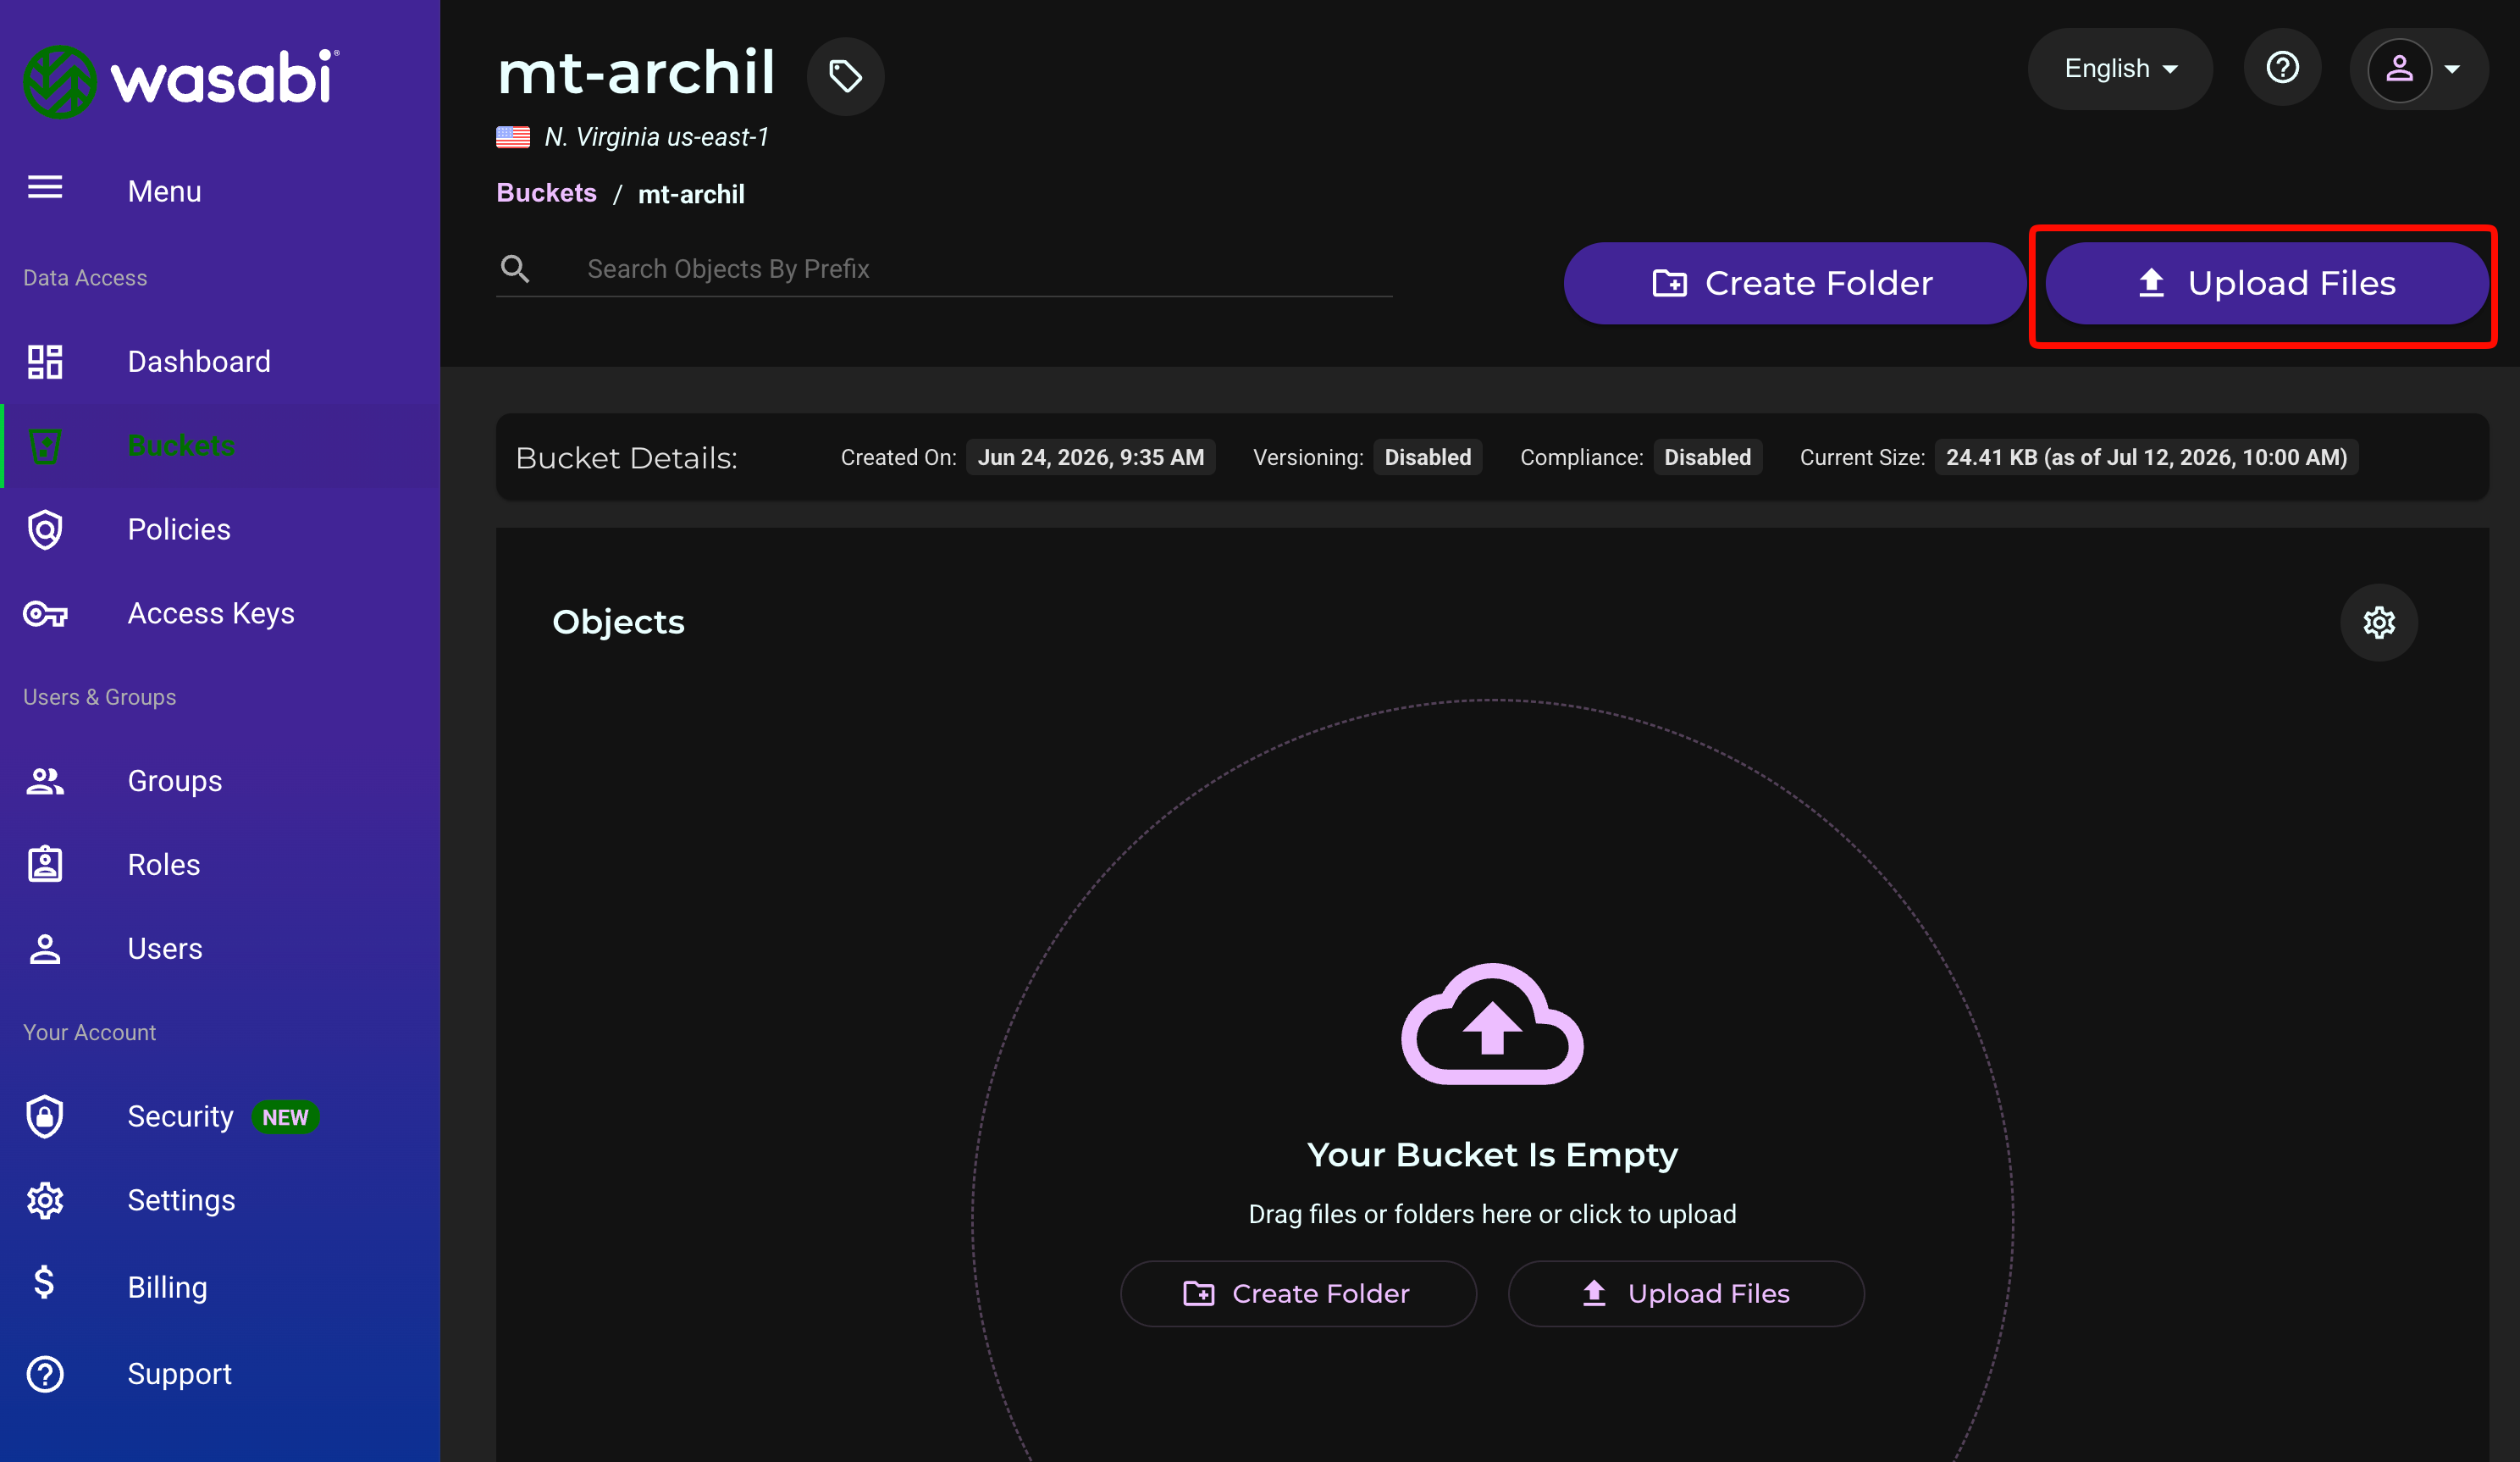
Click Buckets.
Select the name of your bucket.
.png)
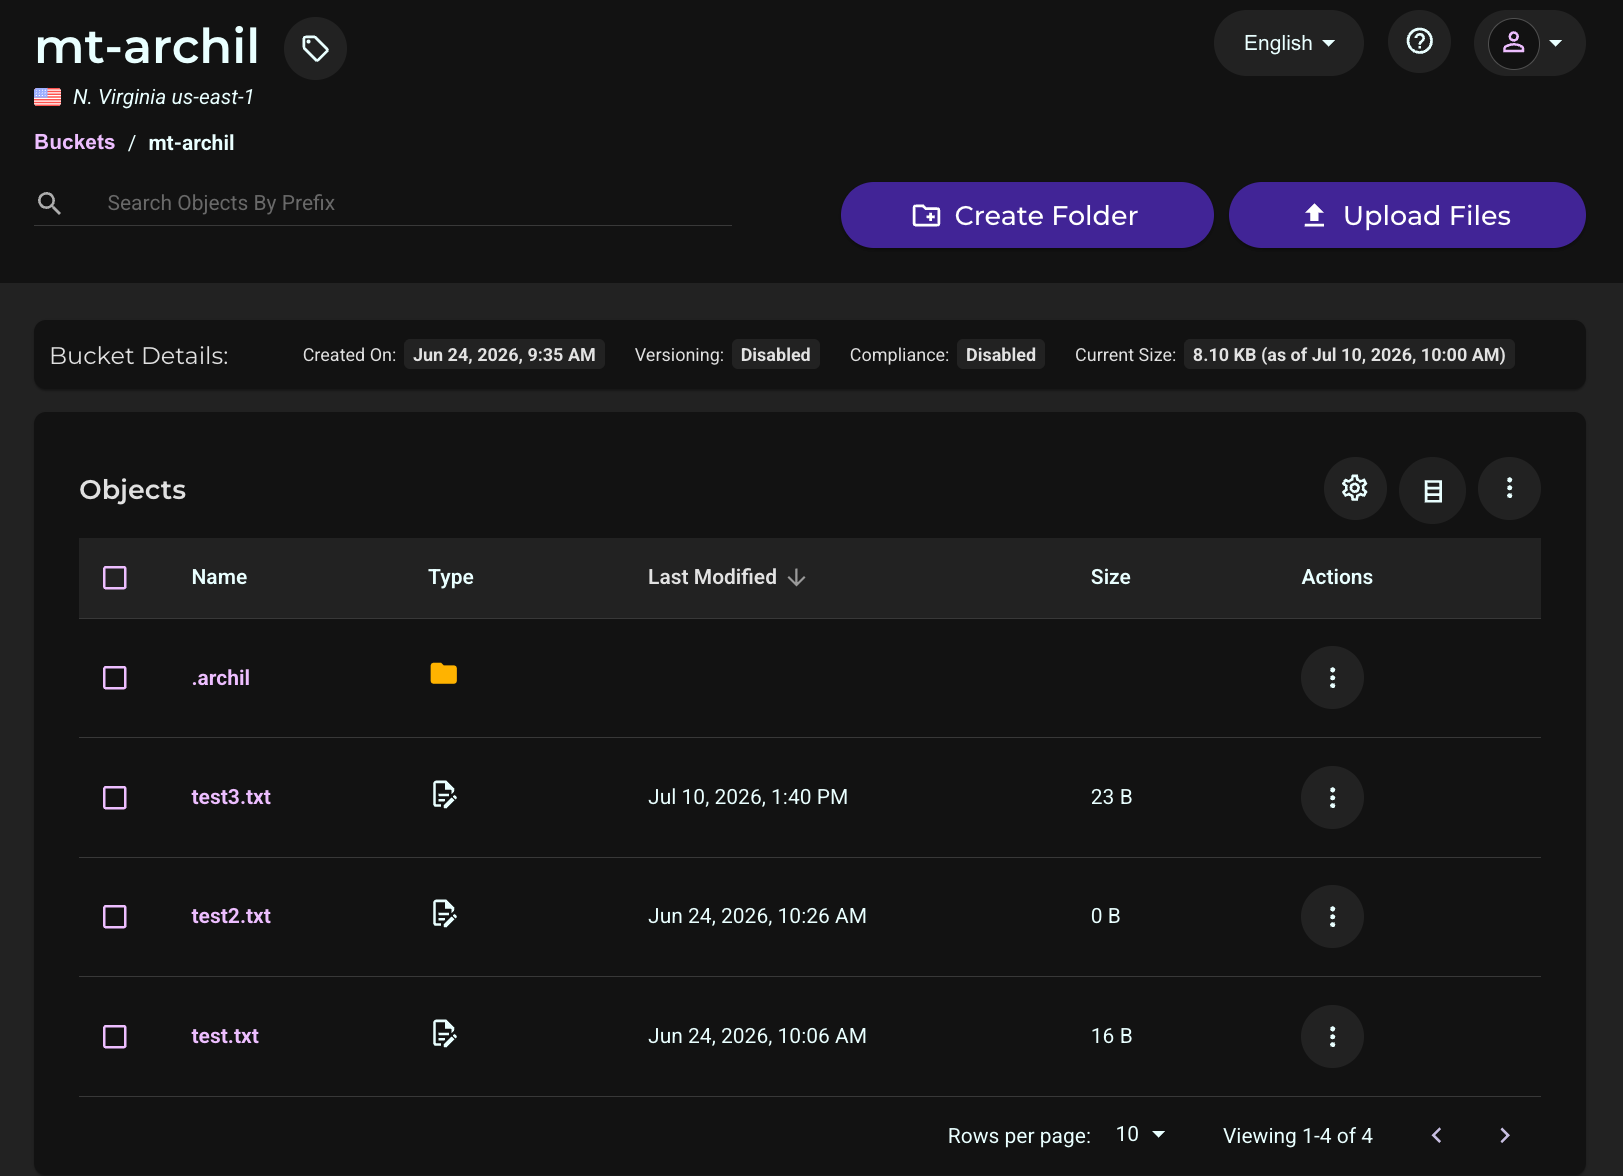
Click Upload Files and upload a test file to your bucket.
Configuring Archil
Log in to the Archil Console.
Click Disks.
Click Create your first disk.
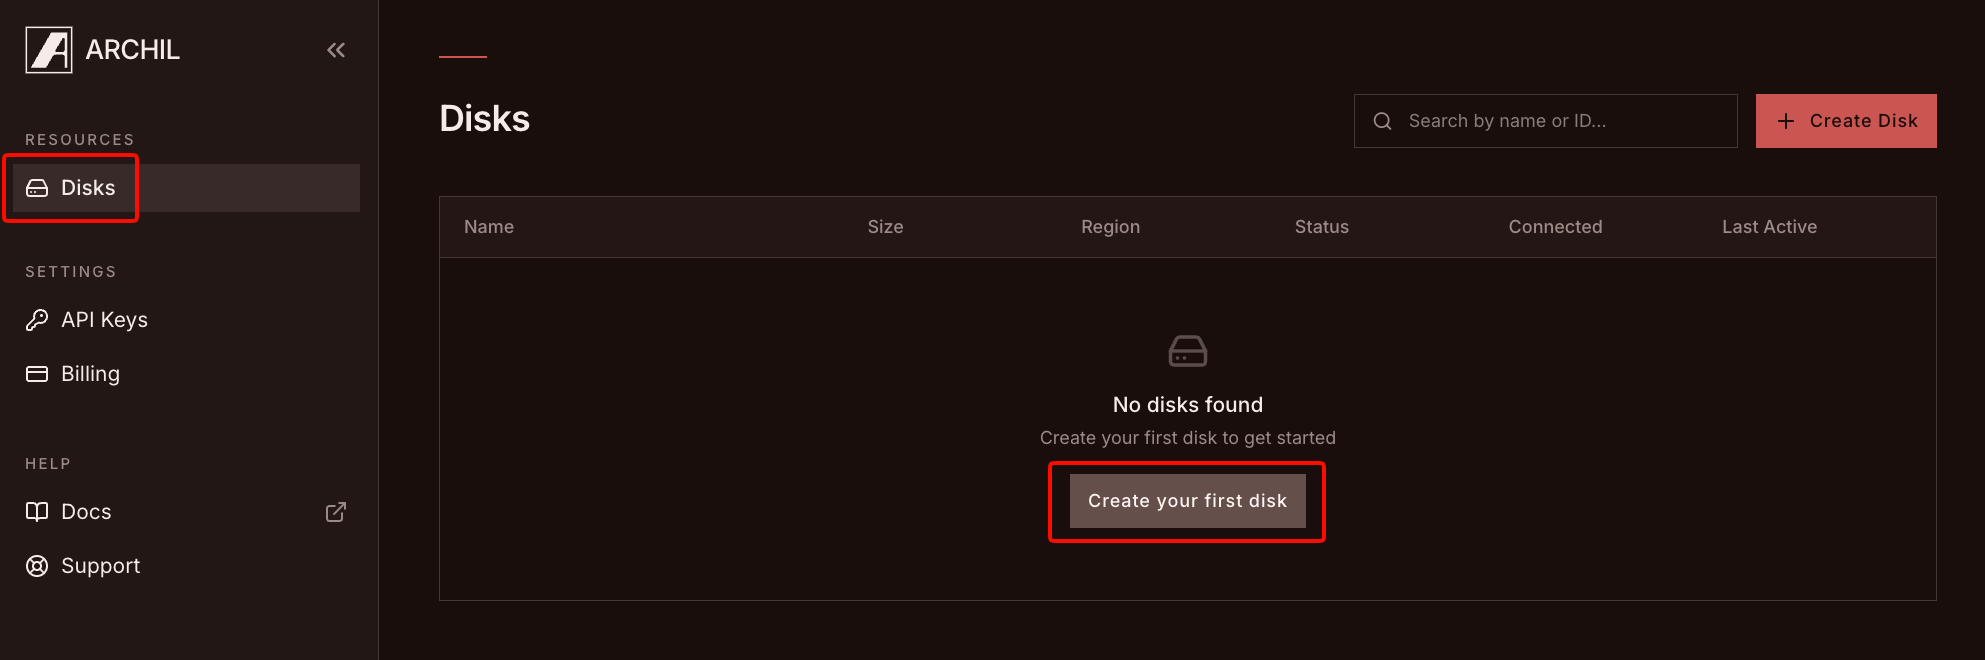
Optionally, if you have already created a disk, click Create Disk.
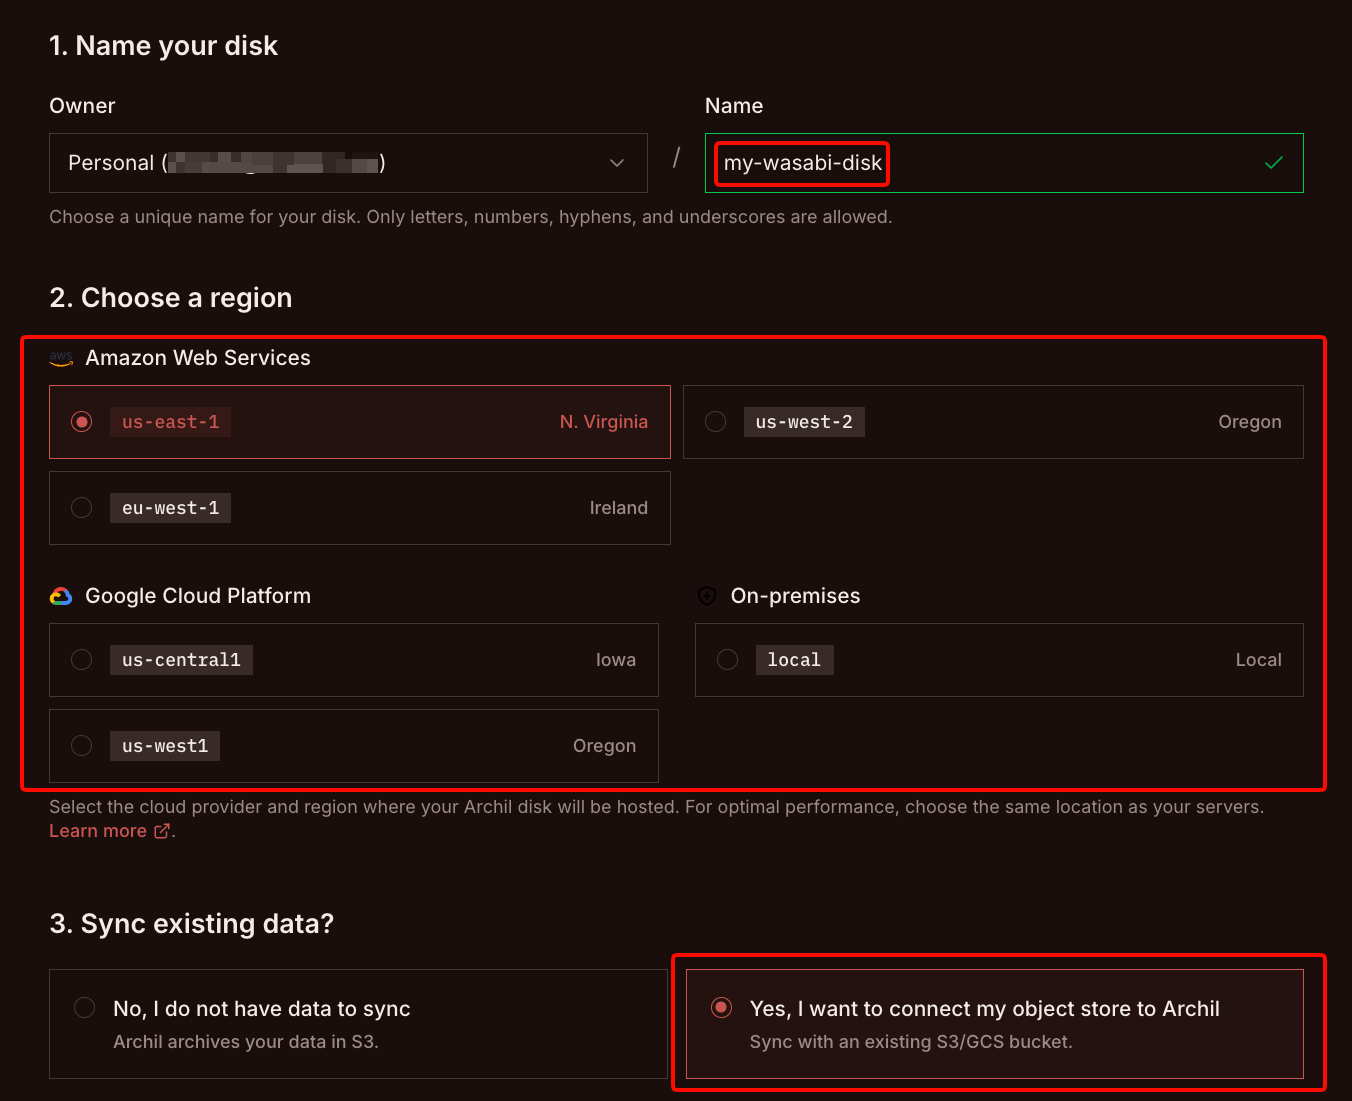
Enter a name for the disk.
Select the AWS or Google Cloud Platform region where your Archil disk will be hosted.
Select the radio button next to Yes, I want to connect my object store to Archil. Scroll down.
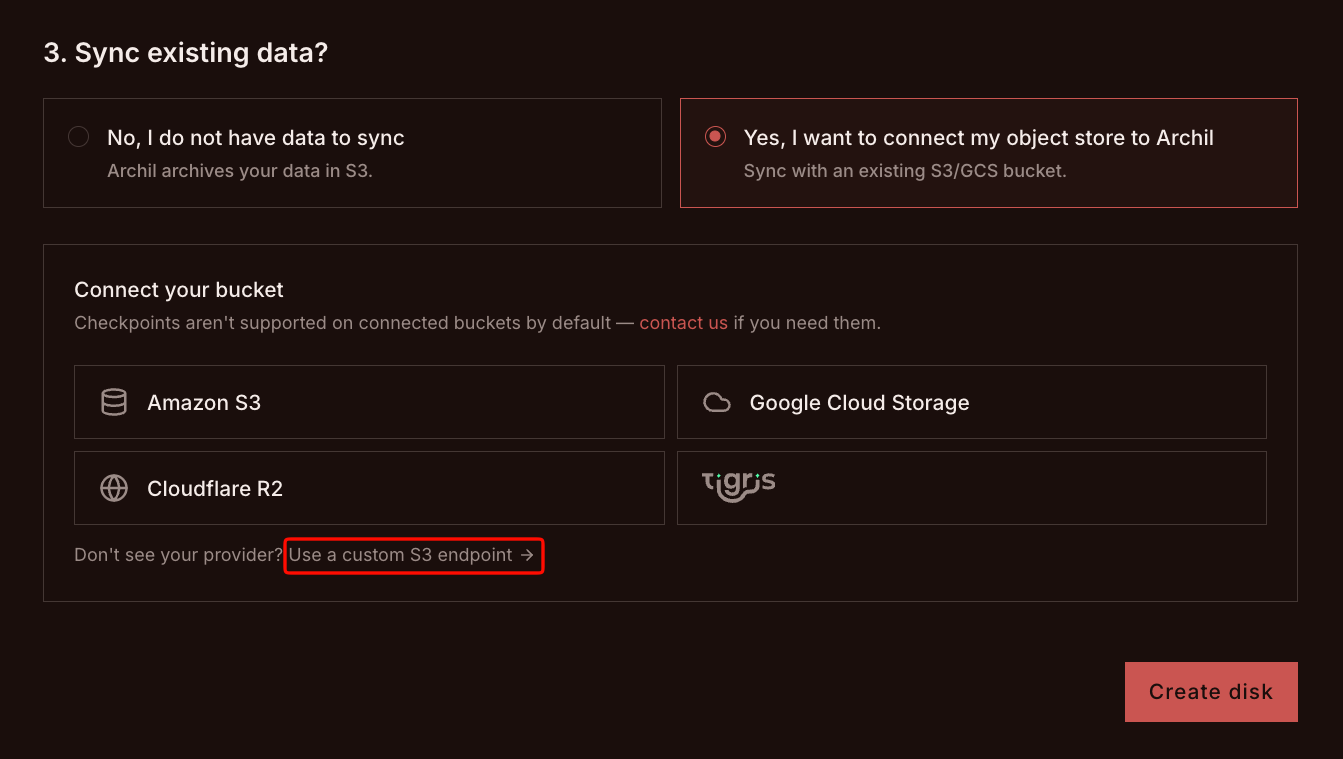
Click Use a custom S3 endpoint.
Enter the following information.
Your Wasabi bucket name.
The endpoint URL for where your bucket is located.
This configuration example uses Wasabi's us-east-1 storage region. To use another Wasabi storage region, use the appropriate URL in Service URLs for Wasabi's Storage Regions. Use the URL for the region where your bucket is located.
The Wasabi region for your bucket.
Your Wasabi access key.
Your Wasabi secret key.
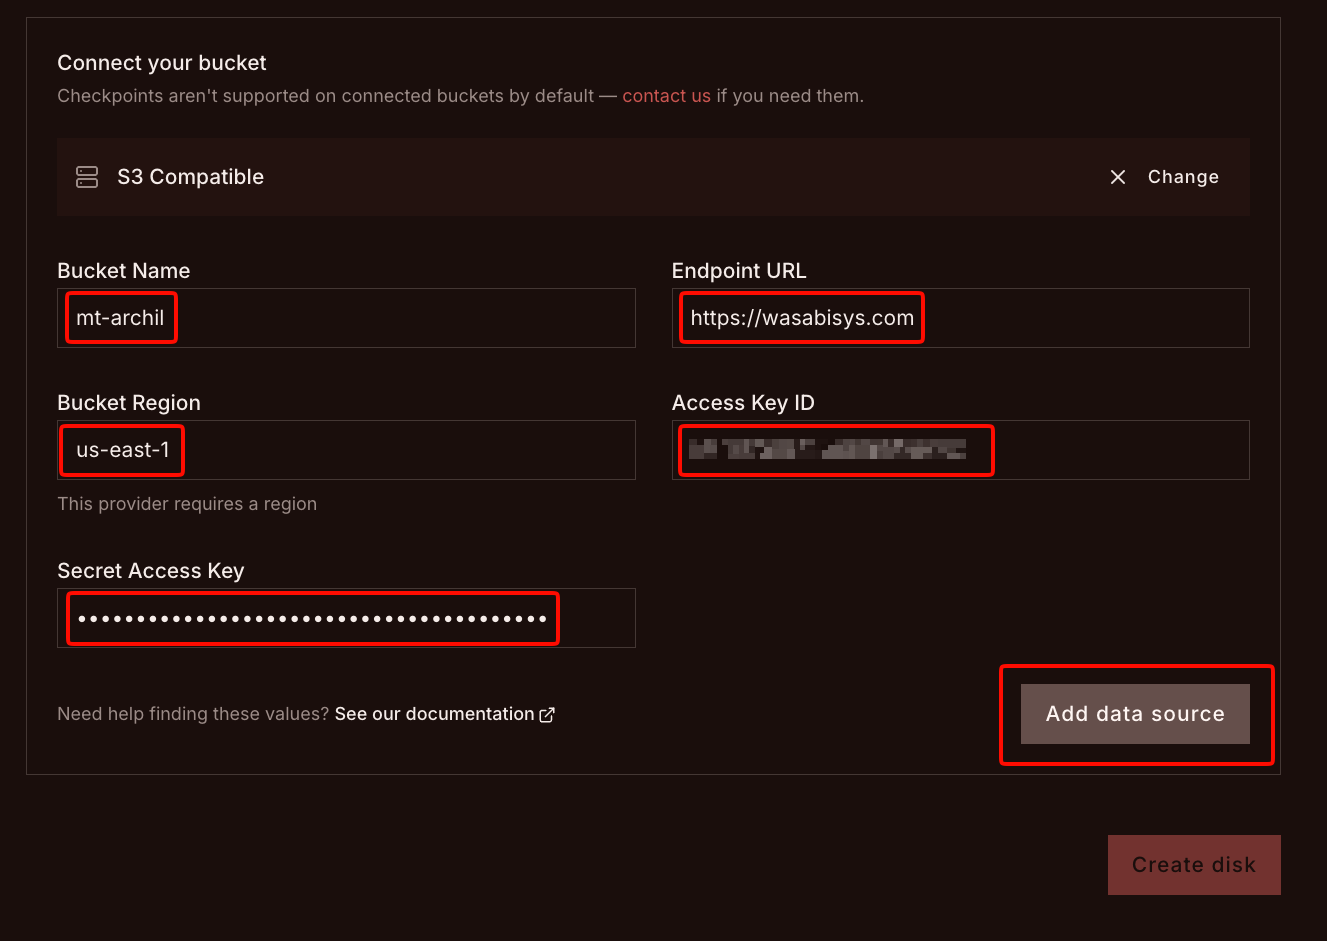
Click Add data source.
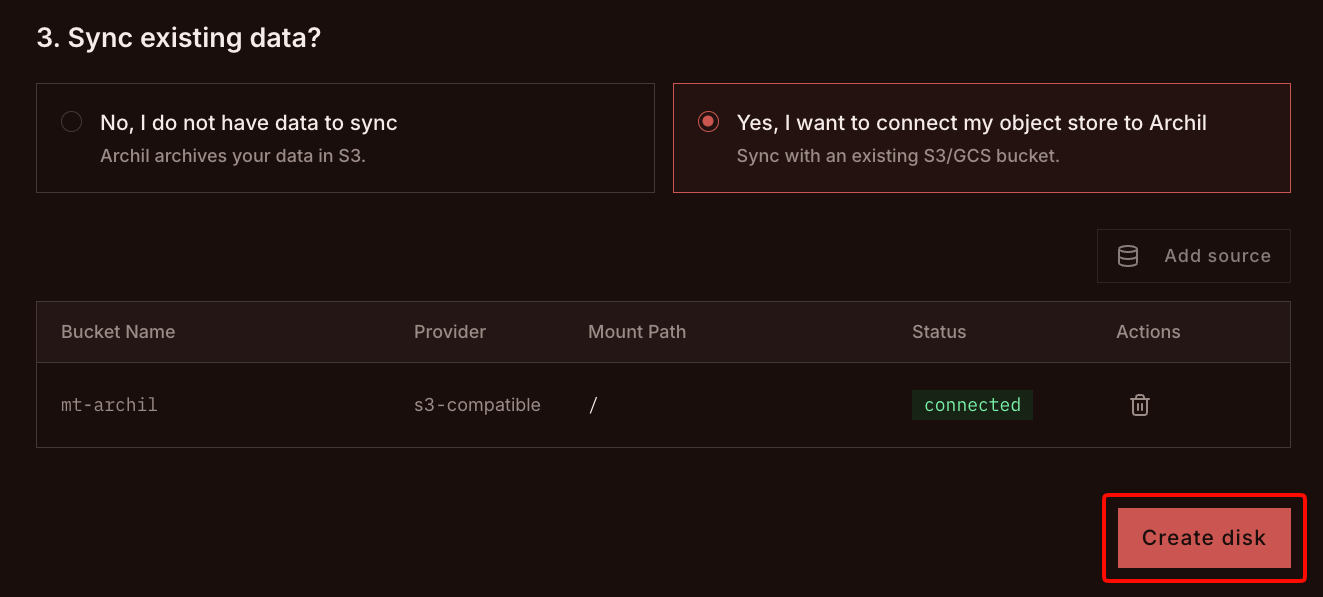
The Status should show connected. Click Create disk.
Follow the instructions on the next page of the Archil console, which will guide you through how to install the Archil client, mount your disk, and start using it. You may need to create the /mnt/archil directory using the
sudo mkdir /mnt/archilcommand on a Linux system. If you get a “permission denied” error when running thelscommand, change the ownership of /mnt/archil. On a Linux system, an example command would besudo chown user:group /mnt/archilwhere “user” and “group” represent your local user and group, respectively.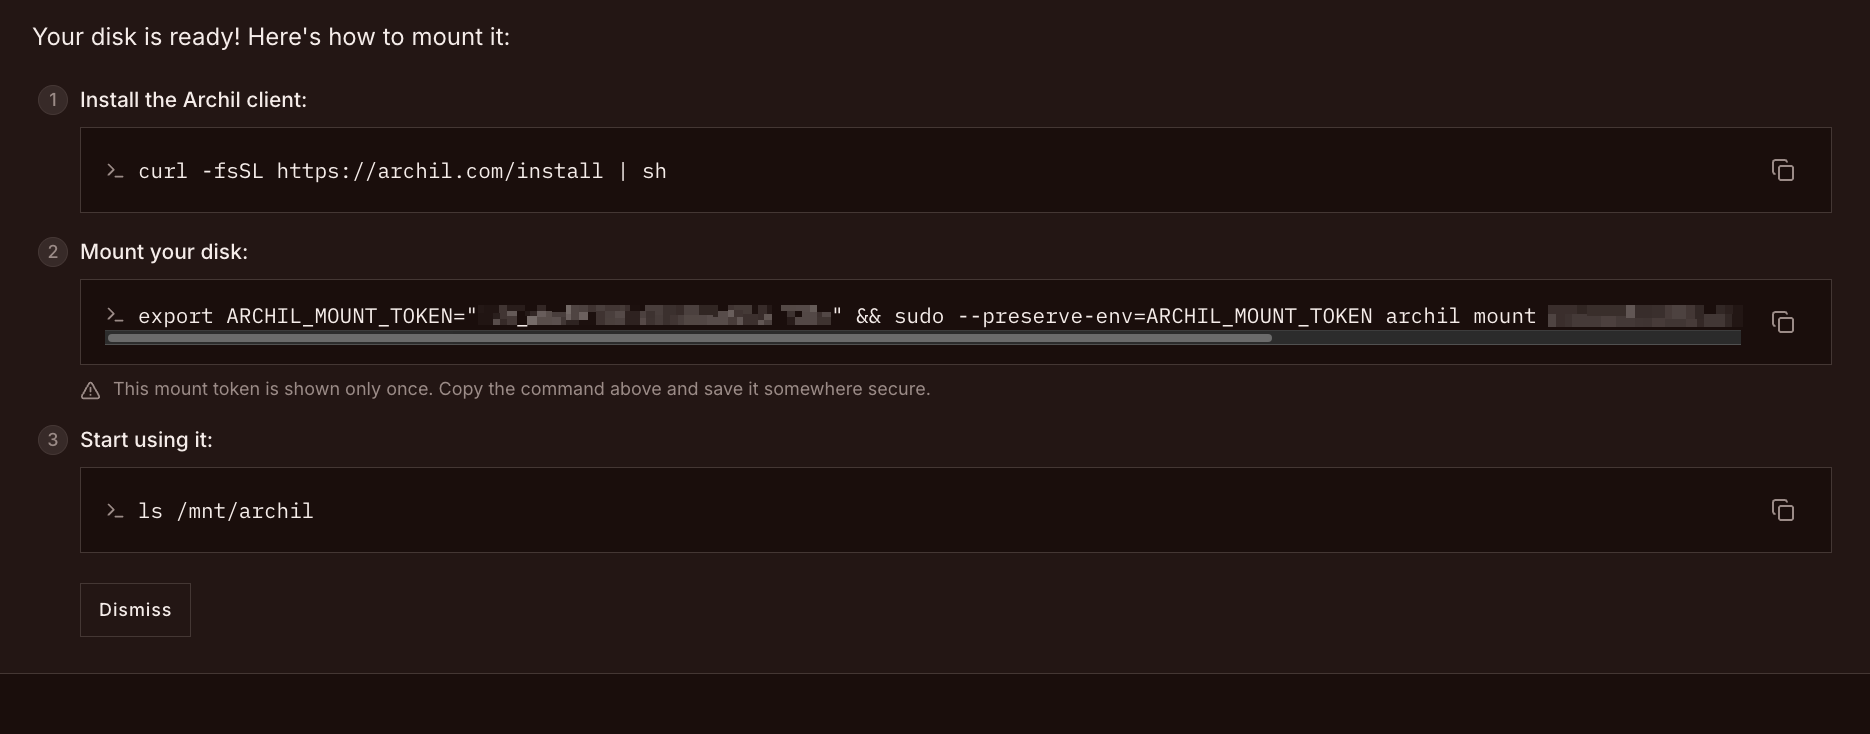
An example of running these commands on a Linux system is shown below. You will see your test file(s) in the output of the
lscommand..png)
Verifying Data in Wasabi and Archil
Log in to the Wasabi Console (console.wasabisys.com).
Click Buckets.
Select the name of your bucket.
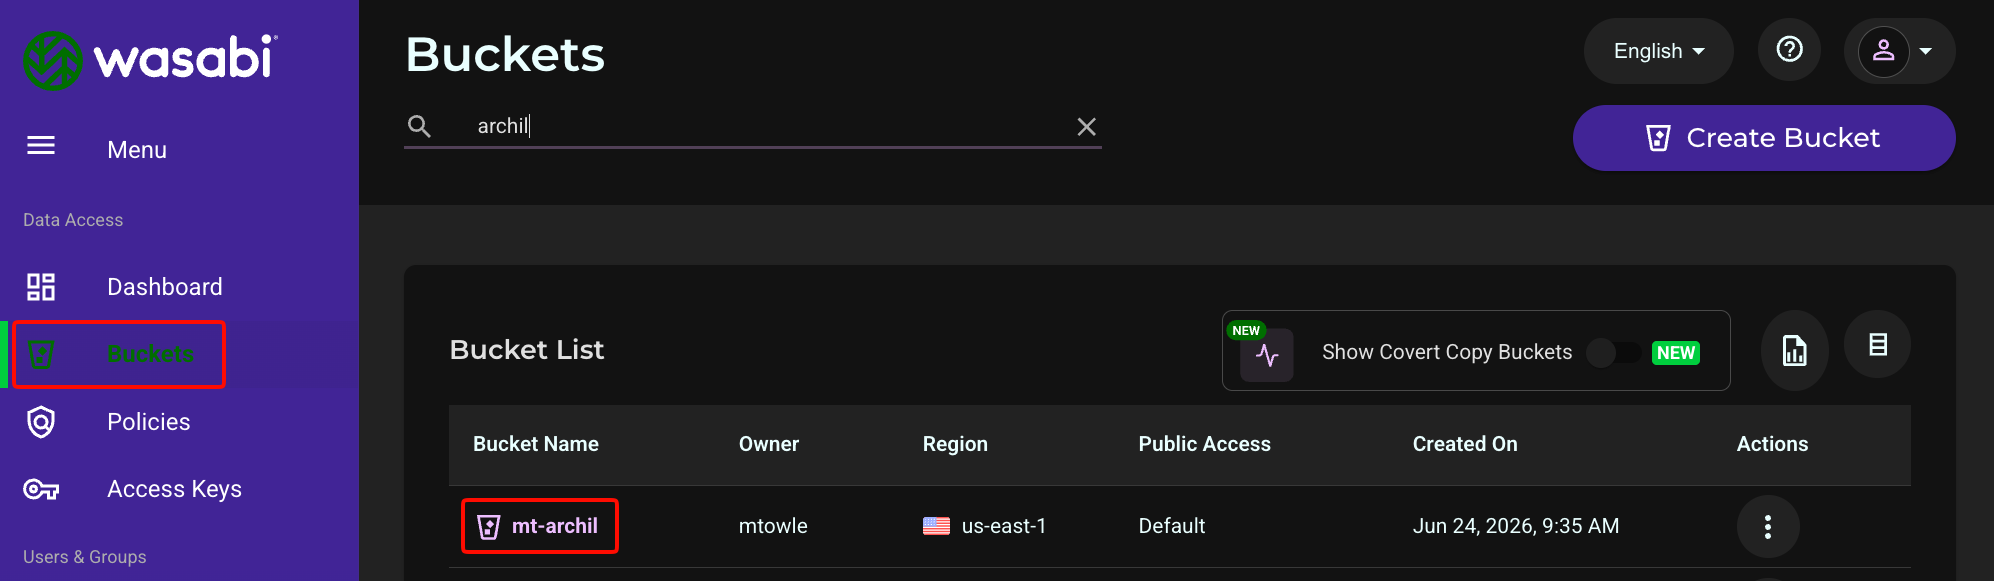
You will see your test file(s) in the bucket.
Log in to the Archil Console.
Click the Disks icon.
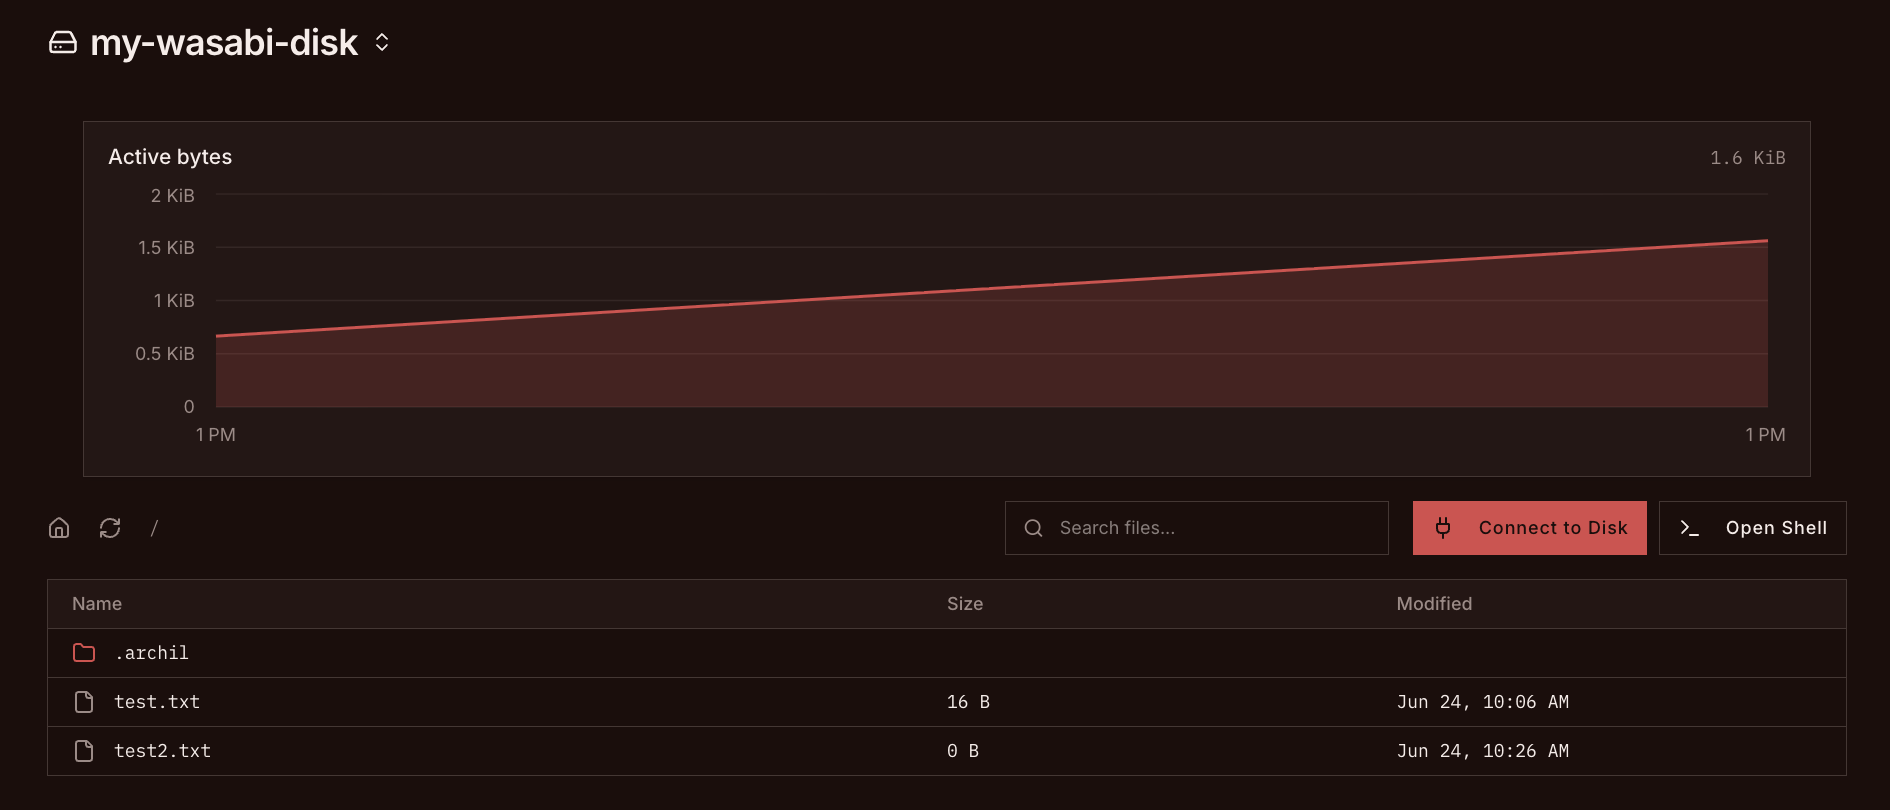
Select the name of your Wasabi disk.
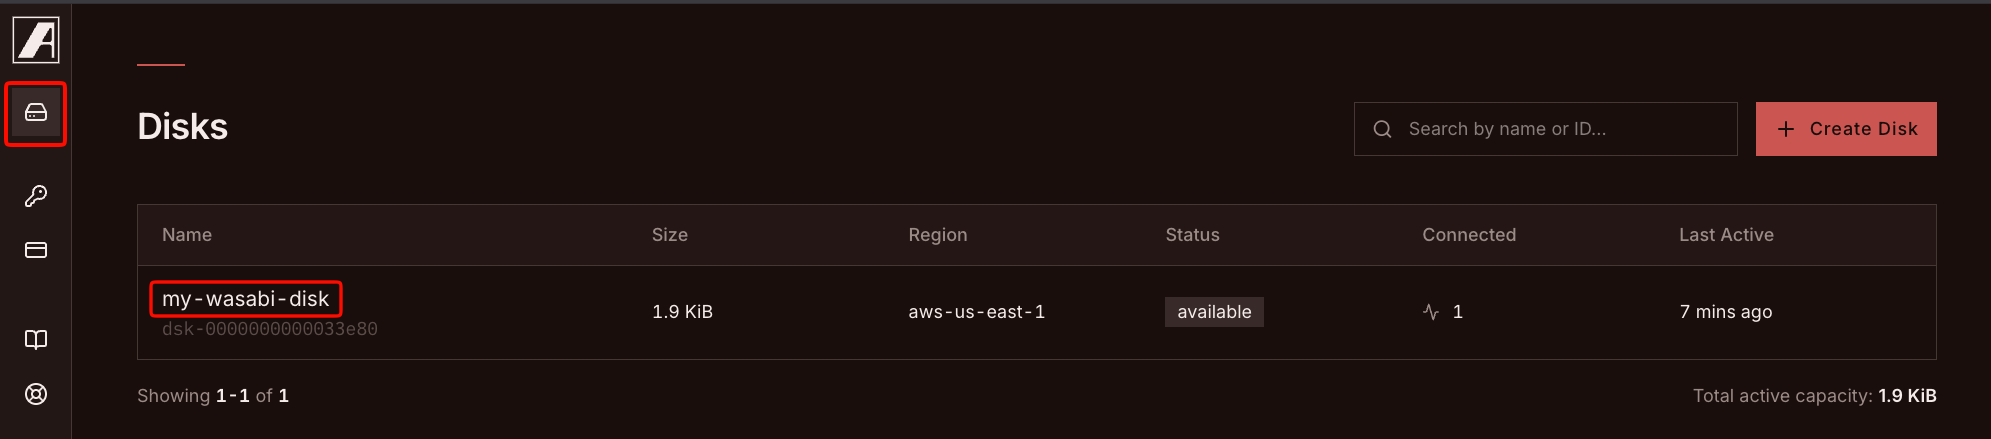
You will see your test file(s) on the disk.