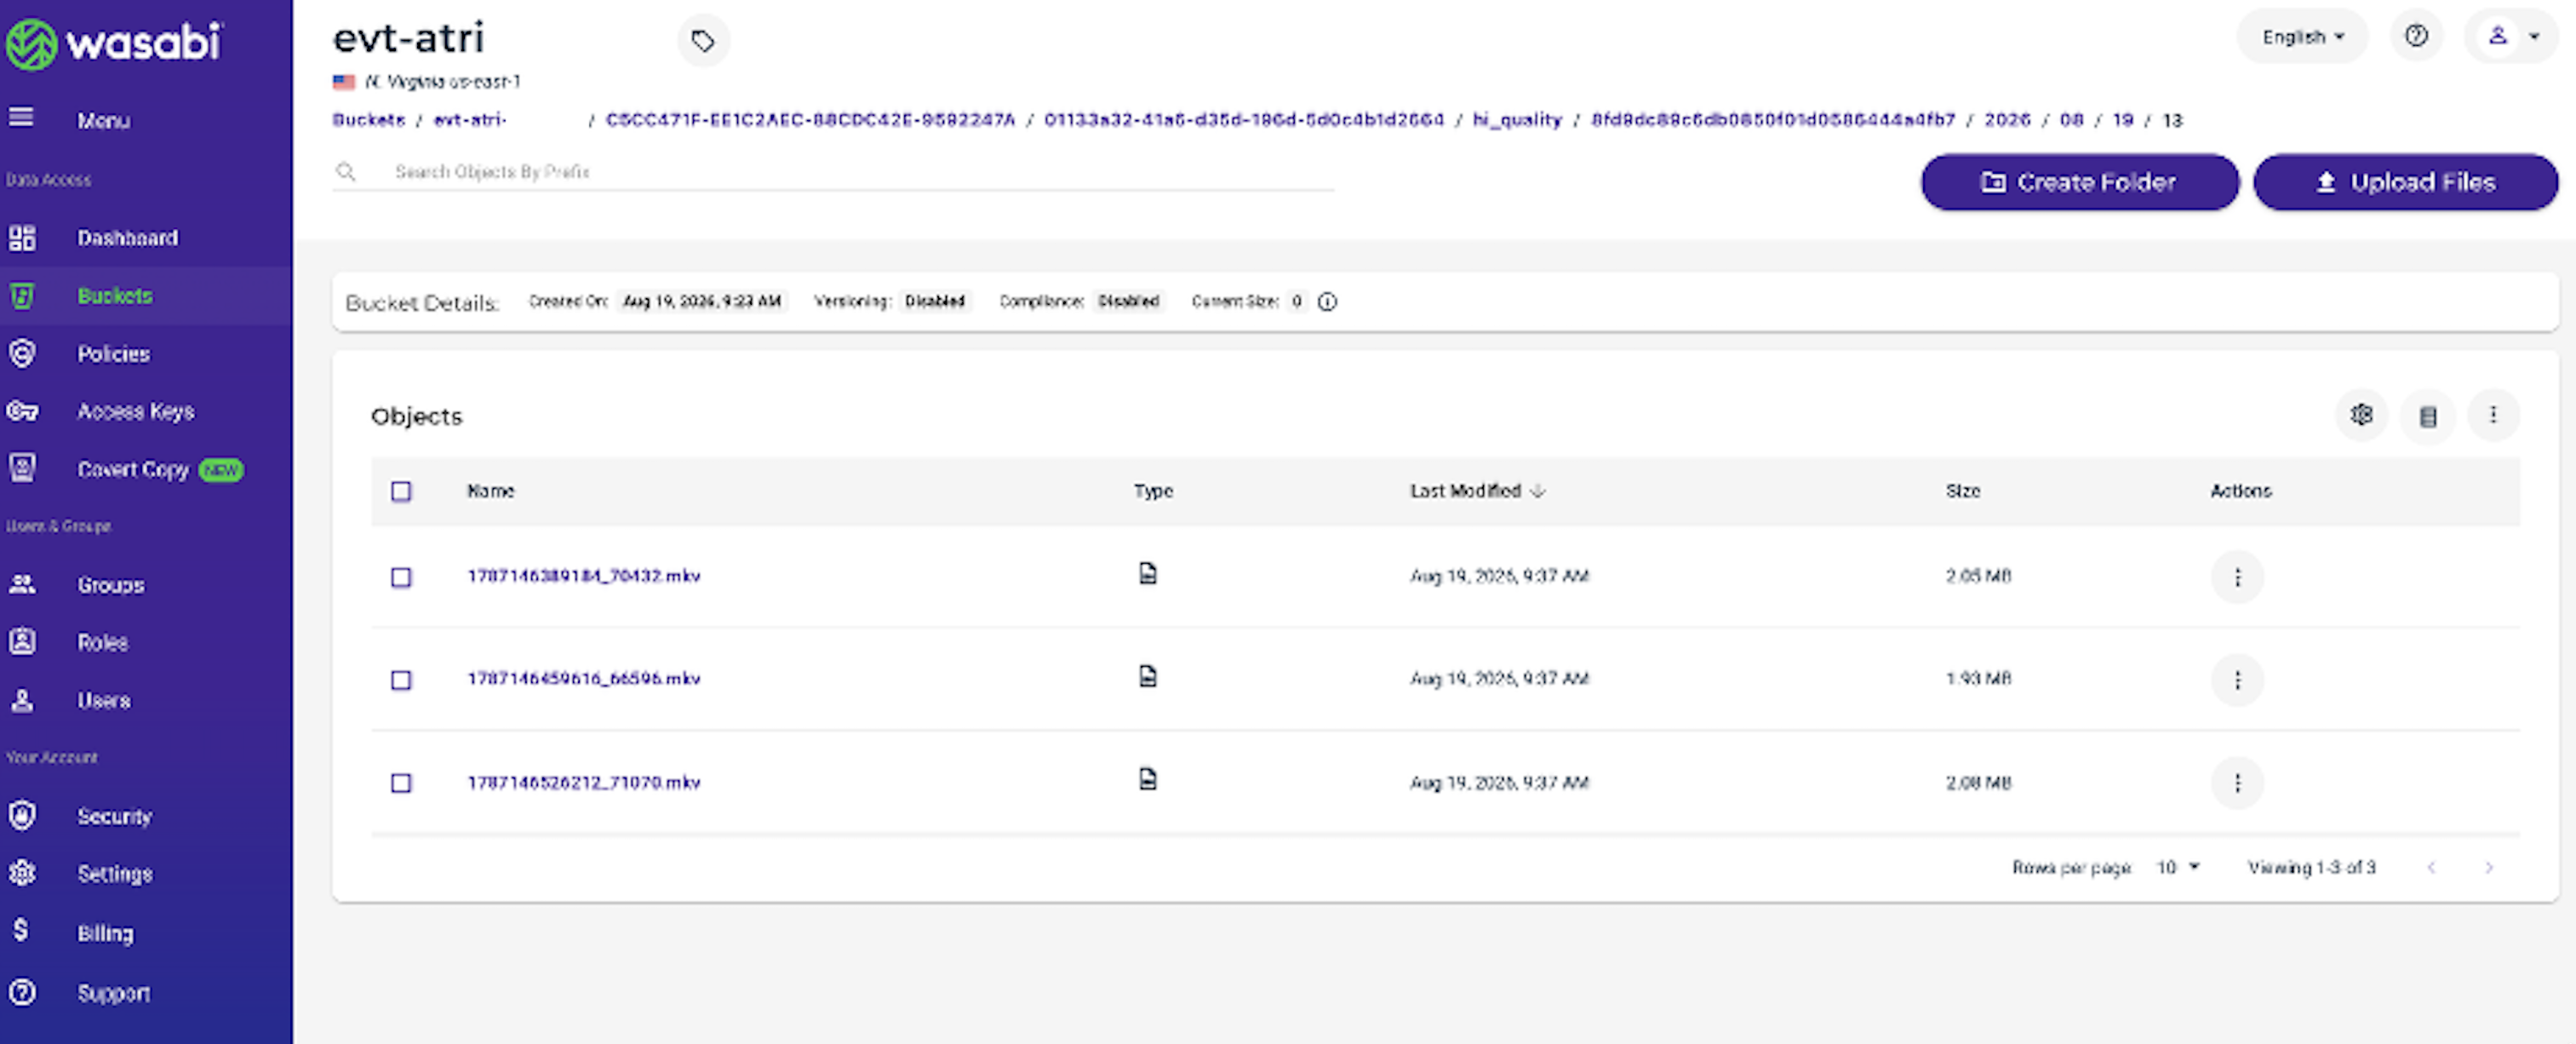
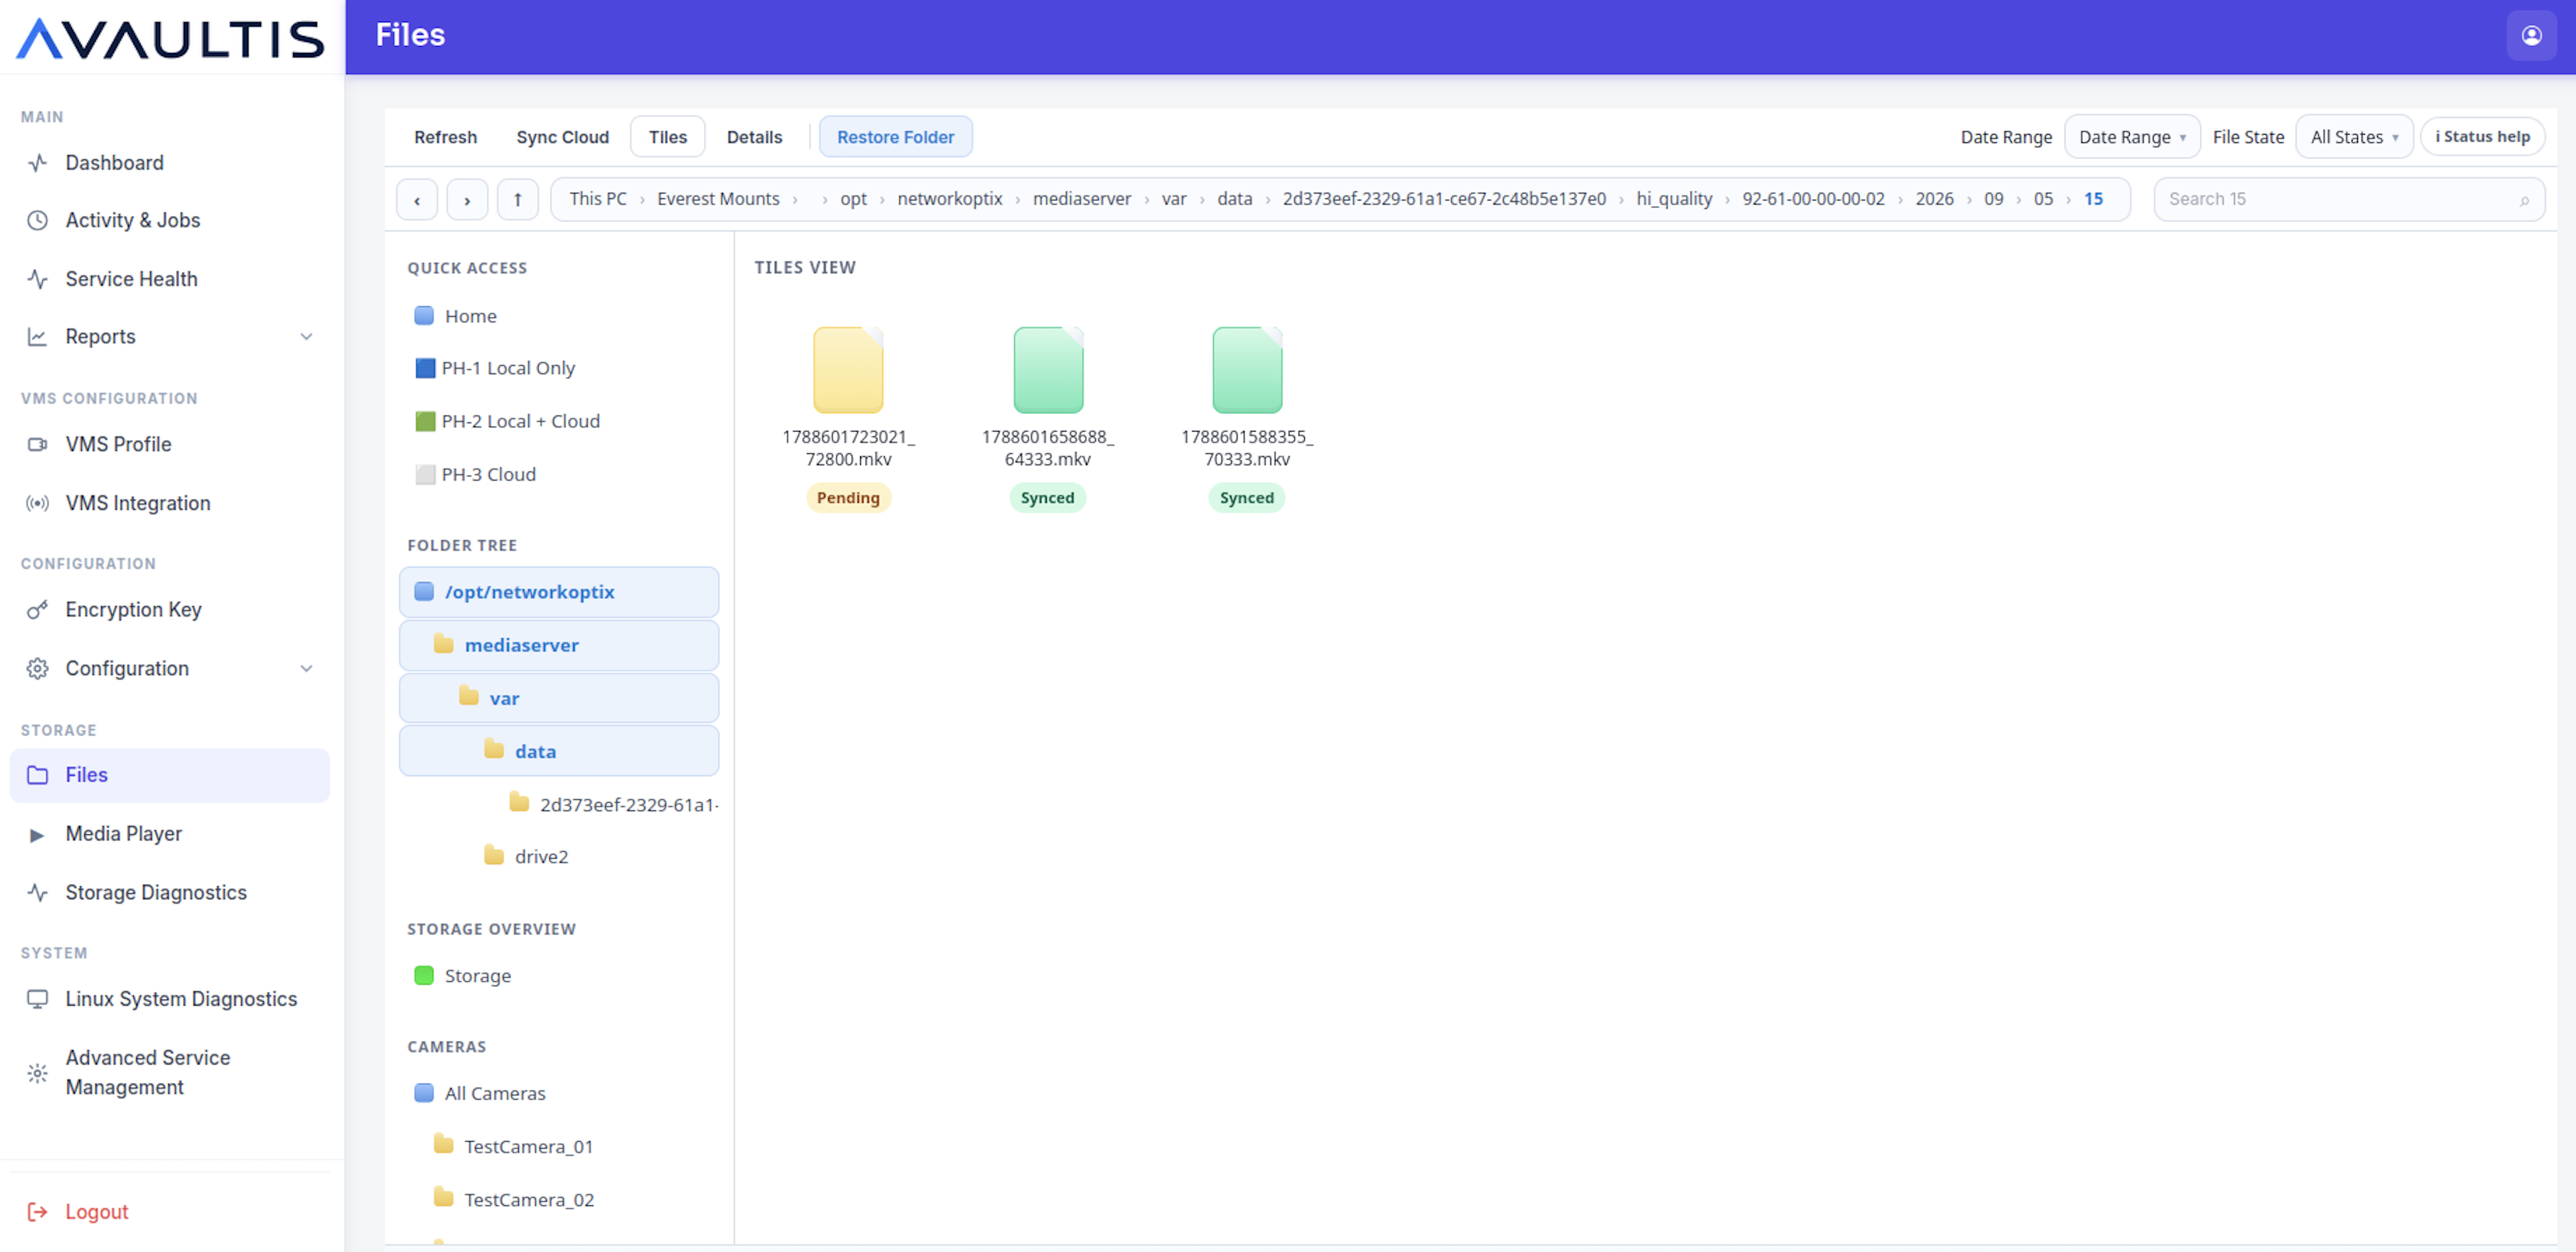
ATRI Avaultis provides an easy way to bridge Linux VMS servers, such as Nx Witness, to Wasabi to offload and archive stored video data, leaving a stub file and freeing up space on the VMS local storage.
Requirements
Wasabi Hot Cloud Storage account
Wasabi bucket (see Creating a Bucket)
Wasabi Access & Secret Keys (see Creating a User Account and Access Key)
Ubuntu Linux 24.04
Nx Witness Server Installed (see Ubuntu Linux OS • Installation Guide)
Nx Witness License (see Nx Witness User Manual)
Avaultis Application Installed (see Avaultis Installation Guide)
Avaultis License (see Contact ATRI Solutions)
Configuring Avaultis With Wasabi
After you have installed the Avaultis application, visit the IP address of your Avaultis server in a web browser.
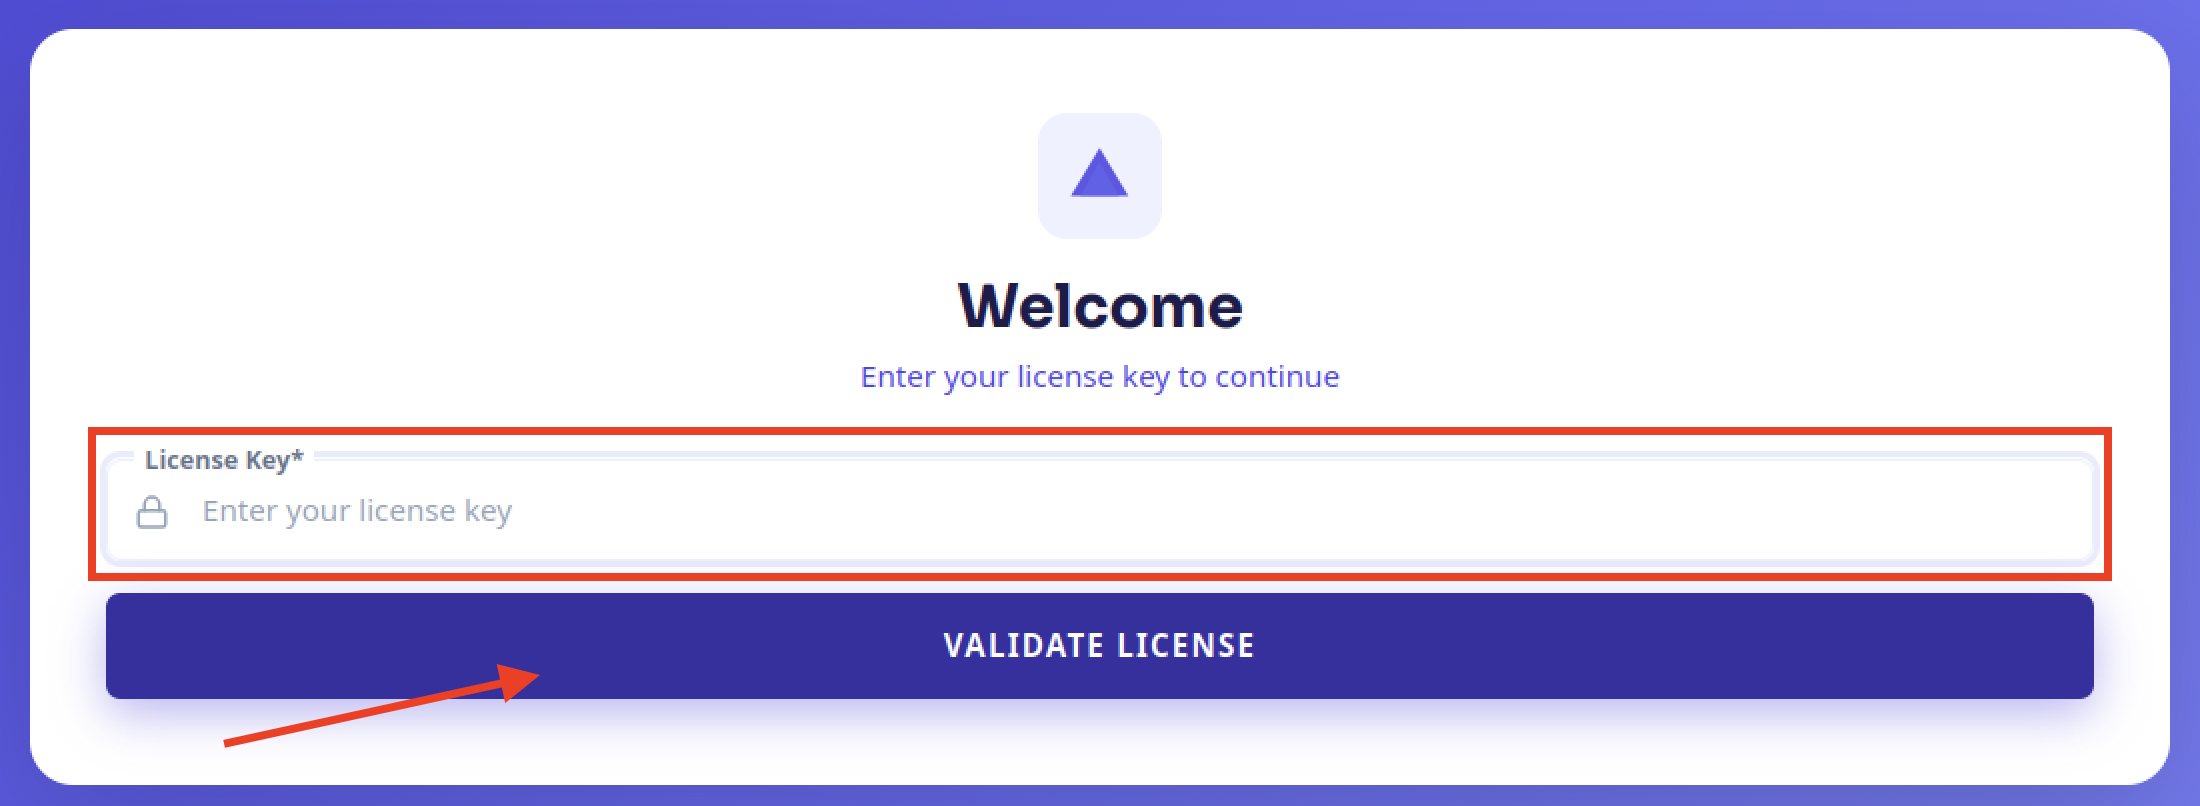
Enter your License Key.
Click VALIDATE LICENSE to log in.
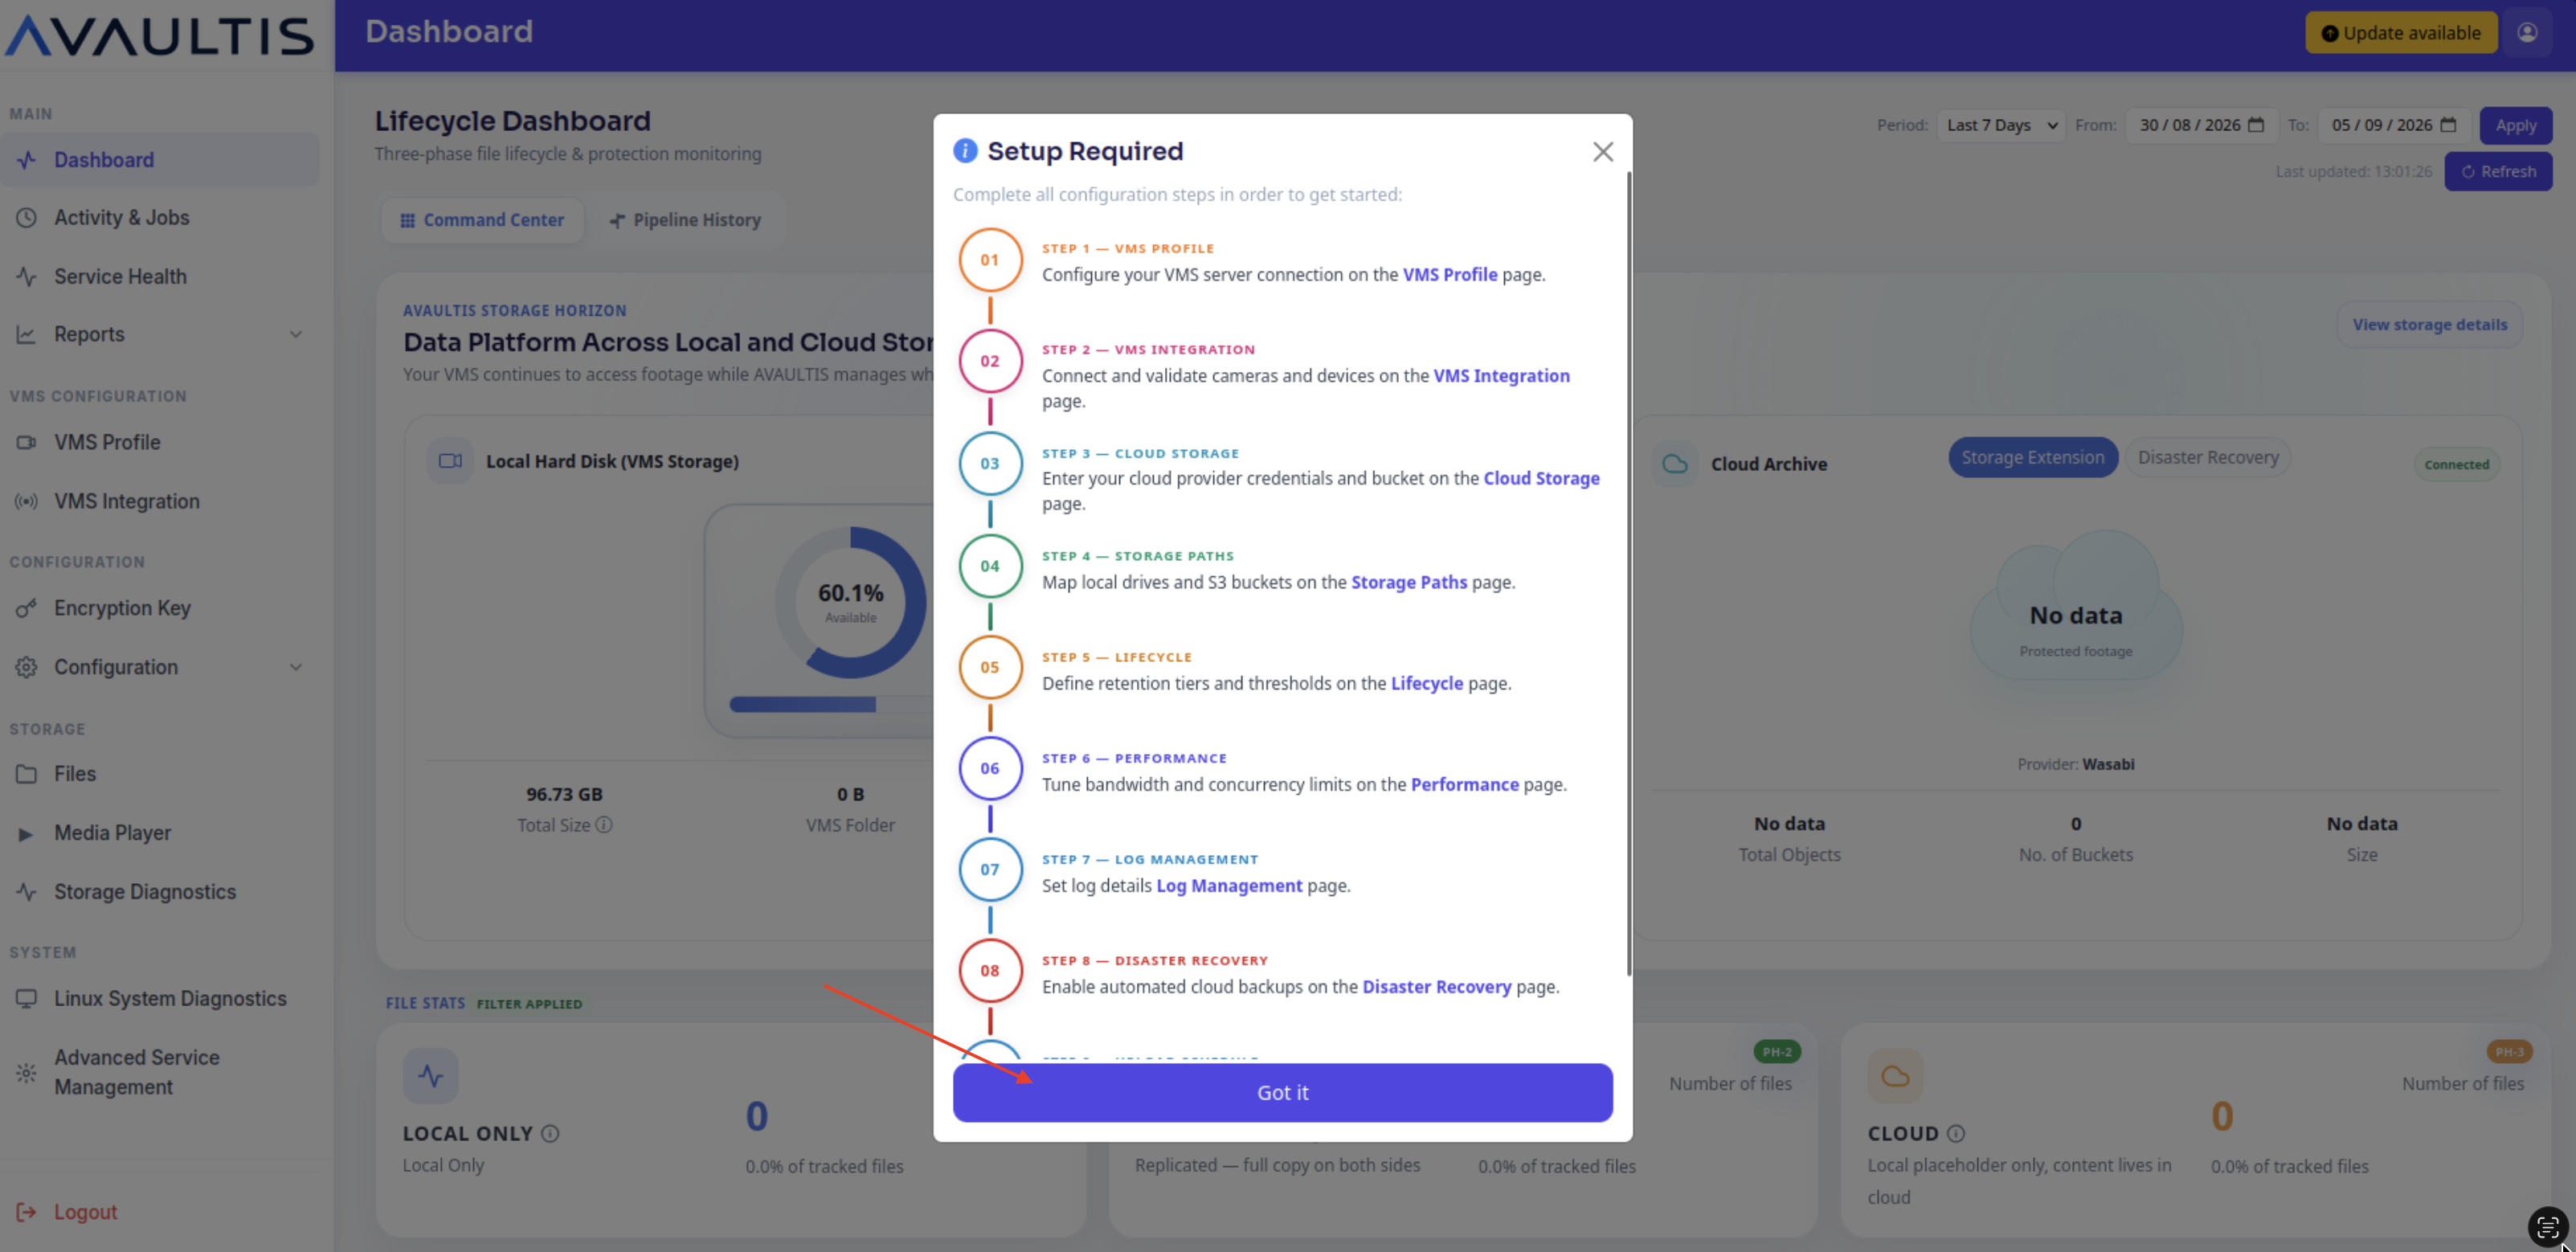
The setup wizard will begin. Click Got it.
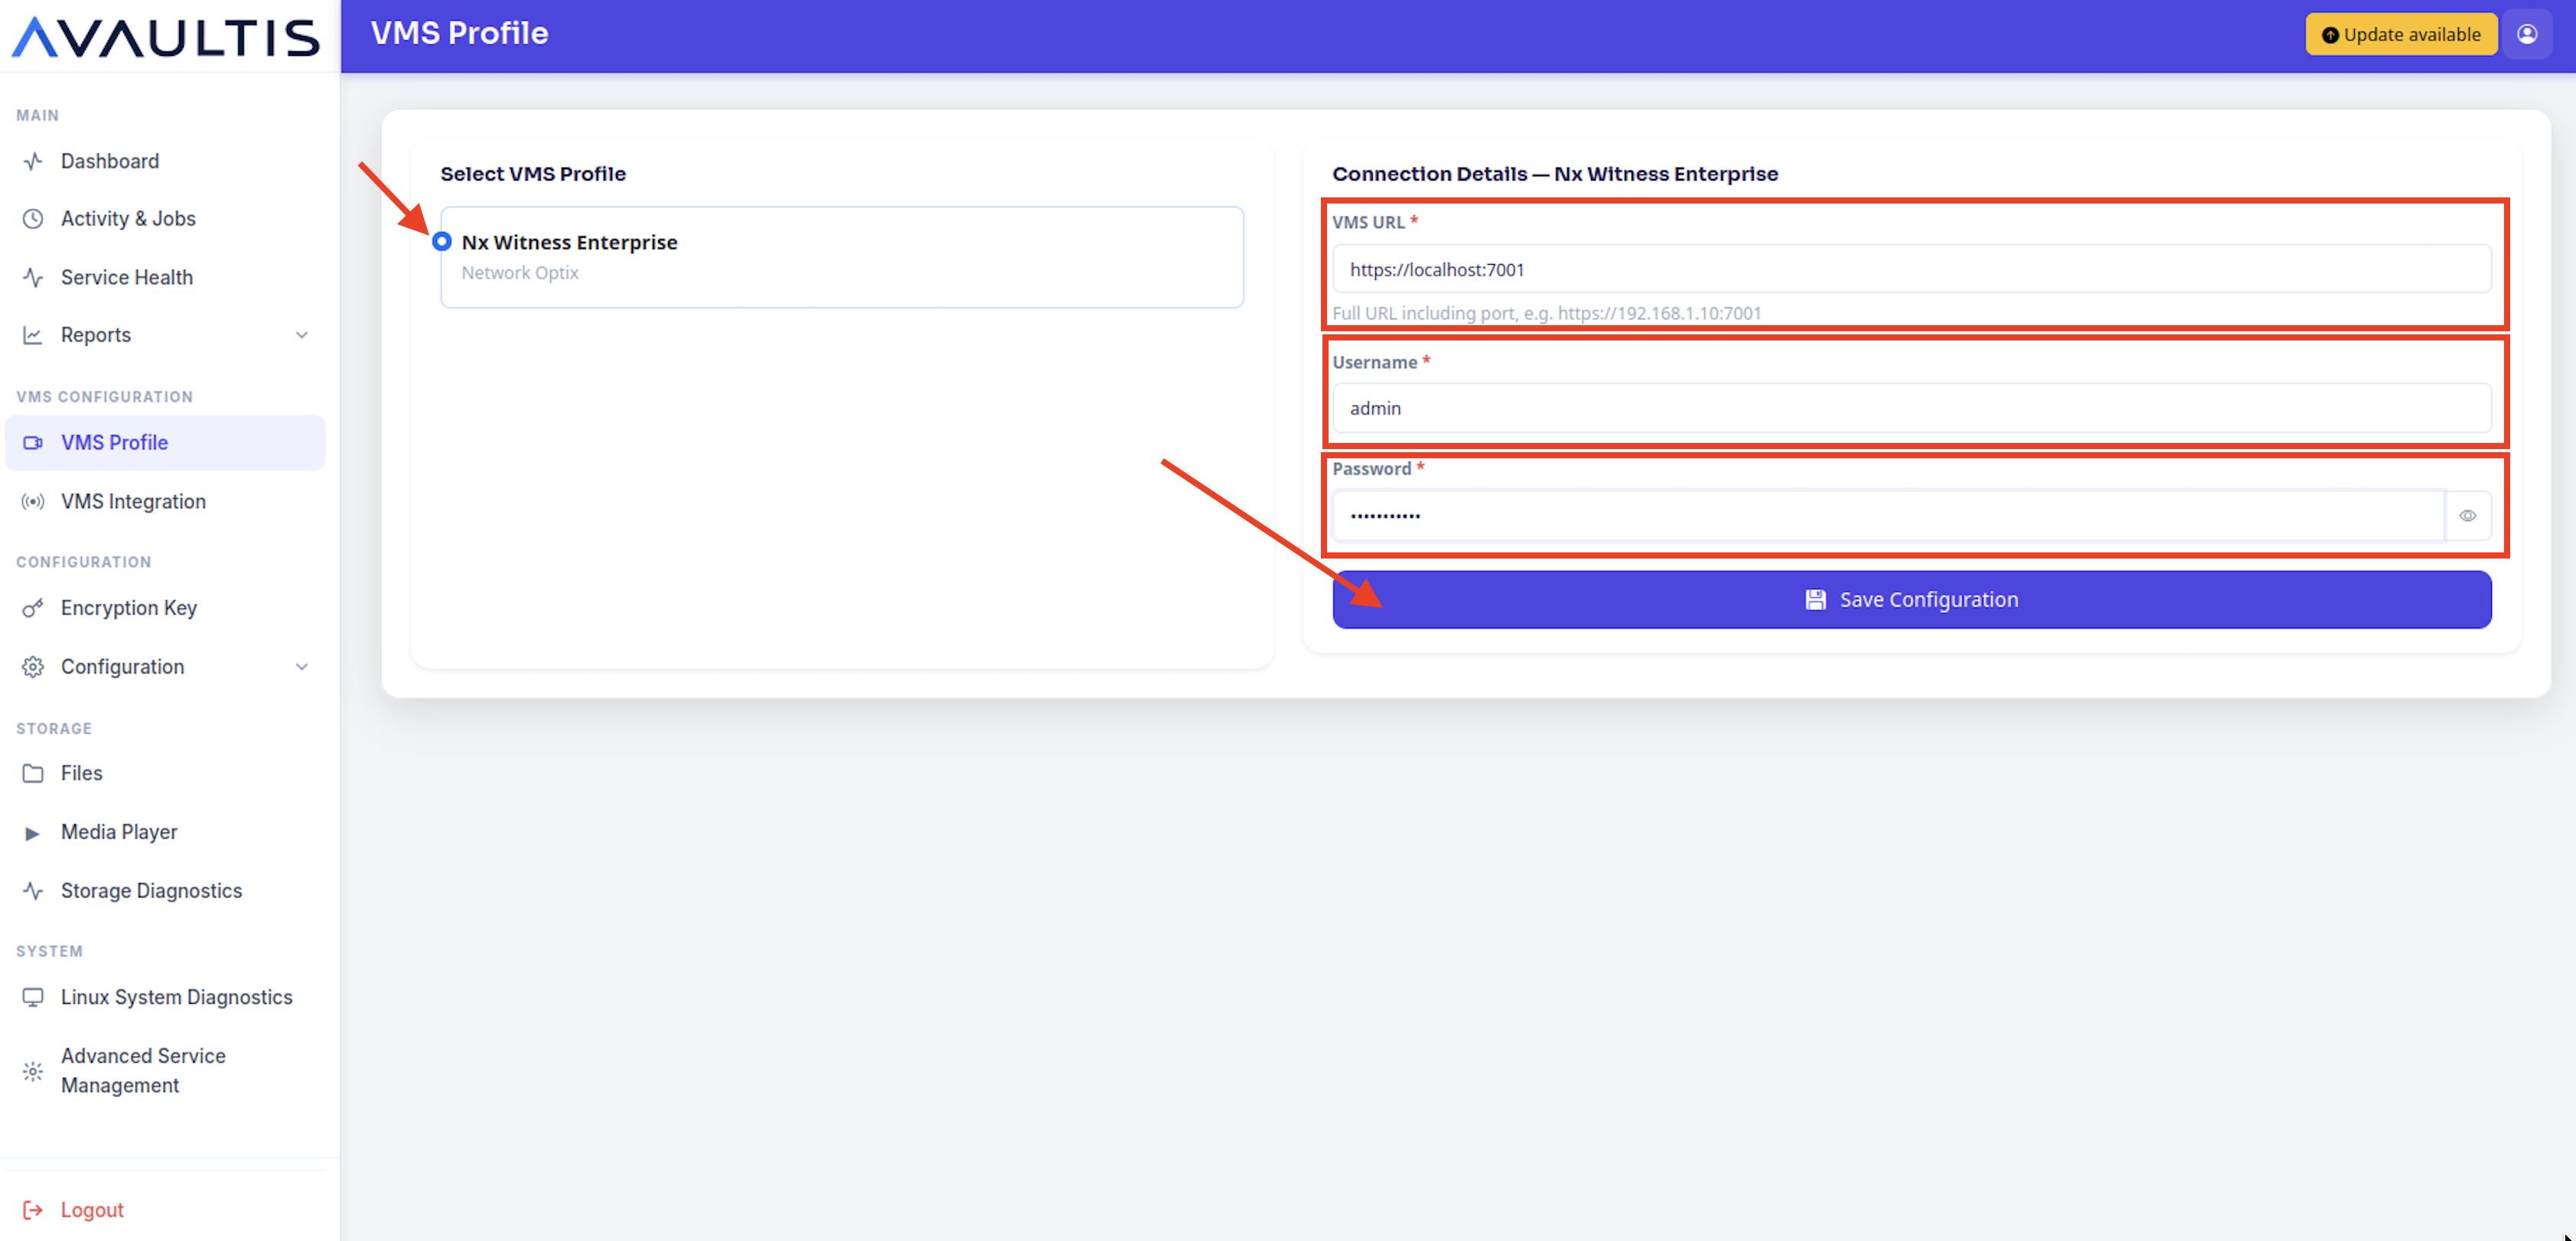
Input the following information about your VMS:
VMS—Click Nx Witness (more VMS to be supported in the future).
VMS URL—Input your VMS URL (including the port).
Username—Input your VMS Admin Username.
Password—Input your VMS Admin Password.
Click Save Configuration.
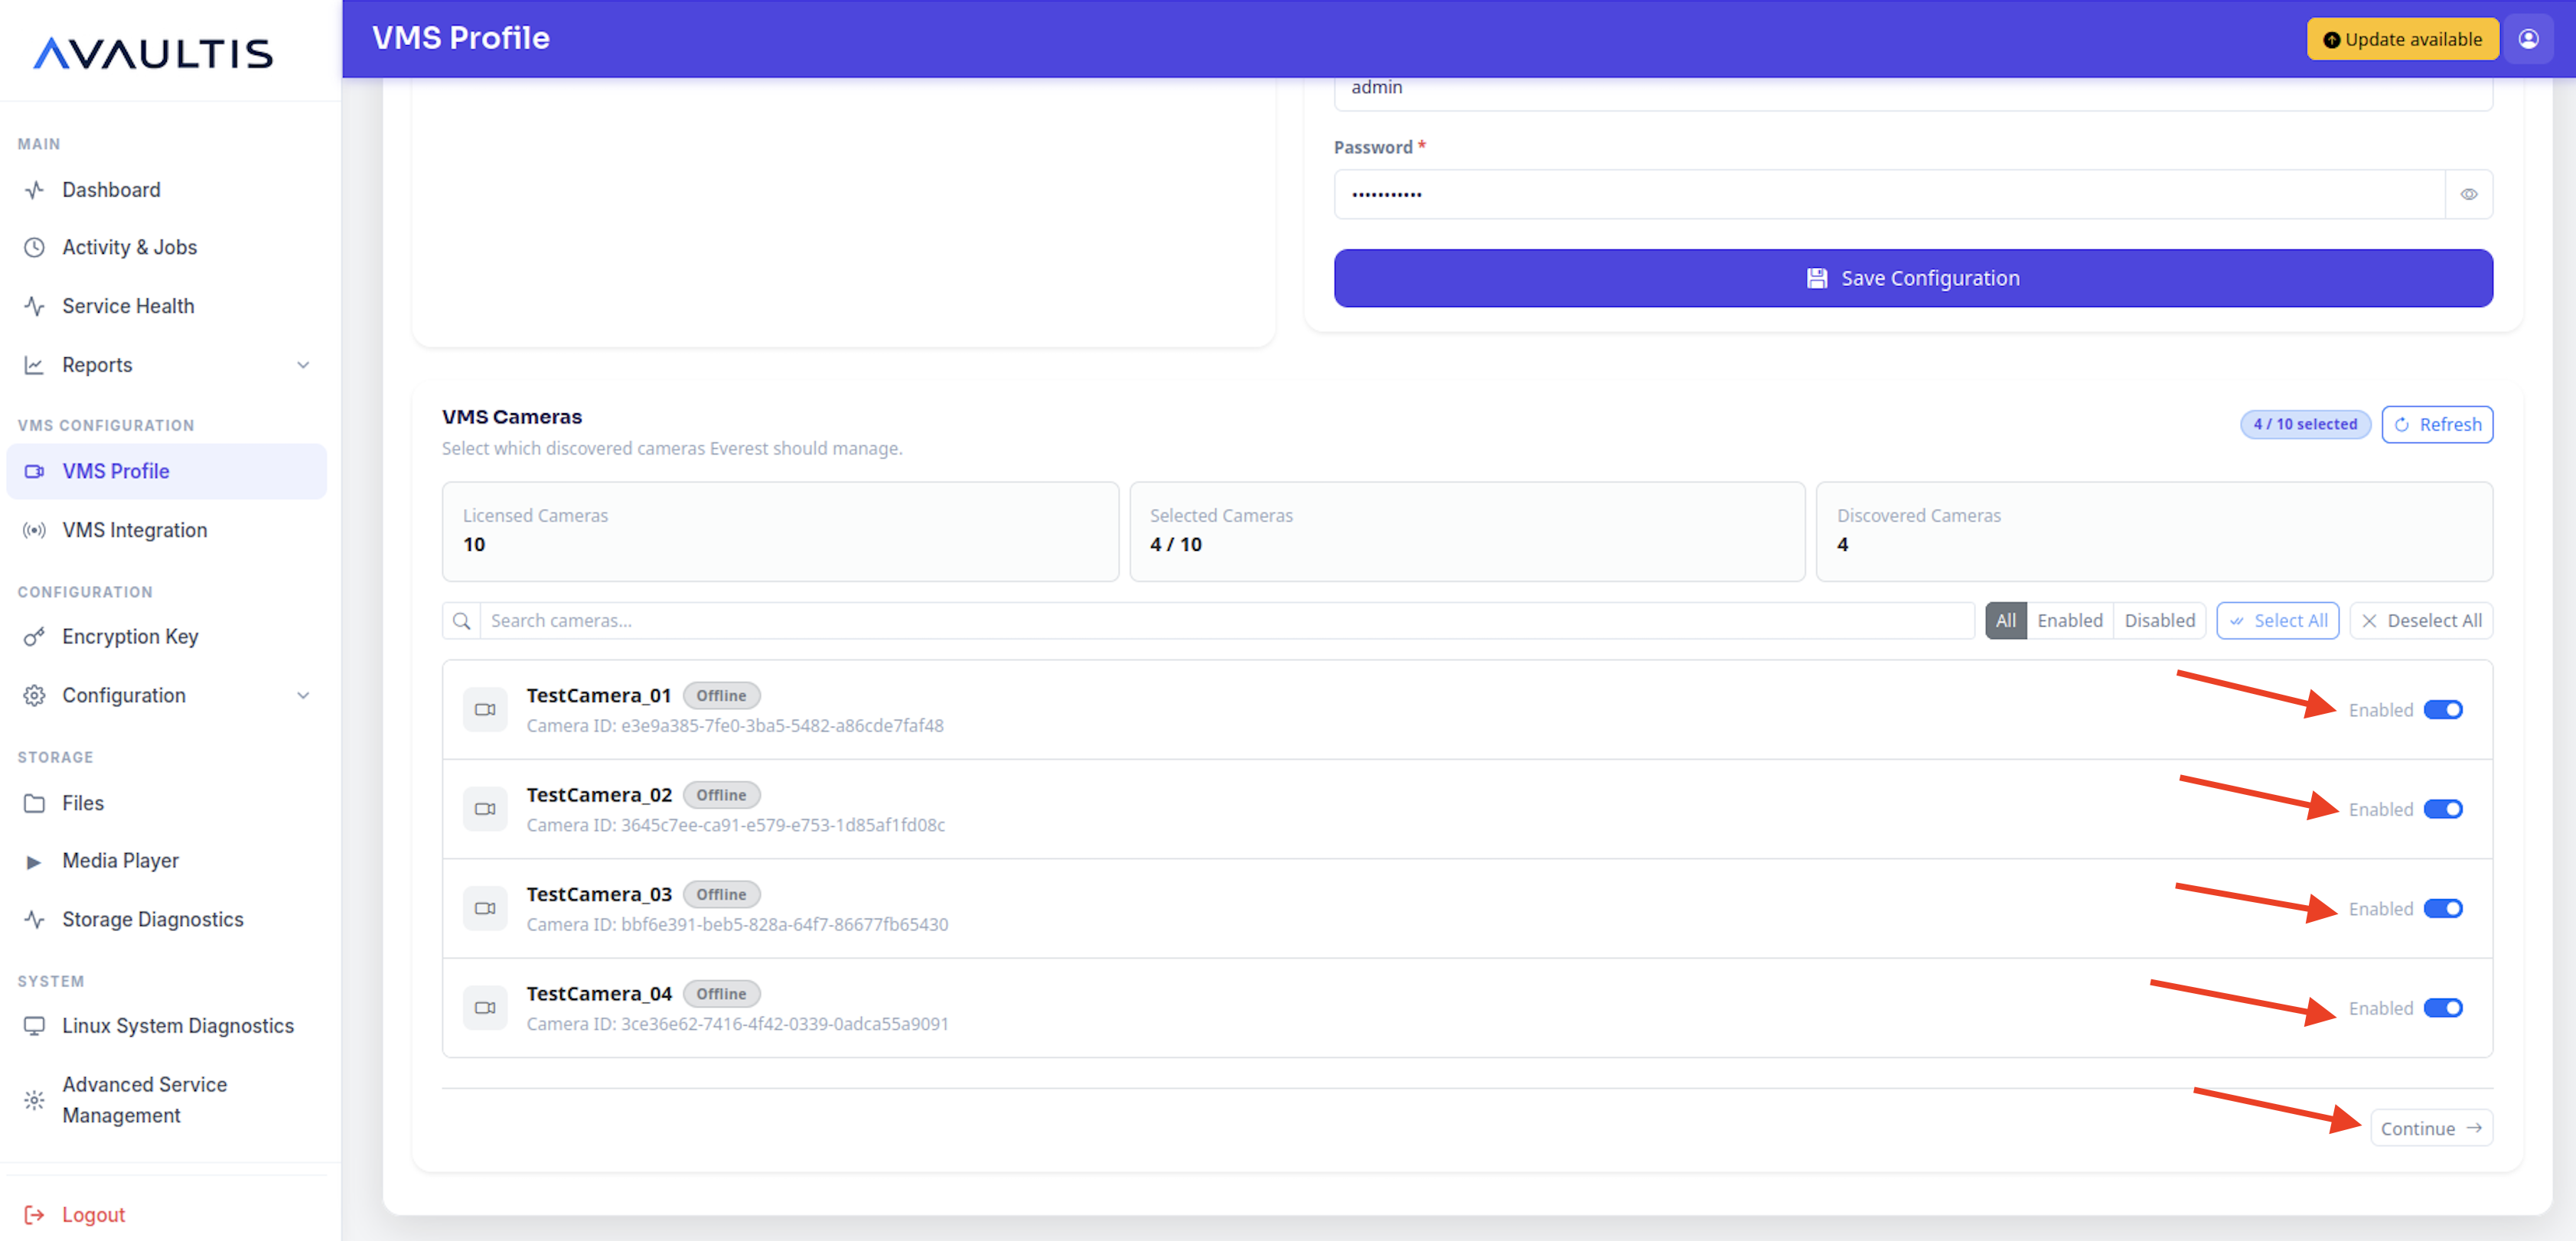
After the configuration is saved, your connected cameras will appear. Click Enable on your desired cameras.
Click Continue.
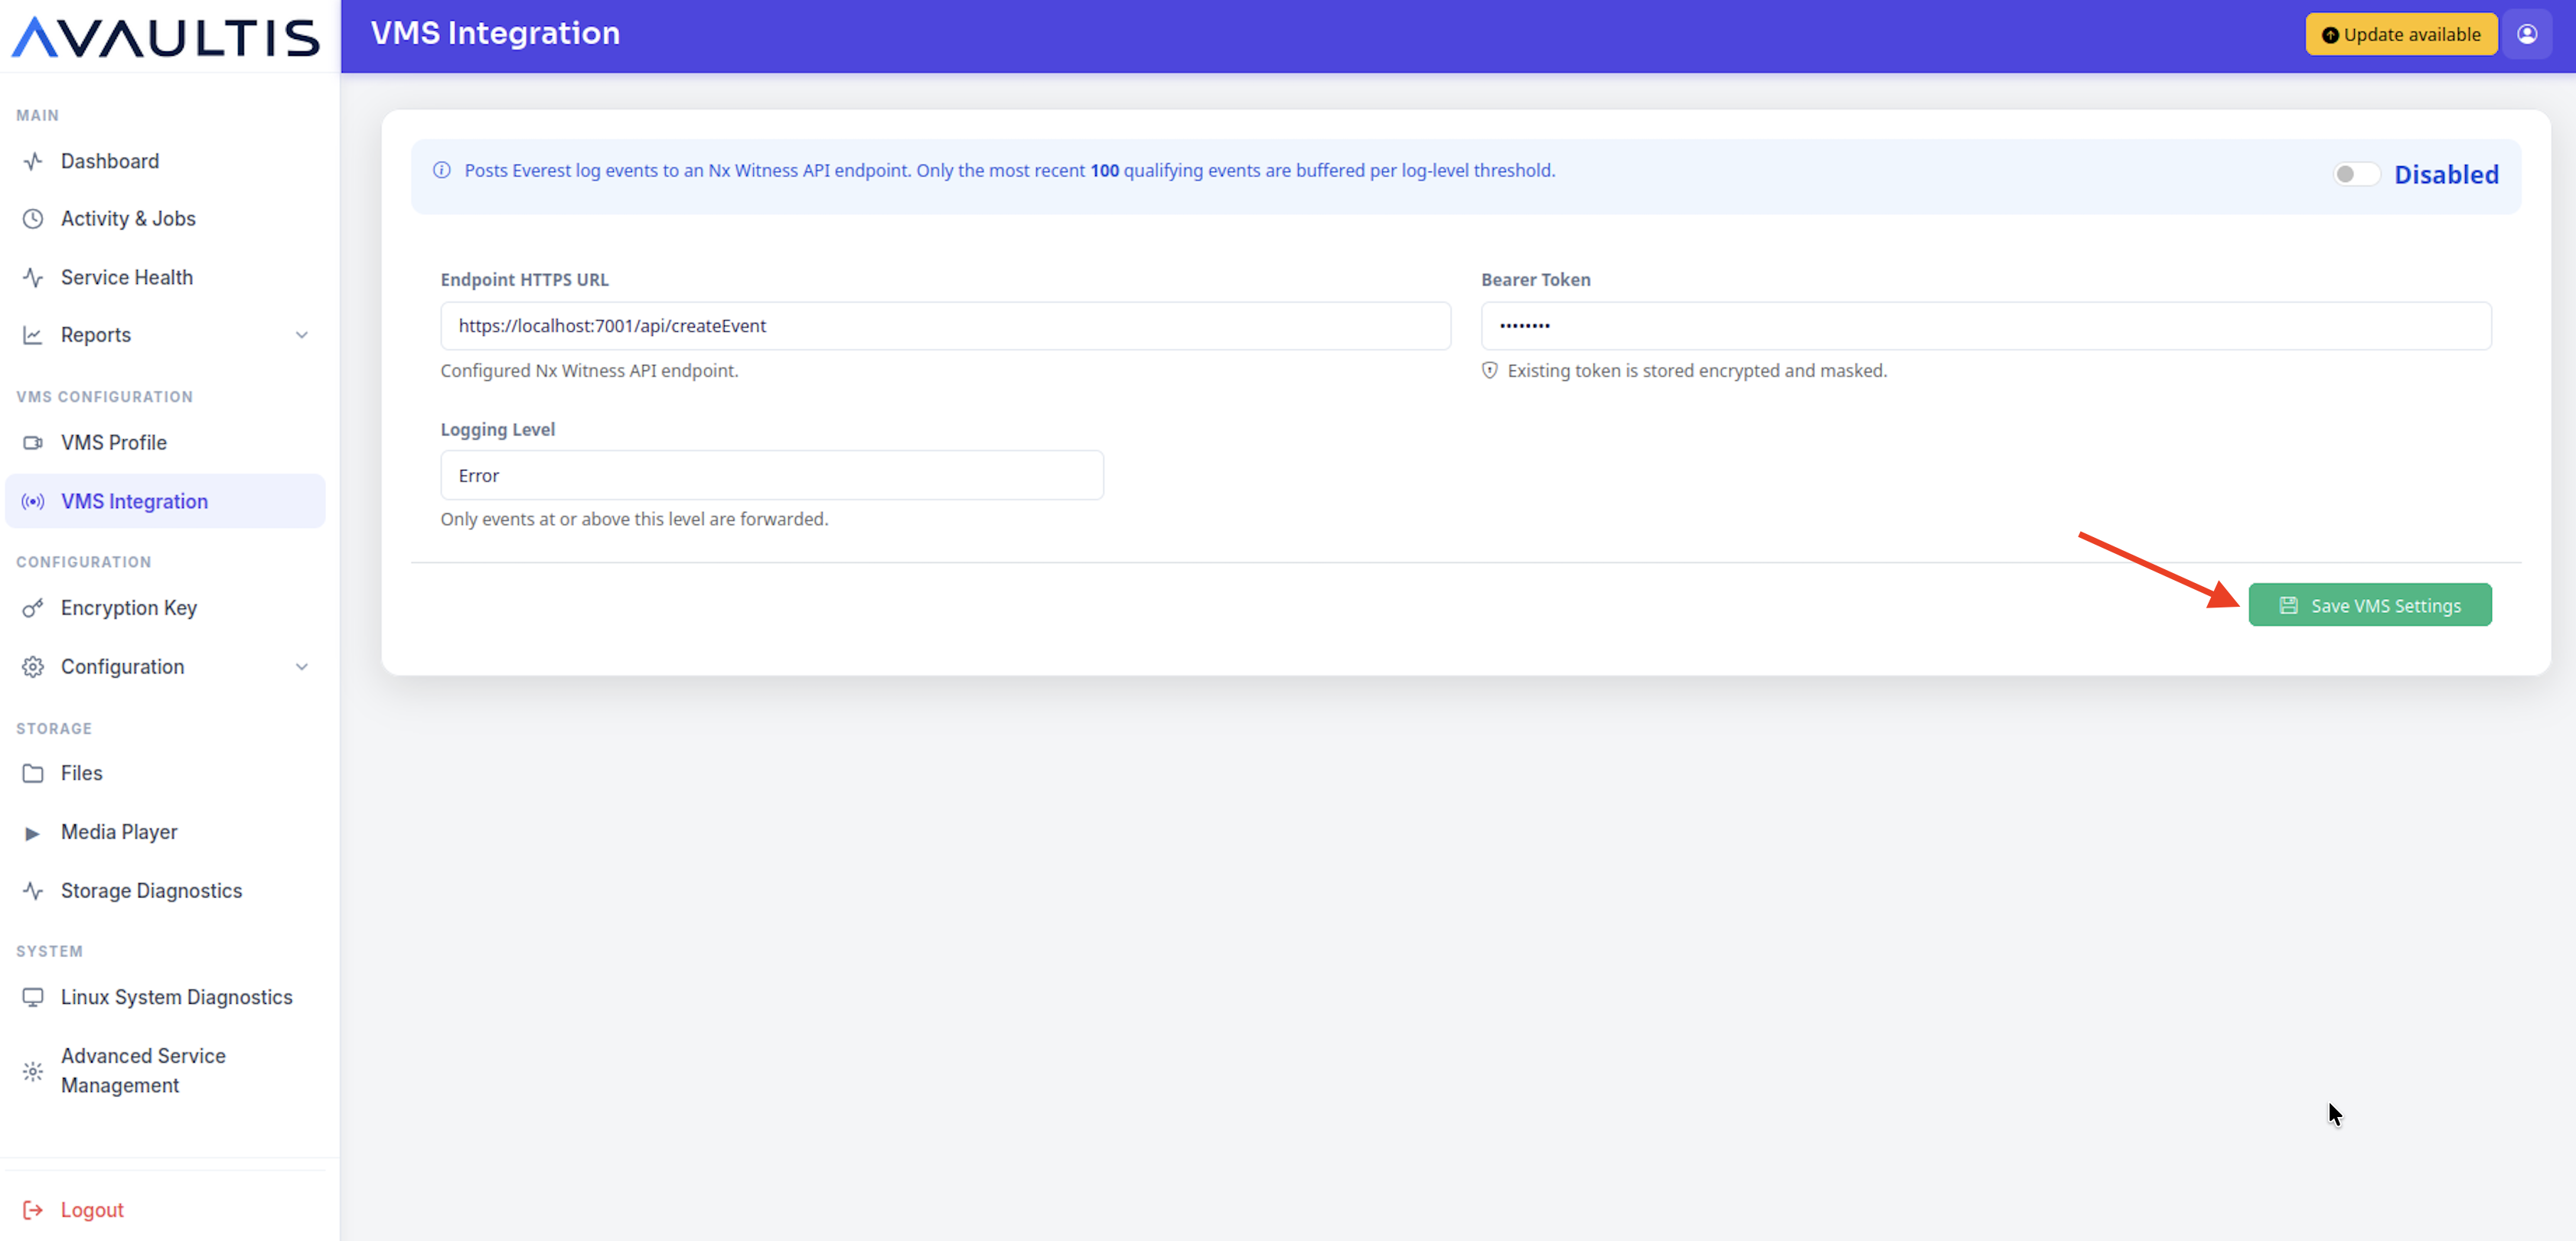
Optionally, enable error logging back to Nx Witness. (This information will be filled automatically by Avaultis.)
Click Save VMS Settings.
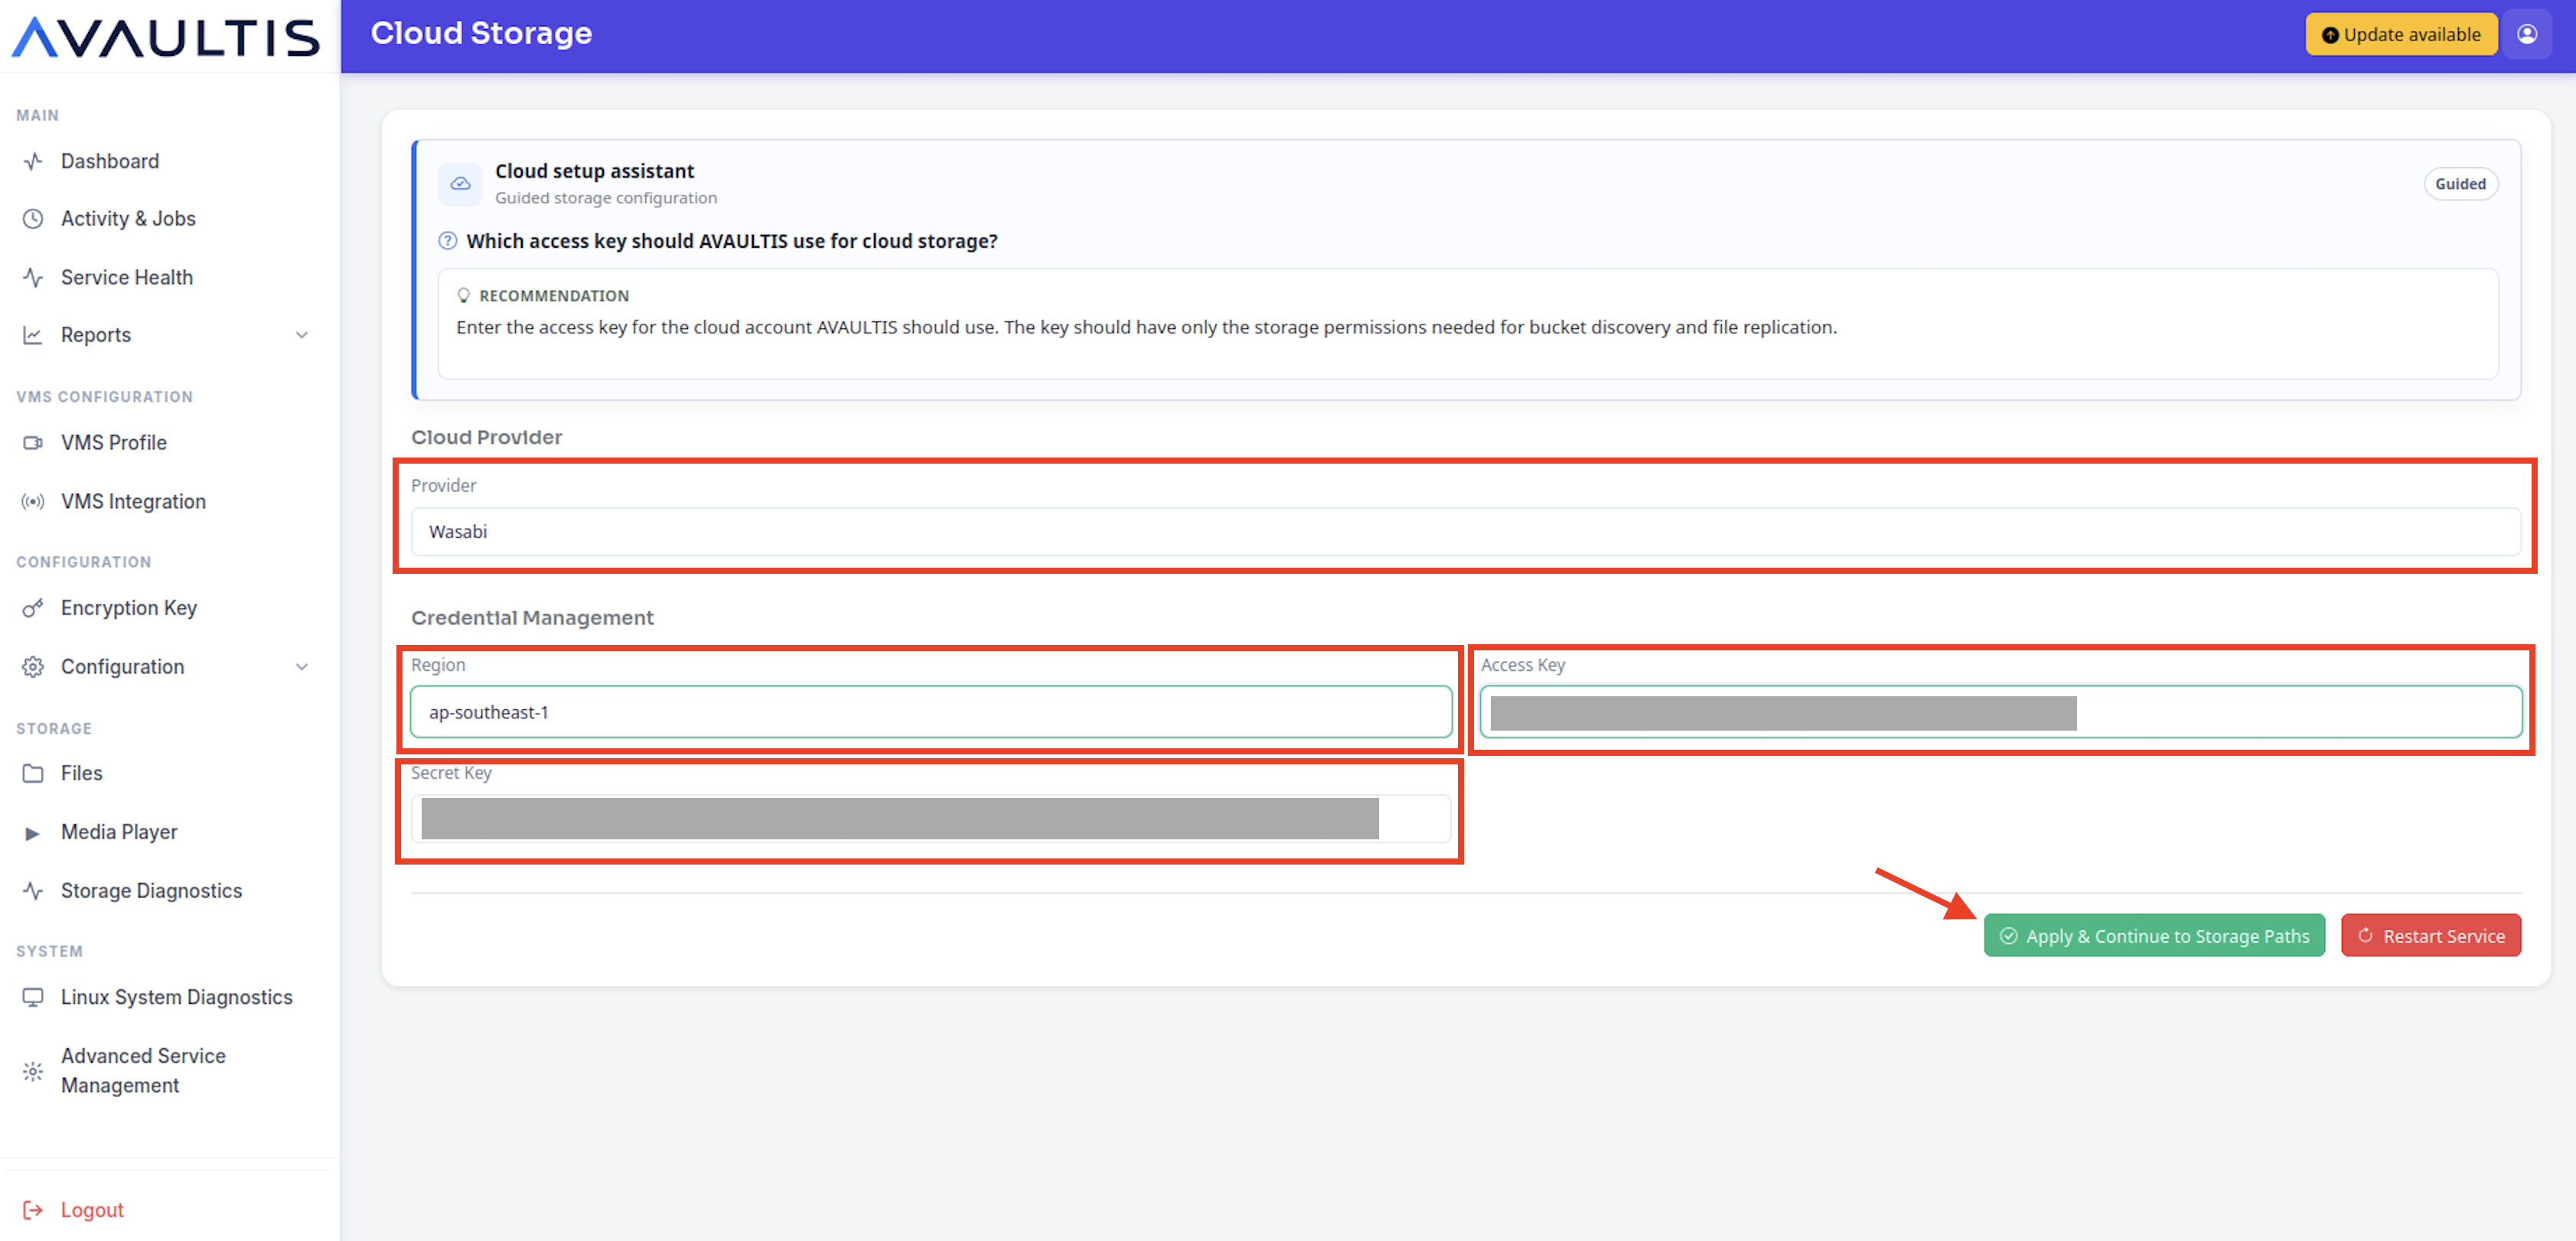
Input the following information.
Provider—Choose Wasabi from the drop-down menu.
Region—Enter your Wasabi Region Code where the bucket has been created (for example, ap-southeast-1).
Access Key—Input your Wasabi Access Key.
Secret Key—Input your Wasabi Secret Key.
Click Apply & Continue to Storage Paths.
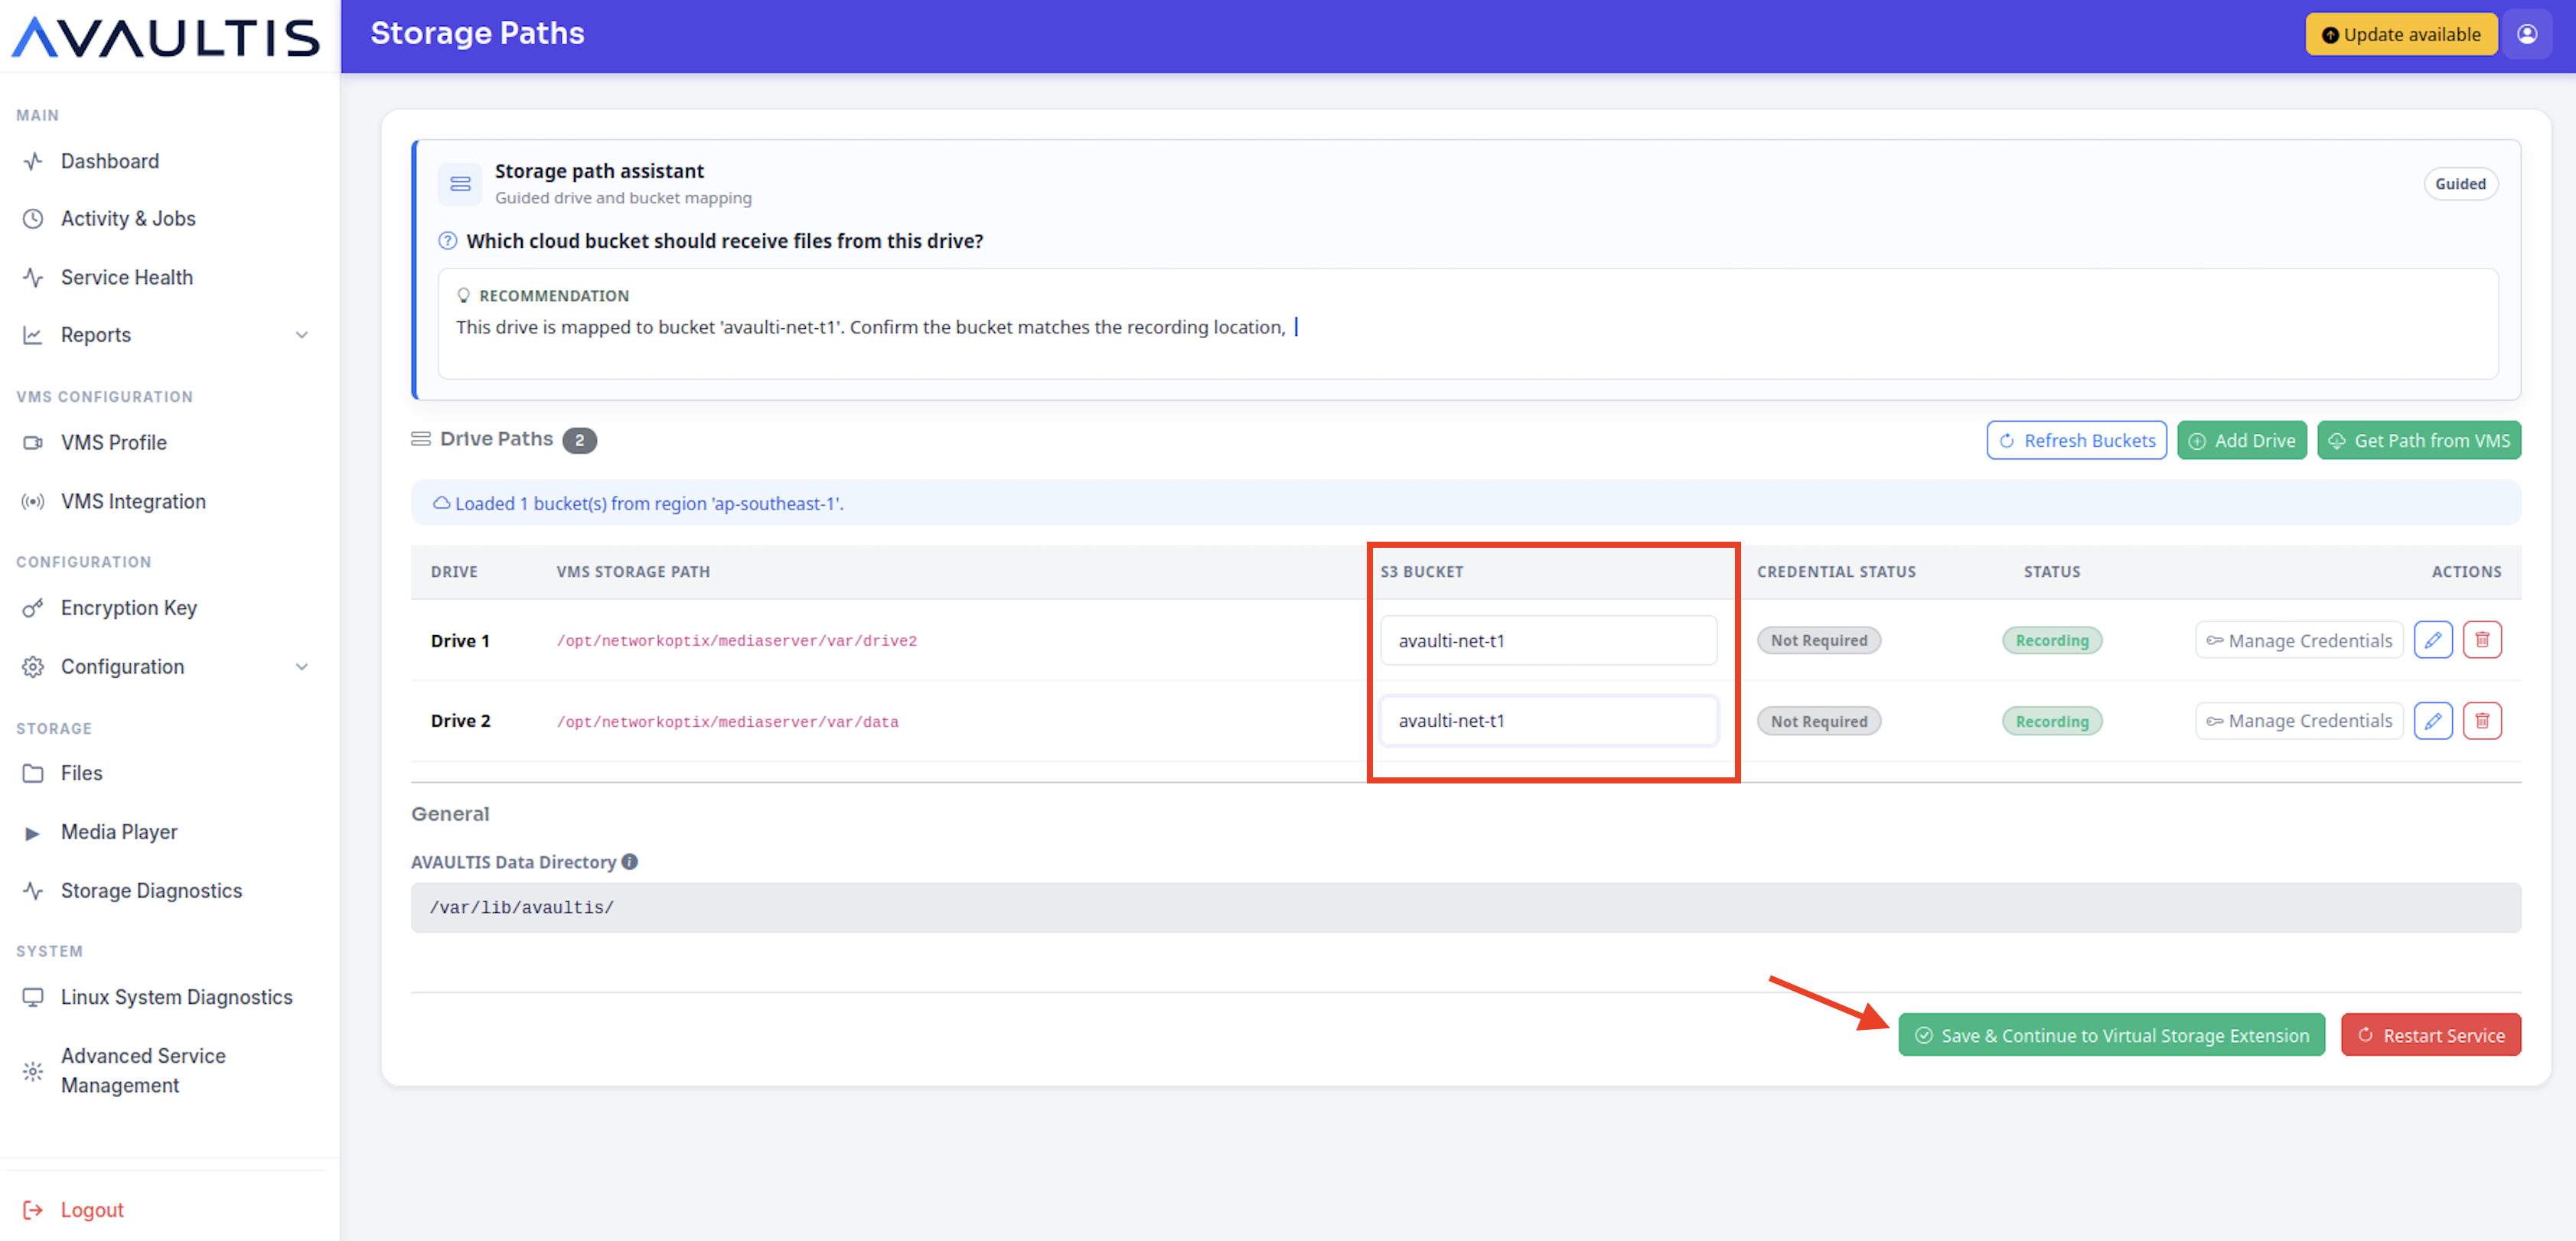
From the drop-down, choose your Wasabi bucket.
Click Save & Continue to Virtual Storage Extension.
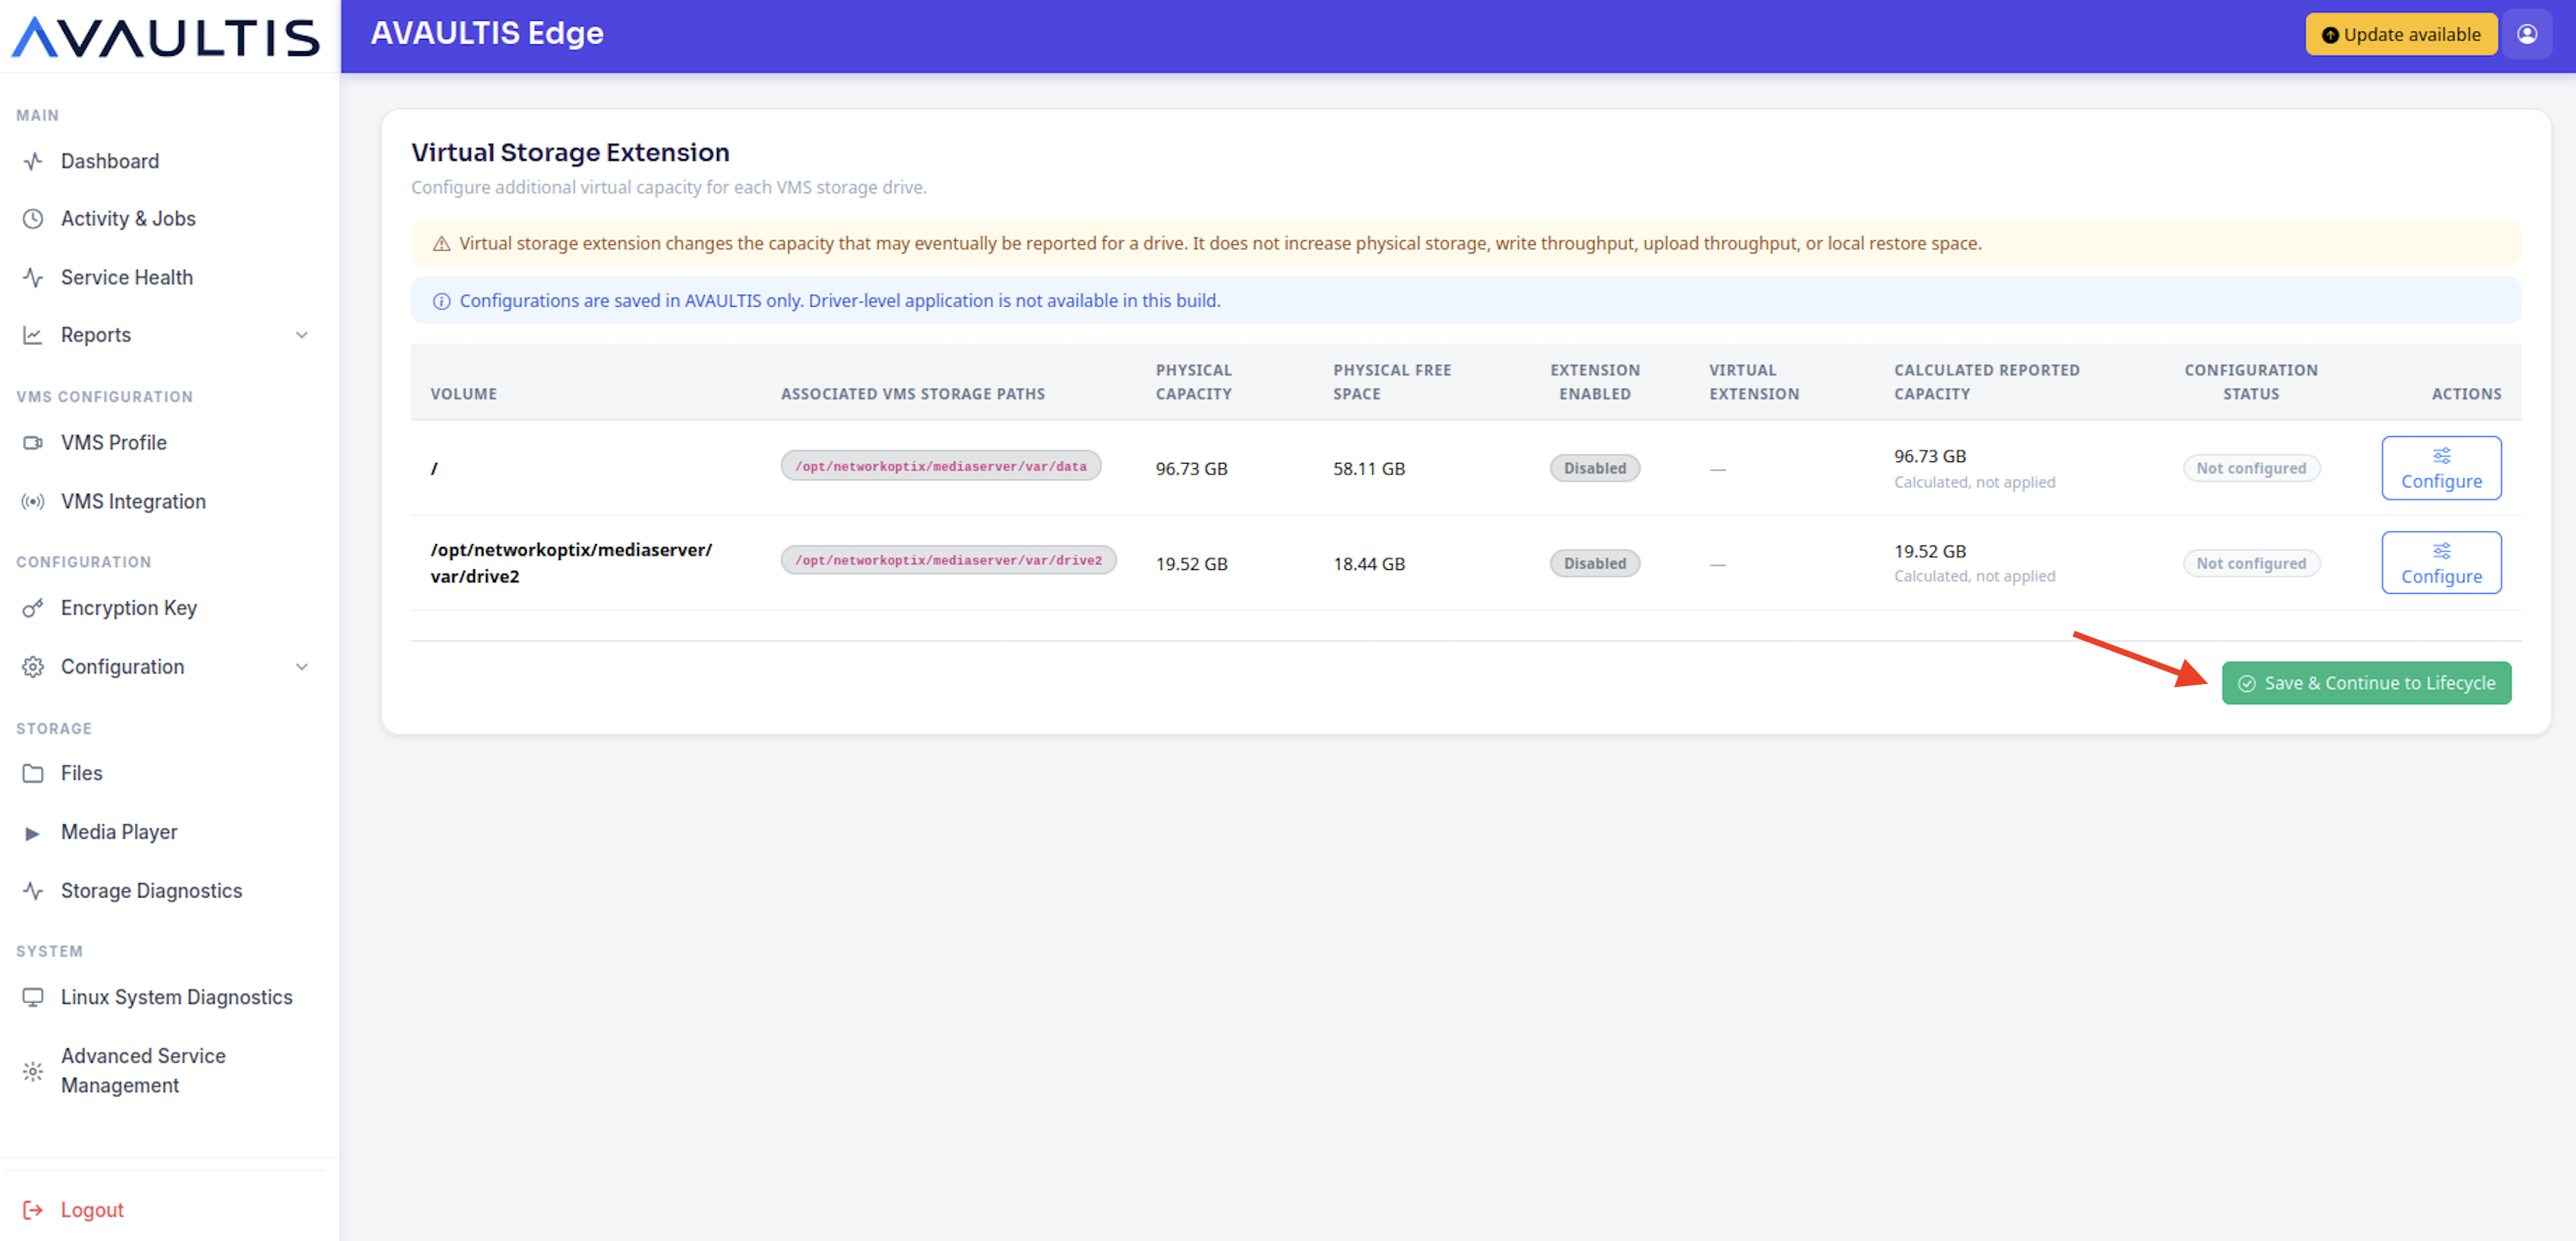
Optionally, enable the Virtual Storage Extension to extend your local storage with Wasabi storage.
Click Save & Continue to Lifecycle.
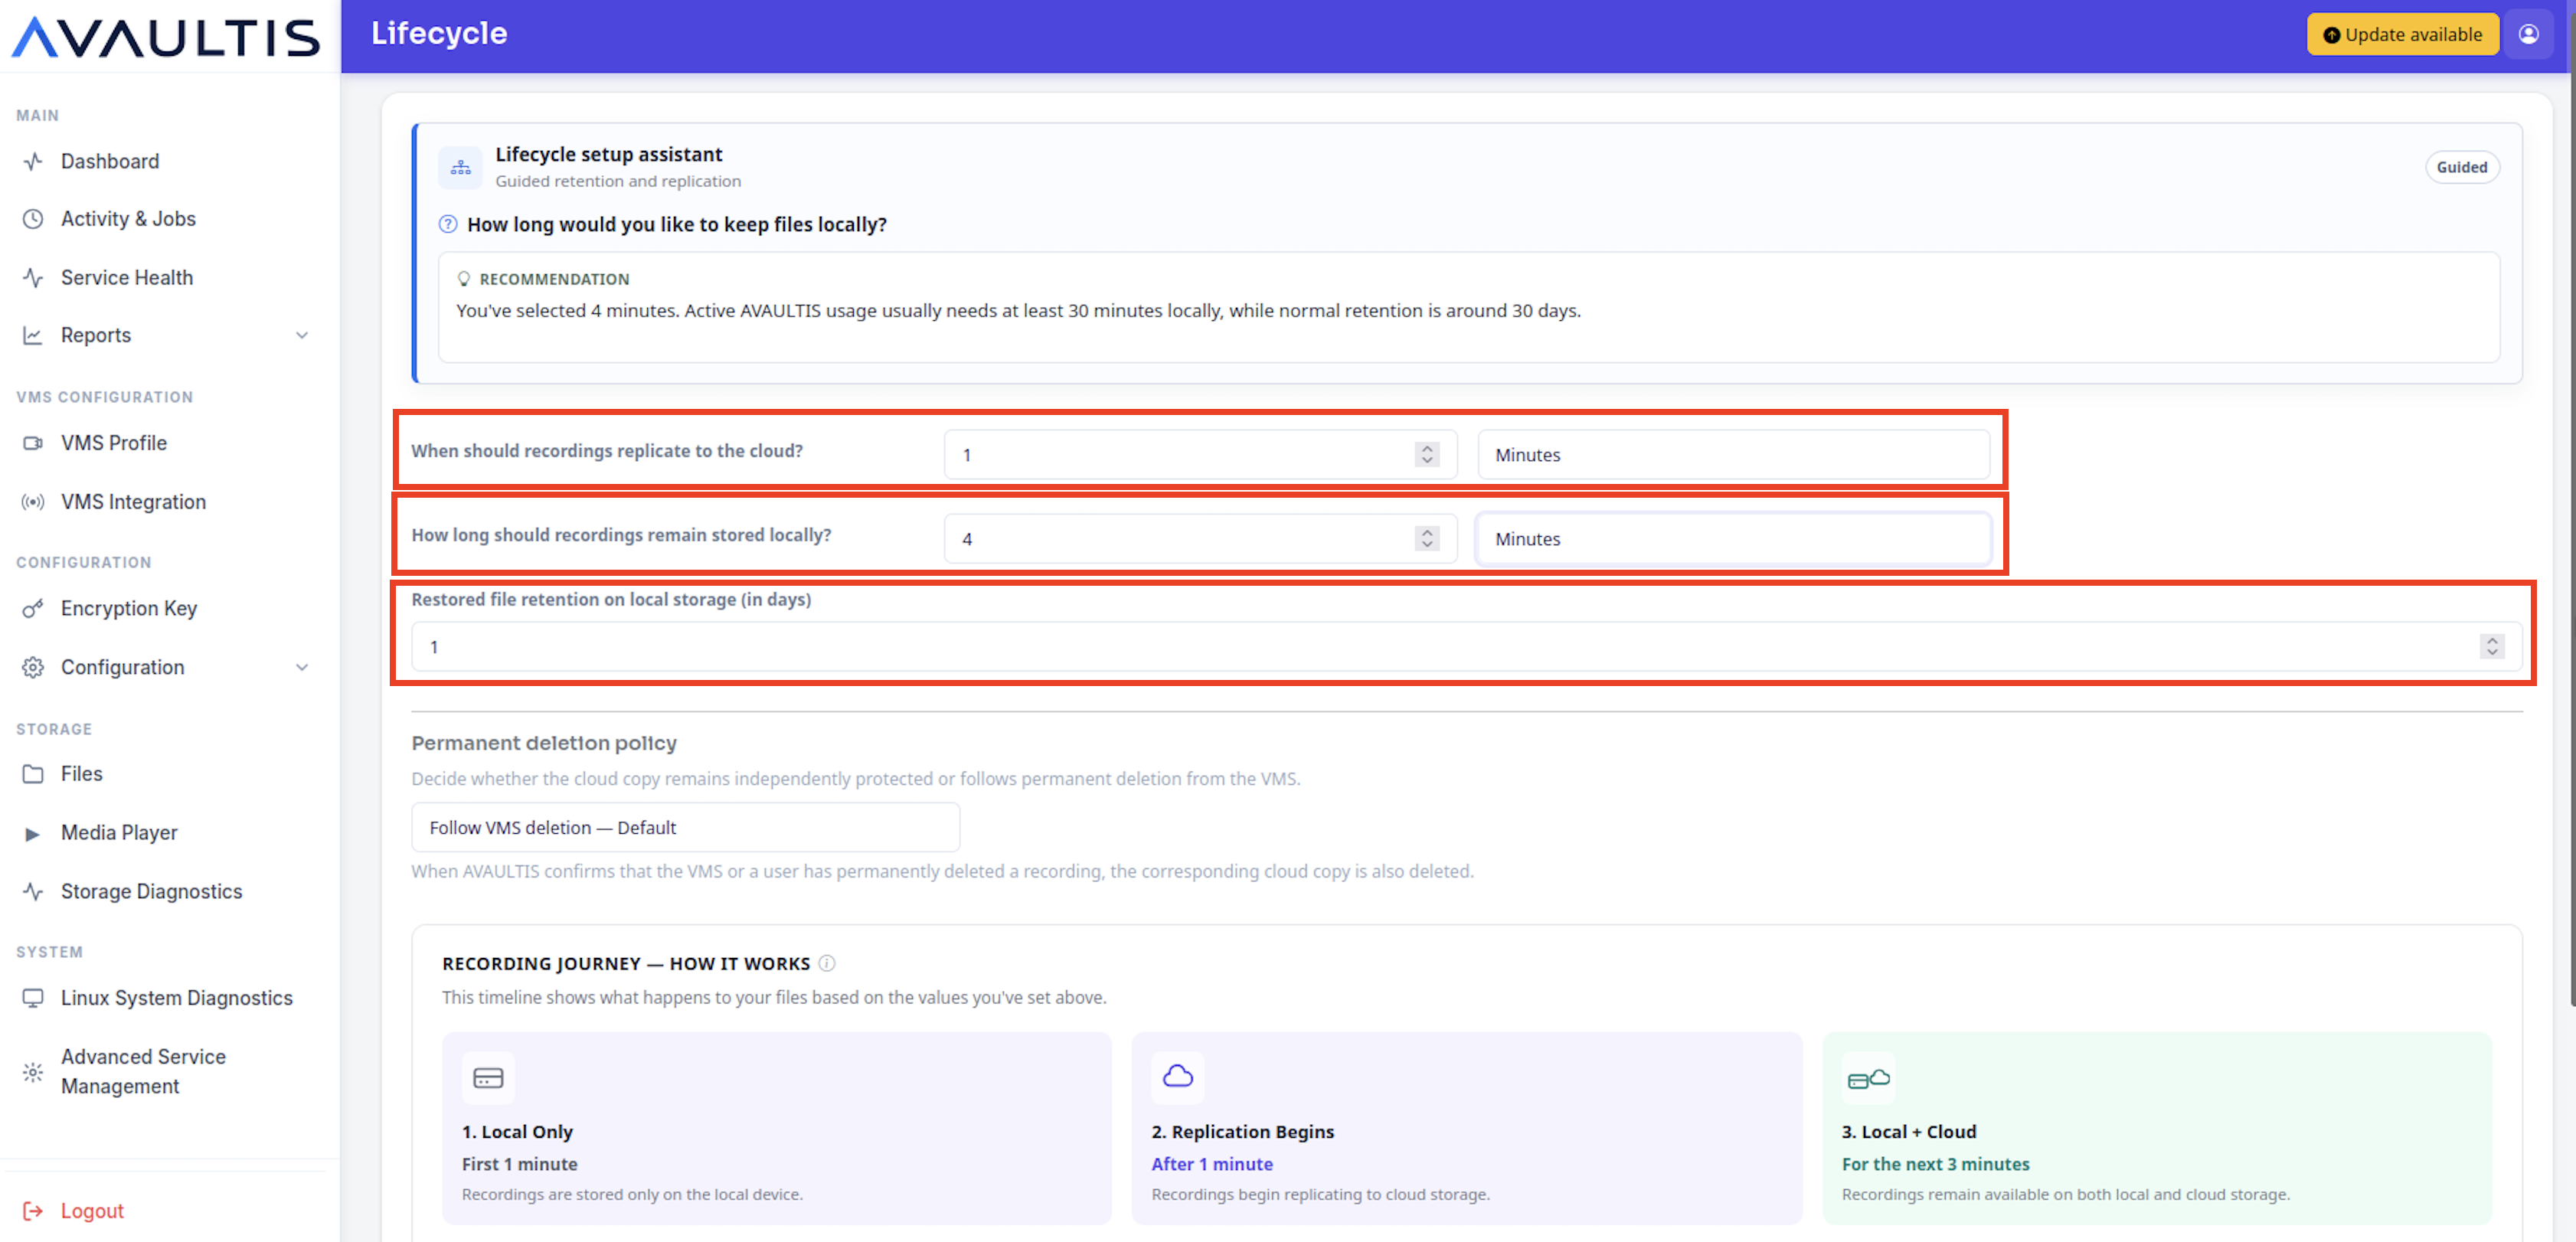
Configure Lifecycle Rules.
Choose how often the recordings should be replicated to cloud storage.
Choose how long recordings should remain stored locally.
Choose how long restored recordings should be stored locally.
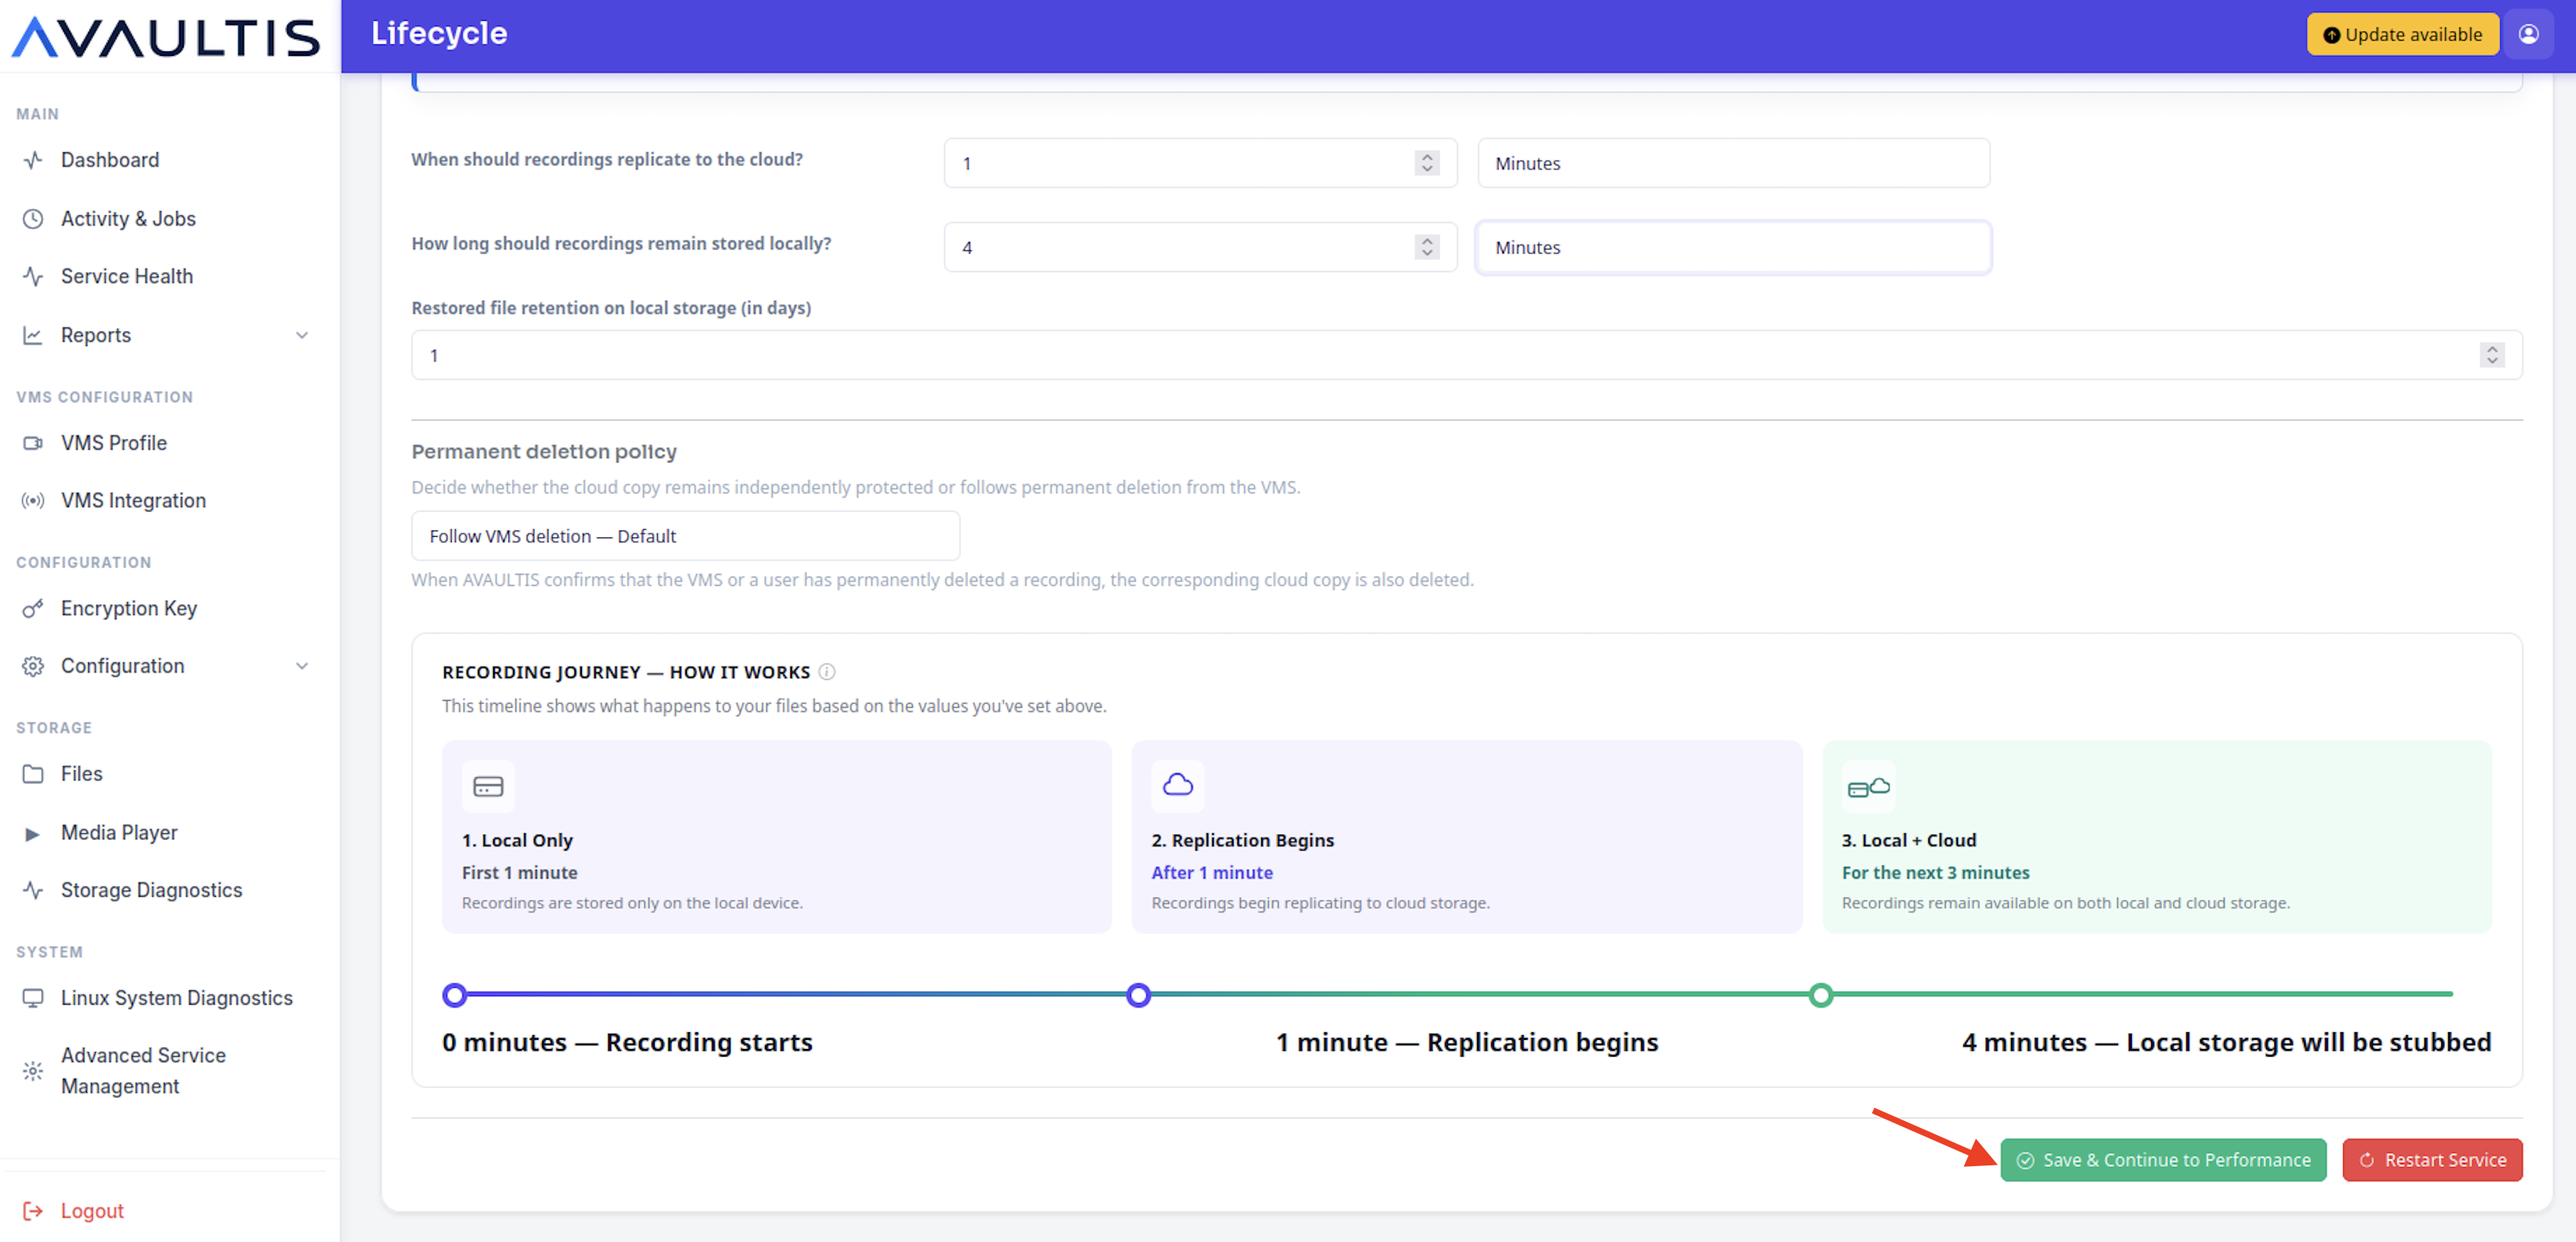
Click Save & Continue to Performance.
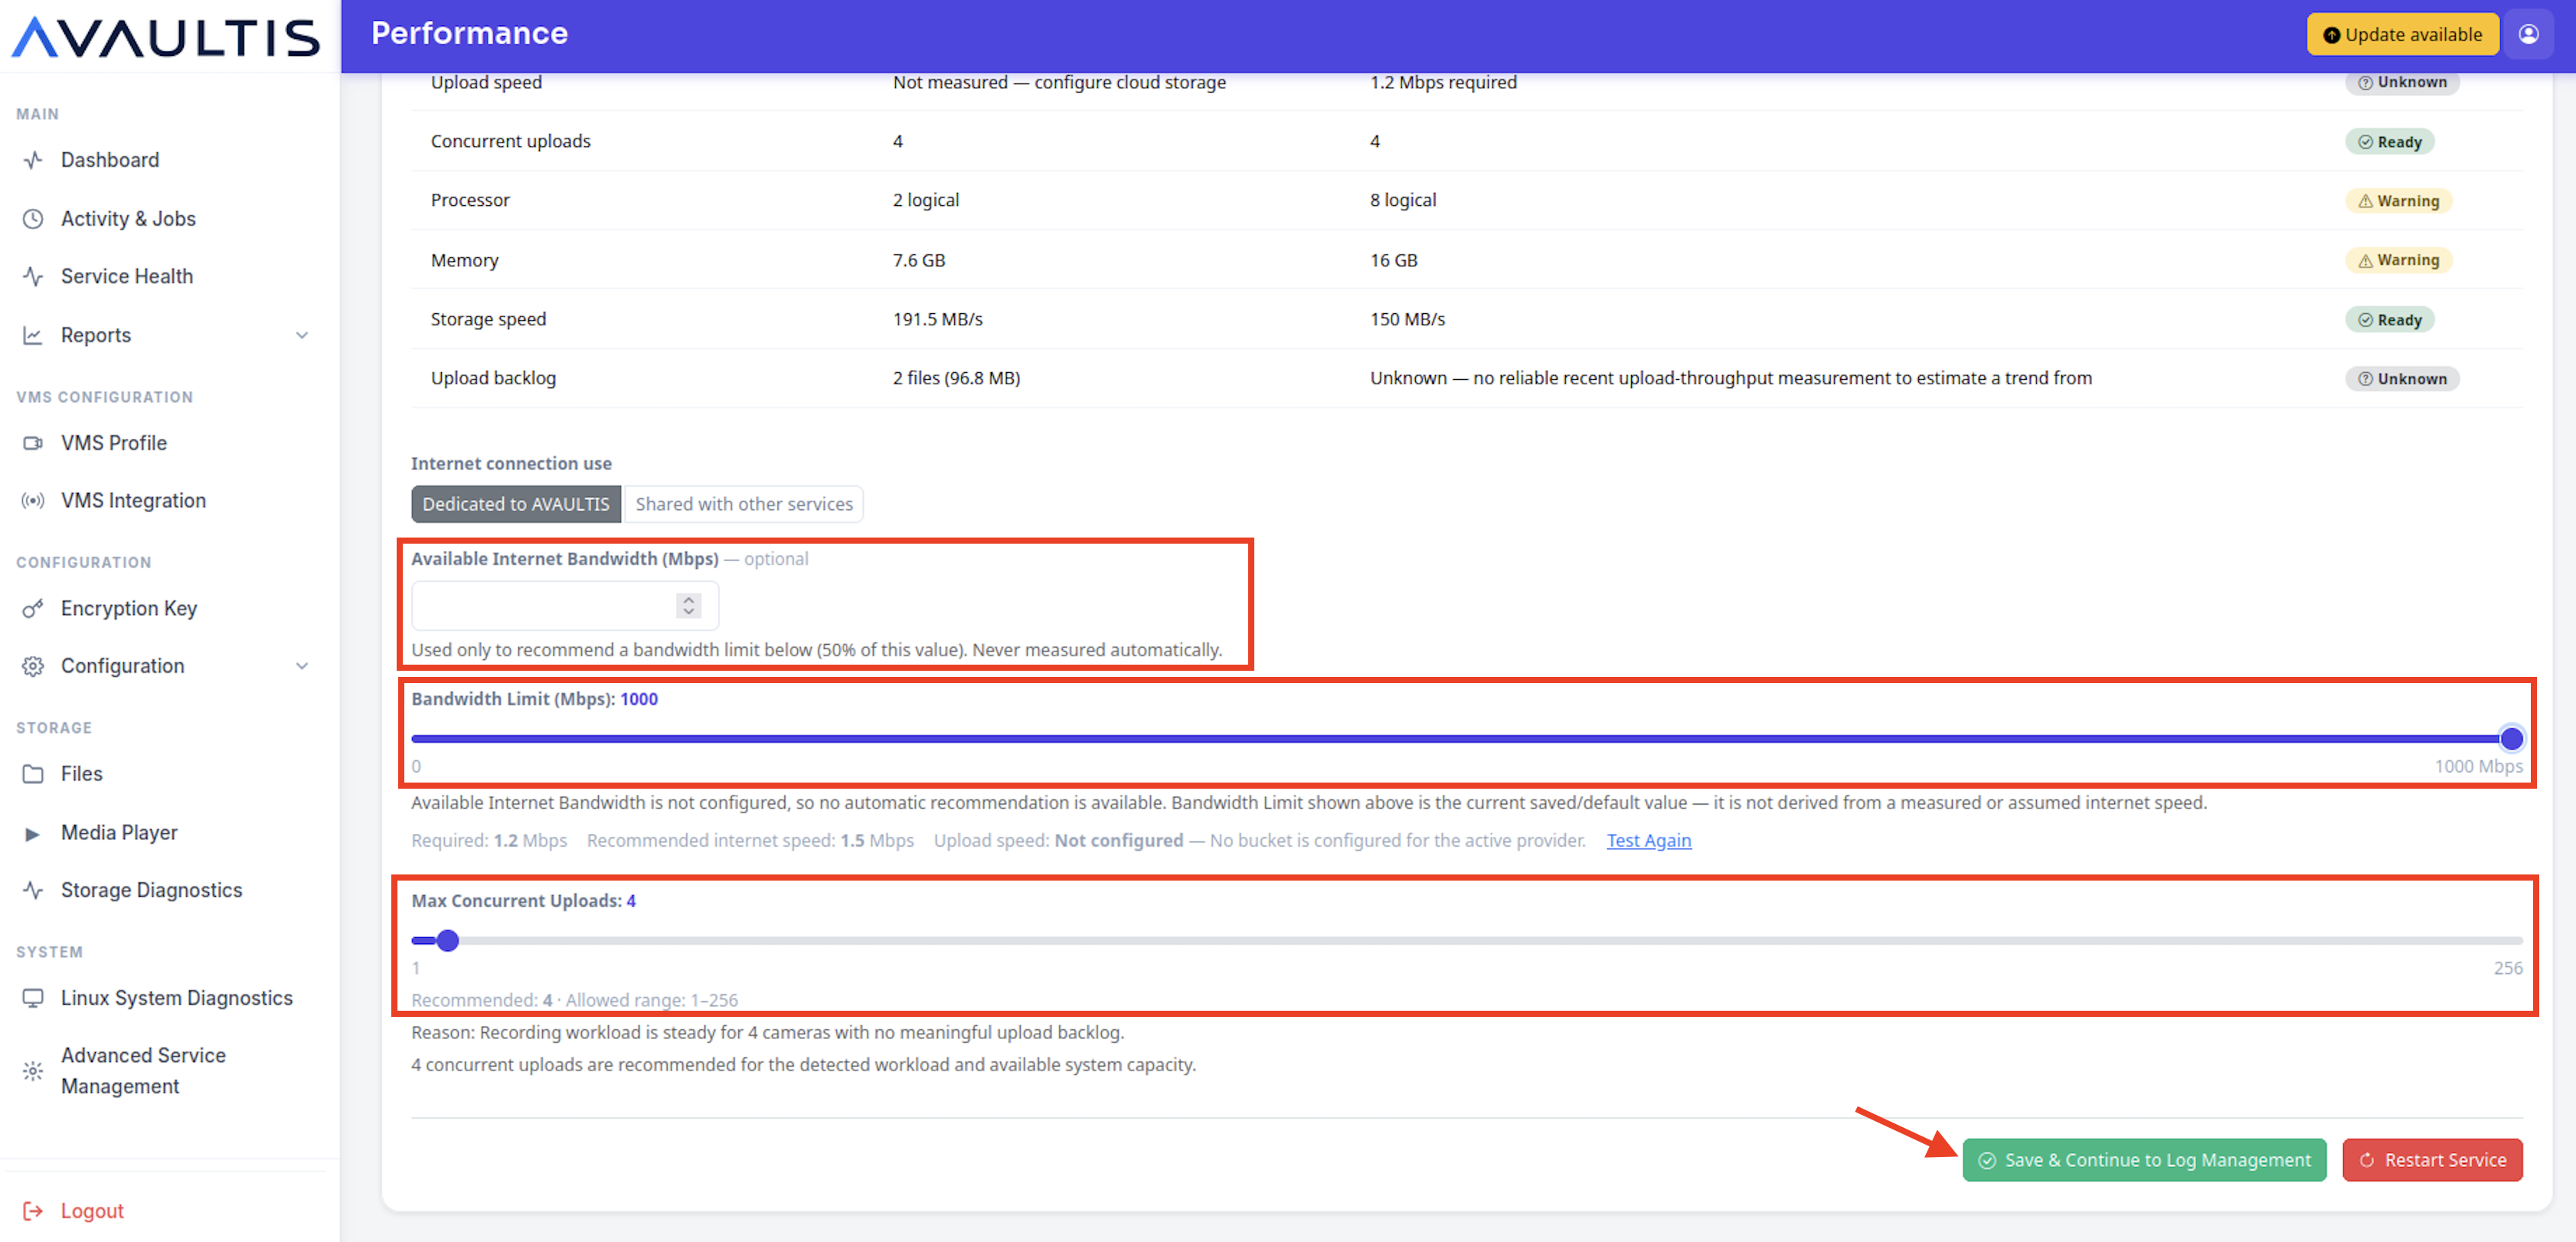
Configure bandwidth and performance settings.
Input your Available Bandwidth.
Set the Bandwidth Limit (usually half your available bandwidth, if possible).
Set the Max Concurrent Uploads to the number of cameras (usually).
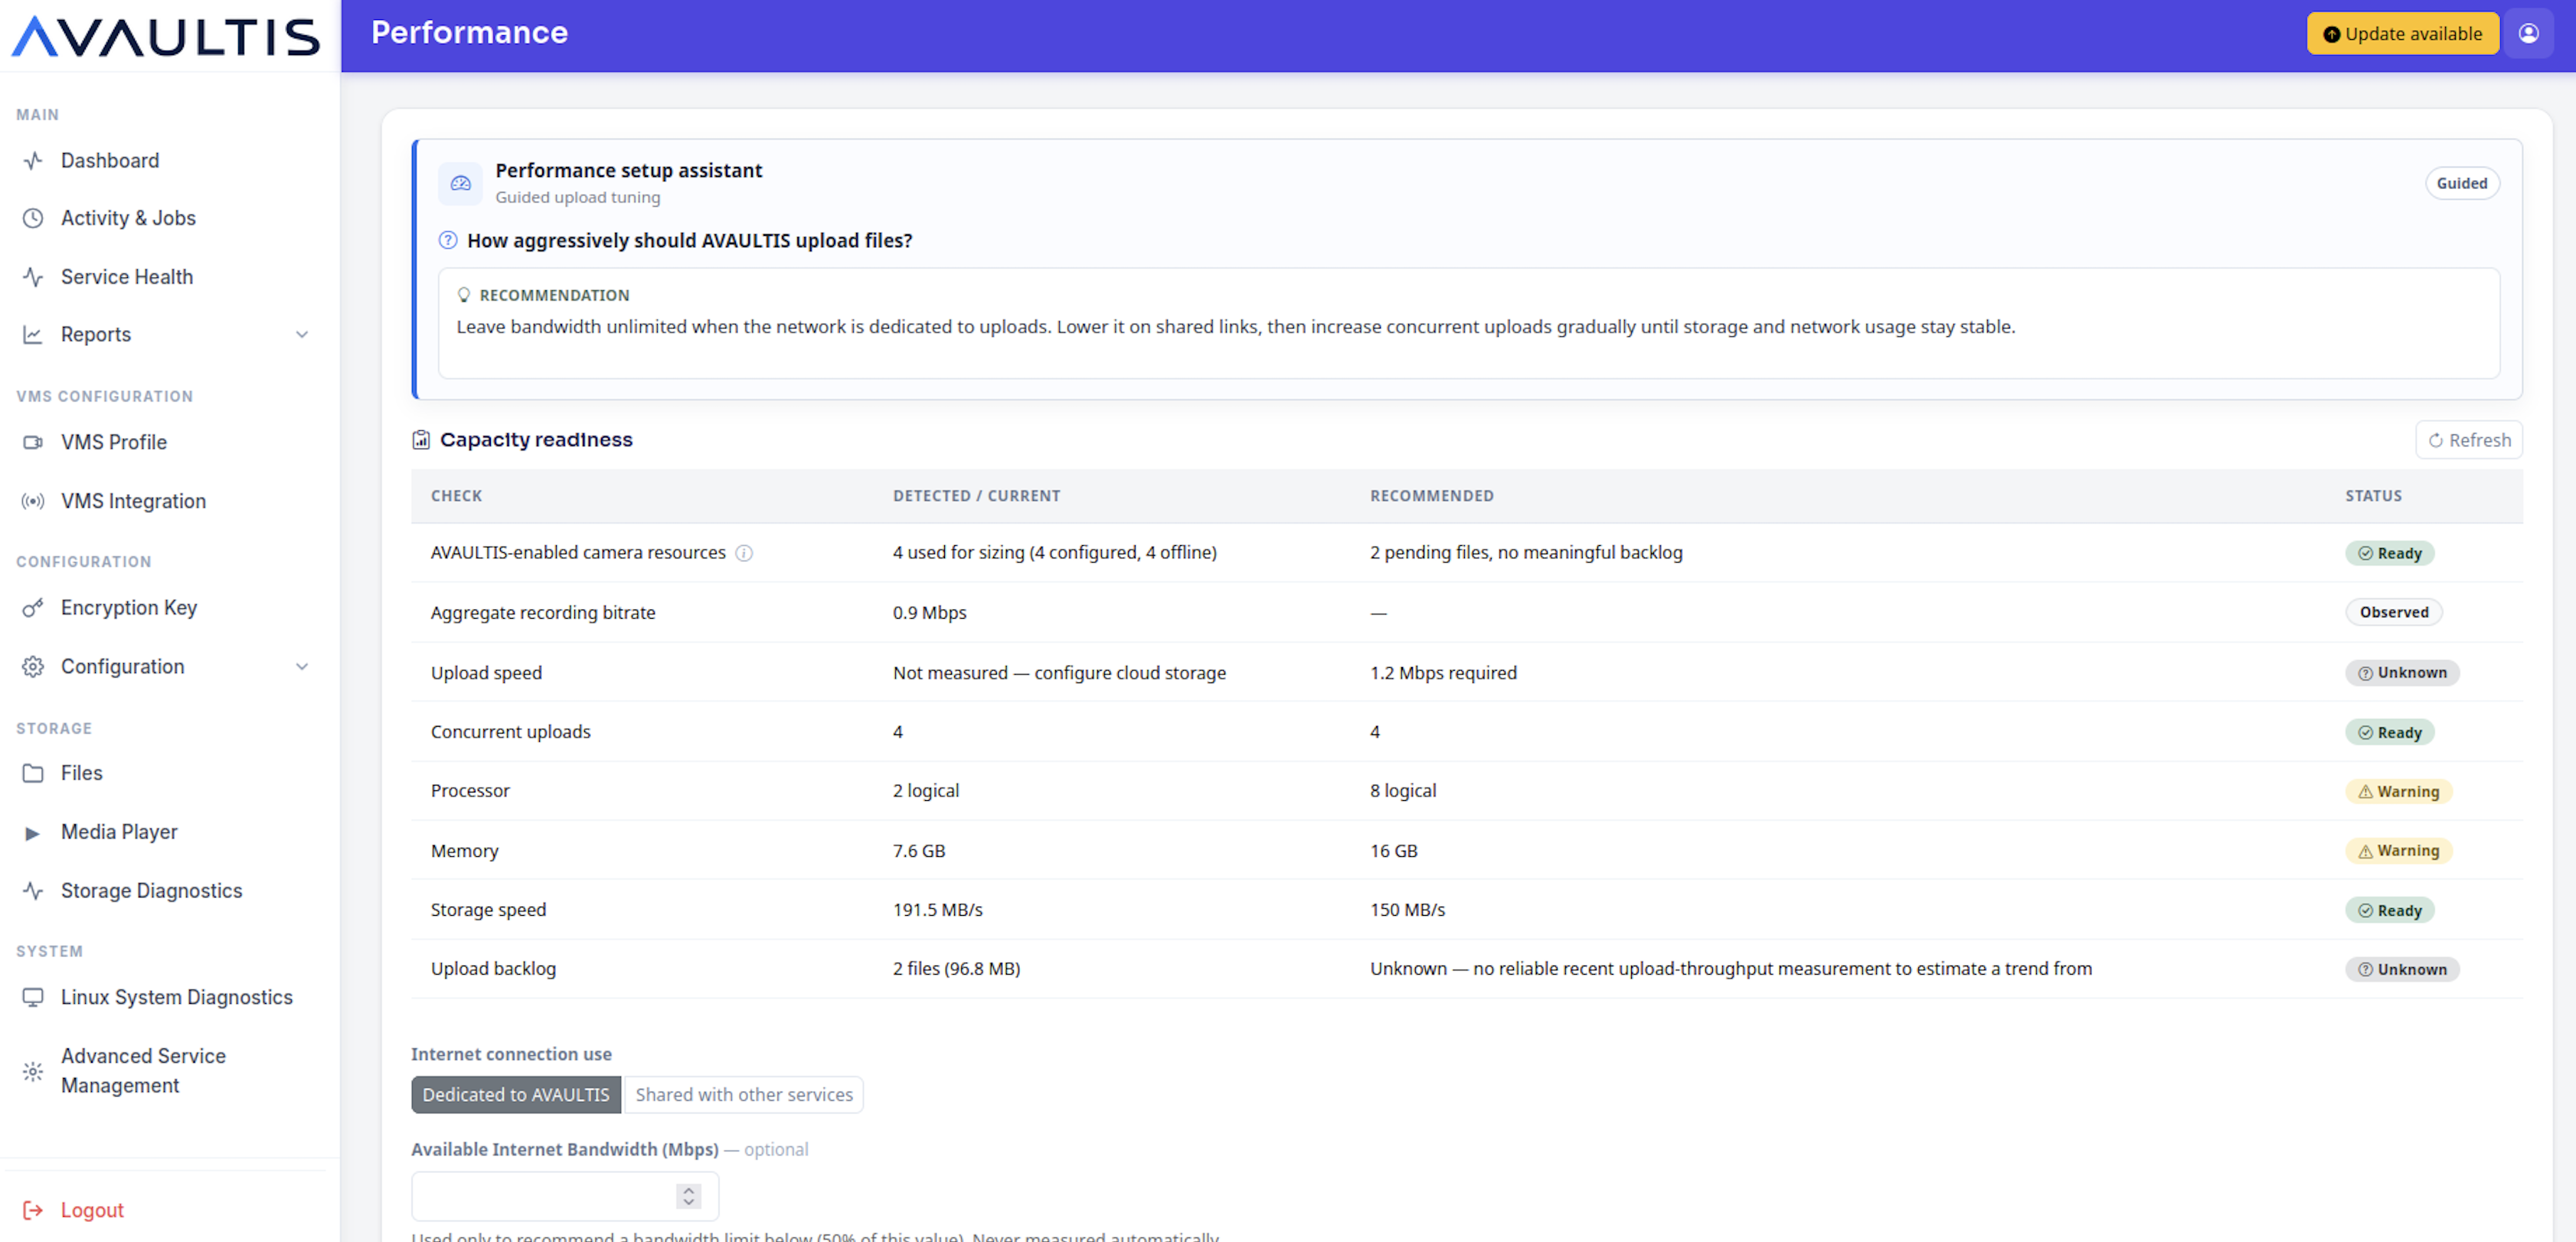
Click Save & Continue to Log Management.
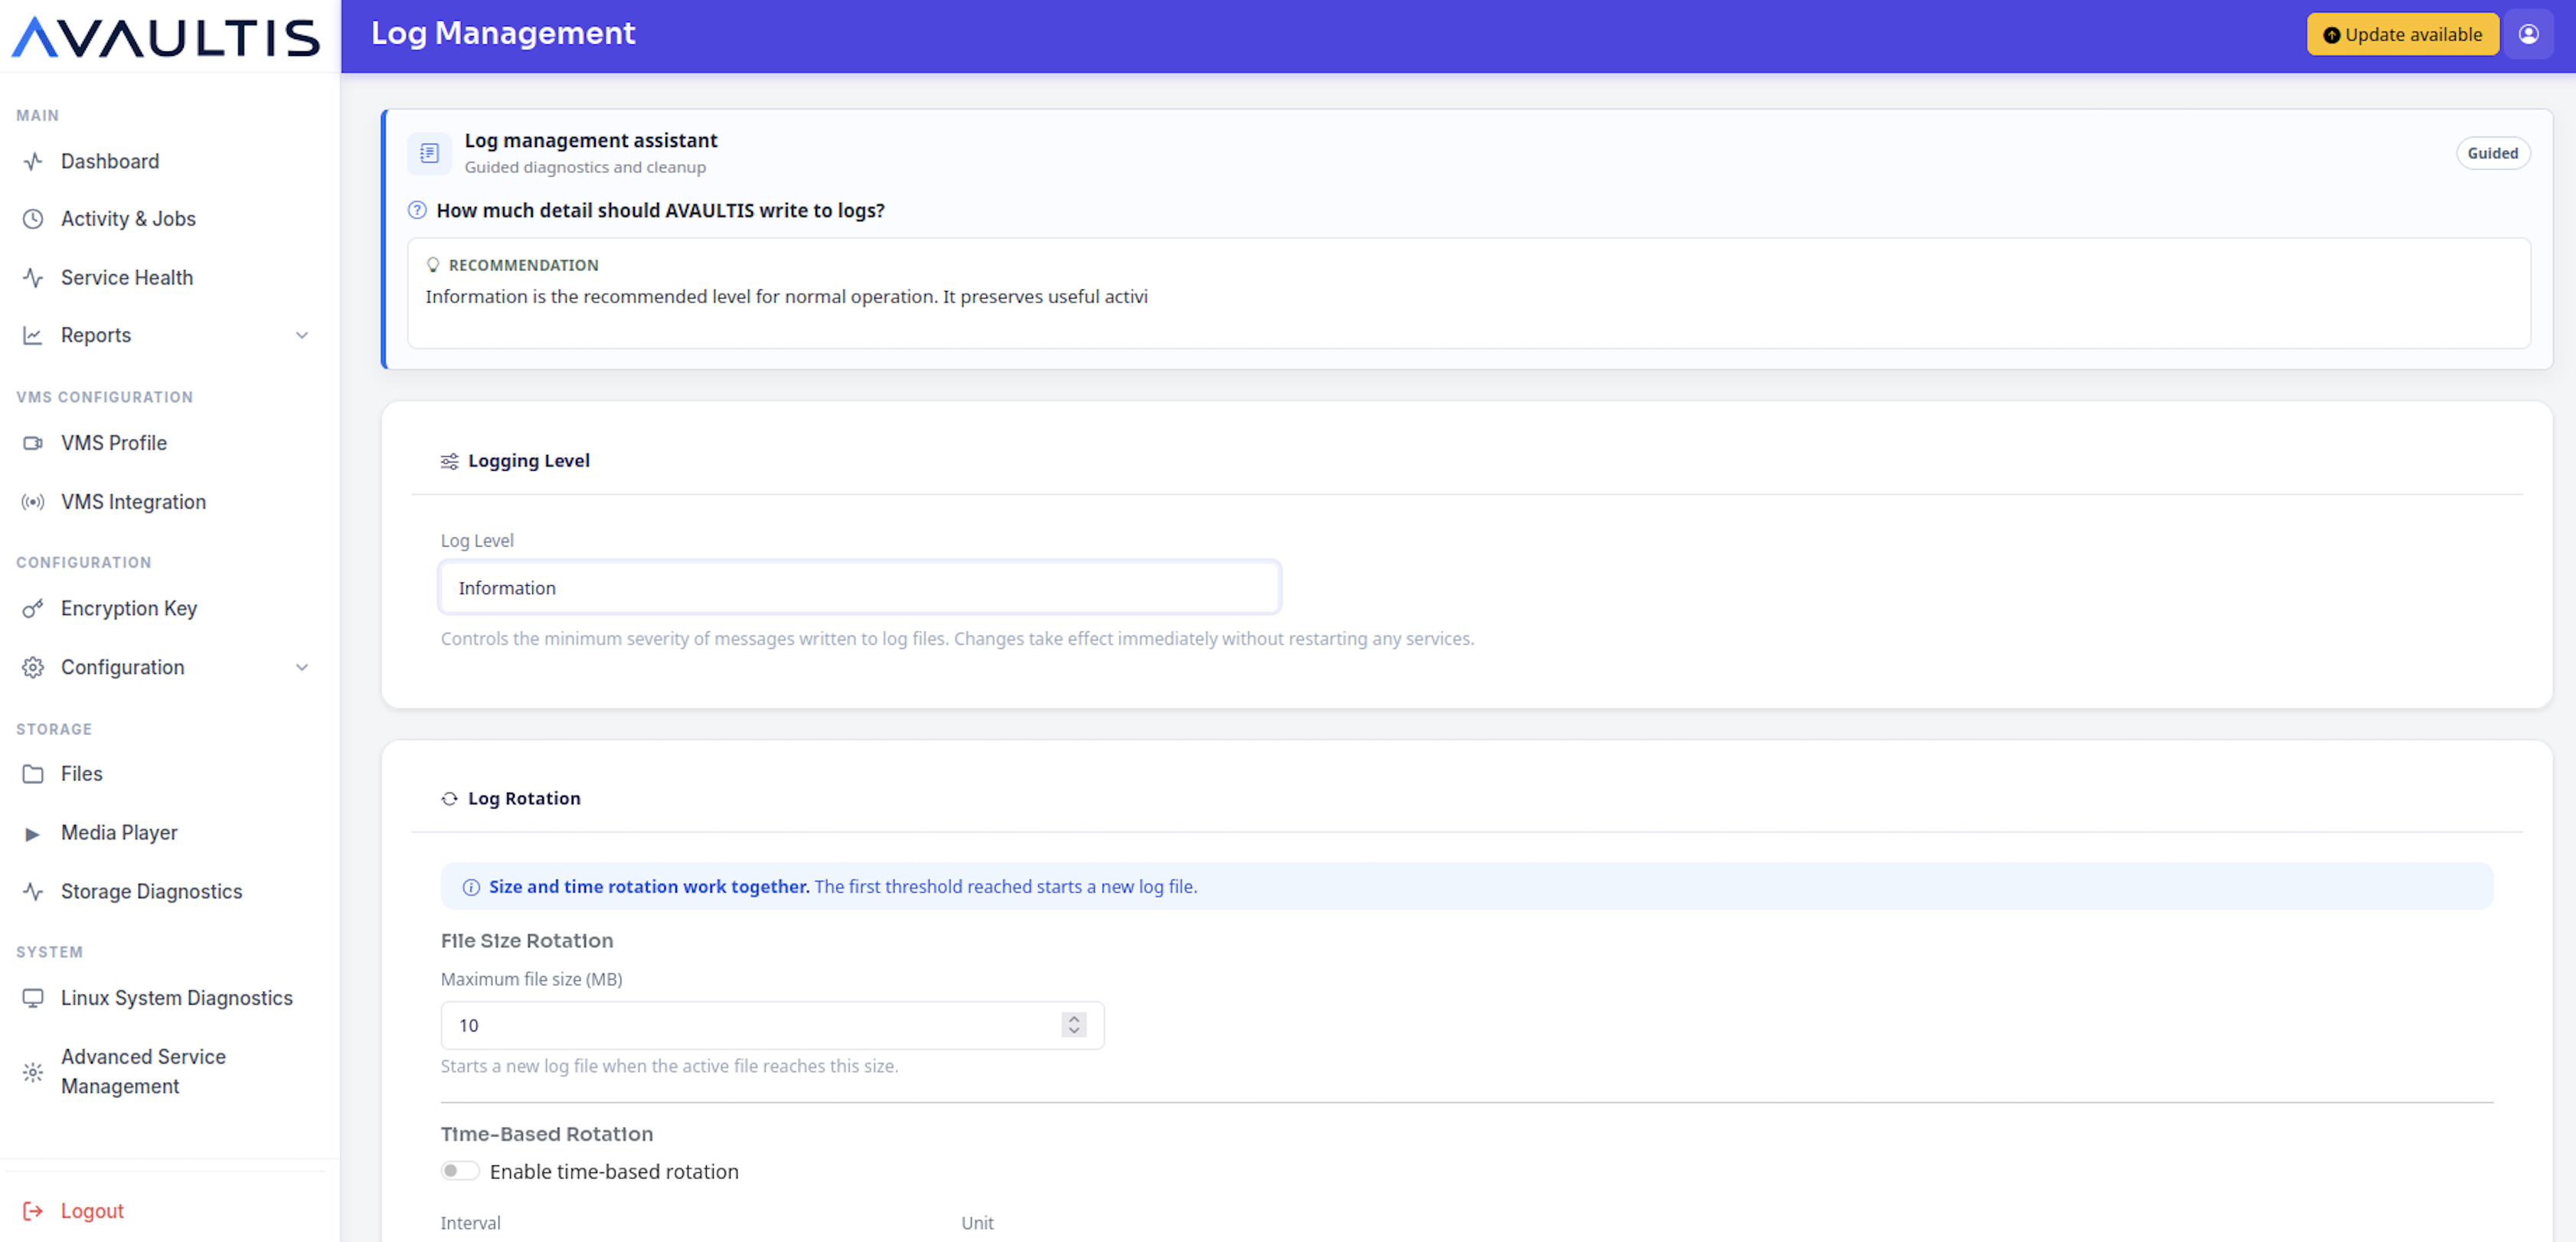
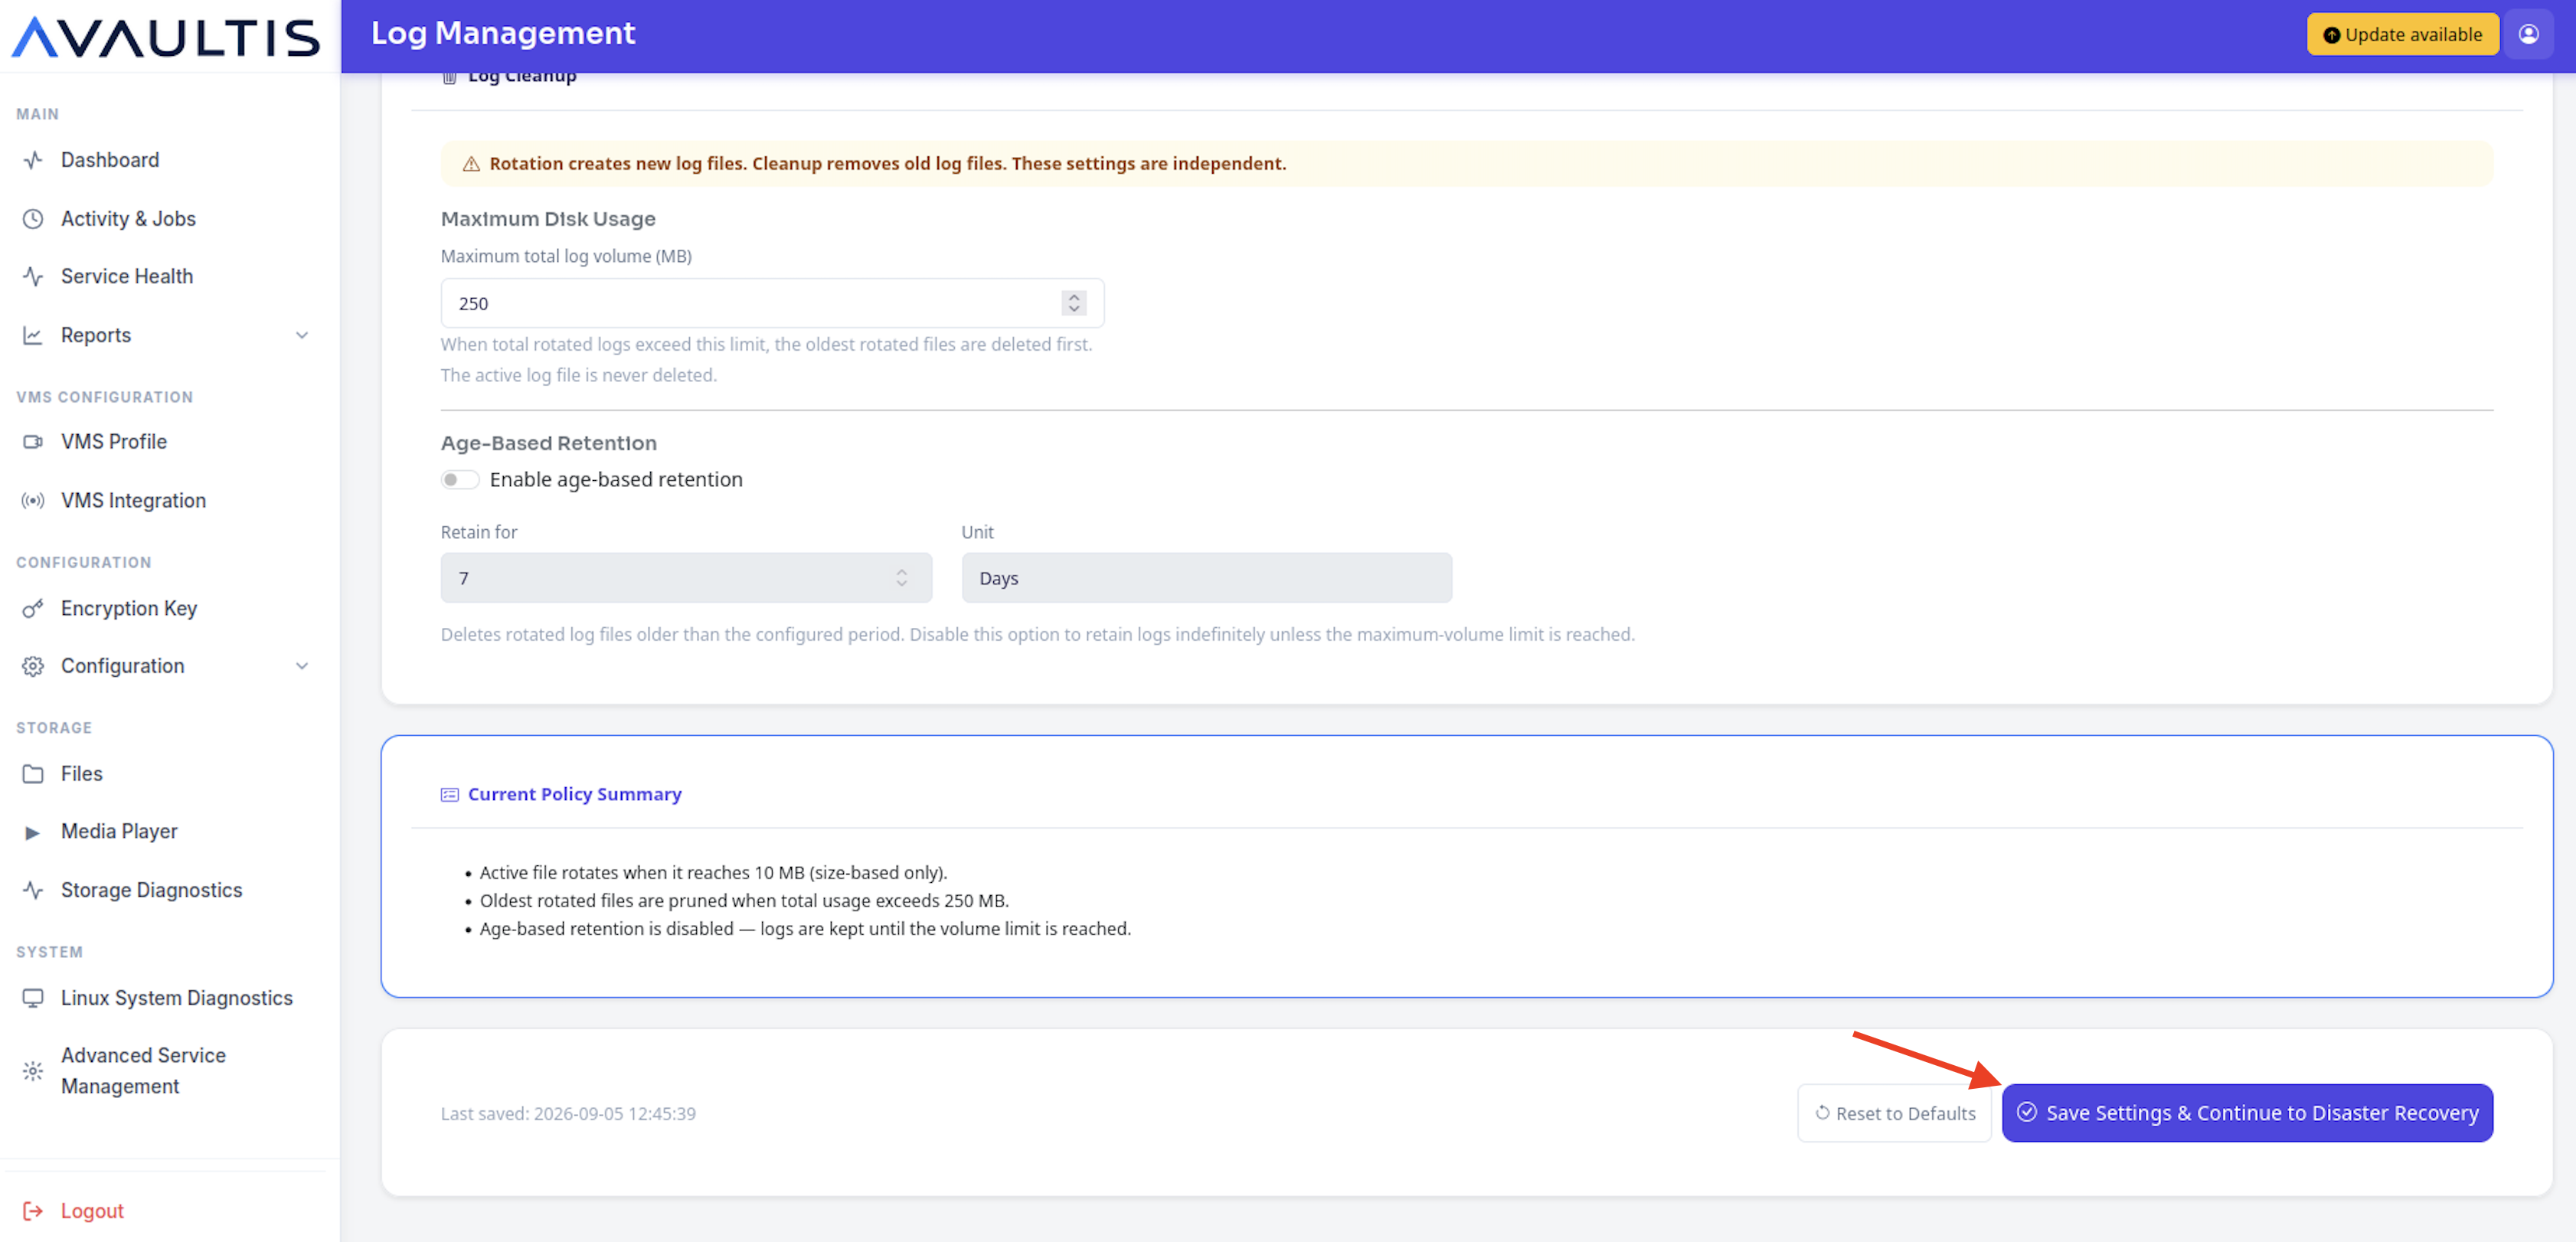
Leave the Log Management setting defaults.
Click Save Settings & Continue to Disaster Recovery.
To back up your configuration, click the toggle to enable Disaster Recovery. Include the following.
Set the Backup Interval.
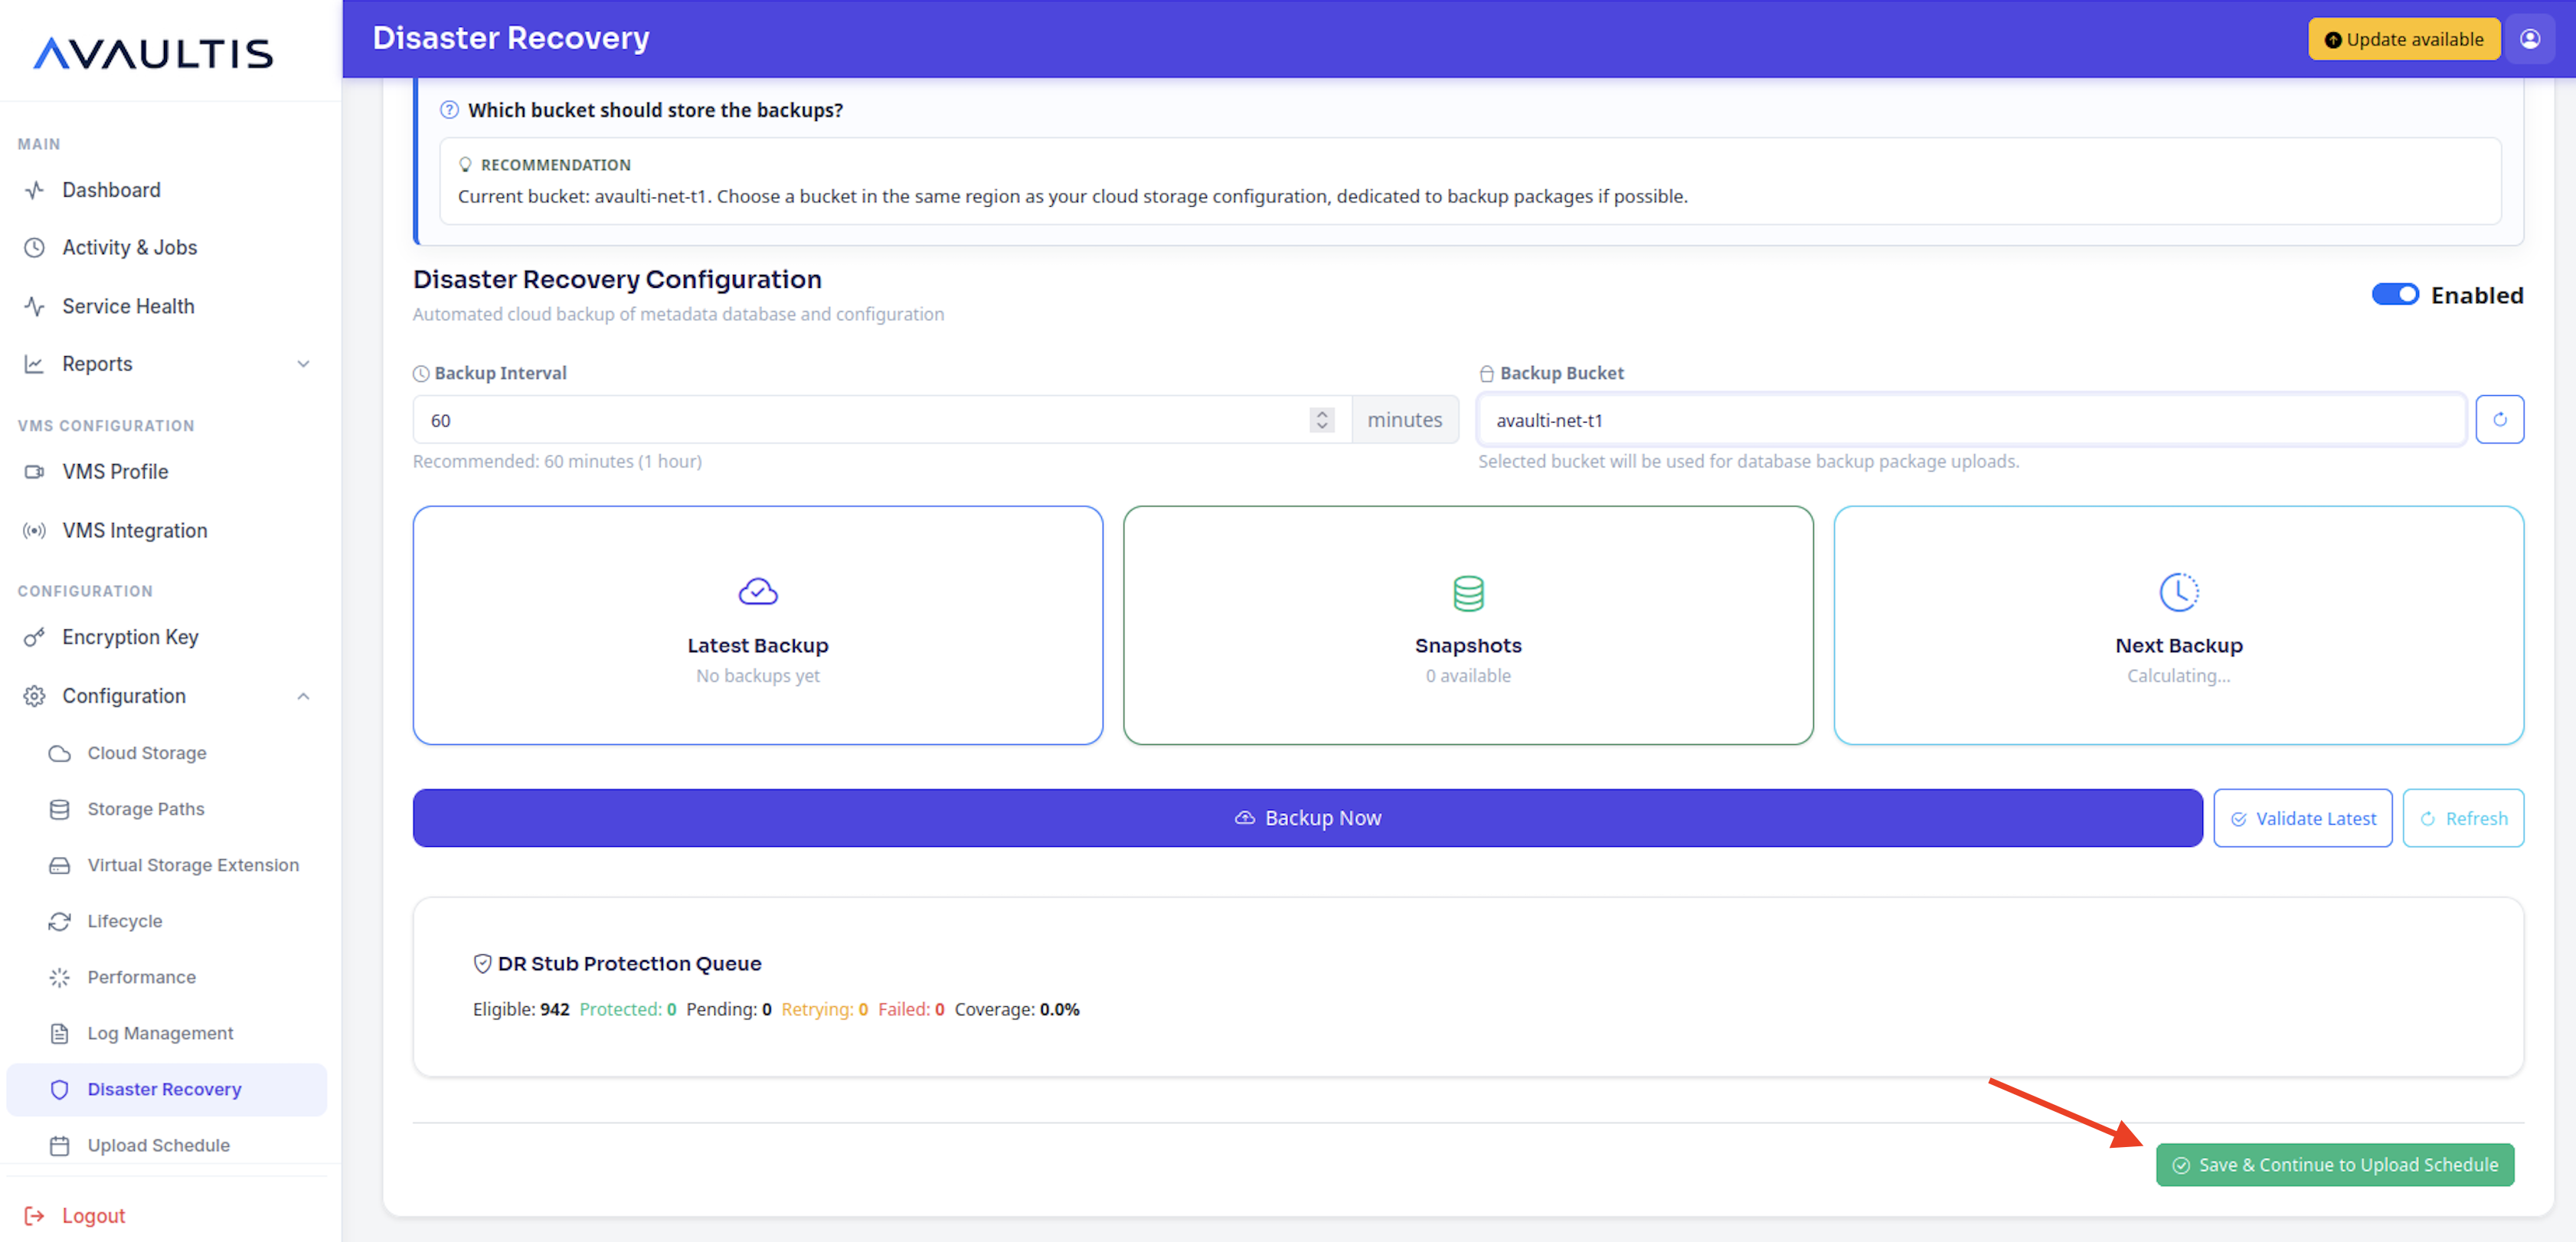
Choose your Wasabi bucket from the drop-down menu.
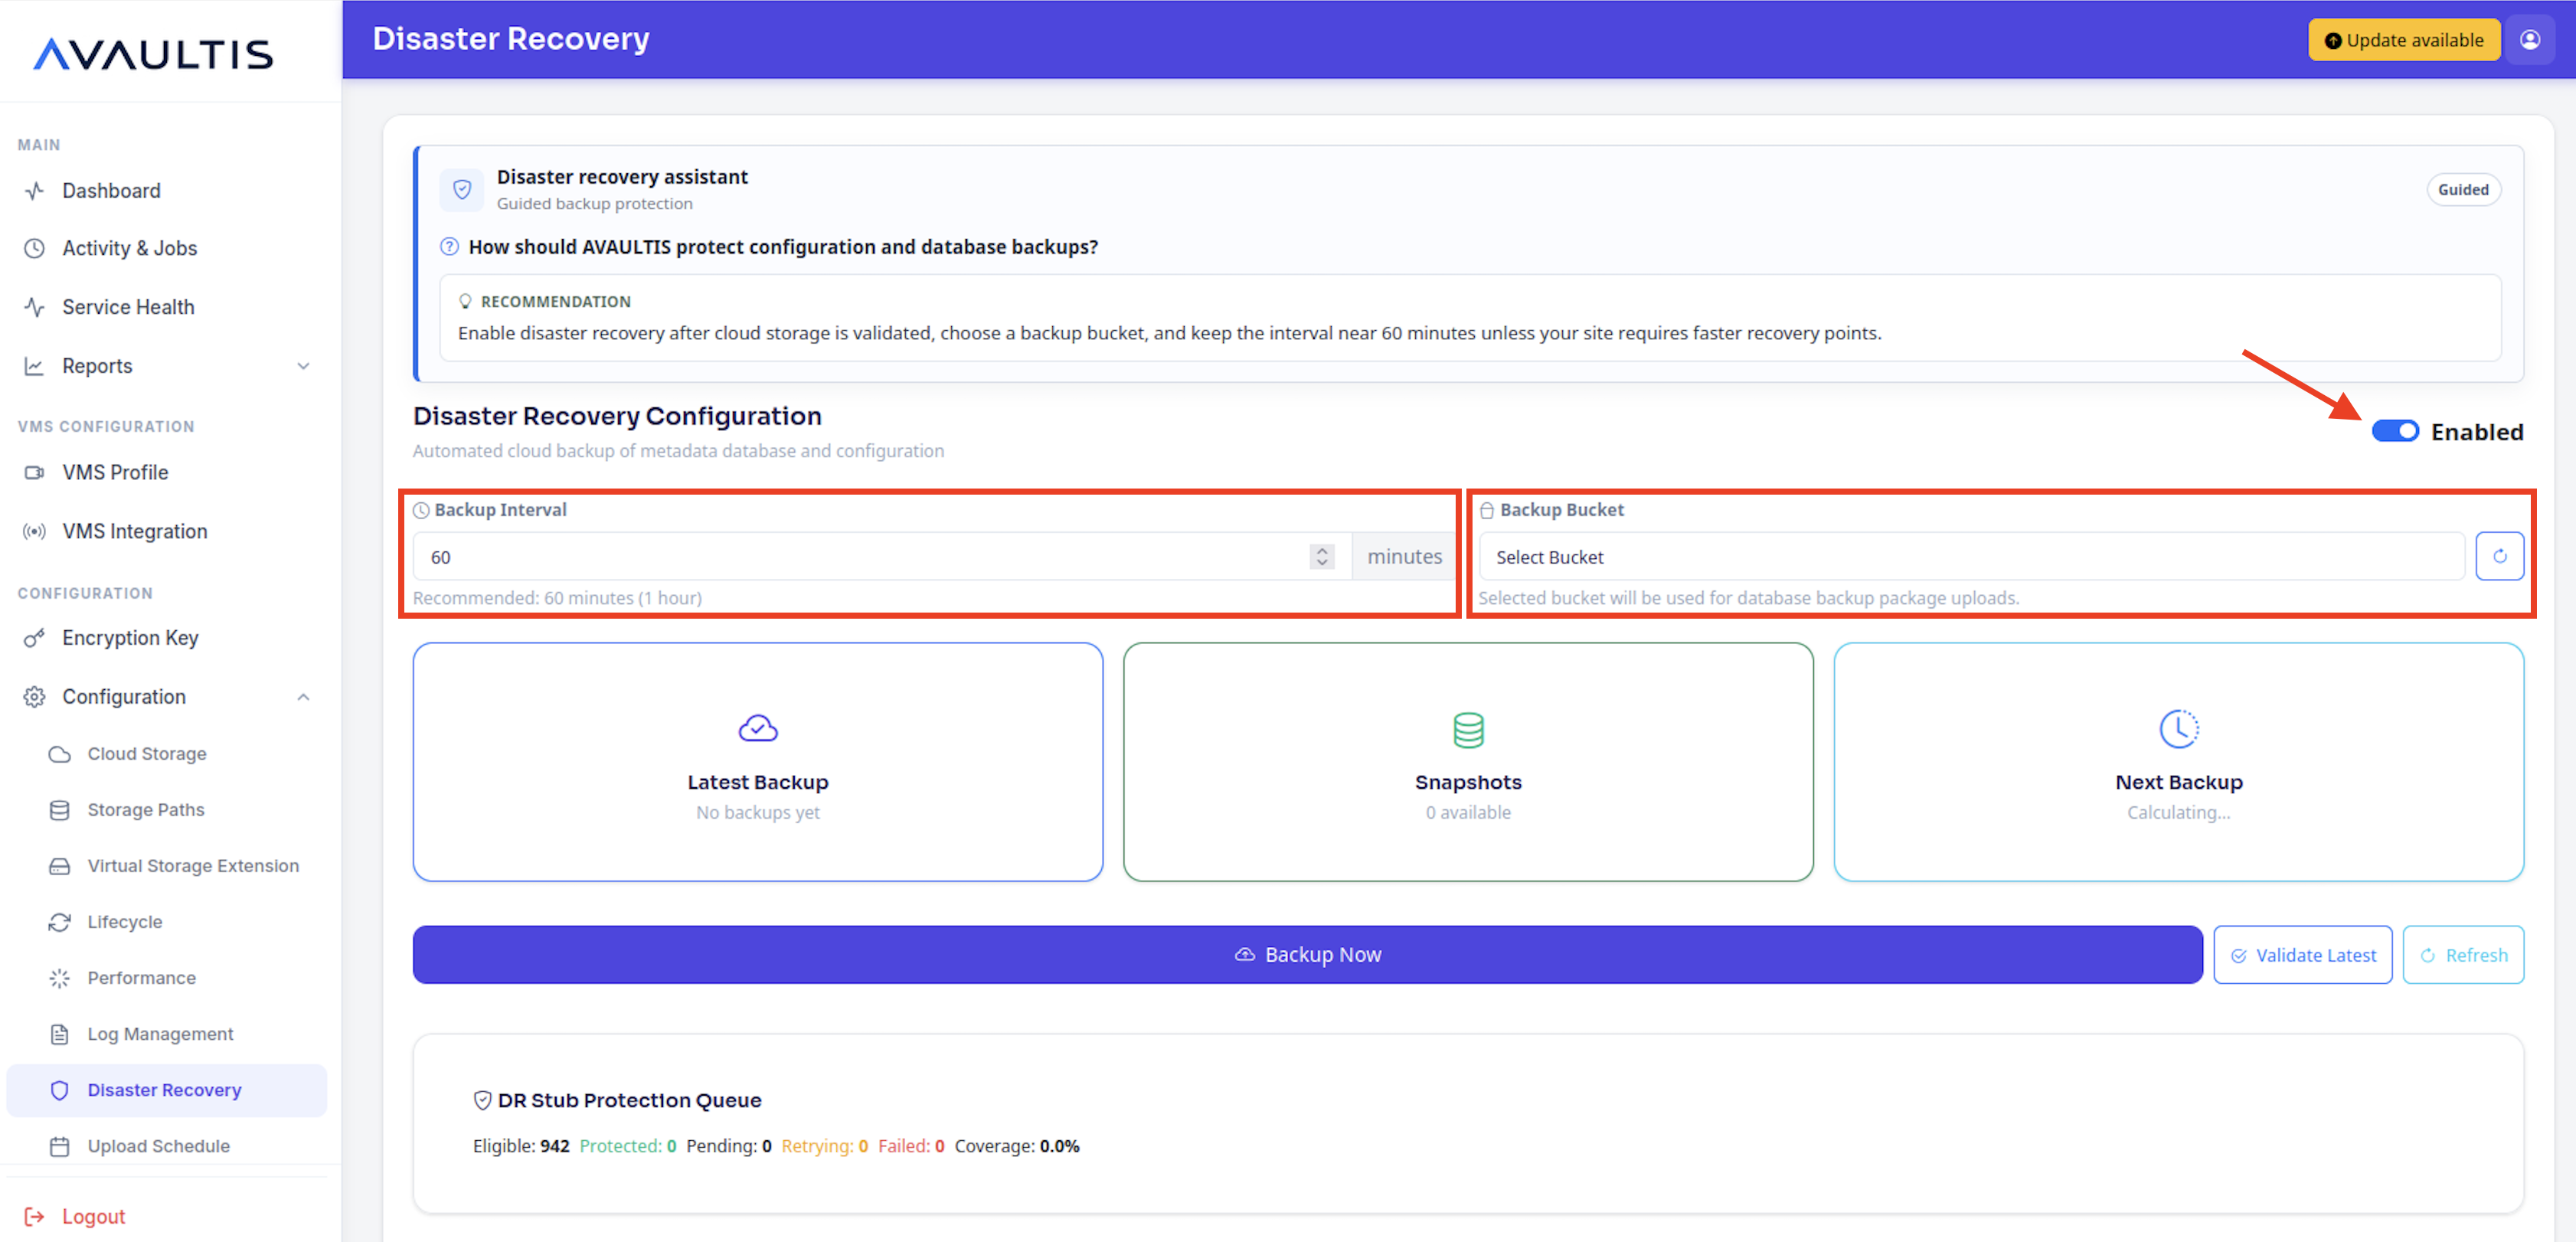
Click Save & Continue to Upload Schedule.
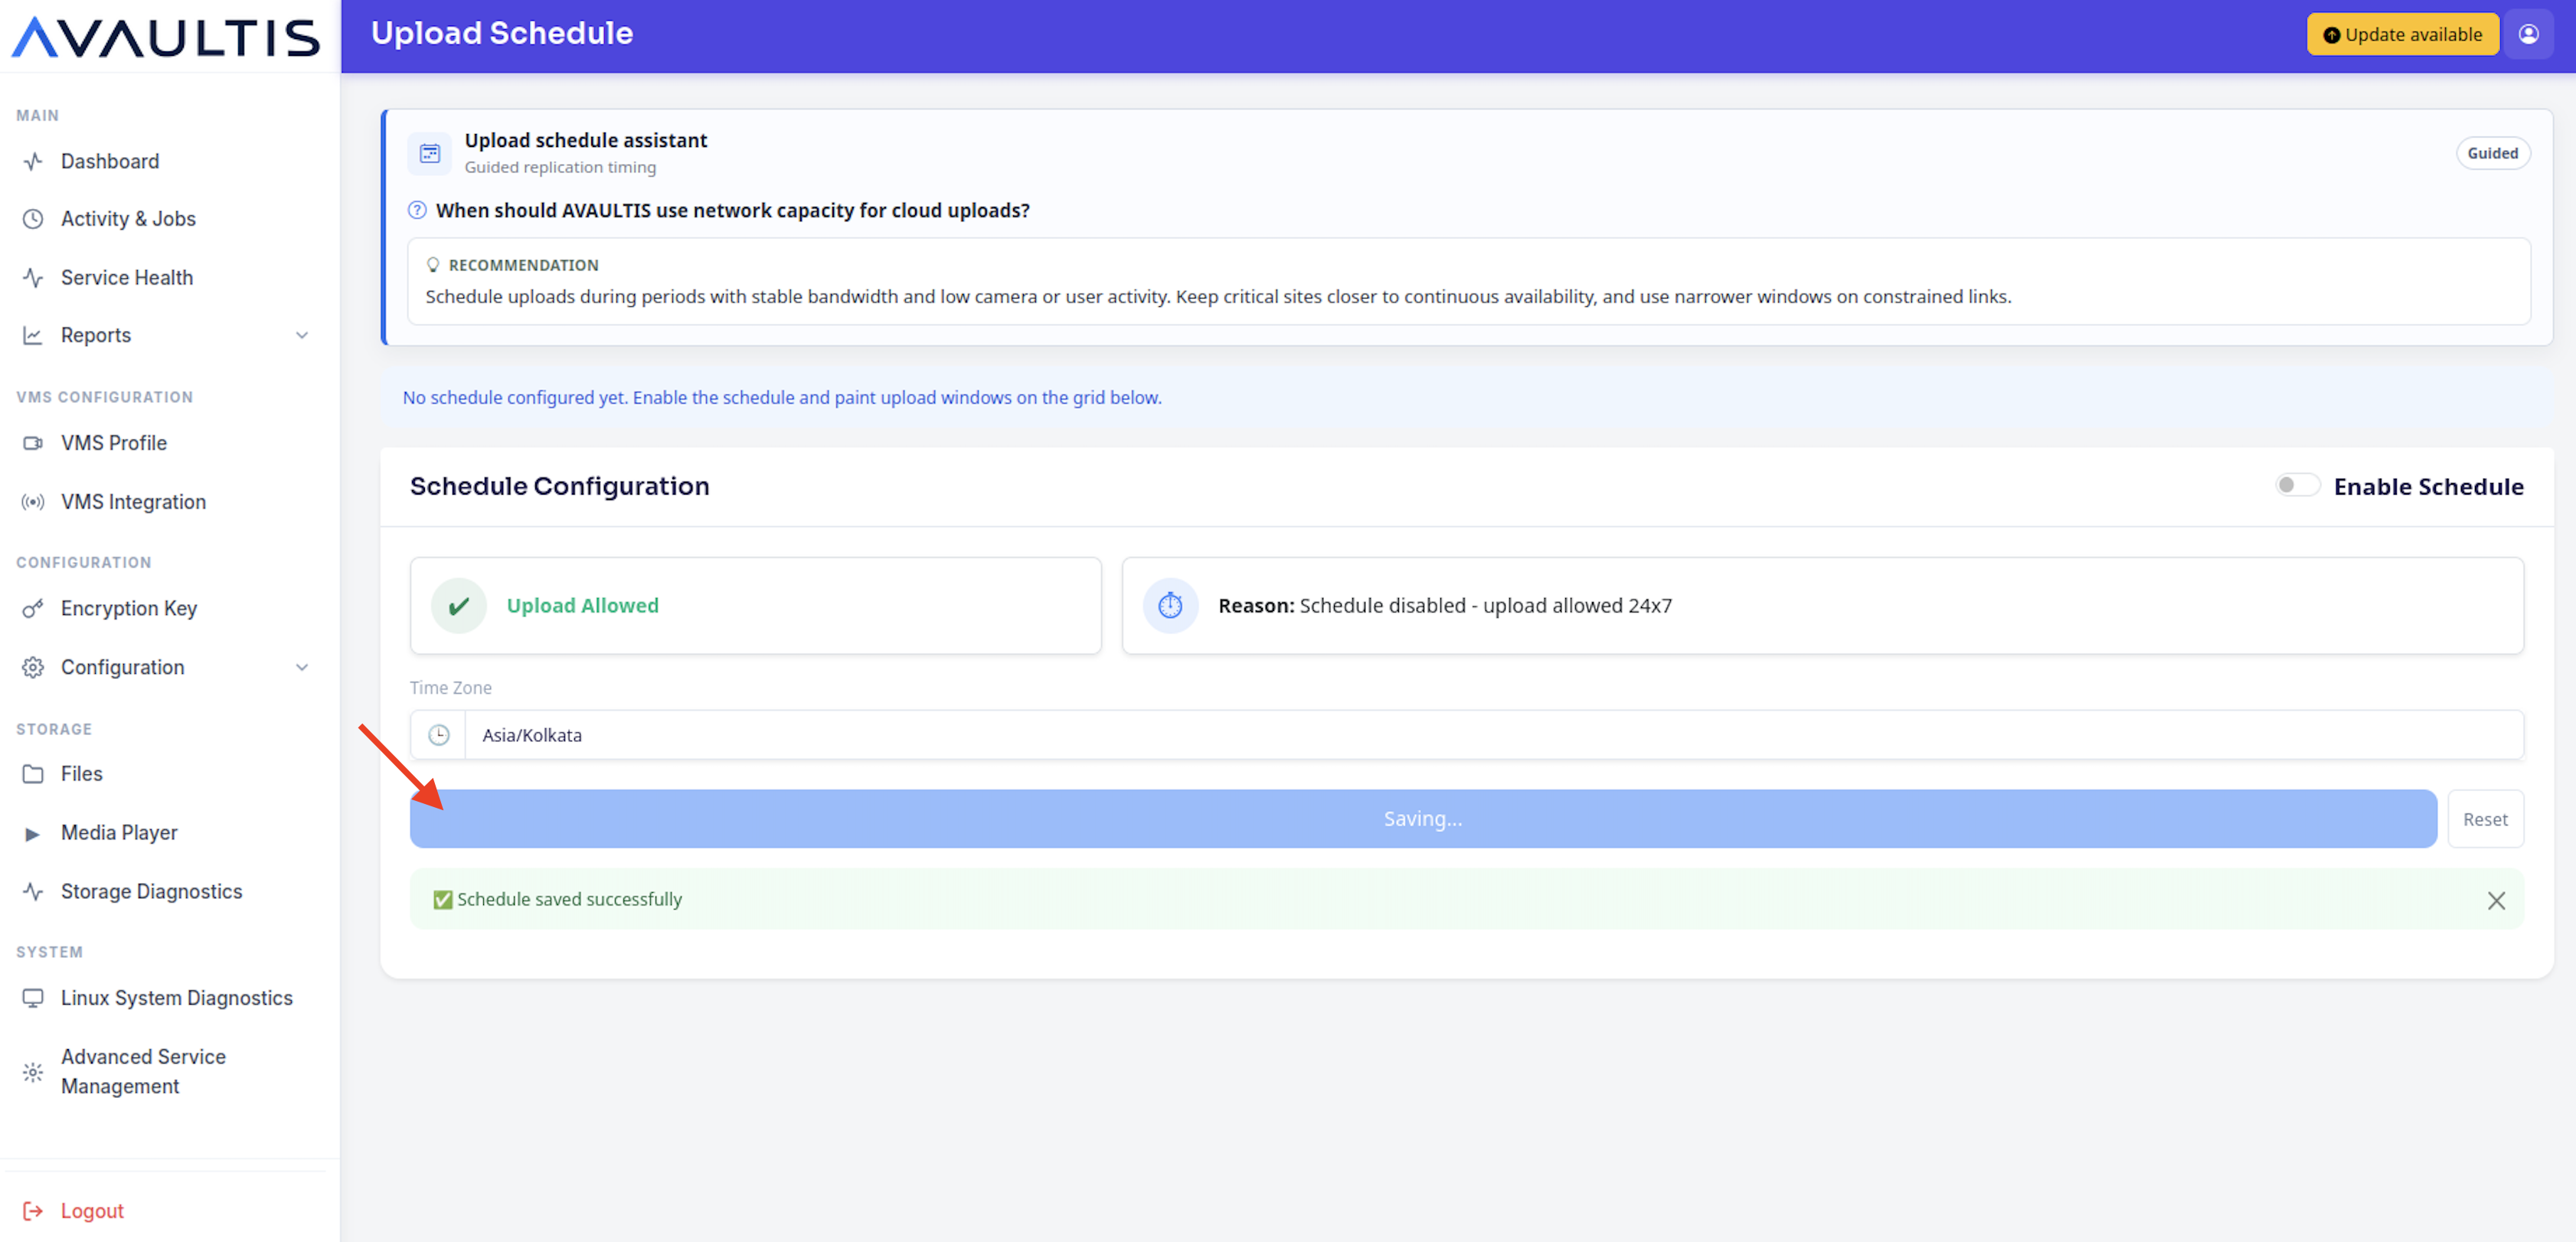
Unless you have specific requirements due to bandwidth limitations during operating hours, you can leave the Upload Schedule at defaults. Click Save.
Your videos will automatically start writing to Wasabi after the configured interval.