Creating a User
See Step 3 in Getting Started: Creating a User.
Creating a User With Billing Portal Access
You can give a sub-user the ability to view or update billing information. To do this, associate either of these predefined policies with the user:
WasabiViewBillingAccess to only view invoice details and download a PDF
WasabiModifyBillingAccess to update payment information
When creating the new user:
Allow IAM Users and Roles to access the Billing Portal. Click Settings on the Wasabi menu. Or, open the account sign-in
 drop-down and click Settings. Select Billing portal access for IAM Users and Roles and enable the setting.
As the Root user, create the sub-user. When prompted to associate policies, attach WasabiViewBillingAccess and/or WasabiModifyBillingAccess.
When the new sub-user first logs in to Wasabi, an Access Denied message may appear. This occurs because the system attempts to show a list of all buckets. Once the policy is applied, the Billing Portal is displayed.
Deleting a User
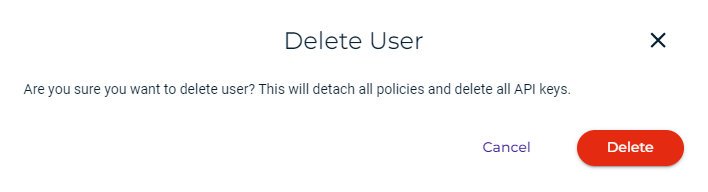
Deleting a user will detach all policies and delete all API keys.
On the Users panel, click on a user to delete. The User panel is displayed. For example:
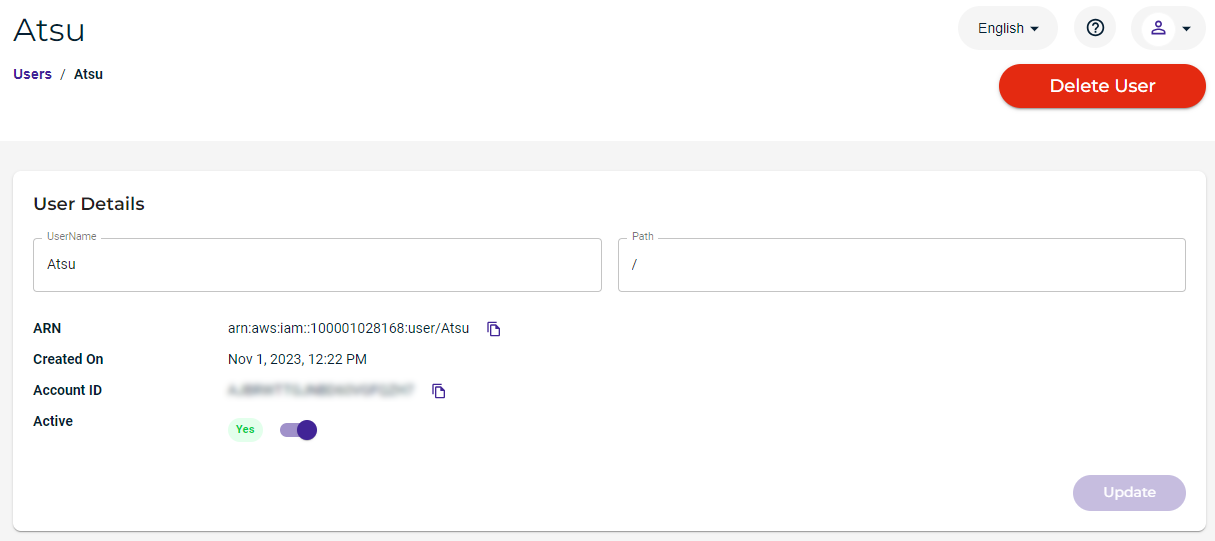
Click Delete User.
A message asks you to confirm that you want to delete the user. Click Delete to do so.