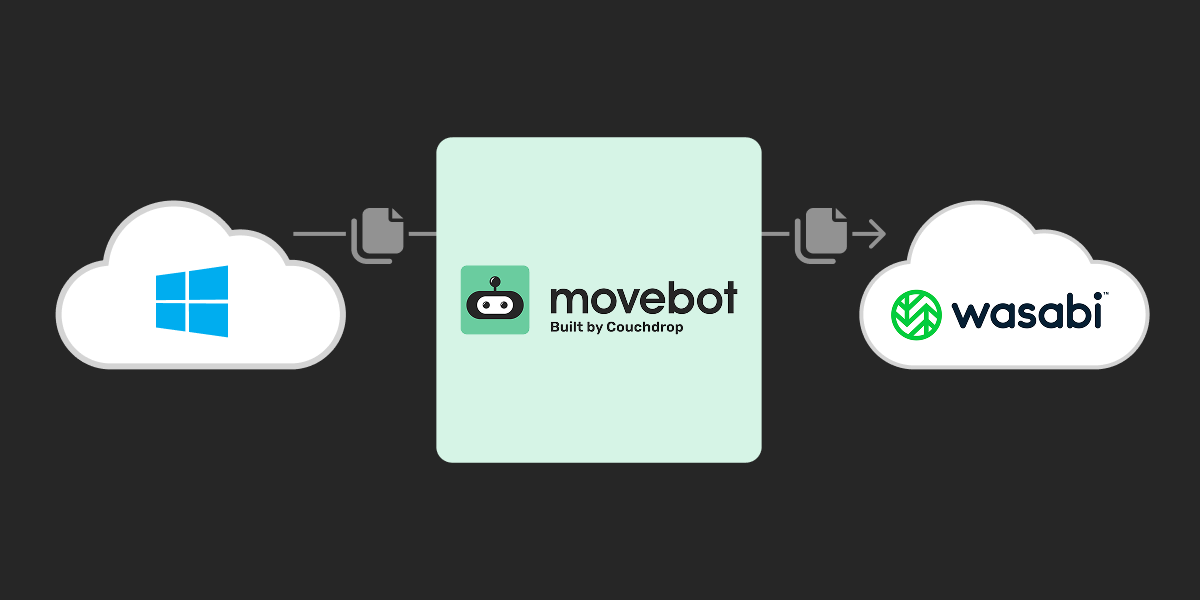
Couchdrop's Movebot has been validated for use with Wasabi. To use this product with Wasabi, follow the instructions below. This article also applies to macOS.
Reference Architecture
Requirements
Source Platform access
An active Movebot account
An active Wasabi account
Wasabi bucket (see 2—Working With Buckets and Objects)
Access & Secret Key pair (see 3—Creating a User Account and Access Key)
Configuring a Migration
Log in to the Movebot portal and click Create Project.

Give the project a name, choose the migration type, and click Save and Configure Source.

Click Connect New Storage (or select an existing connection from the drop-down).

Give the connection a name and select Microsoft Windows/Apple OSX as the connection type.
.png)
Copy the Agent Token, save it in a secure location, and click Windows Download.
.png)
Install the downloaded software on your Windows File Server. Start the agent software, paste the Agent Token, and click Save and Test Connection.
.png)
On the Movebot console, click Save and Test Connection.

Click Save and Close.

Click Save and Configure Destination.

Click Connect New Storage (or select your existing Wasabi connection).

Give the connection a name, select Wasabi as the connection type, select the region your Wasabi bucket is in, enter your bucket name, and enter your Wasabi access key and secret key. Click Save and Test Connection.
This configuration example discusses the use of Wasabi's us-east-1 storage region. Use the region your bucket is located in. For a list of regions, see Available Storage Regions.

Click Save and Close.

Click Save and Next.

Select which options to use. Do not select Include Permissions or Include Versions. Scroll down.

Click Save and Next.

Configure any files to ignore or content to exclude and scroll down.

Configure any filename transformations and click Save and Finalise.

Choose the remaining options and scroll down.

Continue by selecting the Movebot region (we selected the recommended region during our testing). Scroll down.

Click Add Transfer.

Select the transfer method. In this example, we selected Folder to Folder using Browser.

Select the drive you wish to migrate, or click Set Manual Path if you only want to migrate a specific folder. In our testing, we chose to migrate only a specific folder.

Enter the path of the folder you wish to migrate if not migrating an entire drive and click Choose Destination.
.png)
Under the Specify Destination Folder text box, enter a forward slash to select the root folder, or select a sub-folder. Click Save Transfers.

Click Close.

Select your transfer at the bottom of the page.

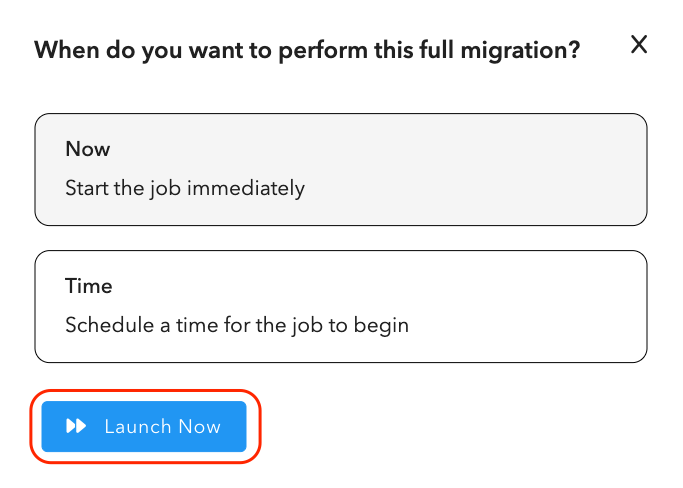
Click Start Full Migration.

Select when to perform the migration and click Launch Now.
Click OK on the popup prompt.

You will see Movebot is waiting for resources to launch.

After the migration, the Status will show Finished. Review the results to address any issues encountered during the migration.
