MSP360 Managed Backup Service(opens in new tab) (formerly CloudBerry) software is certified for use with Wasabi. To use this product with Wasabi, follow the simple steps below to configure MSP360 Managed Backup Service with your Wasabi storage account.
Requirements
Active Wasabi Cloud Storage Account
Wasabi bucket (see Creating A Bucket)
Access & Secret Key pair (see Creating a User Account and Access Key)
Active MSP360 Managed Backup Service Account (see Cost Calculators for MSP360 Managed Products)
MSP360 MBS Agent installed on the client machine (version 8.6.0.338, as of this document)
Configuring Wasabi as a Storage Account
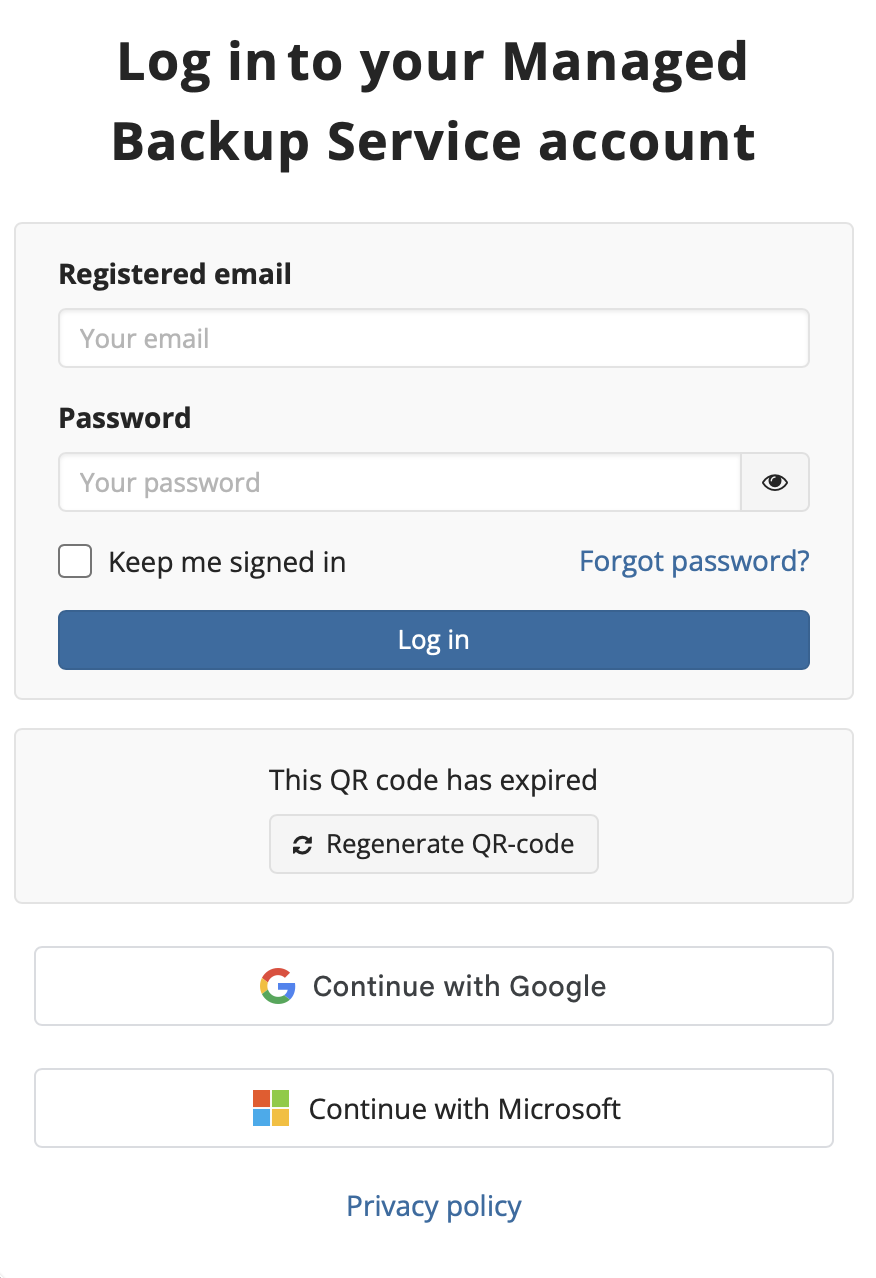
Log in to the MSP360 Managed Backup Service account at https://console.msp360.com.
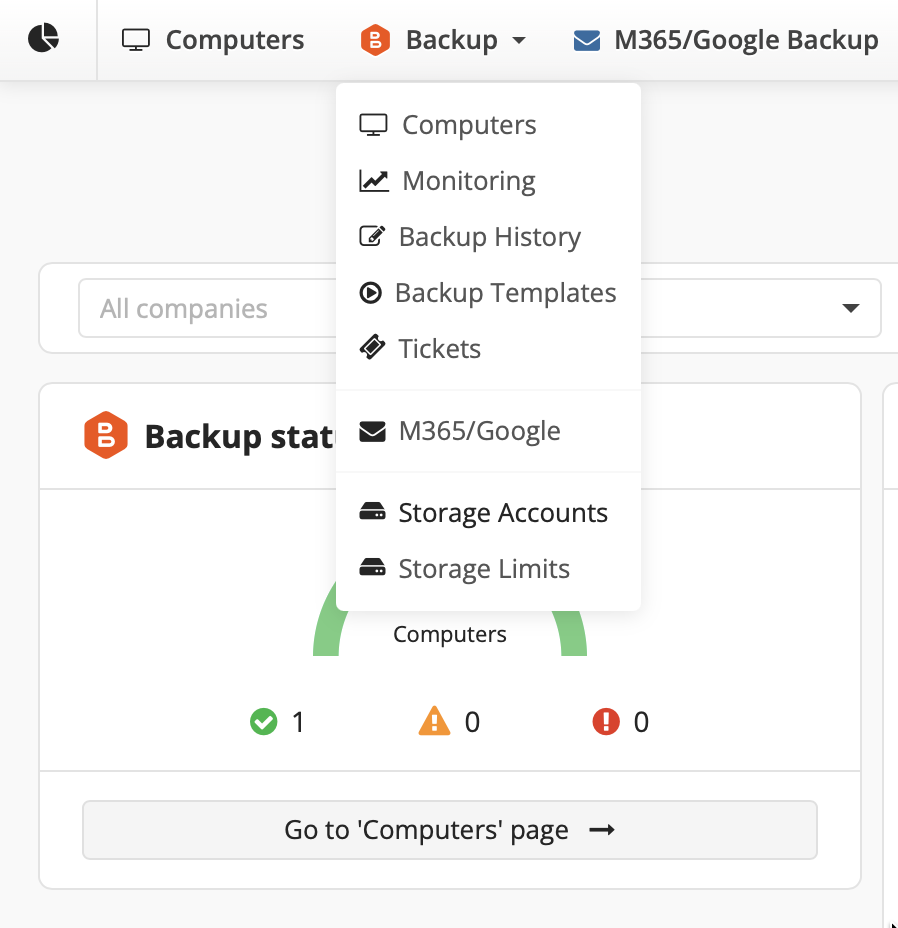
Select the Backup tab.
Select Storage Accounts from the toolbar at the top.
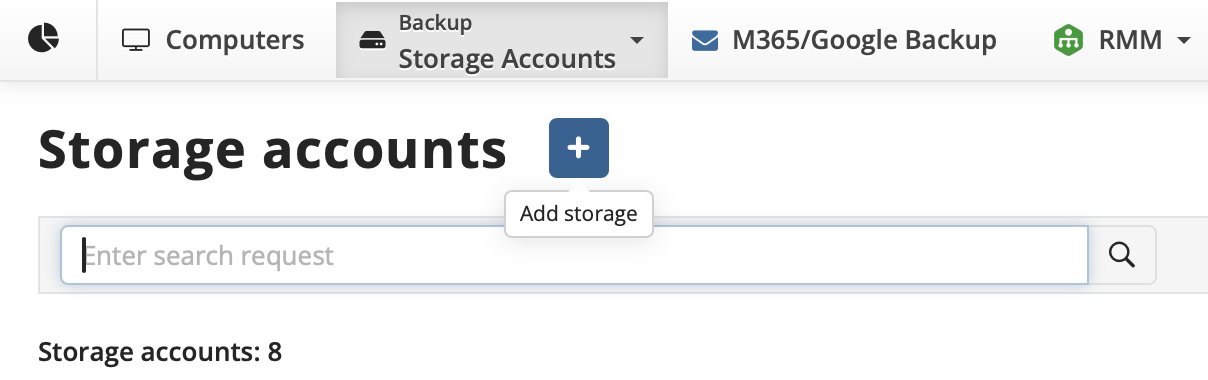
Click + to add a storage account.
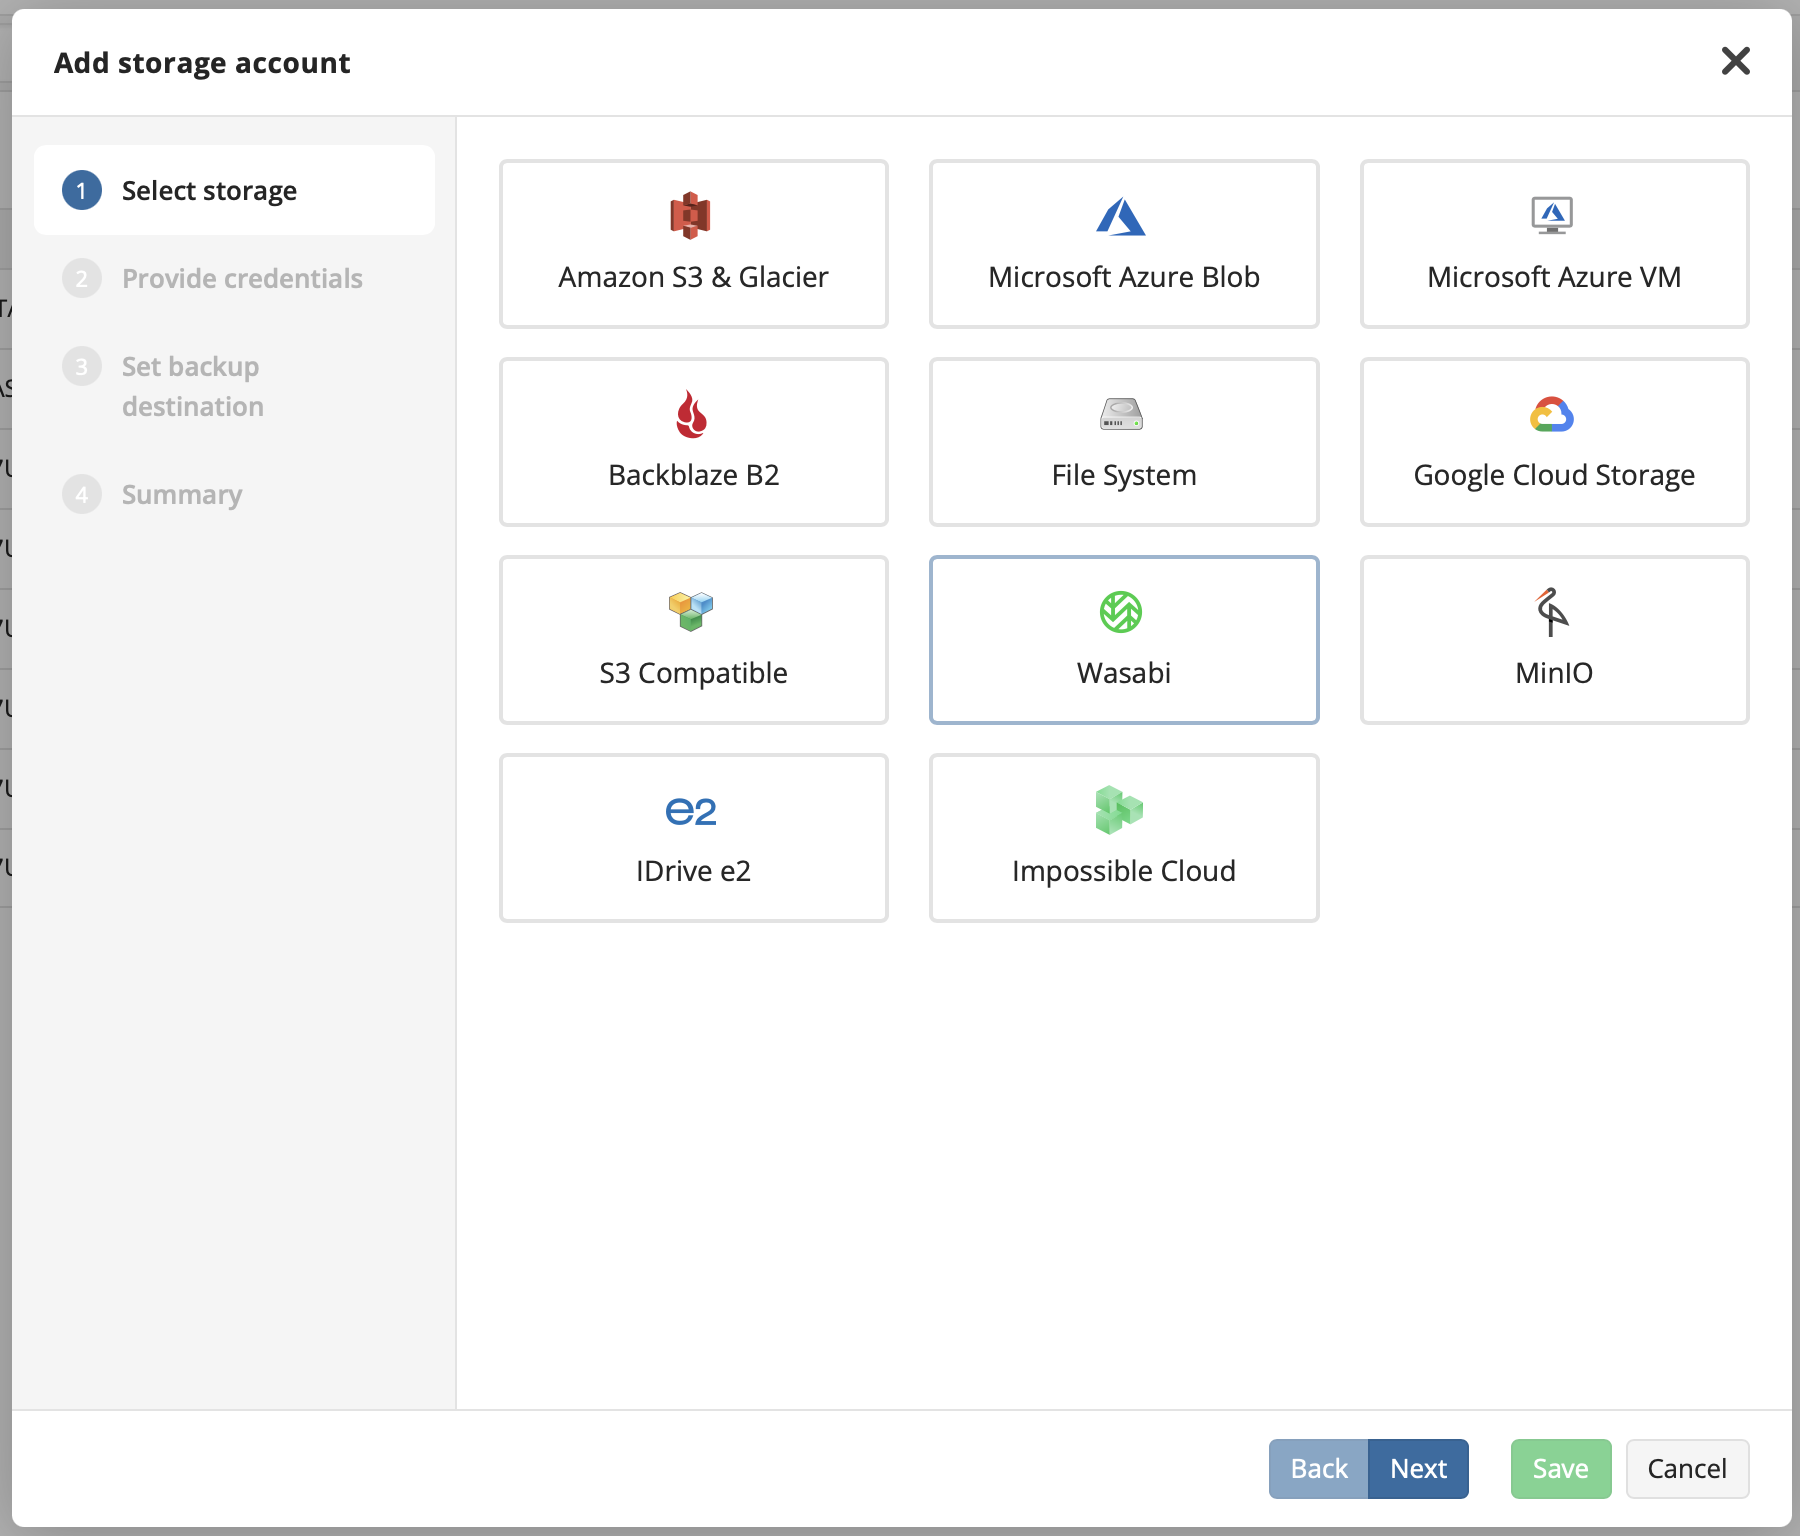
Click Wasabi.
Click Next.
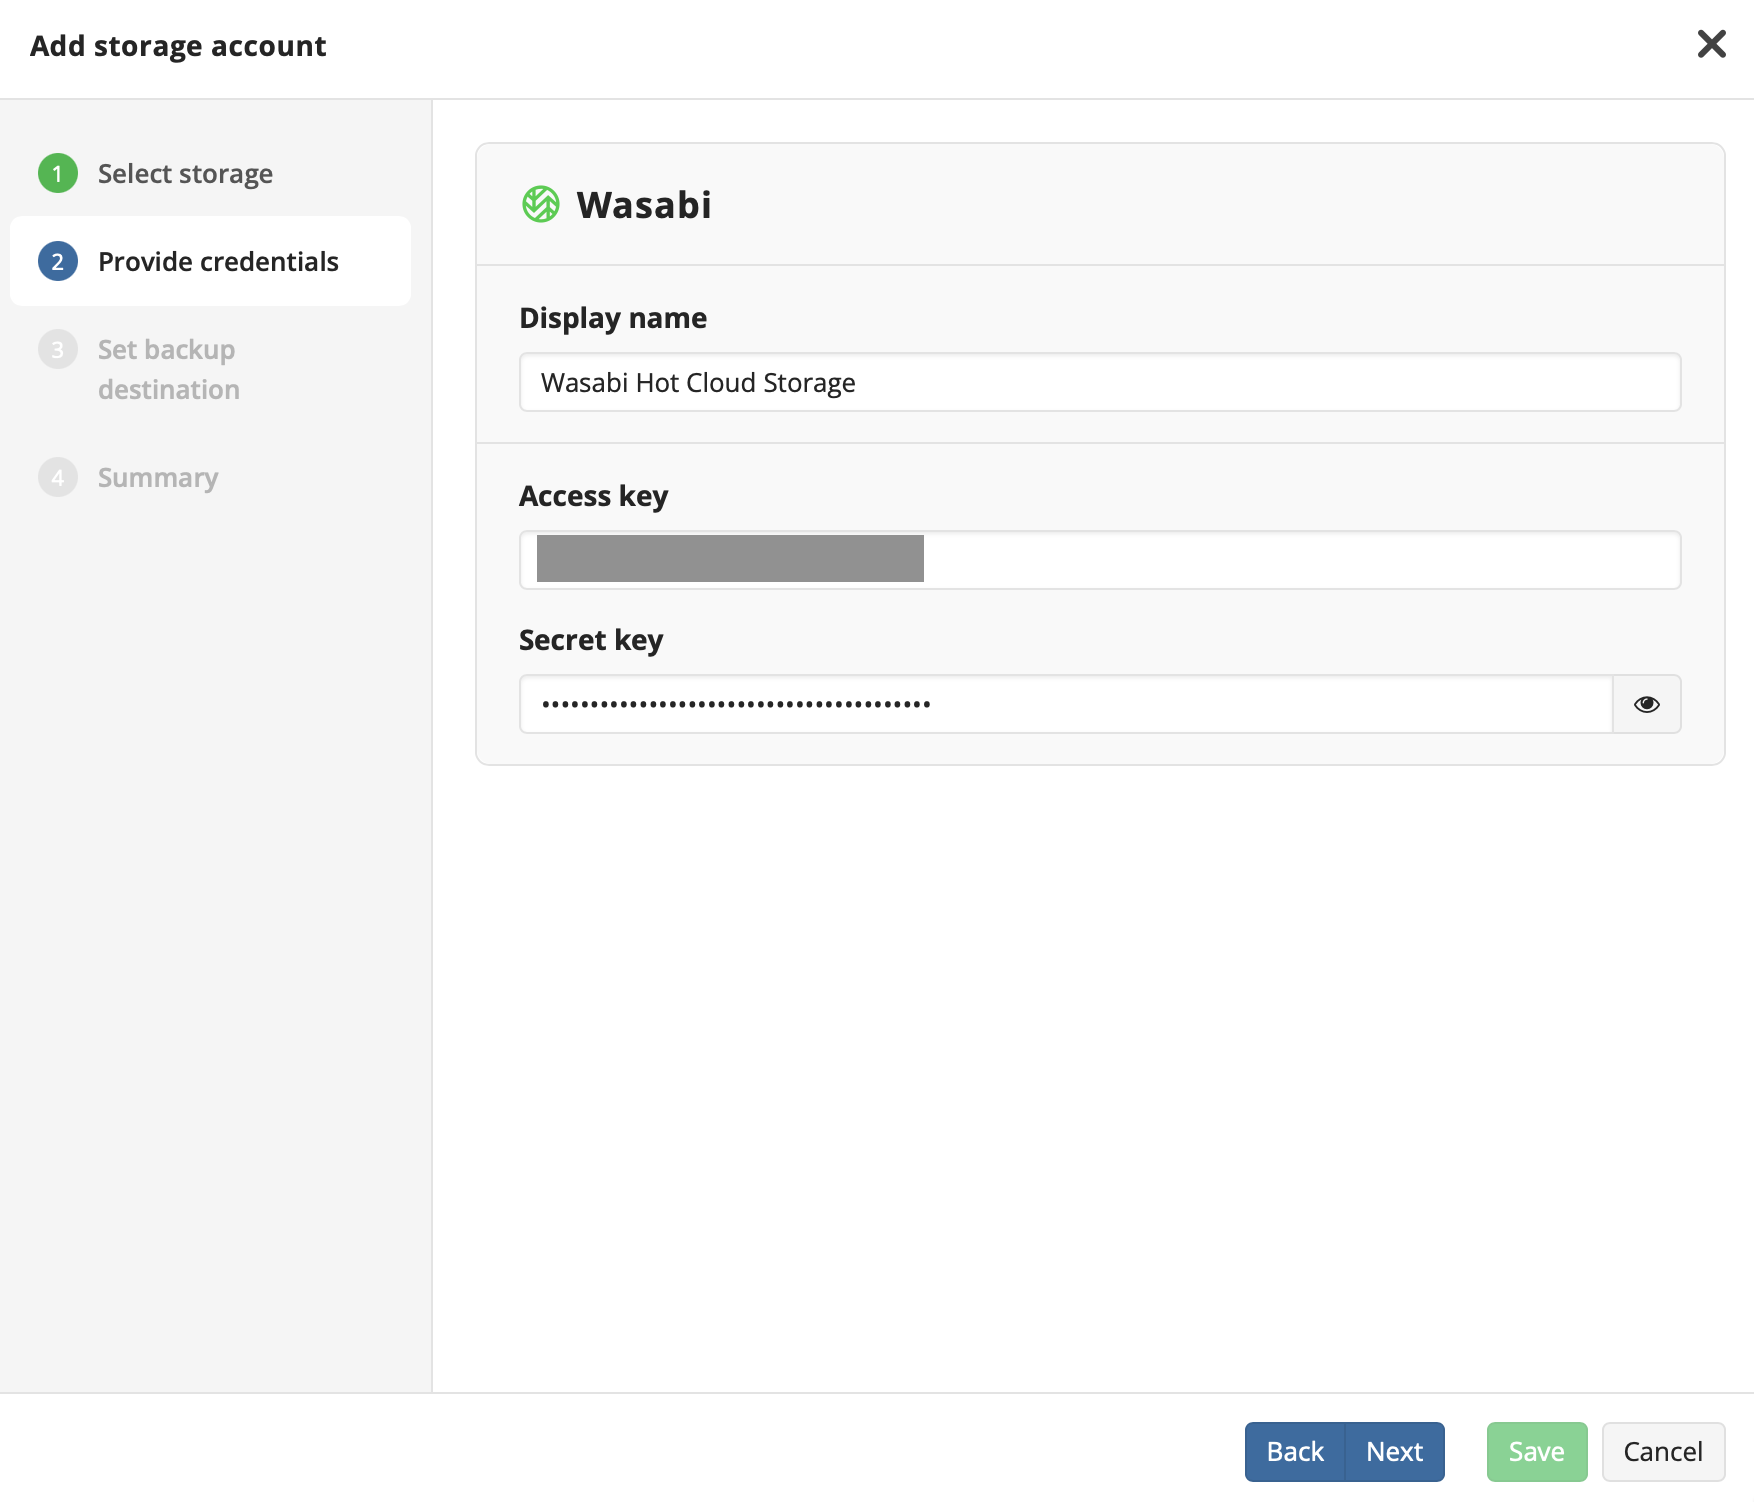
Enter a display name and your Wasabi account credentials (access key and secret key).
Click Next.
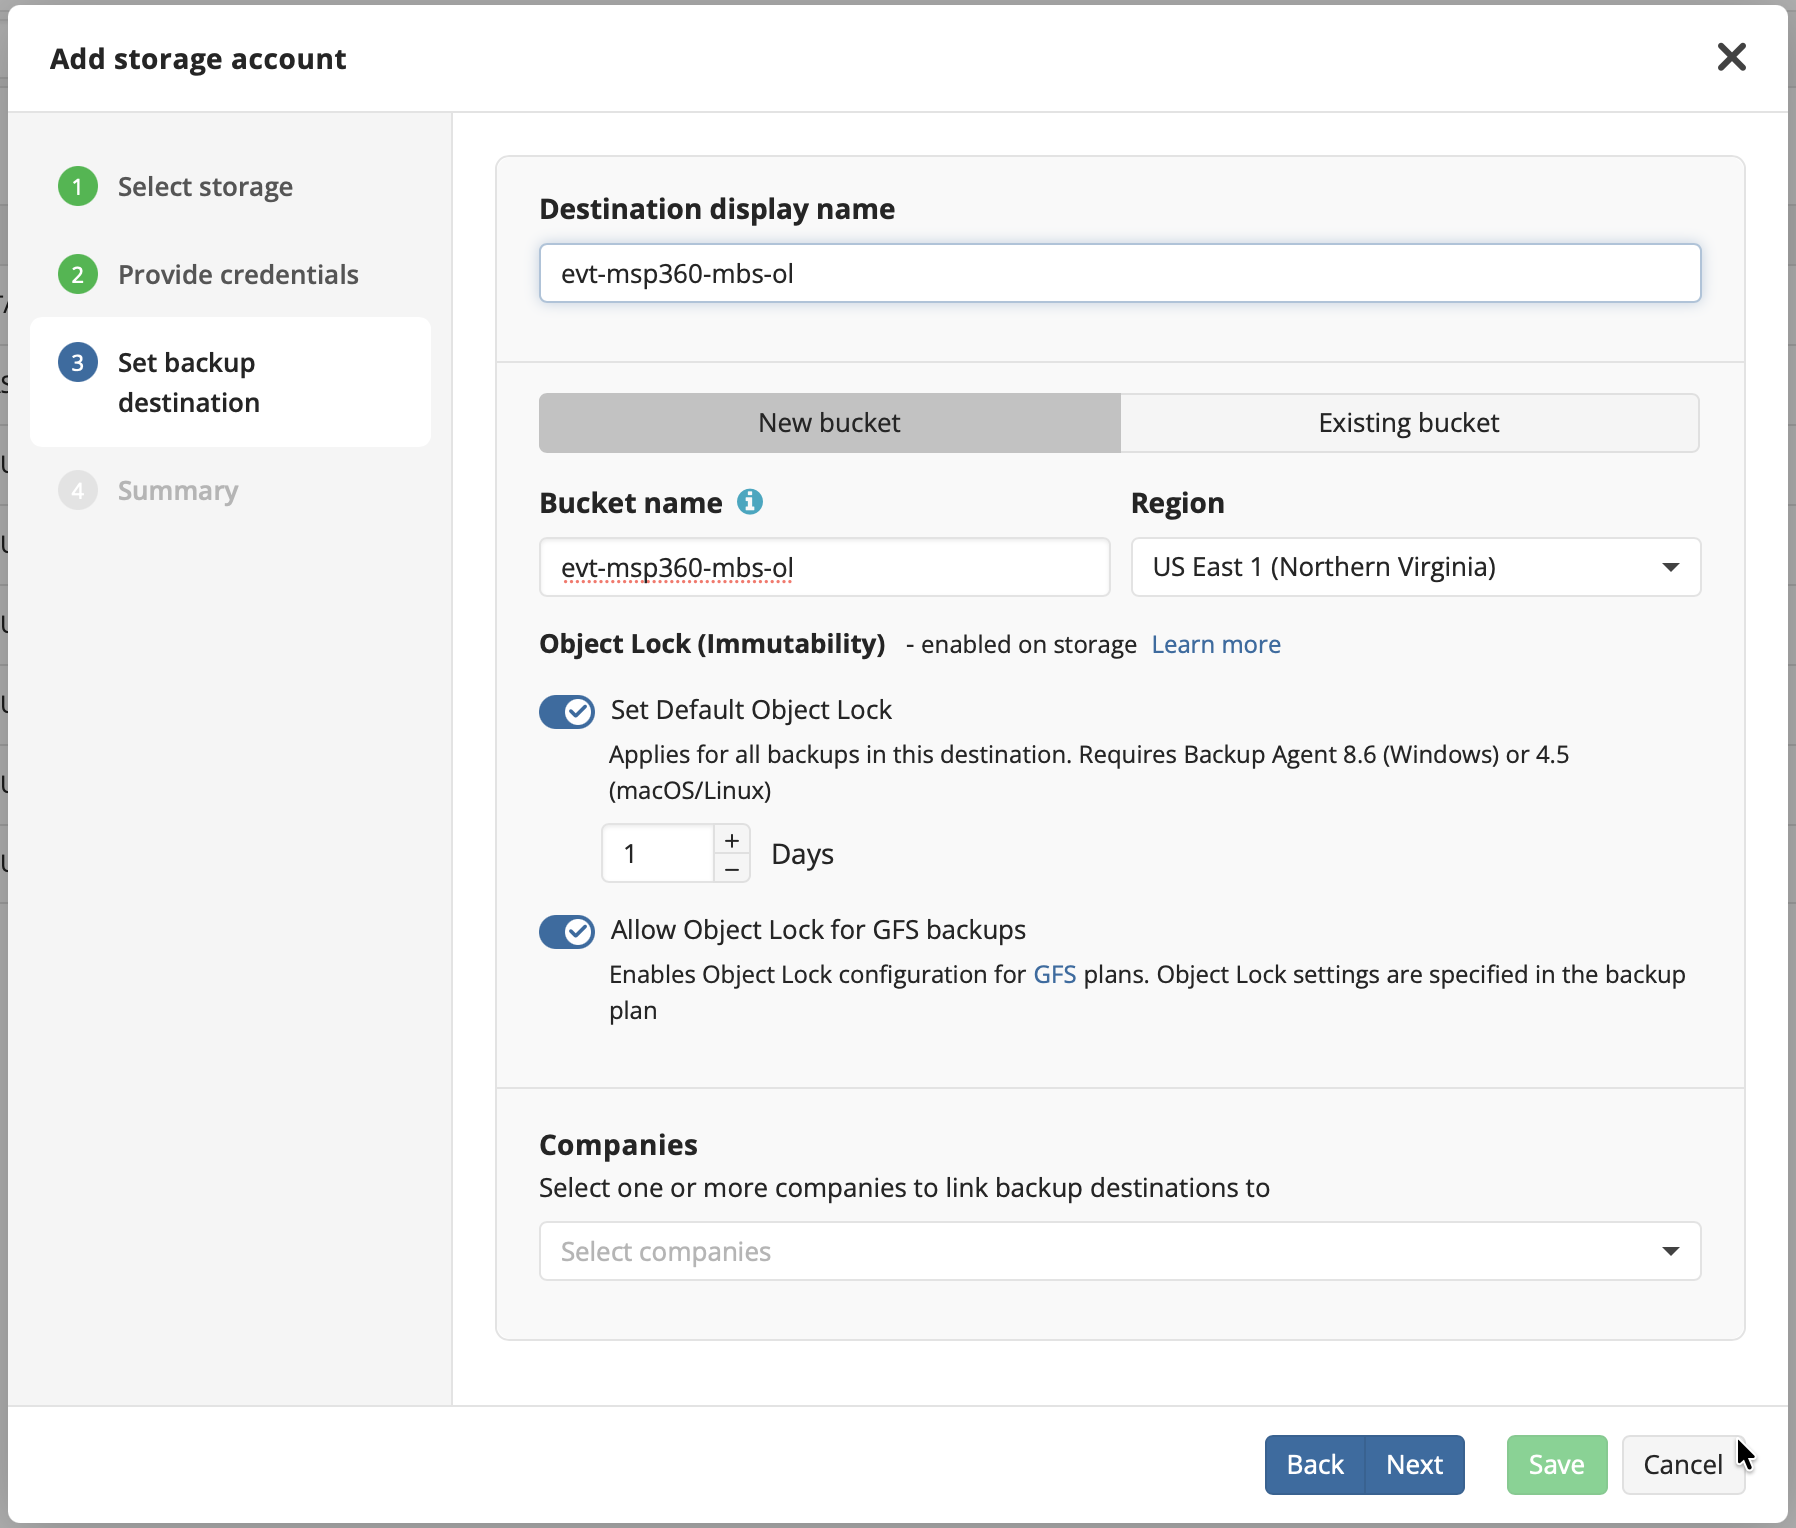
On this screen, you can create a new bucket in one of the regions or select an existing bucket. Optionally, you can enable Object Lock immutability when defining the backup destination.
Click Next.
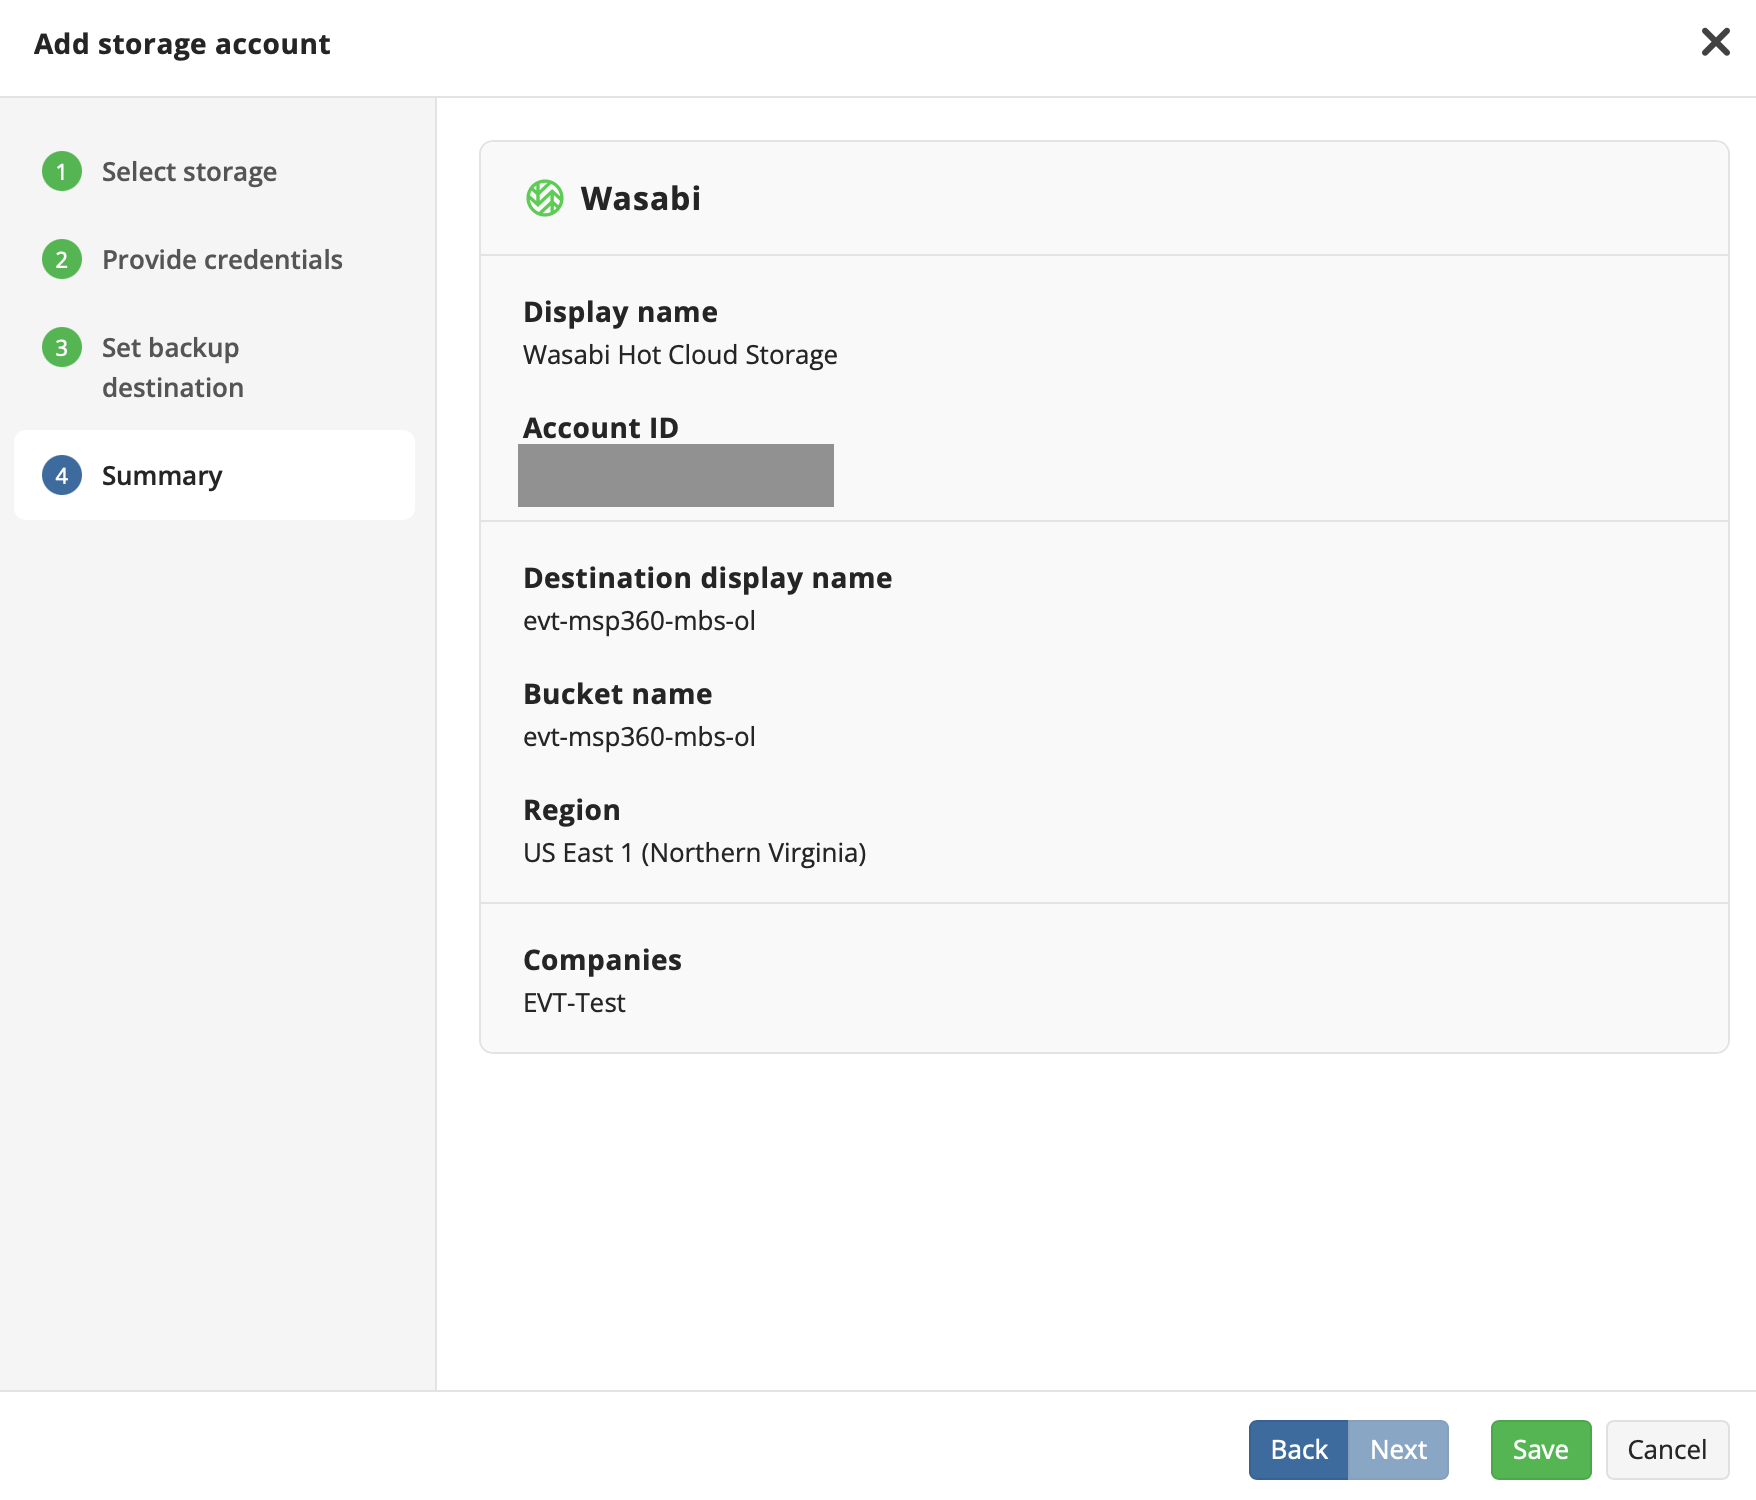
Review your bucket and account information. Click Save.
At this point, when the end-user logs in to their MSP360 Backup application and tries to create a new backup plan, they will see the Wasabi storage account as an option.
Enabling Object Lock Immutability
MSP360 Managed Backup Service supports configuring immutable backups.
The immutability cannot be enabled in the backup agent. It must be enabled in the web console. To manage immutability, an Administrator should have the appropriate permissions. For more information, click here.
To use immutability, the software version of the backup agent should be 7.3.0 or later.
Object Lock (Immutability) can only be enabled at the time a bucket is created. Buckets with Object Lock enabled must also have Versioning enabled.
Creating an Object Locked Storage Destination
Create a bucket with Object Lock enabled in your Wasabi Console.
Log in to the MSP360 Managed Backup Service portal. Follow the steps above to add Wasabi as a Storage Account using the Object Lock enabled bucket that you created.
Ensure that Set Default Object Lock and Allow Object Lock for GFS backups are enabled.
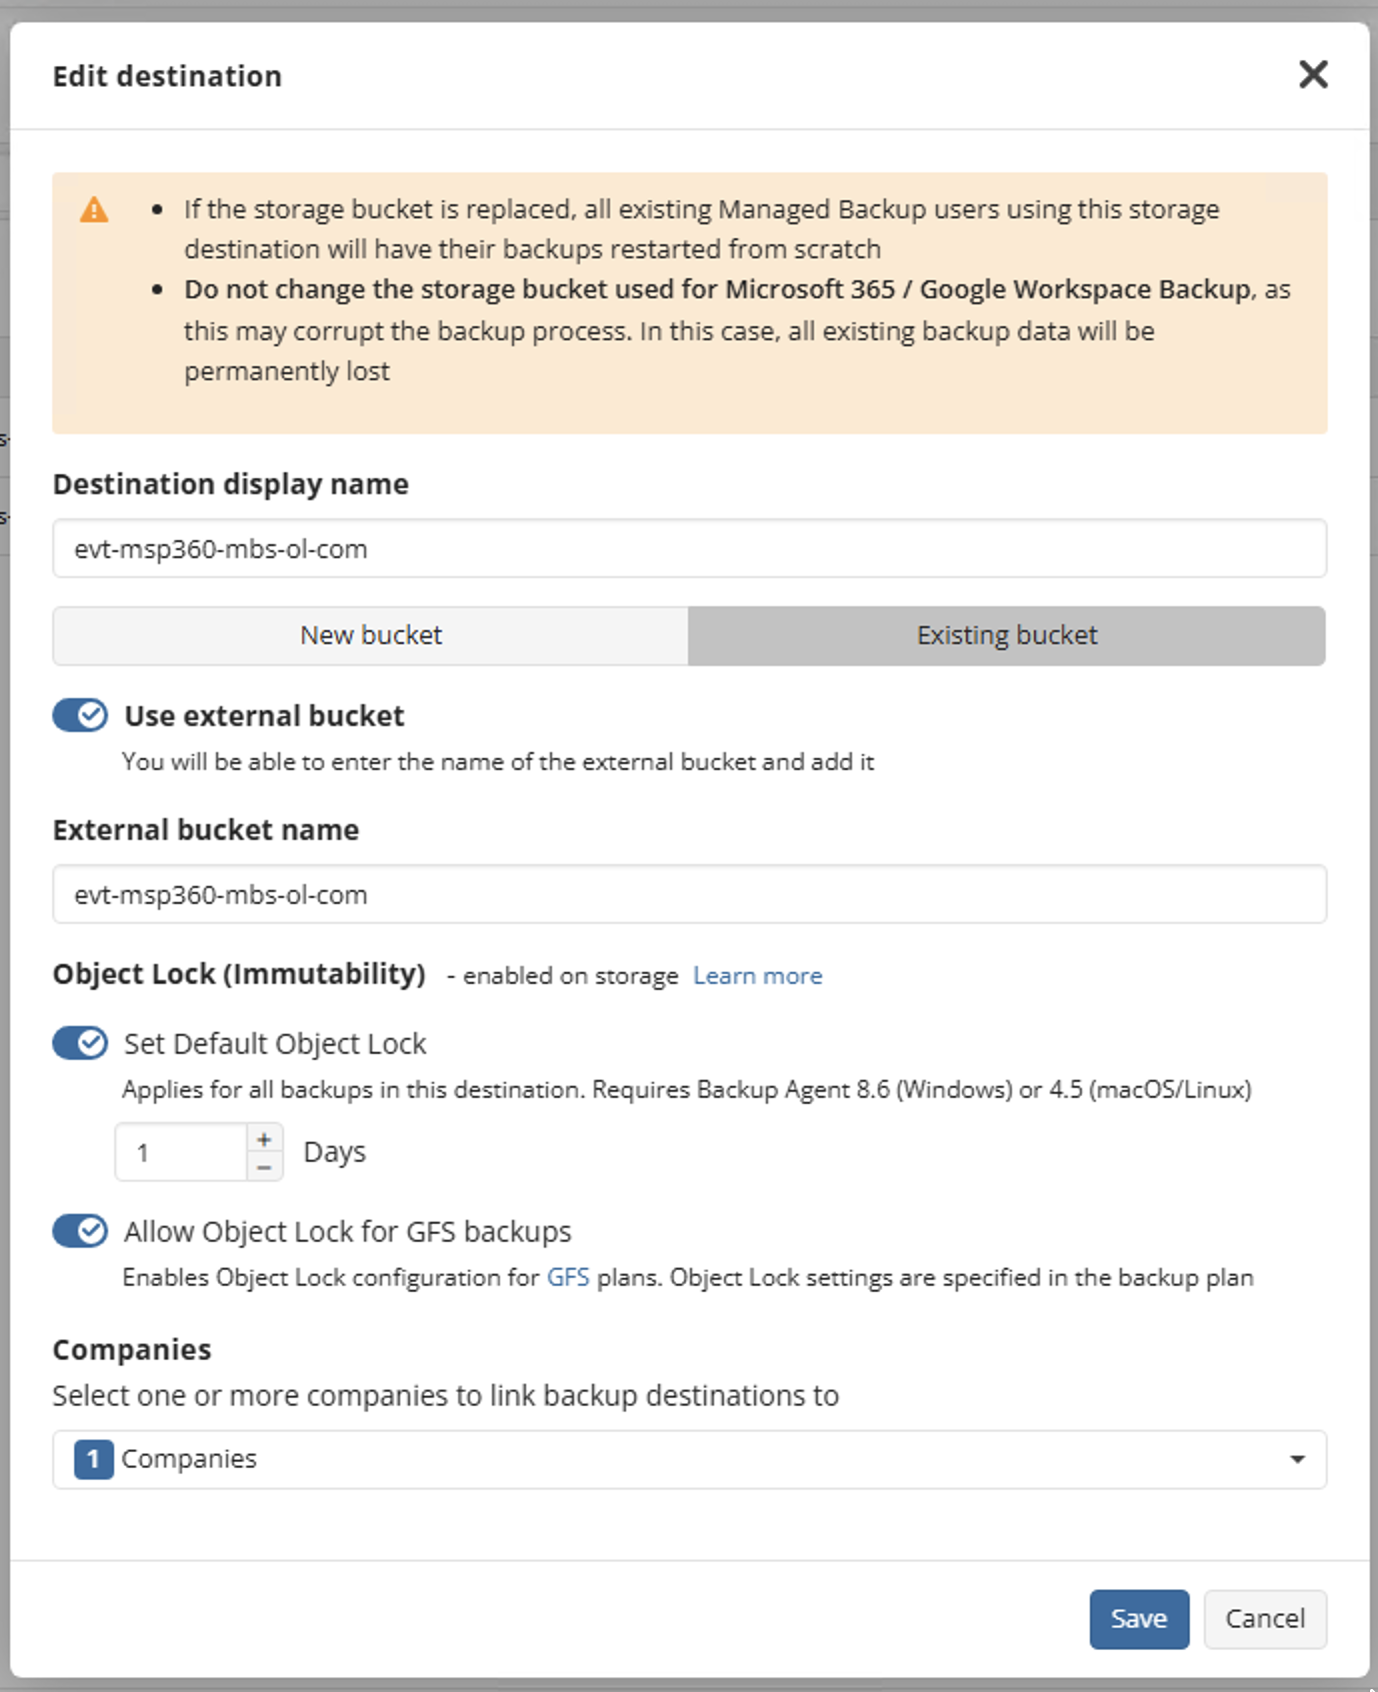
Assign it to the required companies and click Save to add the backup destination.
Creating an Object Lock Enabled Backup Plan
Log in to the MSP360 Managed Backup Service portal.
Navigate to the Computers section and select the name of the computer to back up.

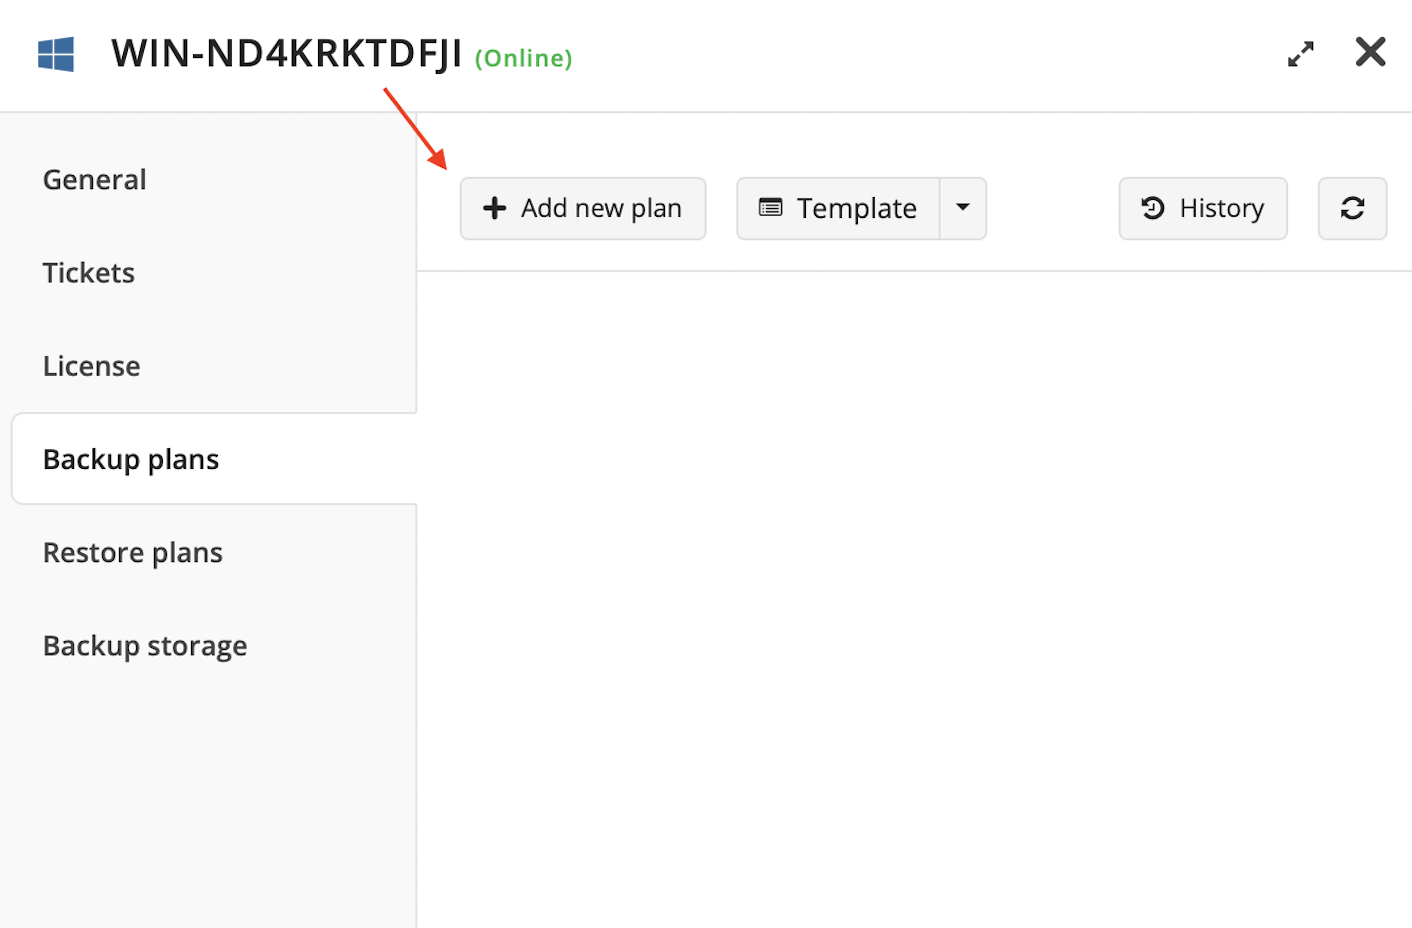
In the side panel that appears, click Add new plan.
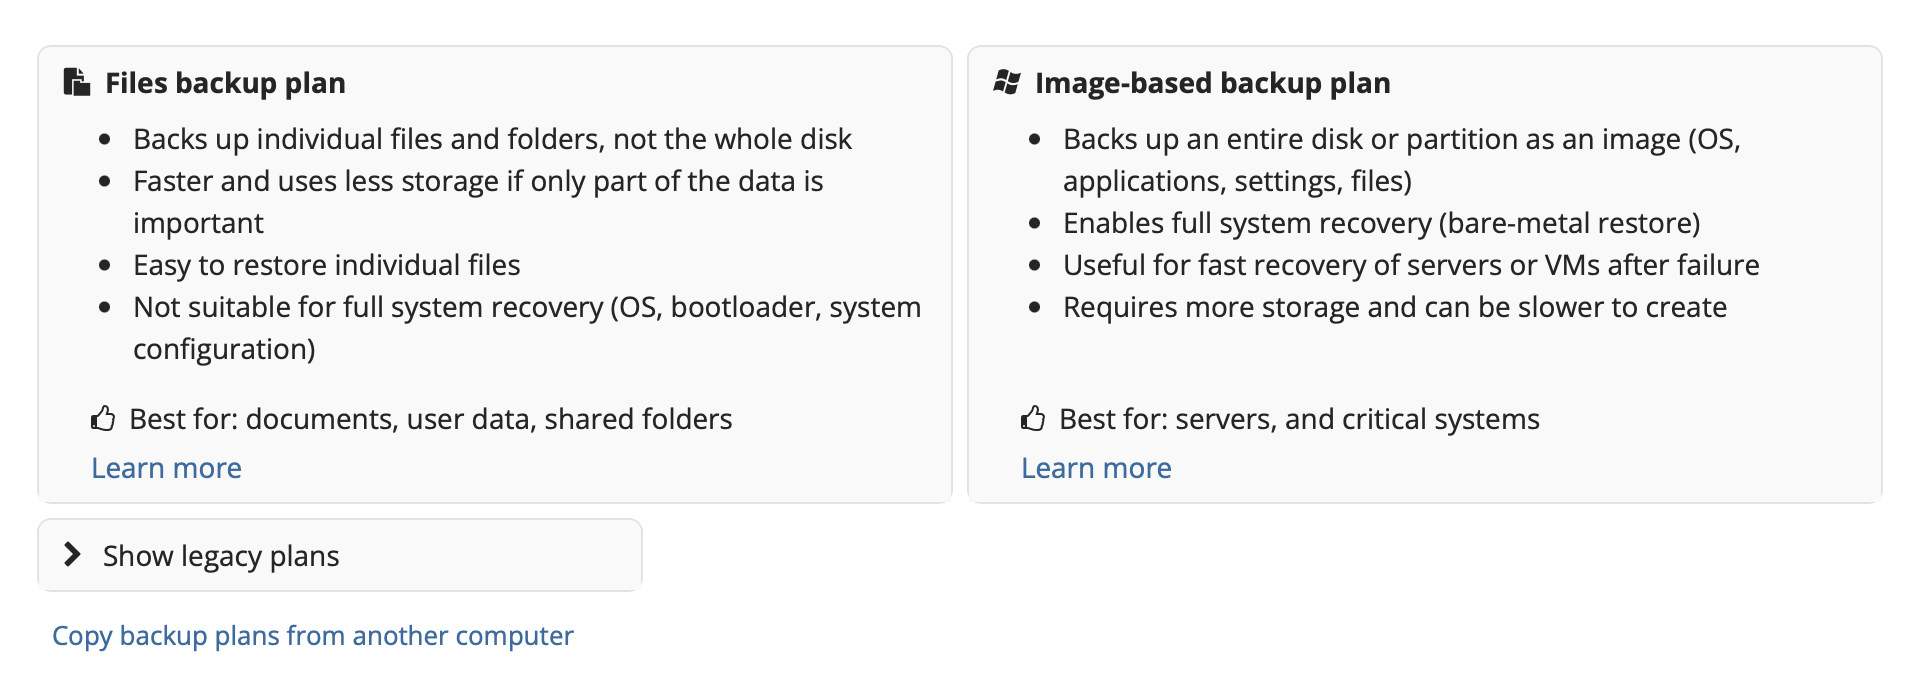
You have the option to select either Image-based backup plan or Files backup plan. Select whichever applies to your specific use case. In the example below, we are backing up files.
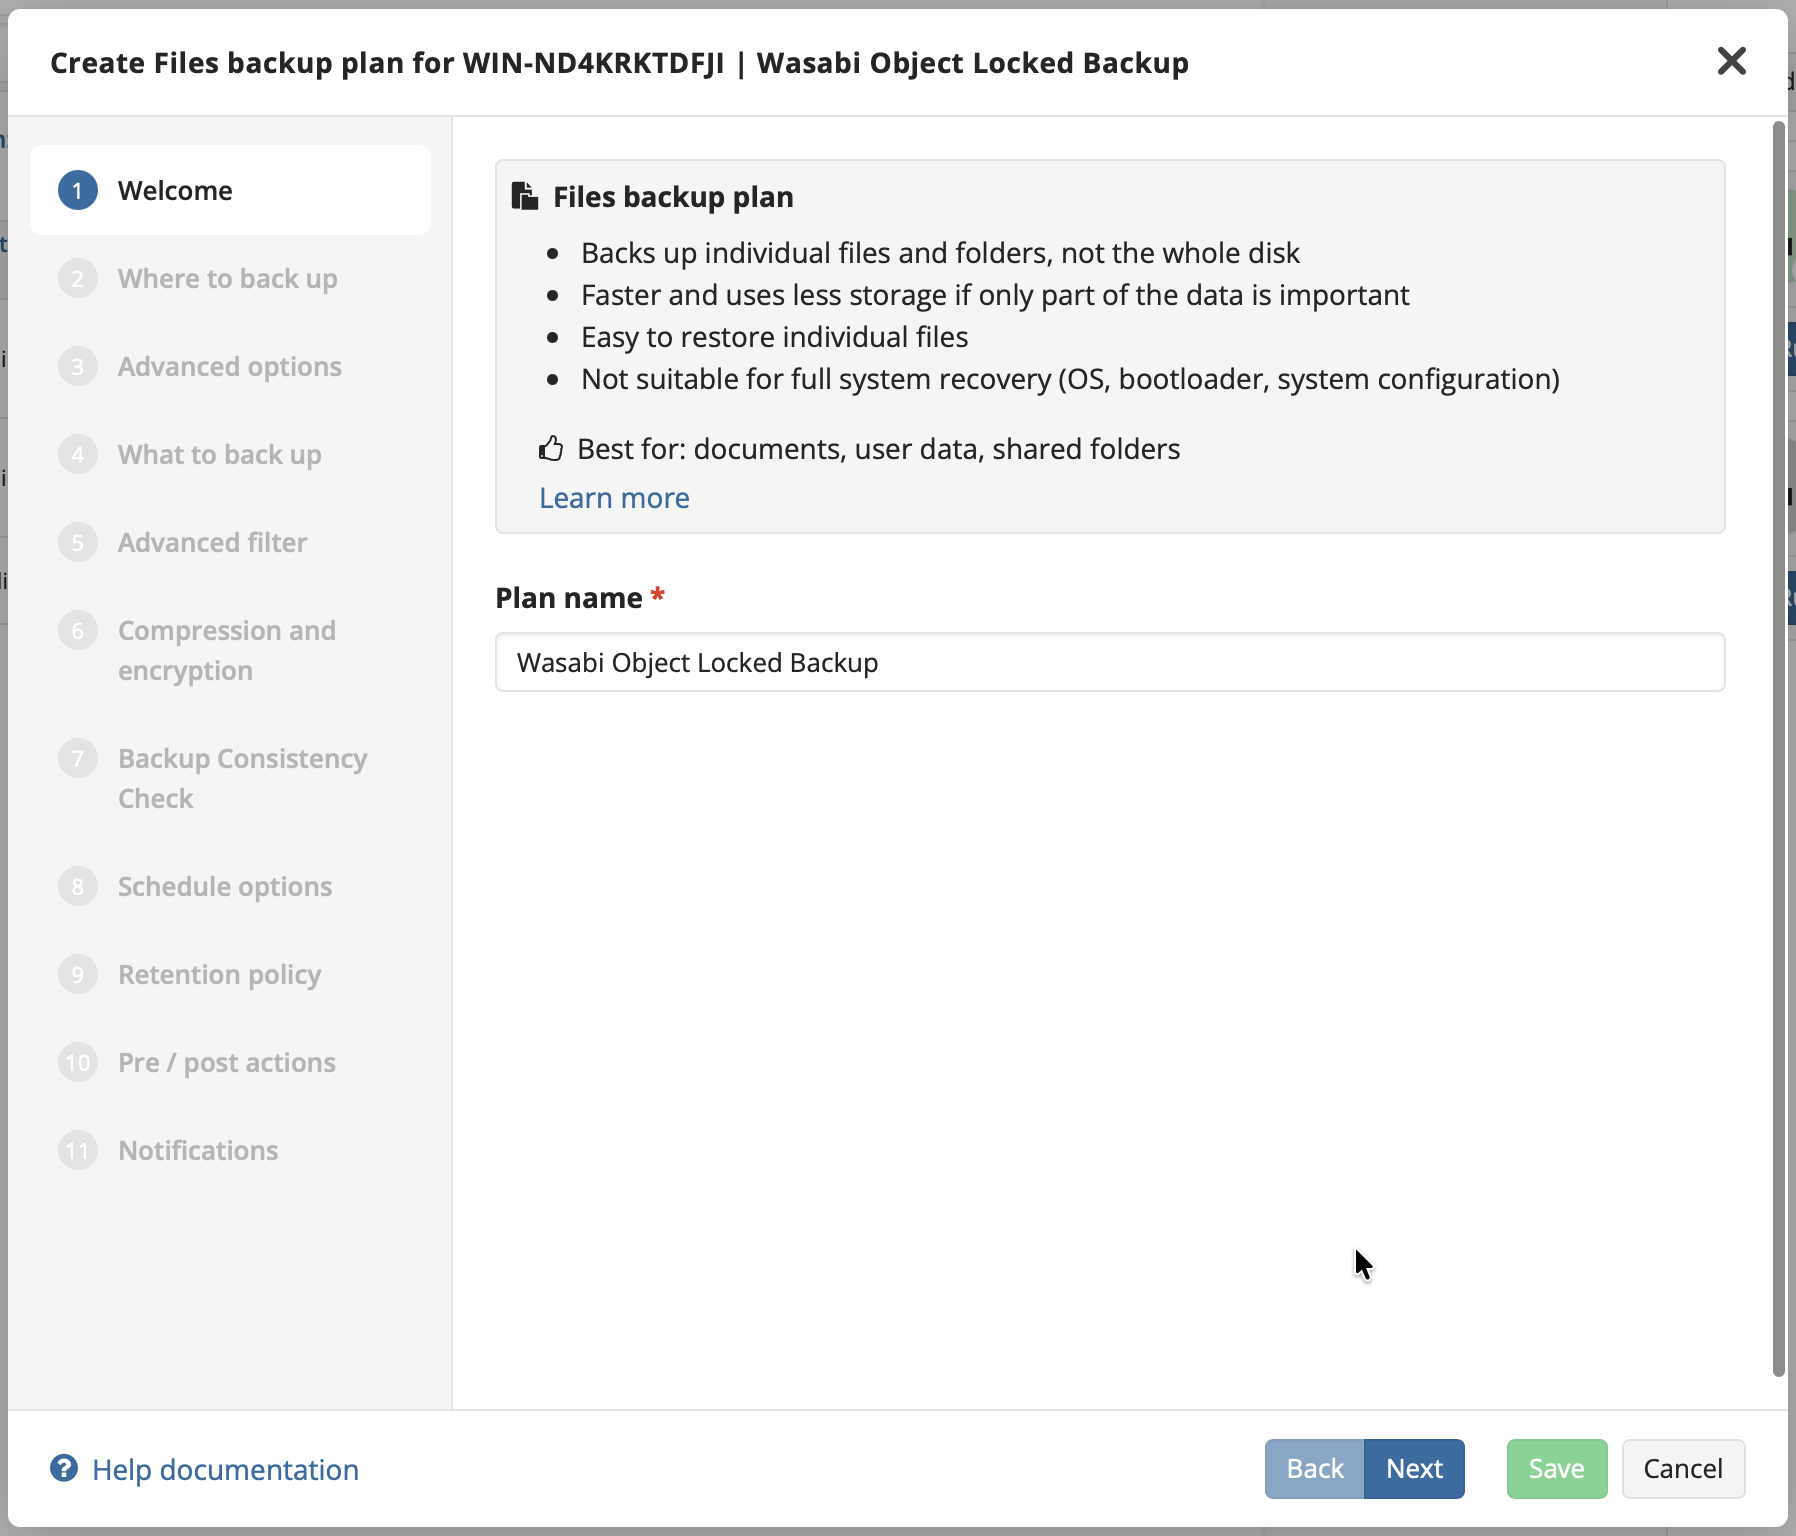
Set a Plan Name.
Click Next.
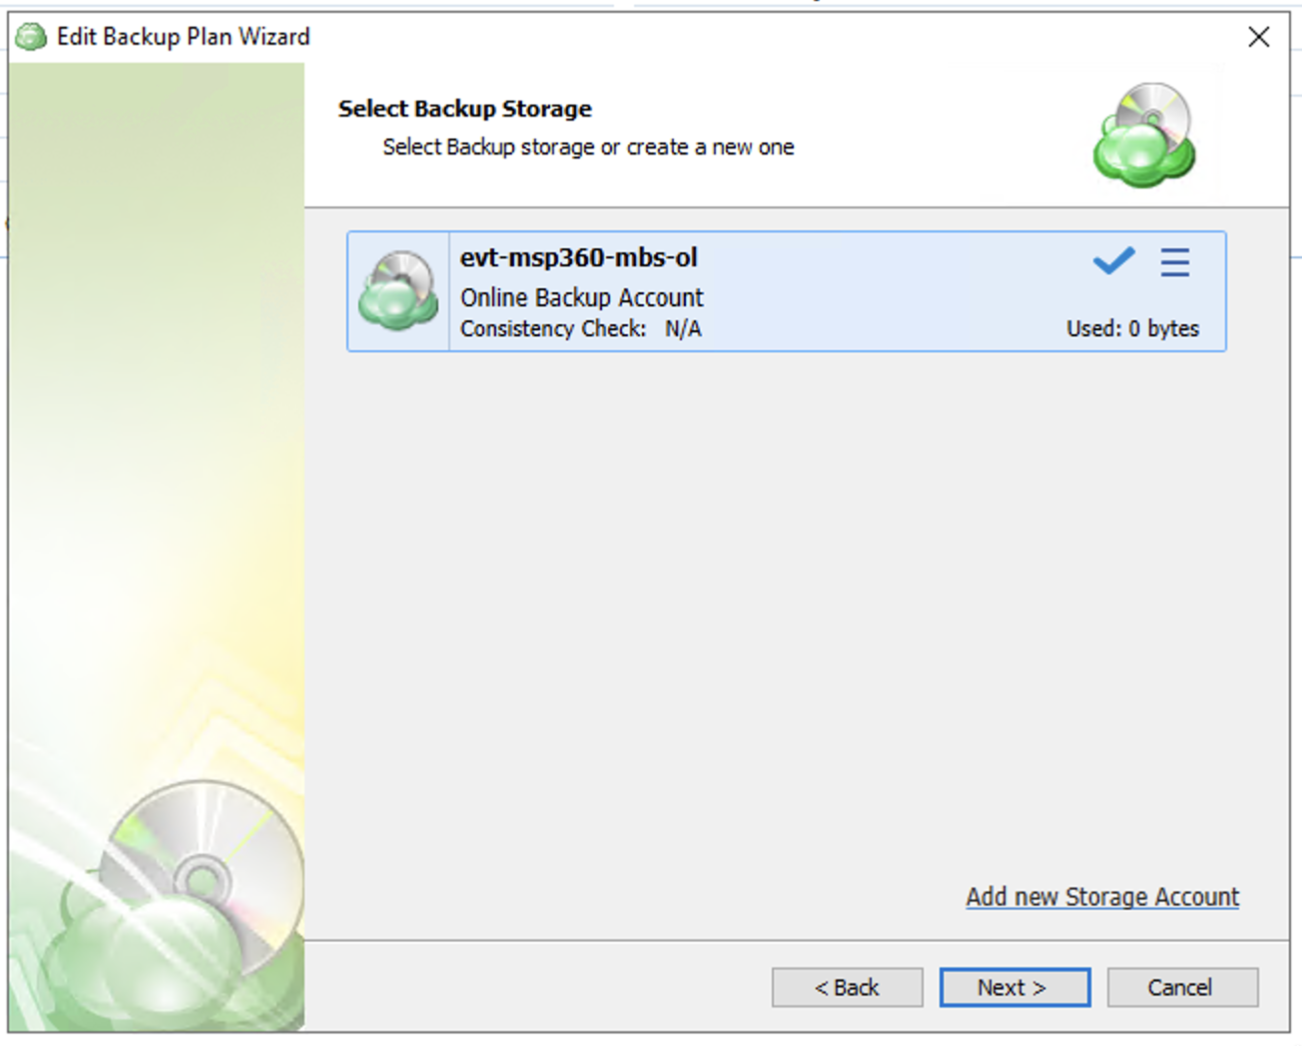
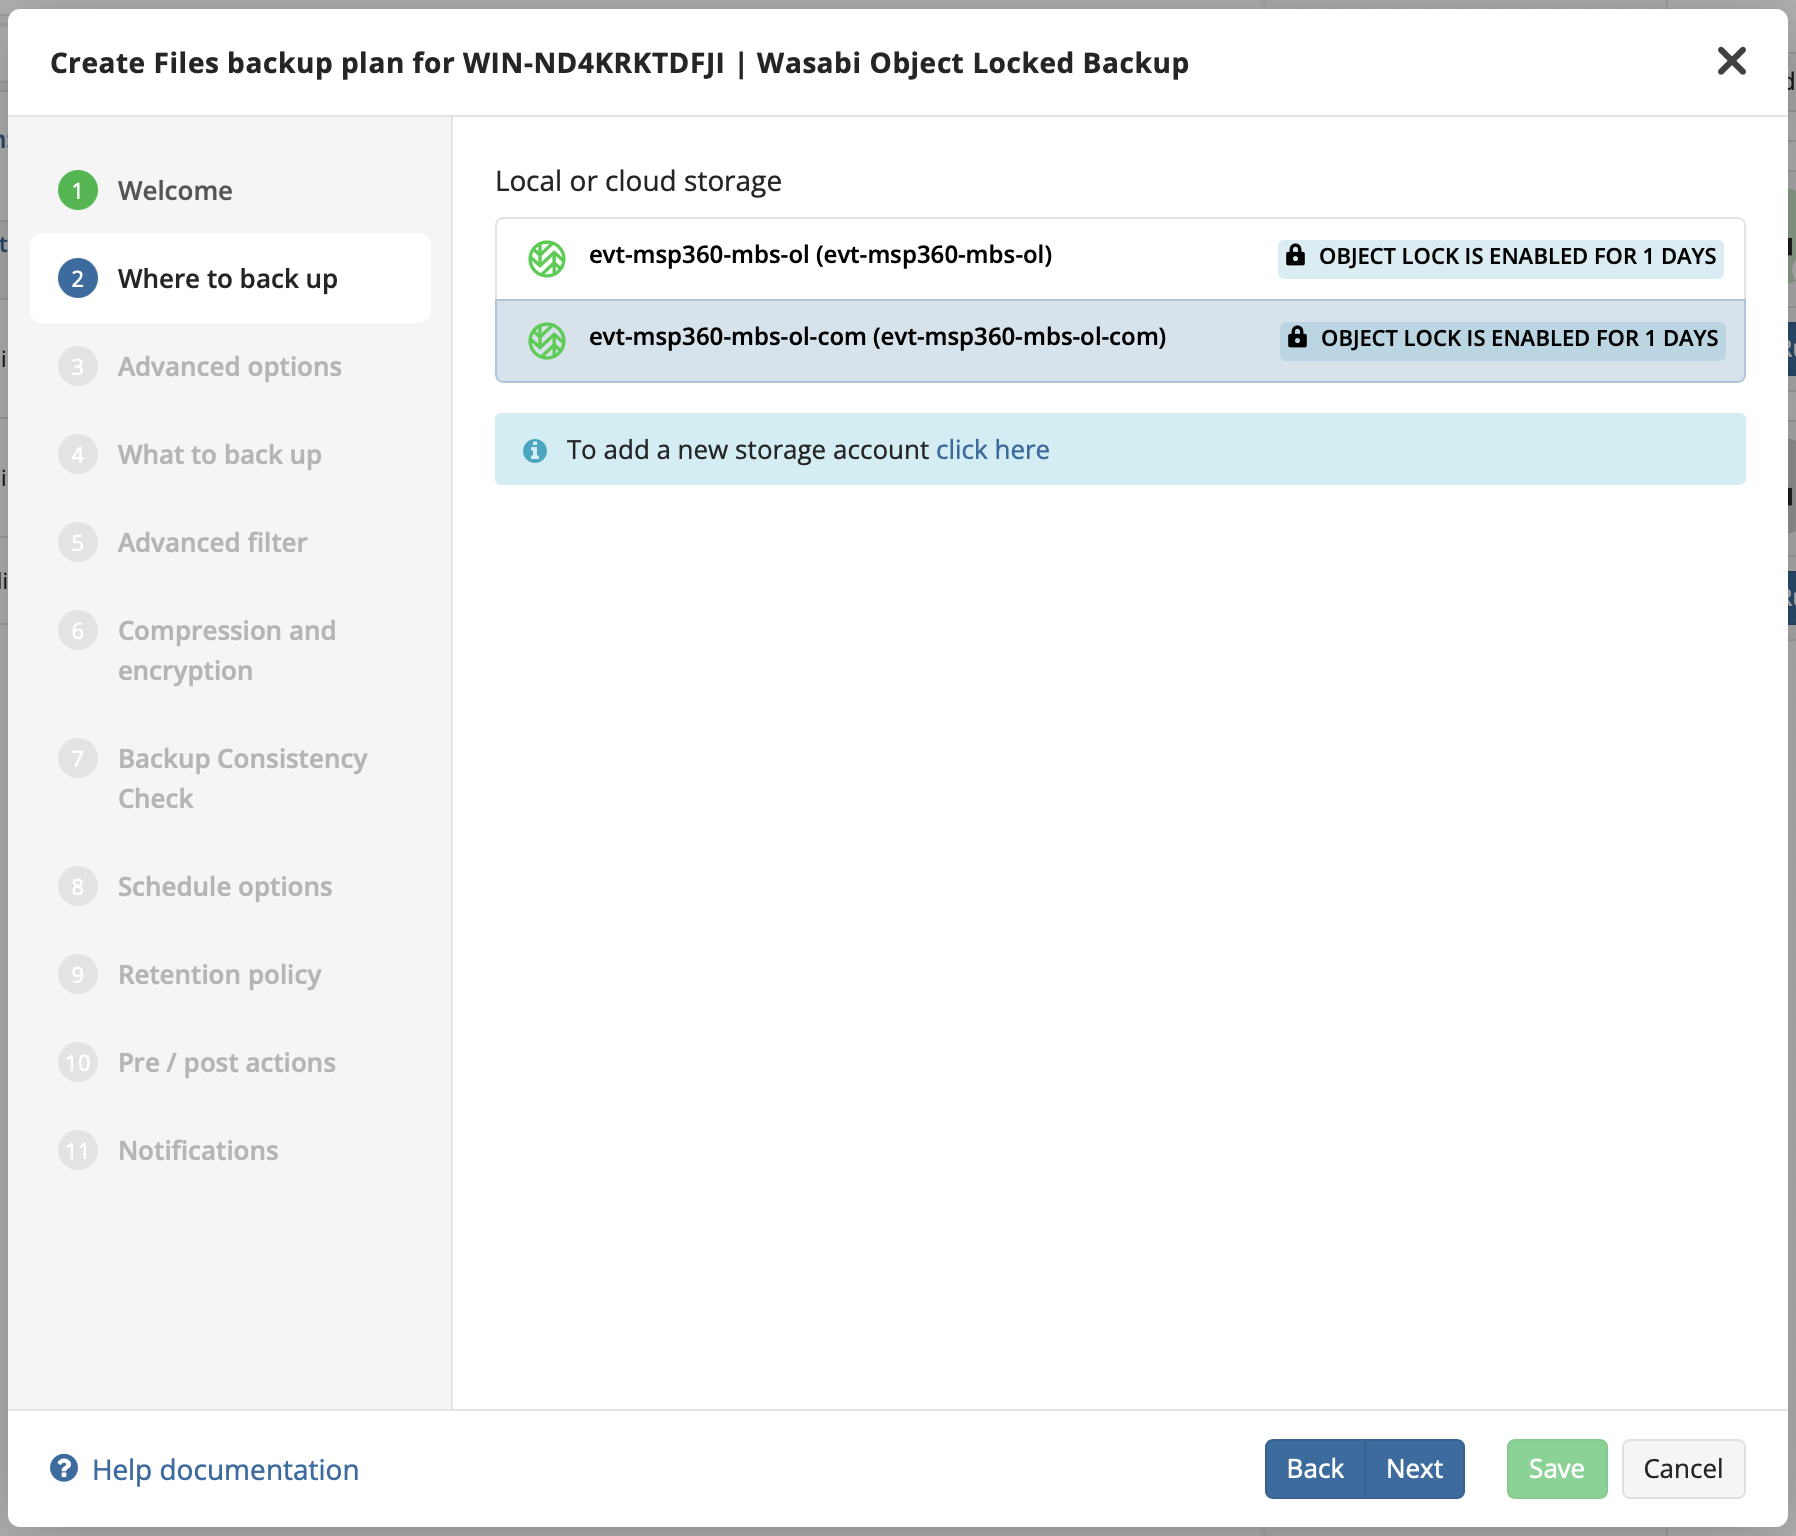
Select the Object Lock enabled bucket that you added to your storage account.
Click Next.
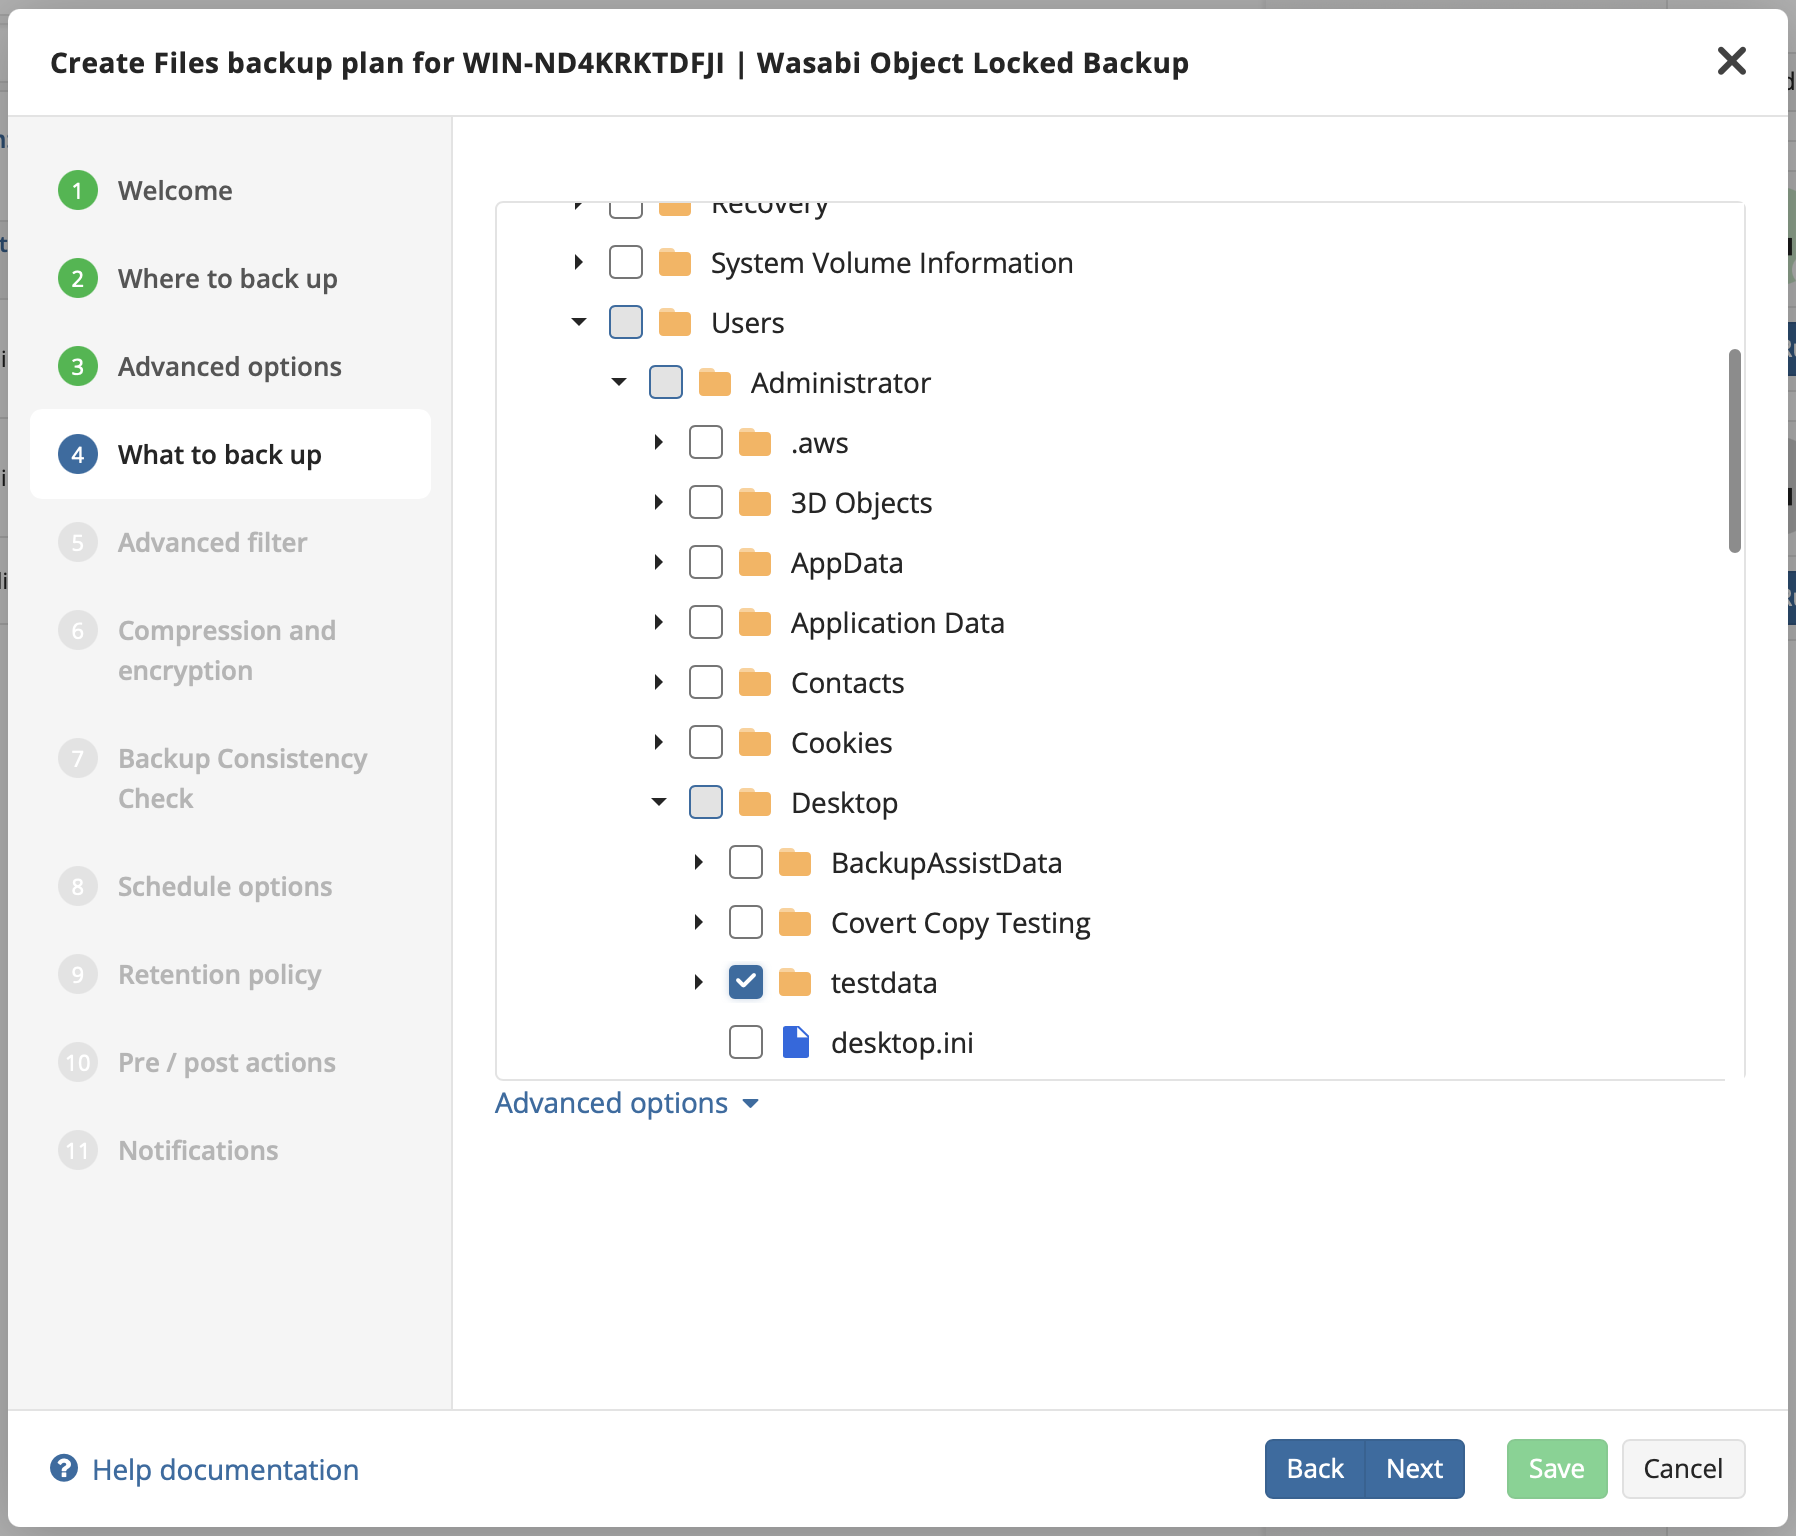
Navigate the tree to select the files to back up and click Next.
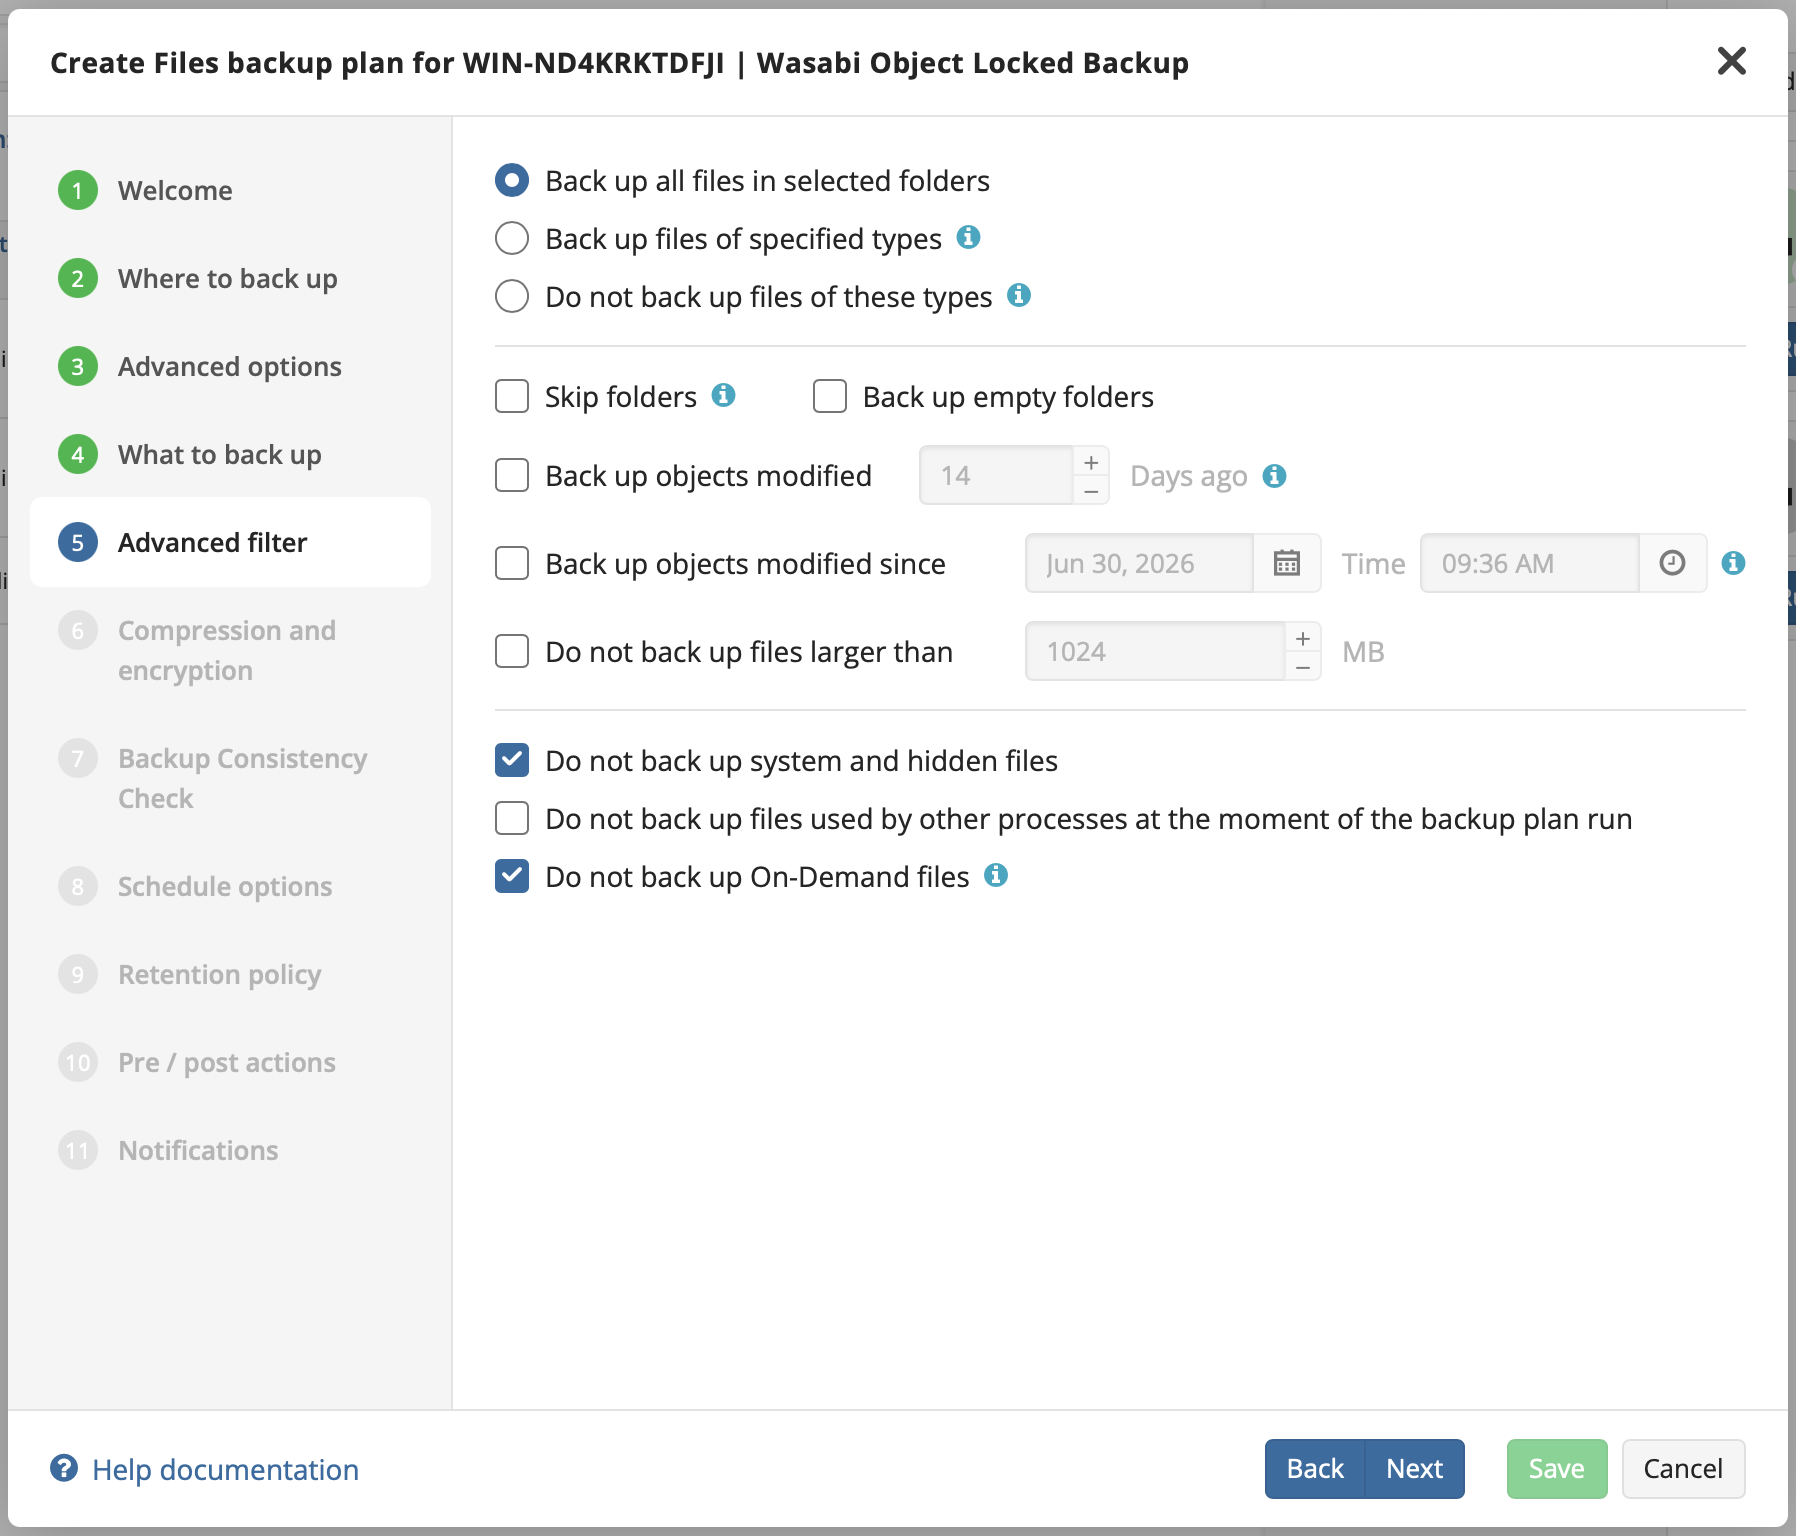
Choose optional settings for file handling. Click Next.
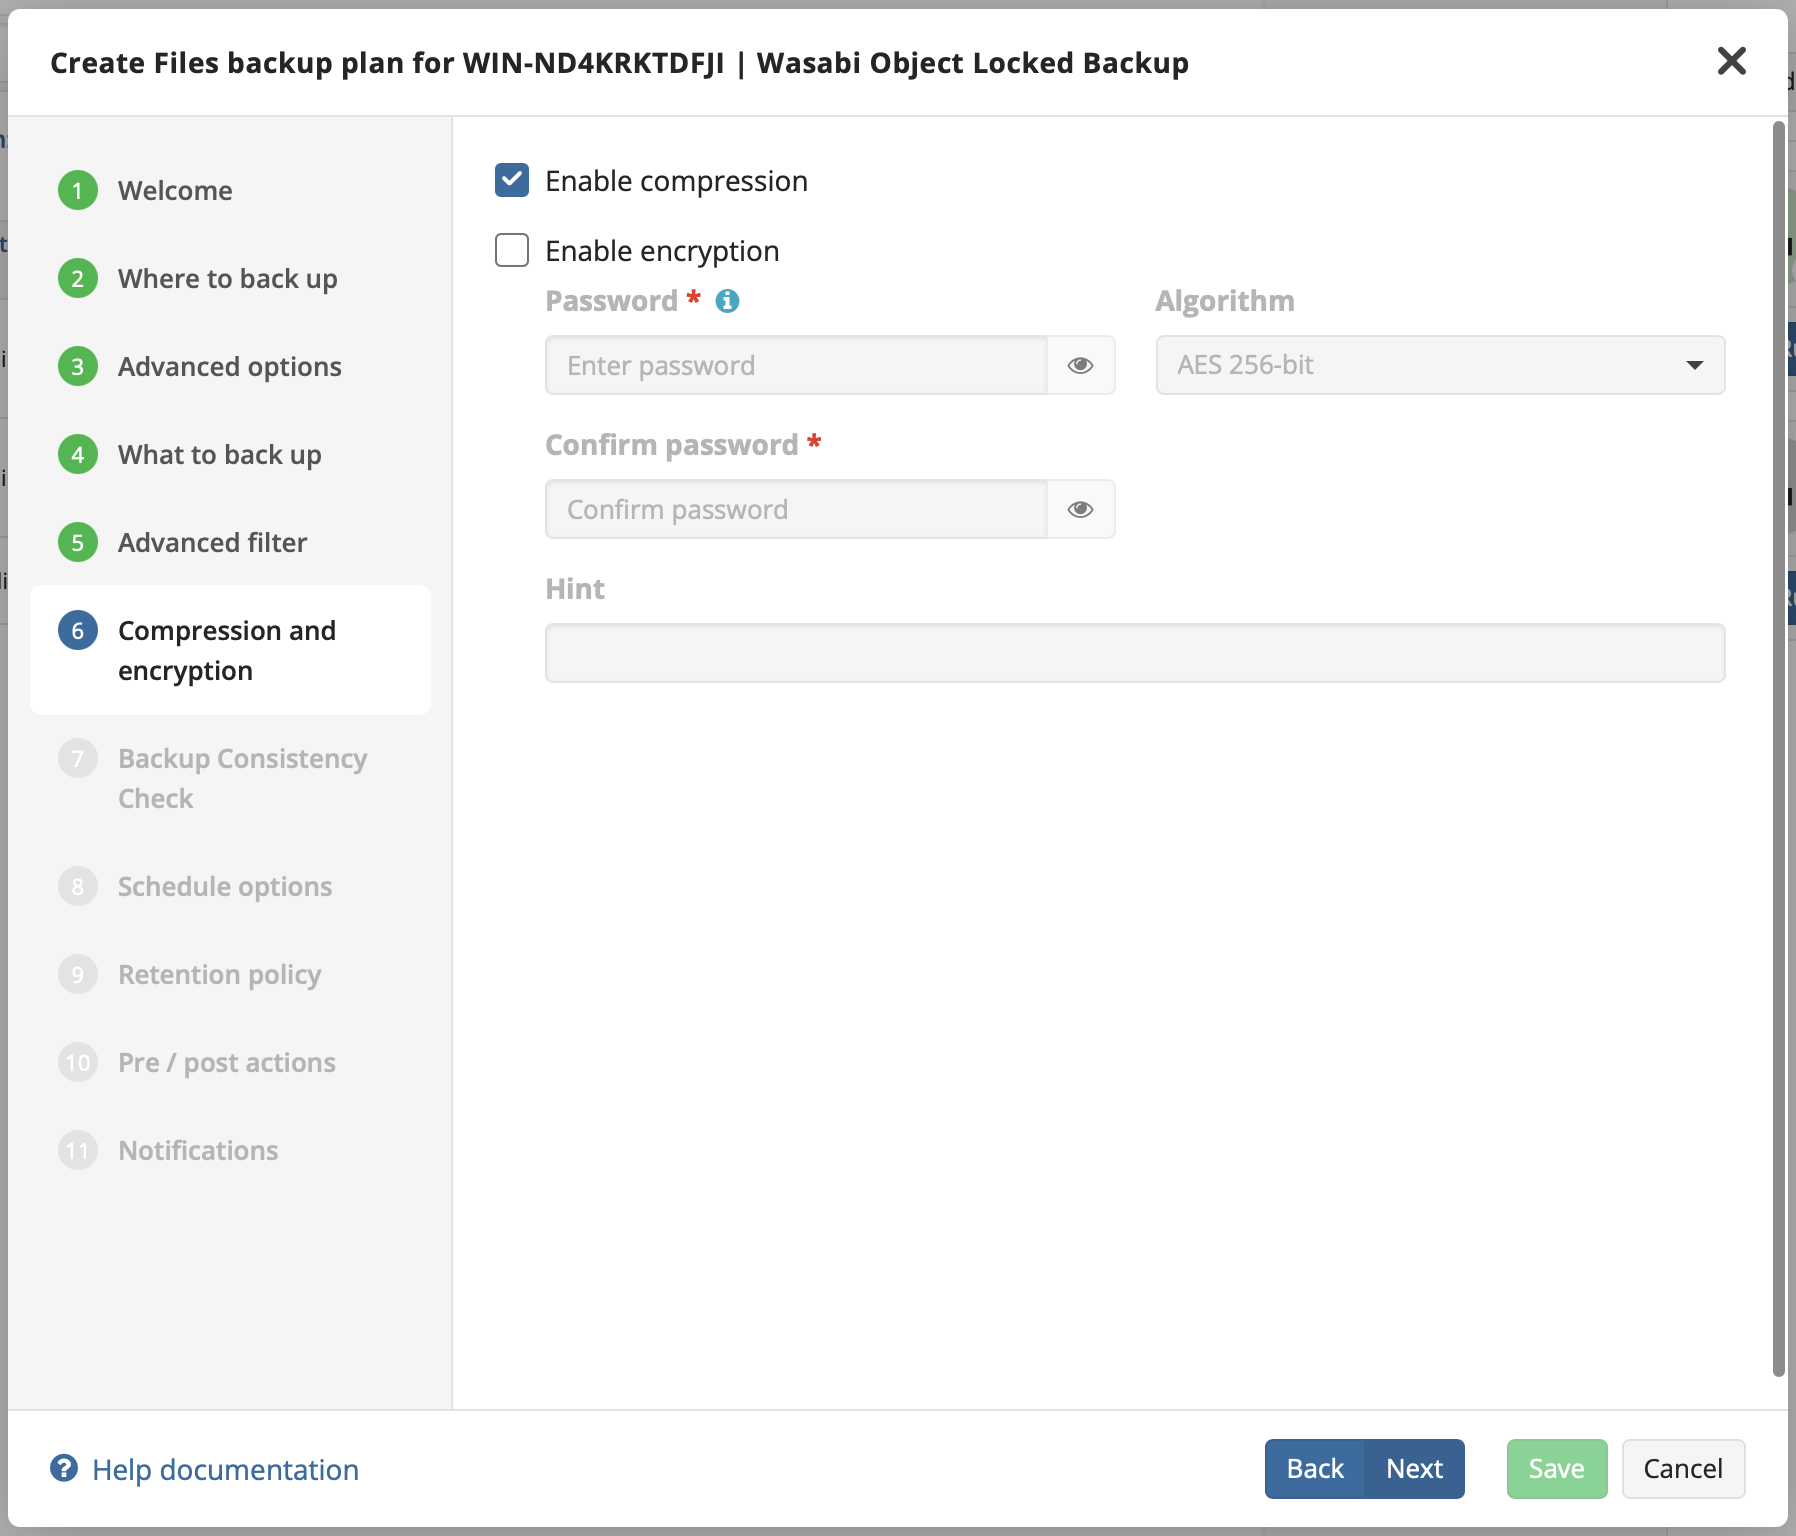
Configure optional settings for compression and encryption. Click Next.
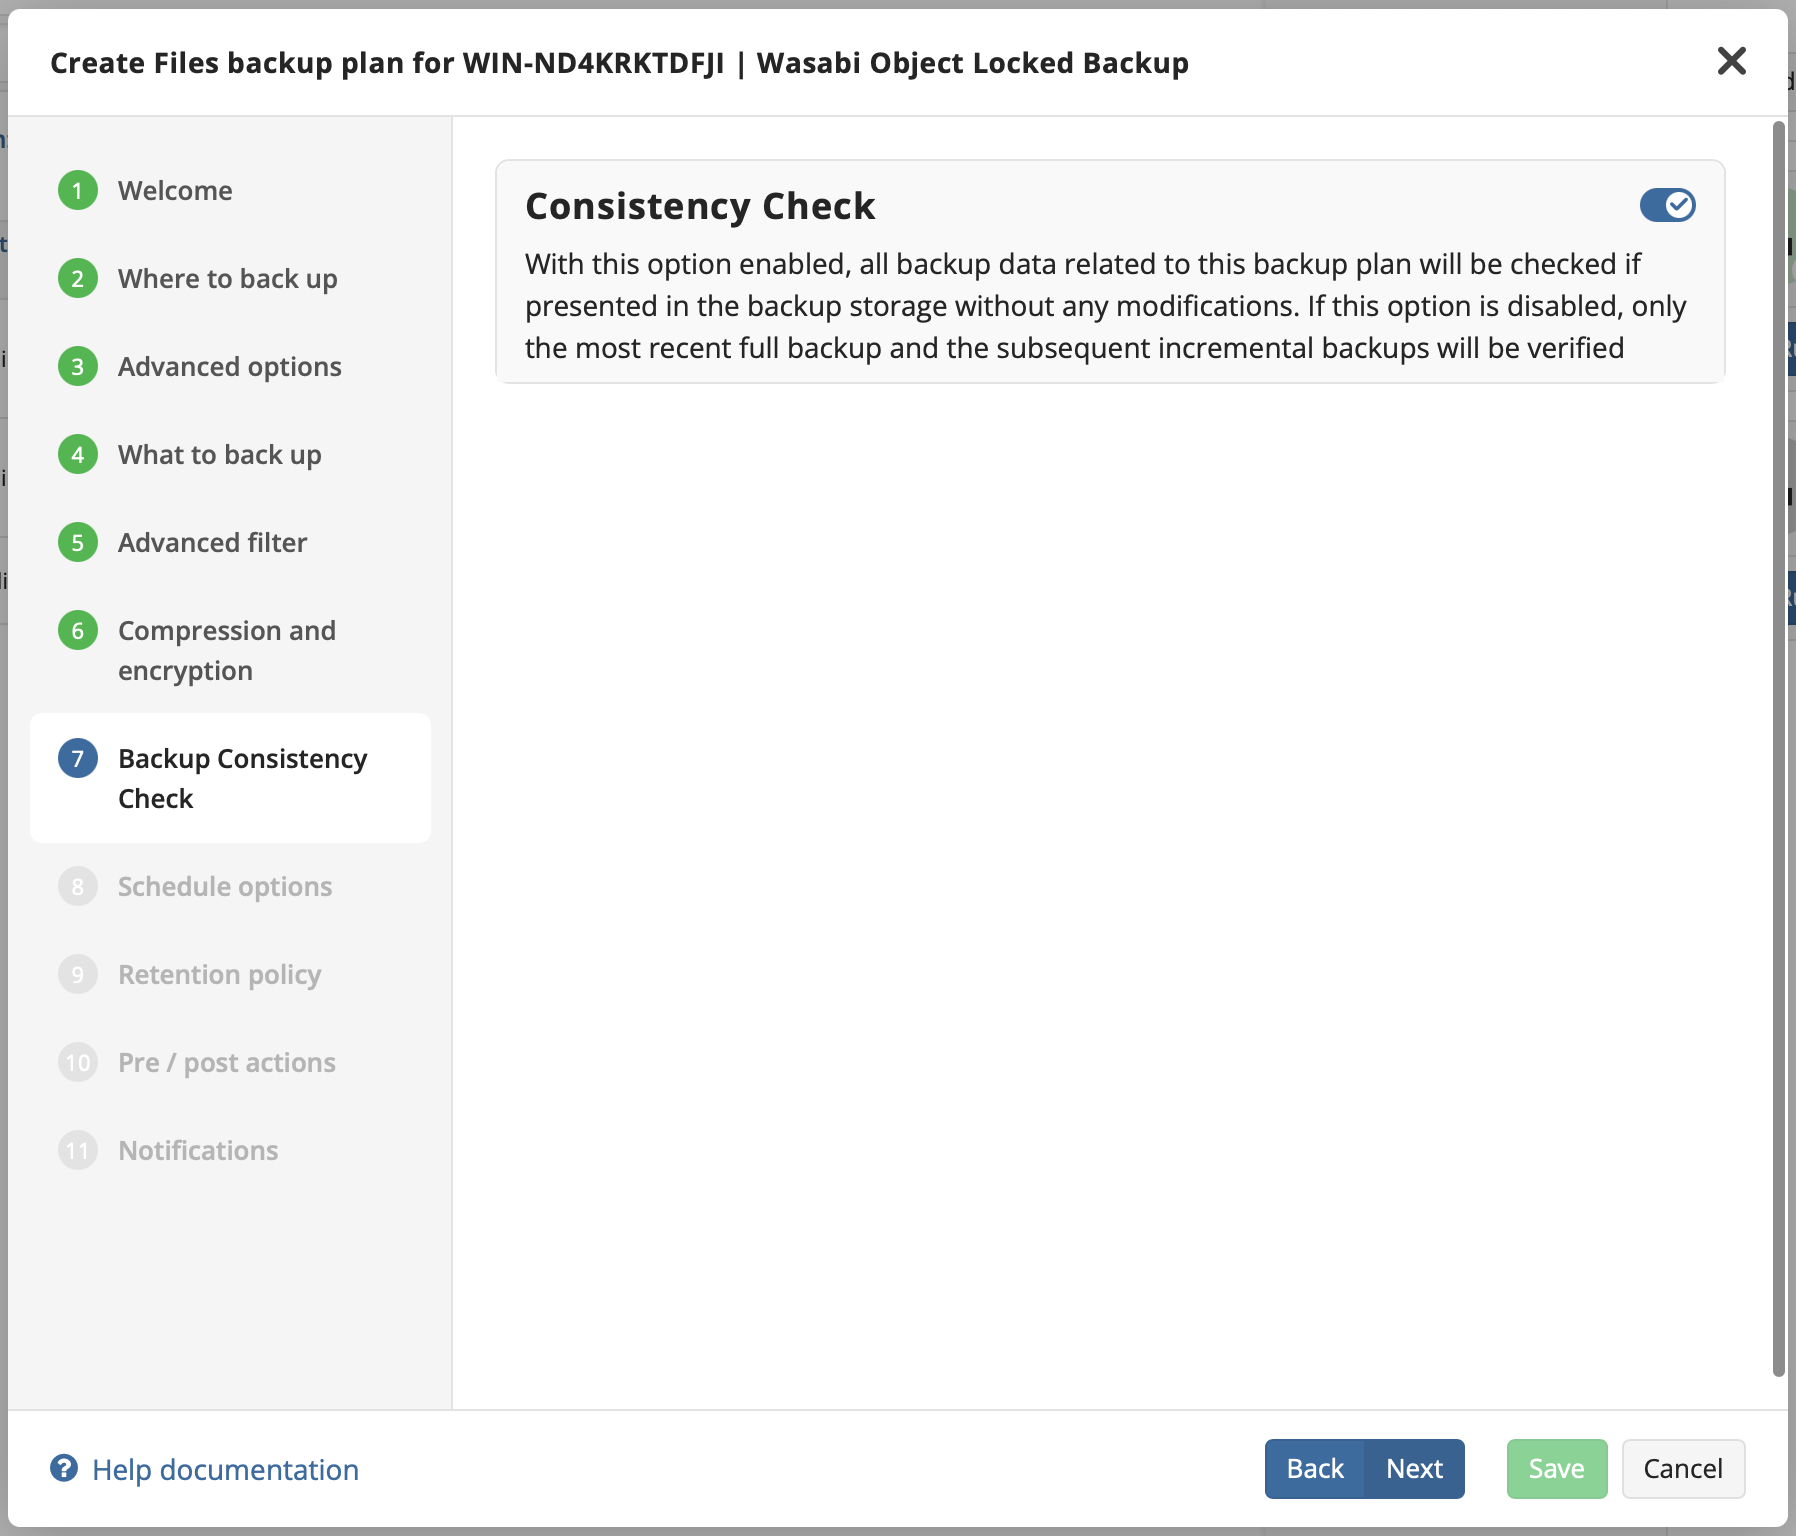
Optionally, enable/disable Consistency Check.
Click Next.
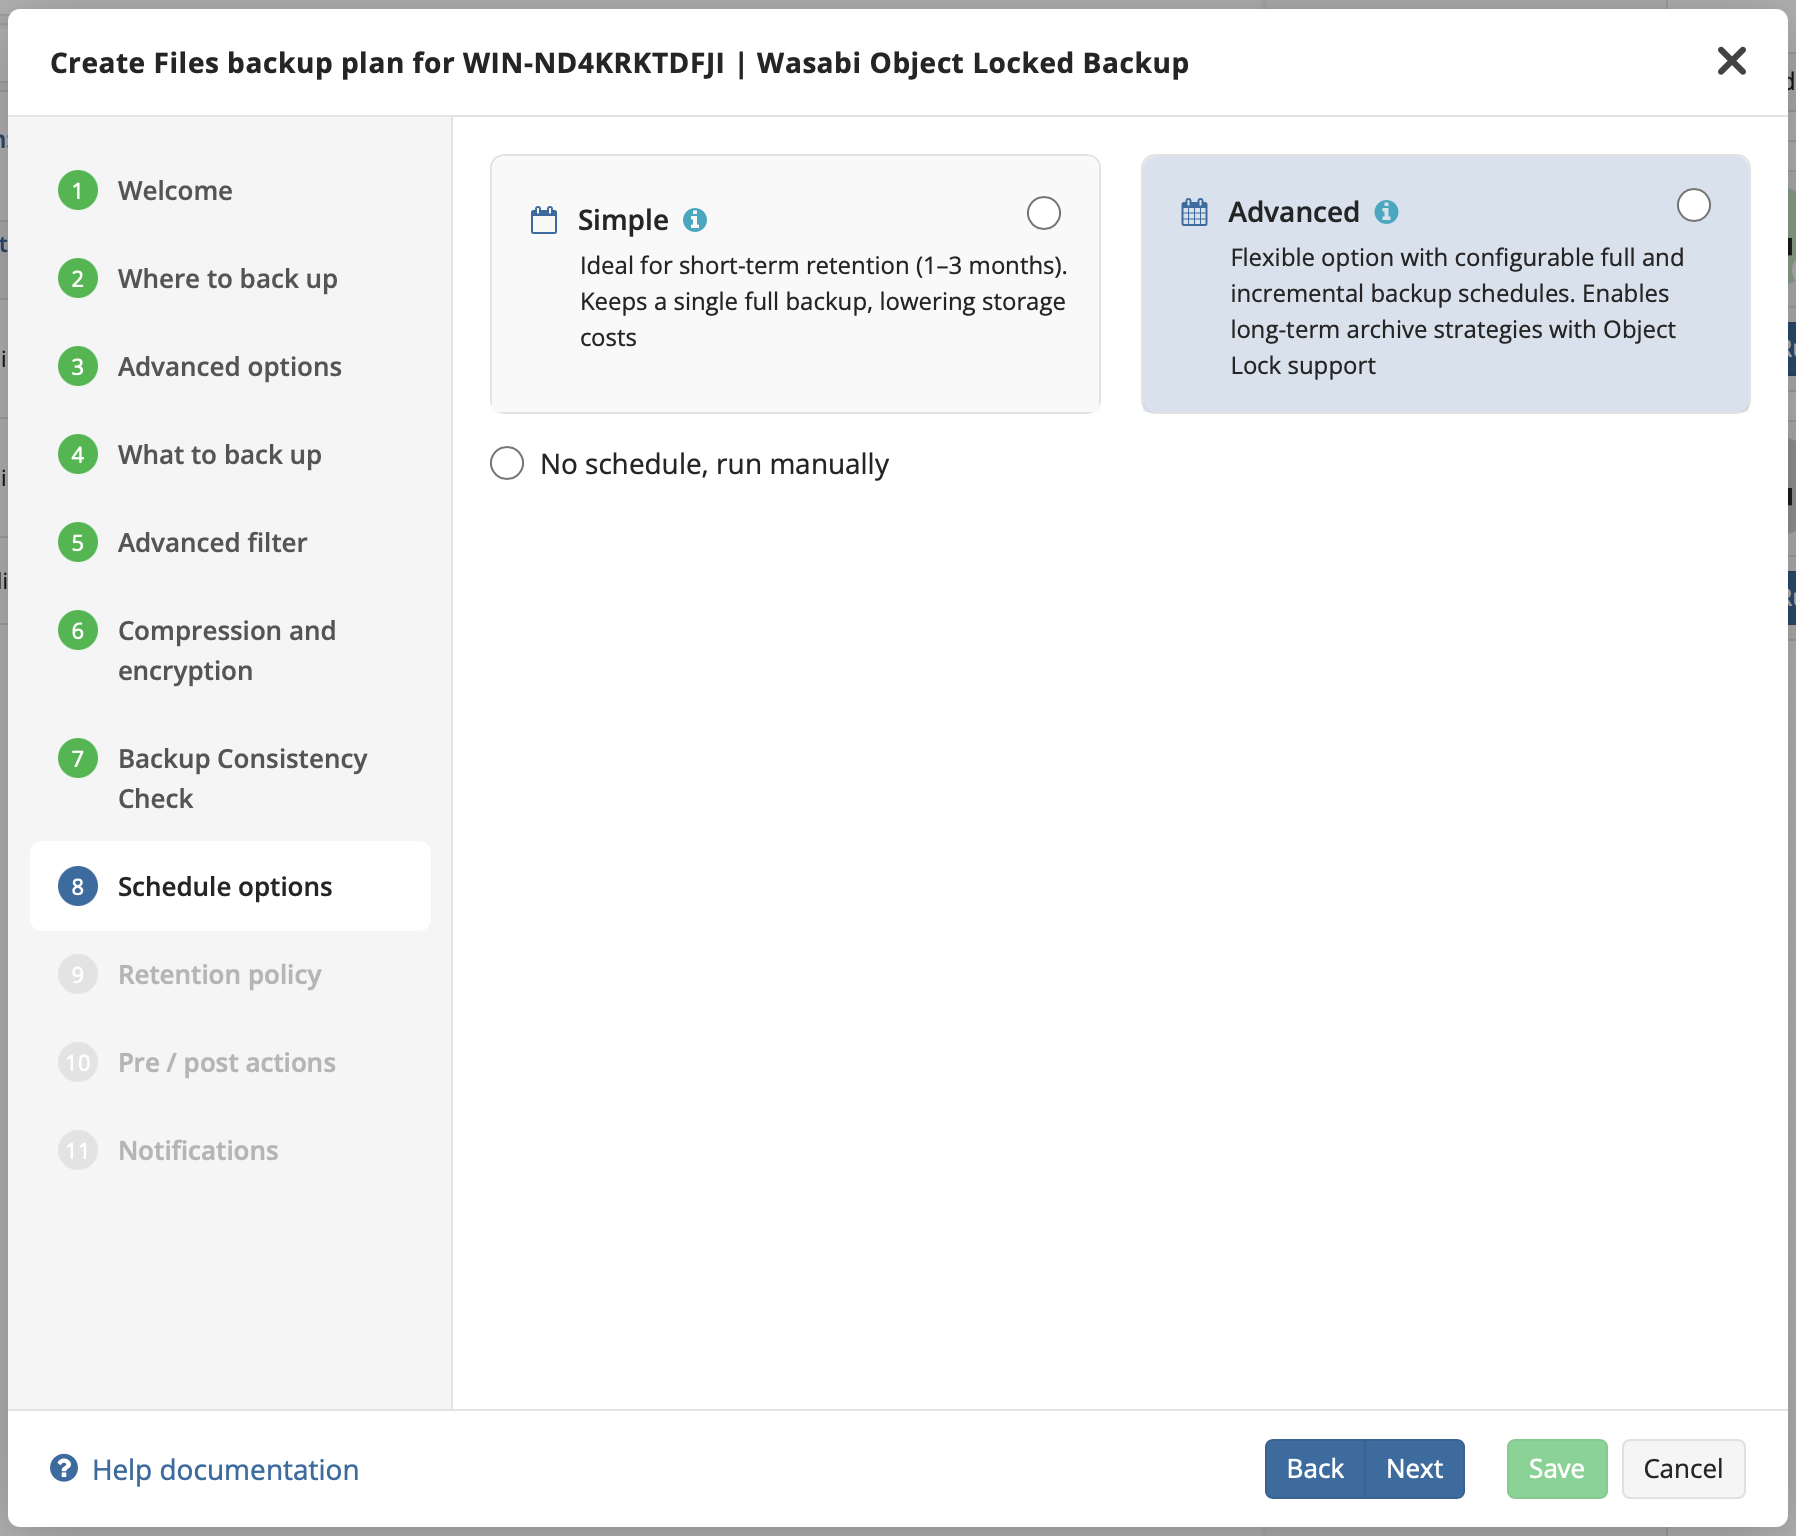
Click Advanced to enable a custom schedule tailored to your backup goals.
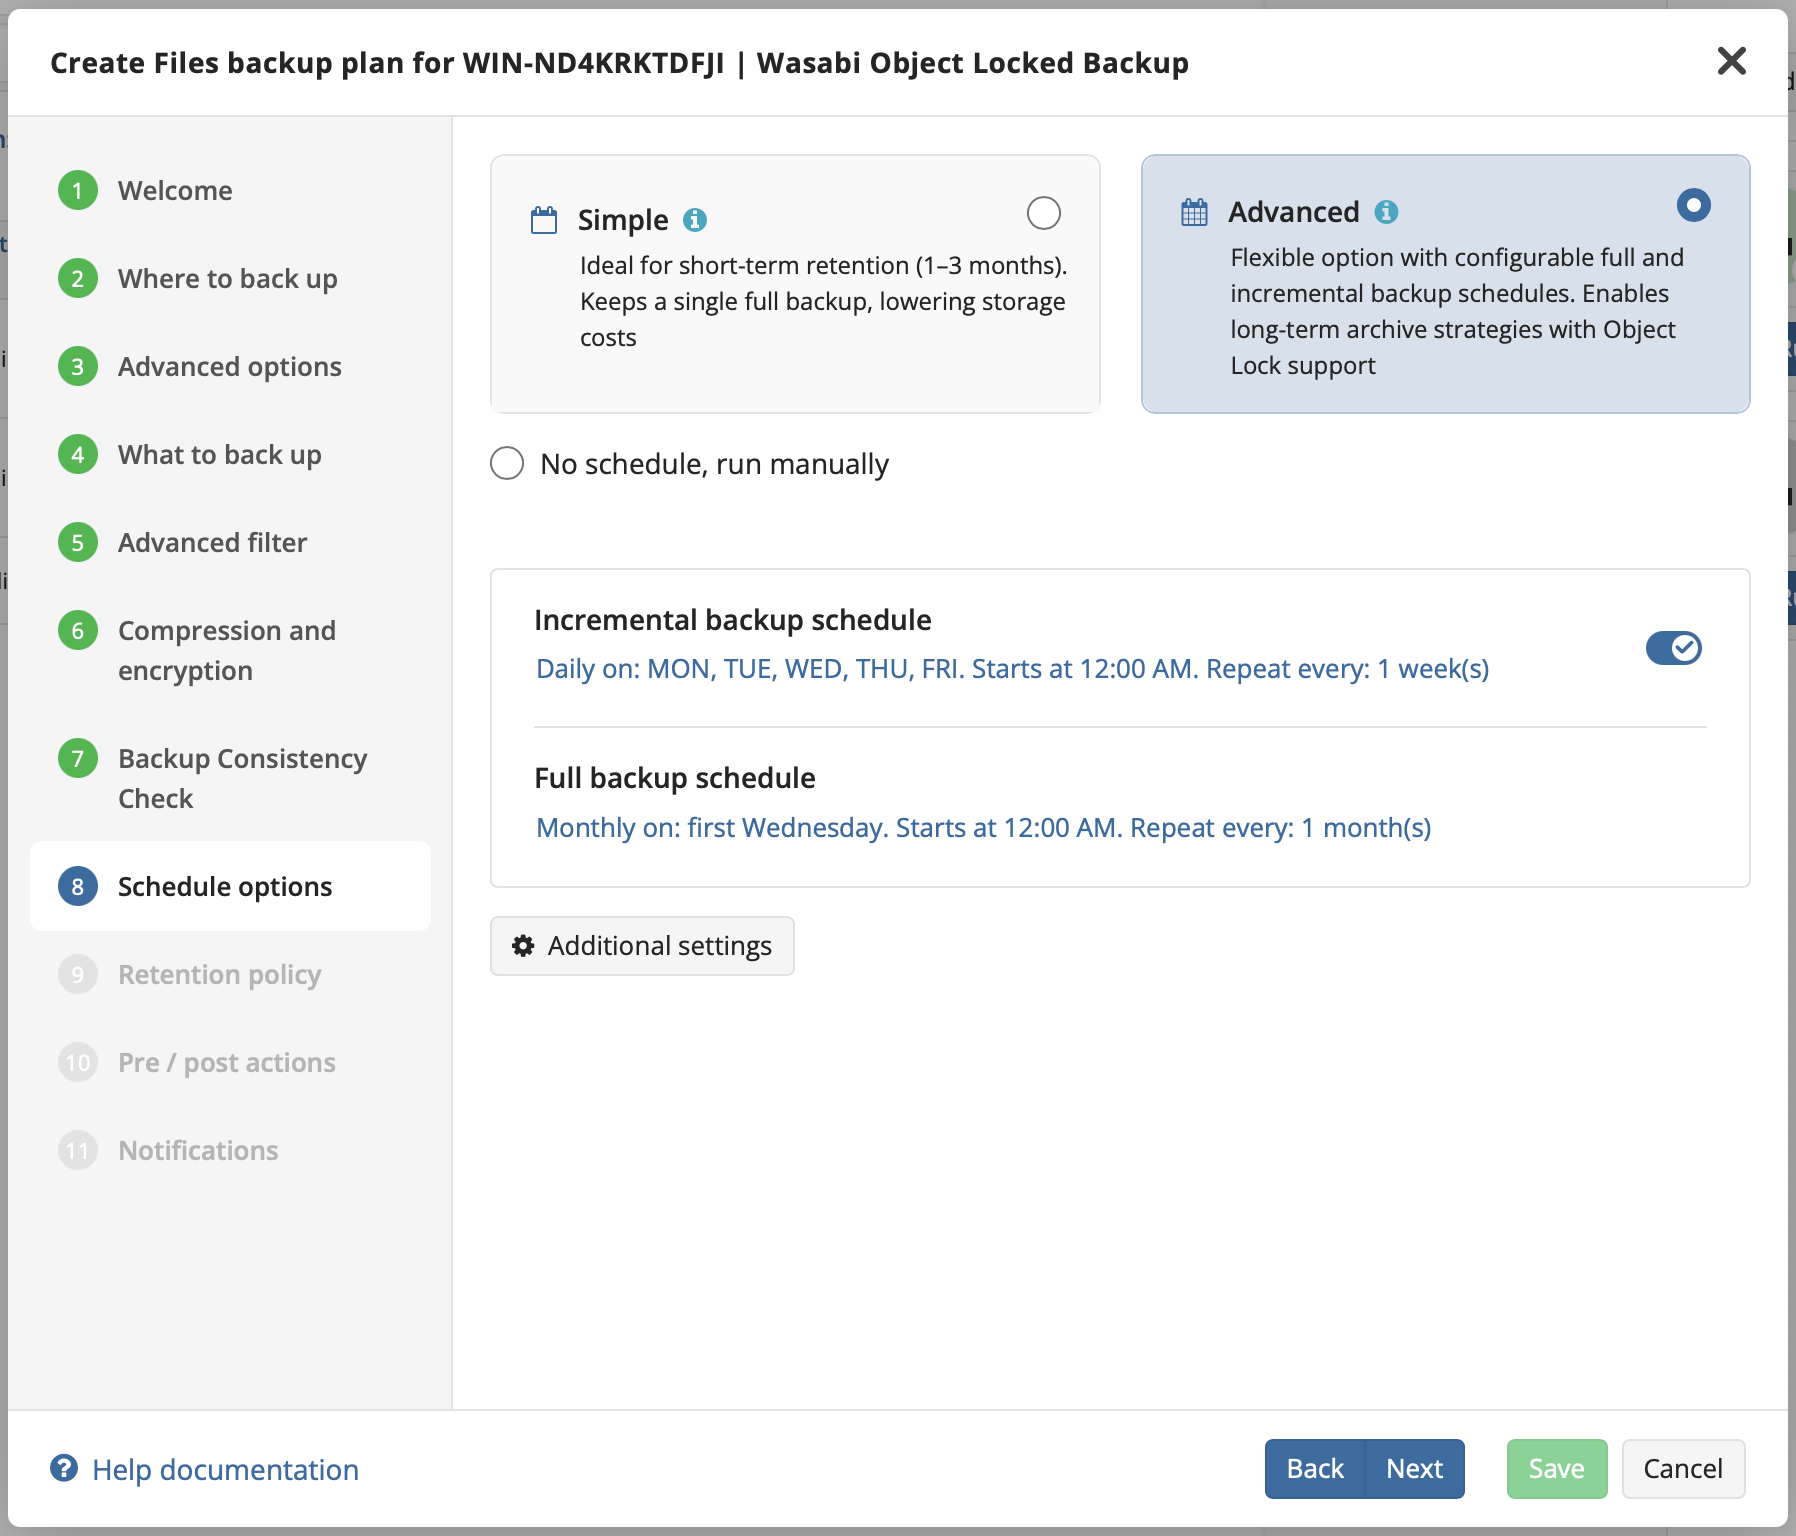
Set the backup schedule using the provided options.
Click Next.
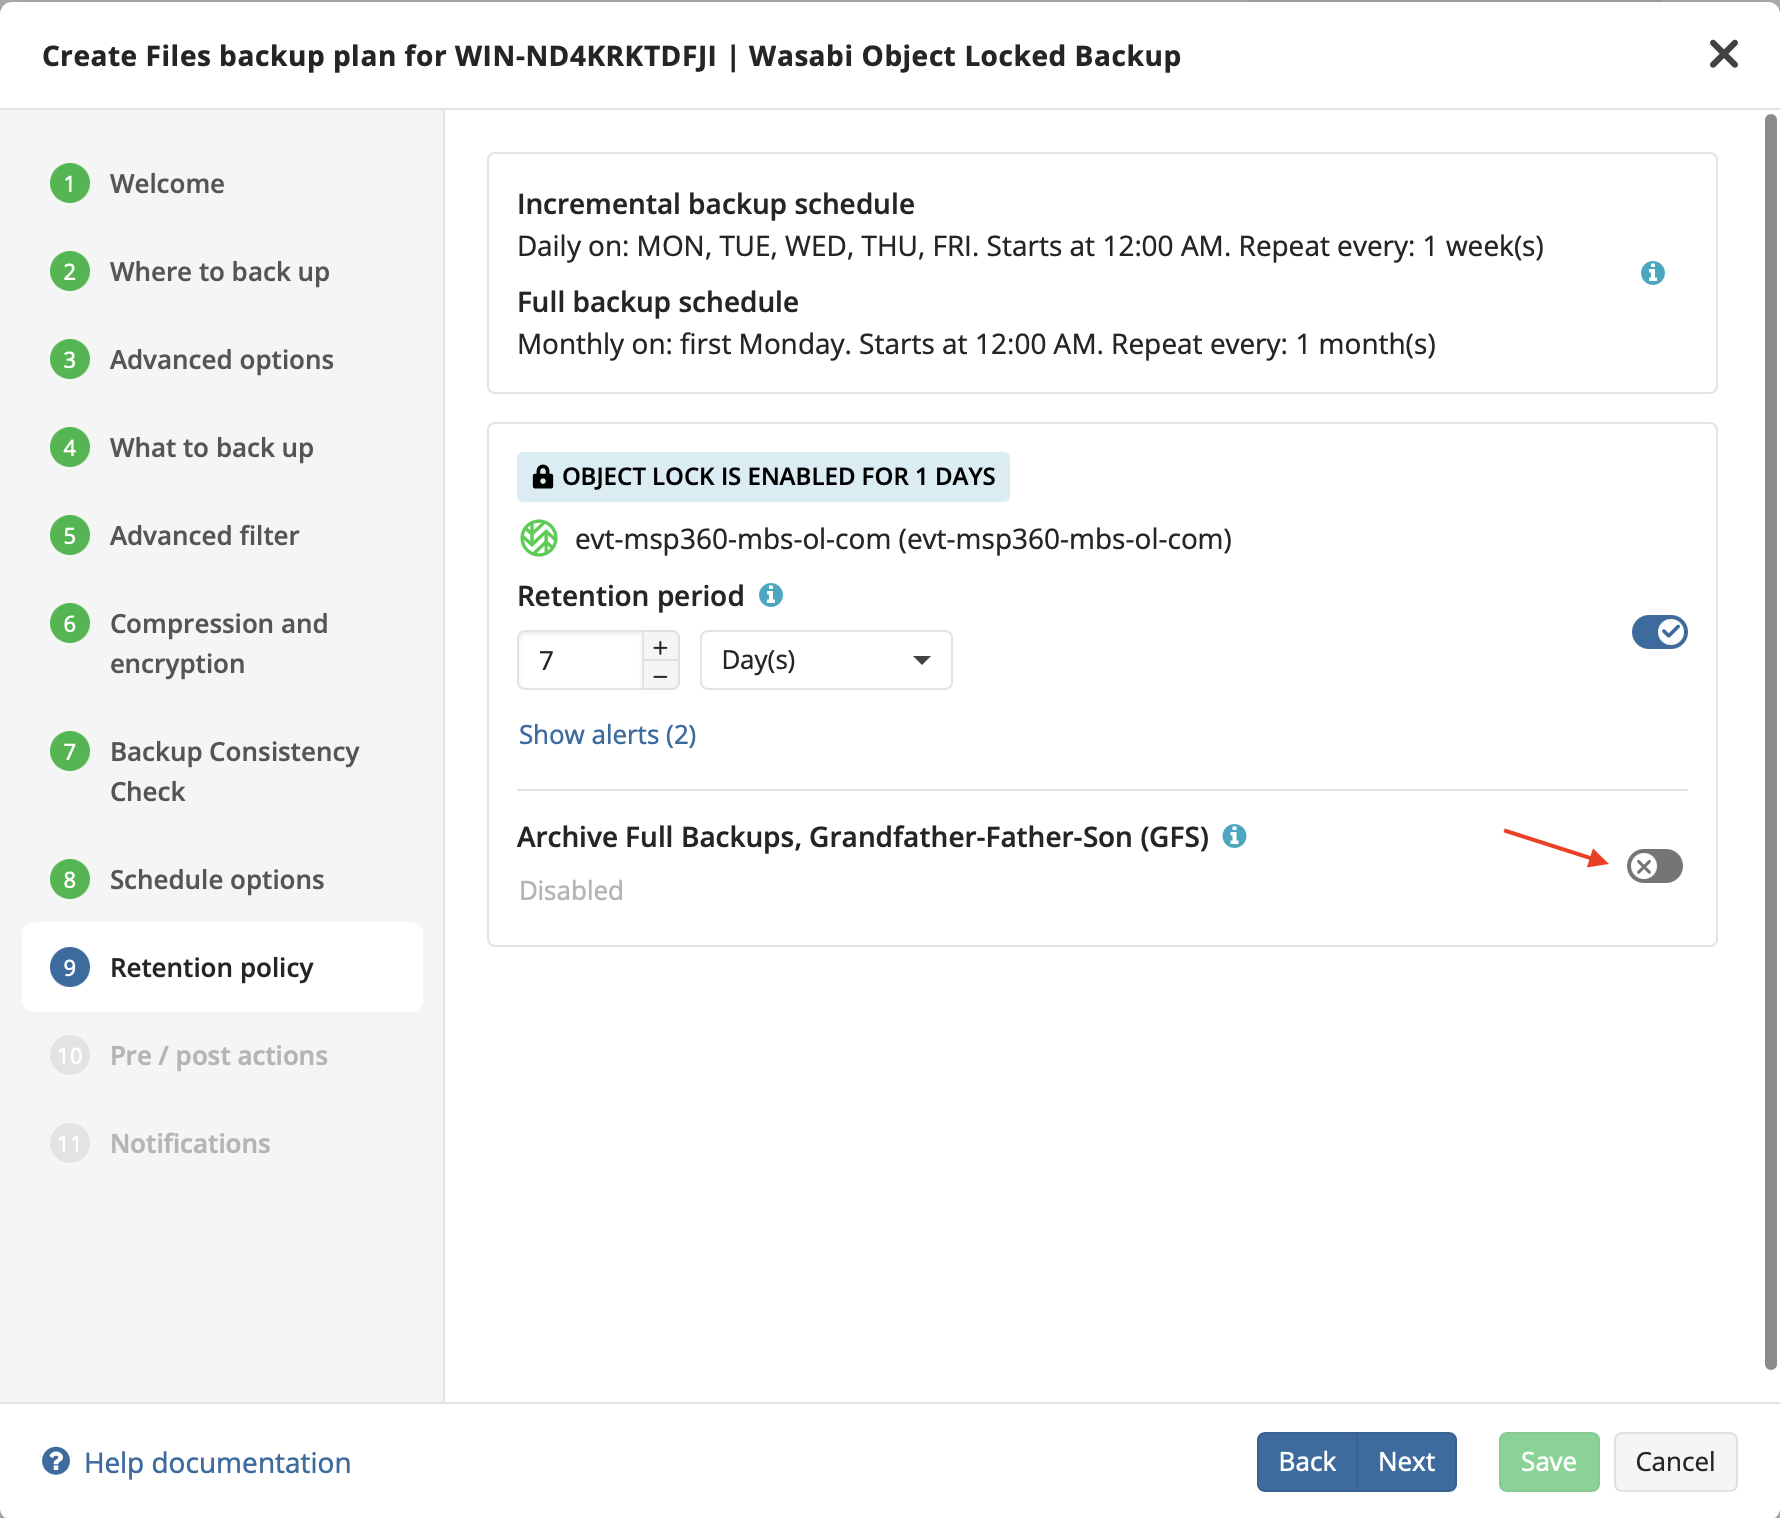
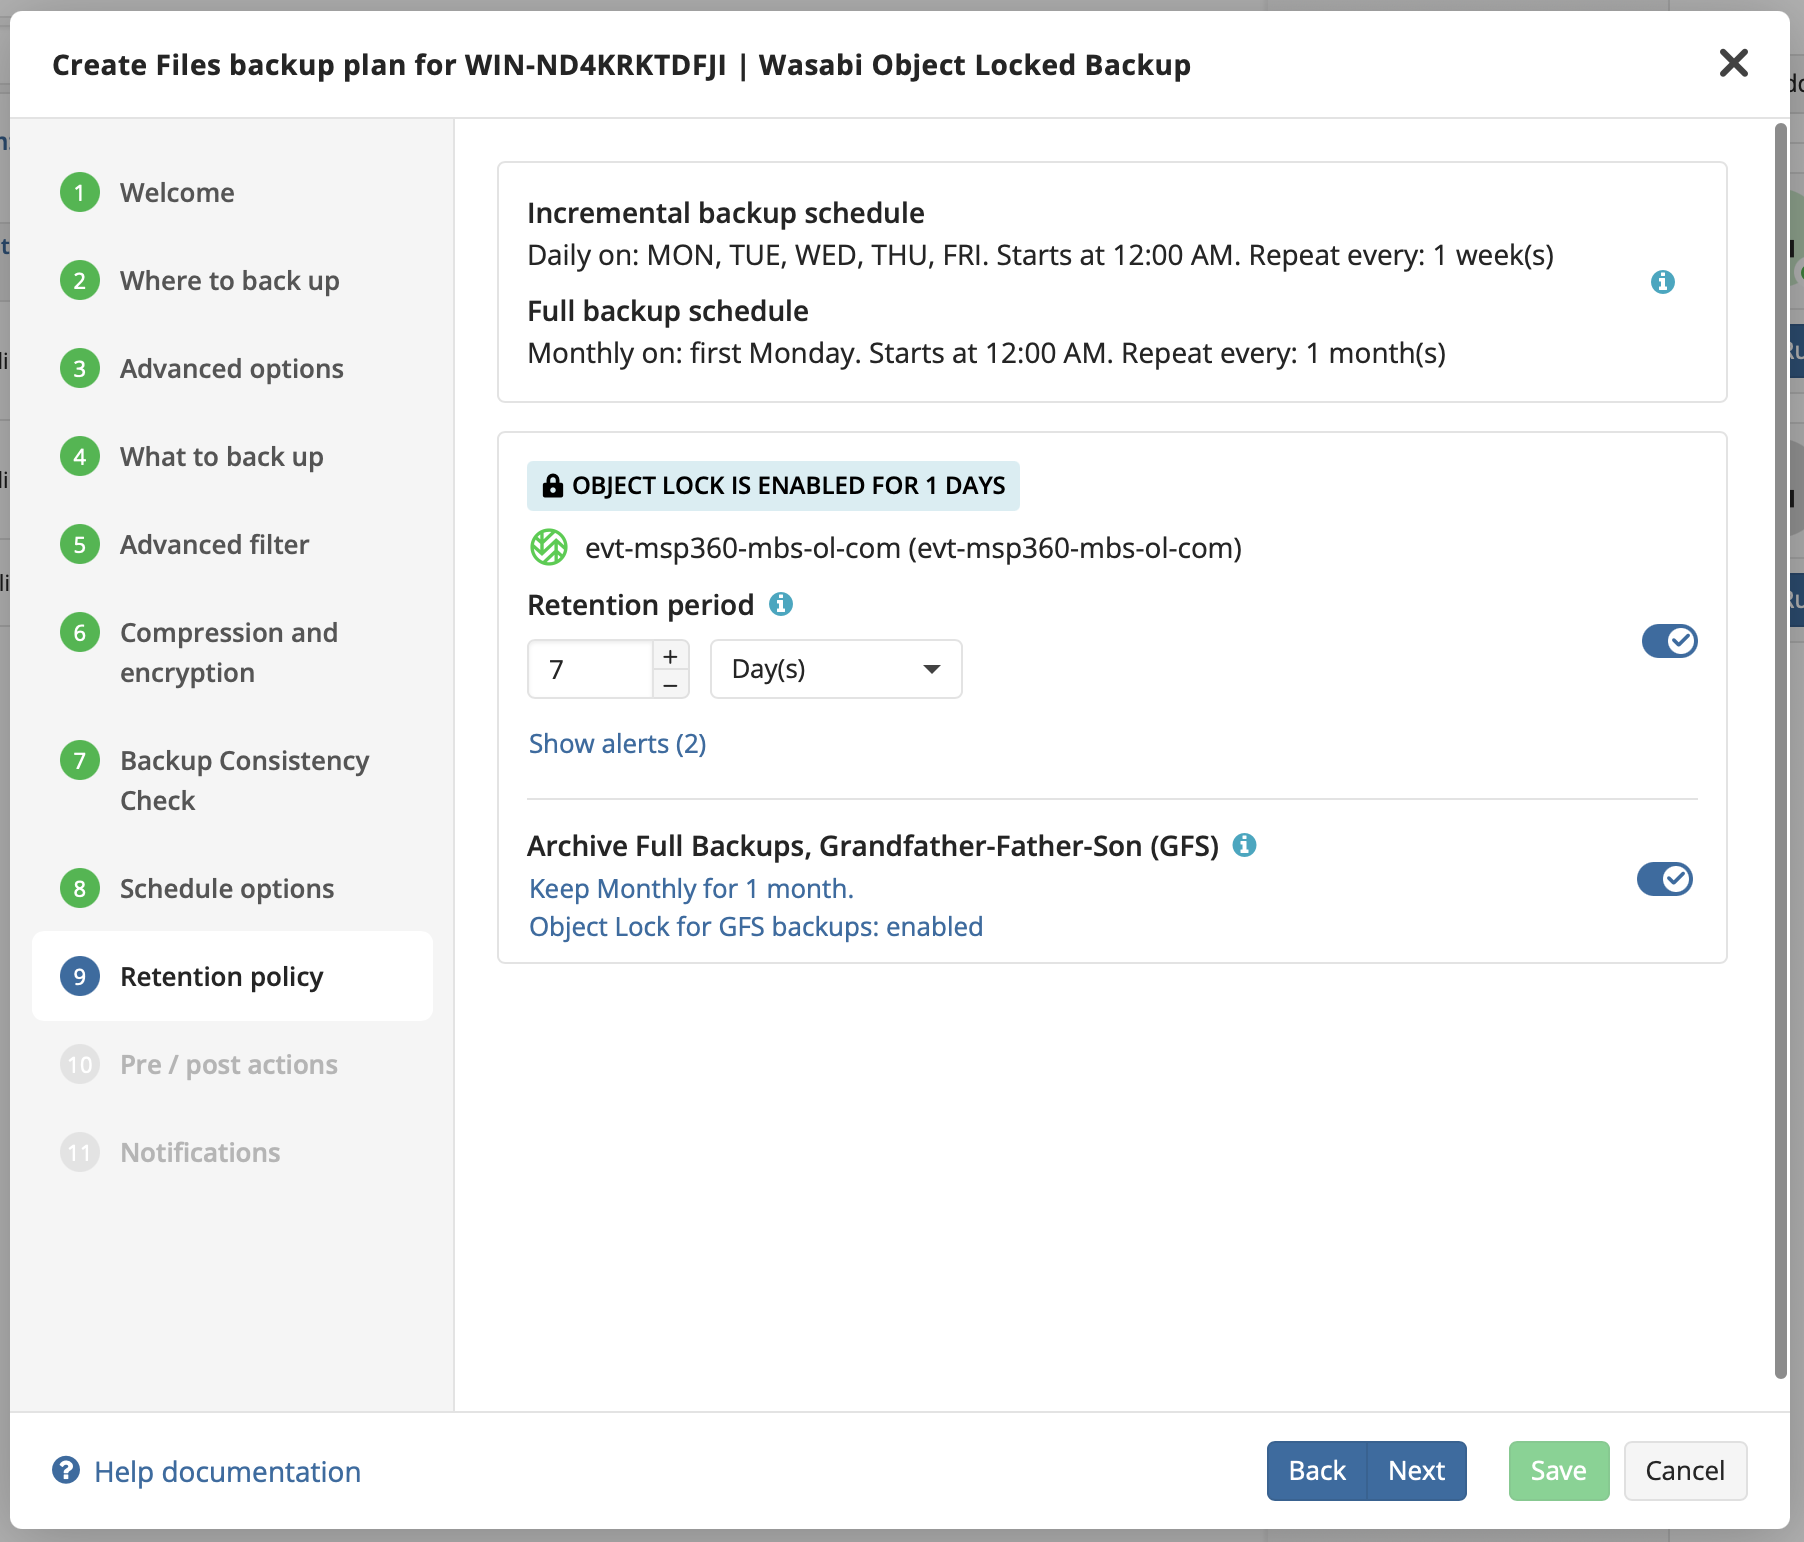
Set a retention period for backups.
Click the toggle to enable GFS backups.
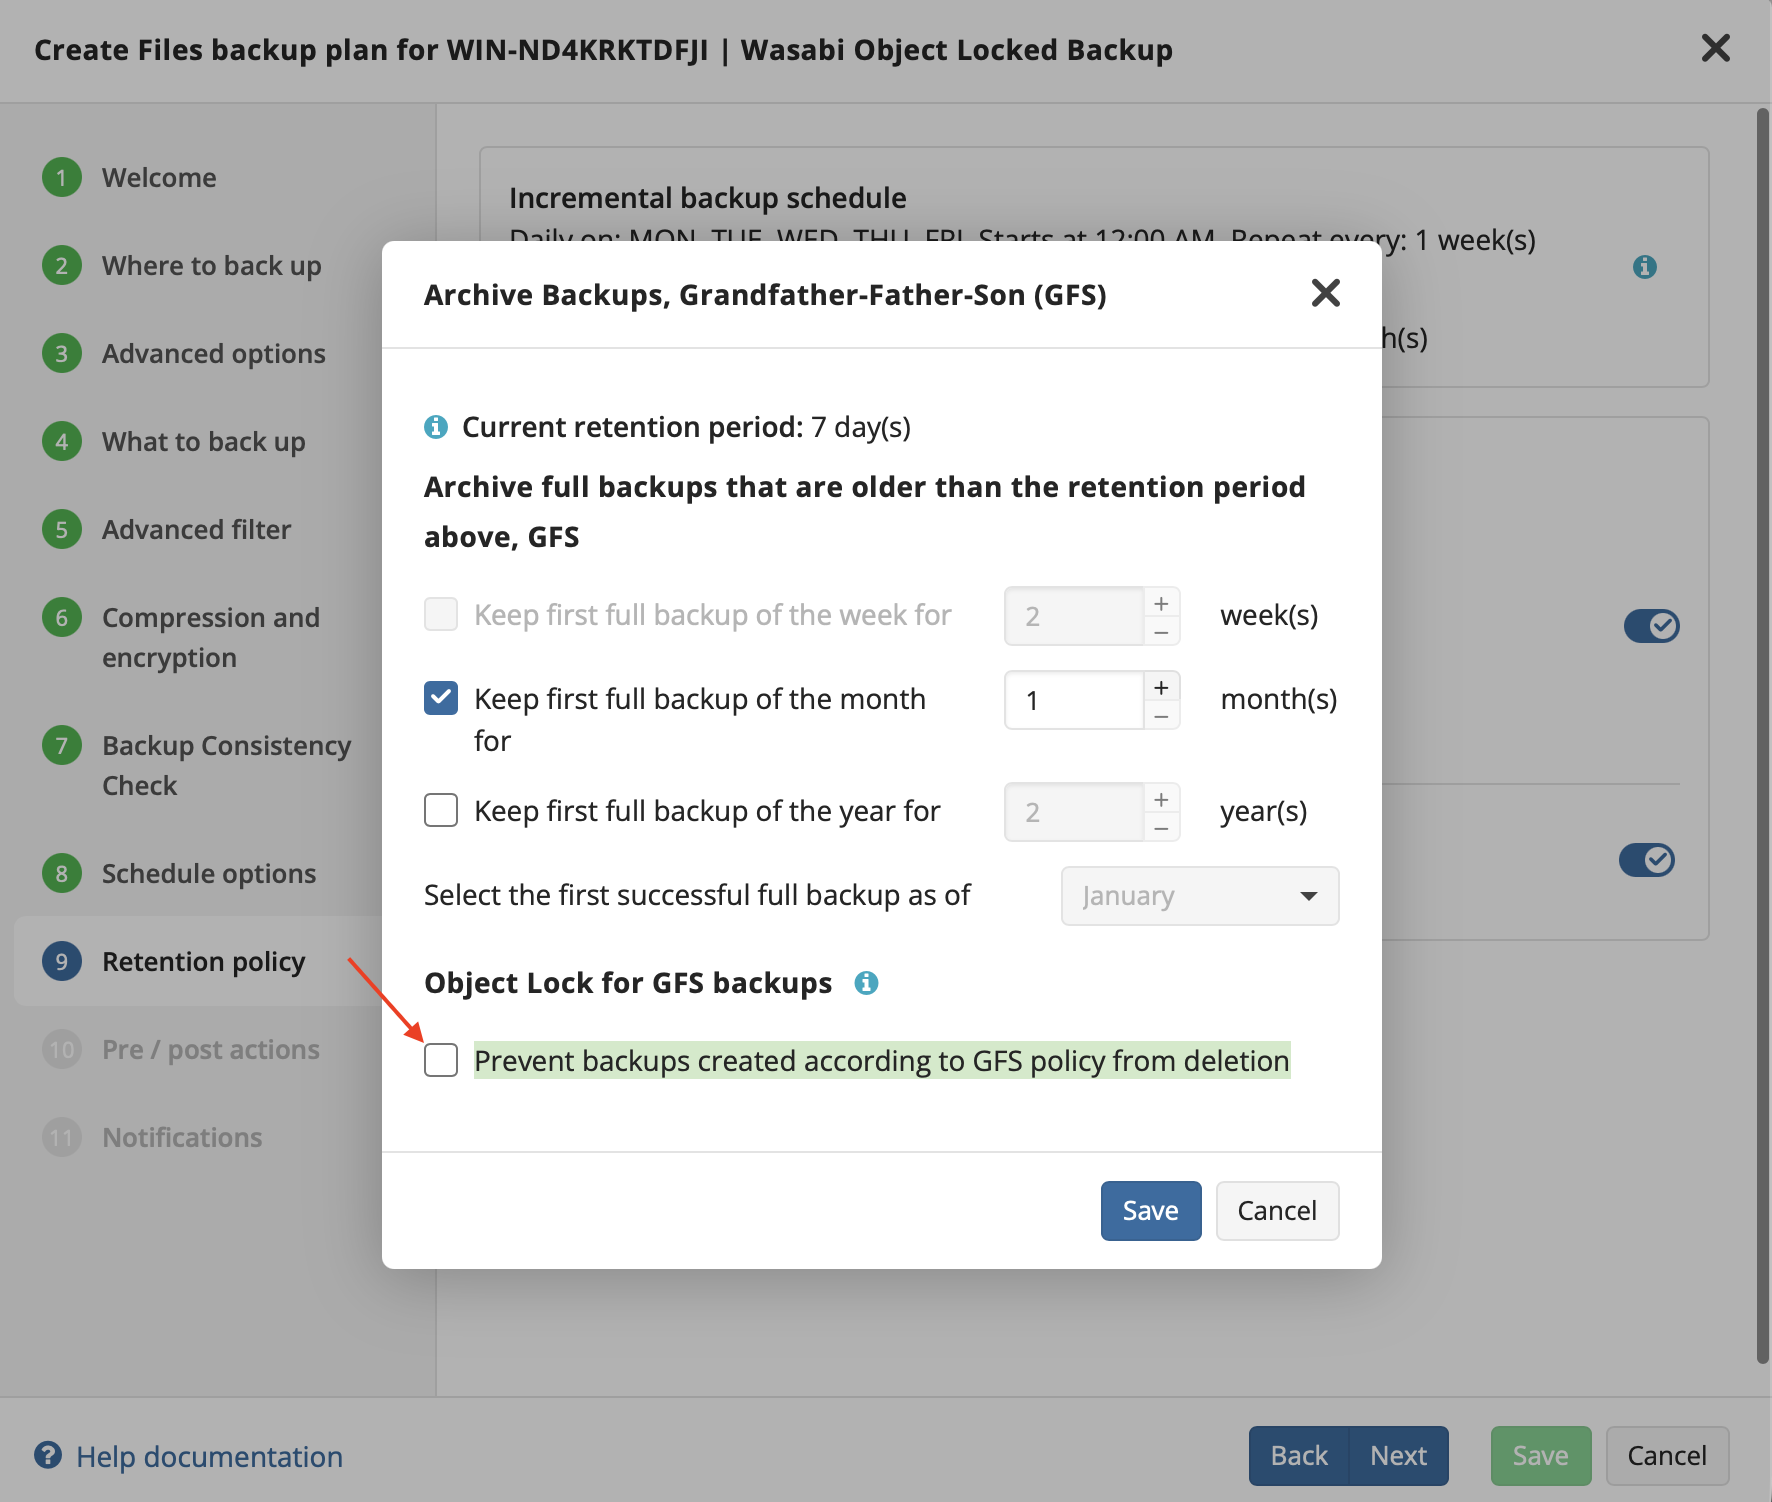
Configure GFS Retention settings.
Click the checkbox to enable Object Lock for GFS Backups.
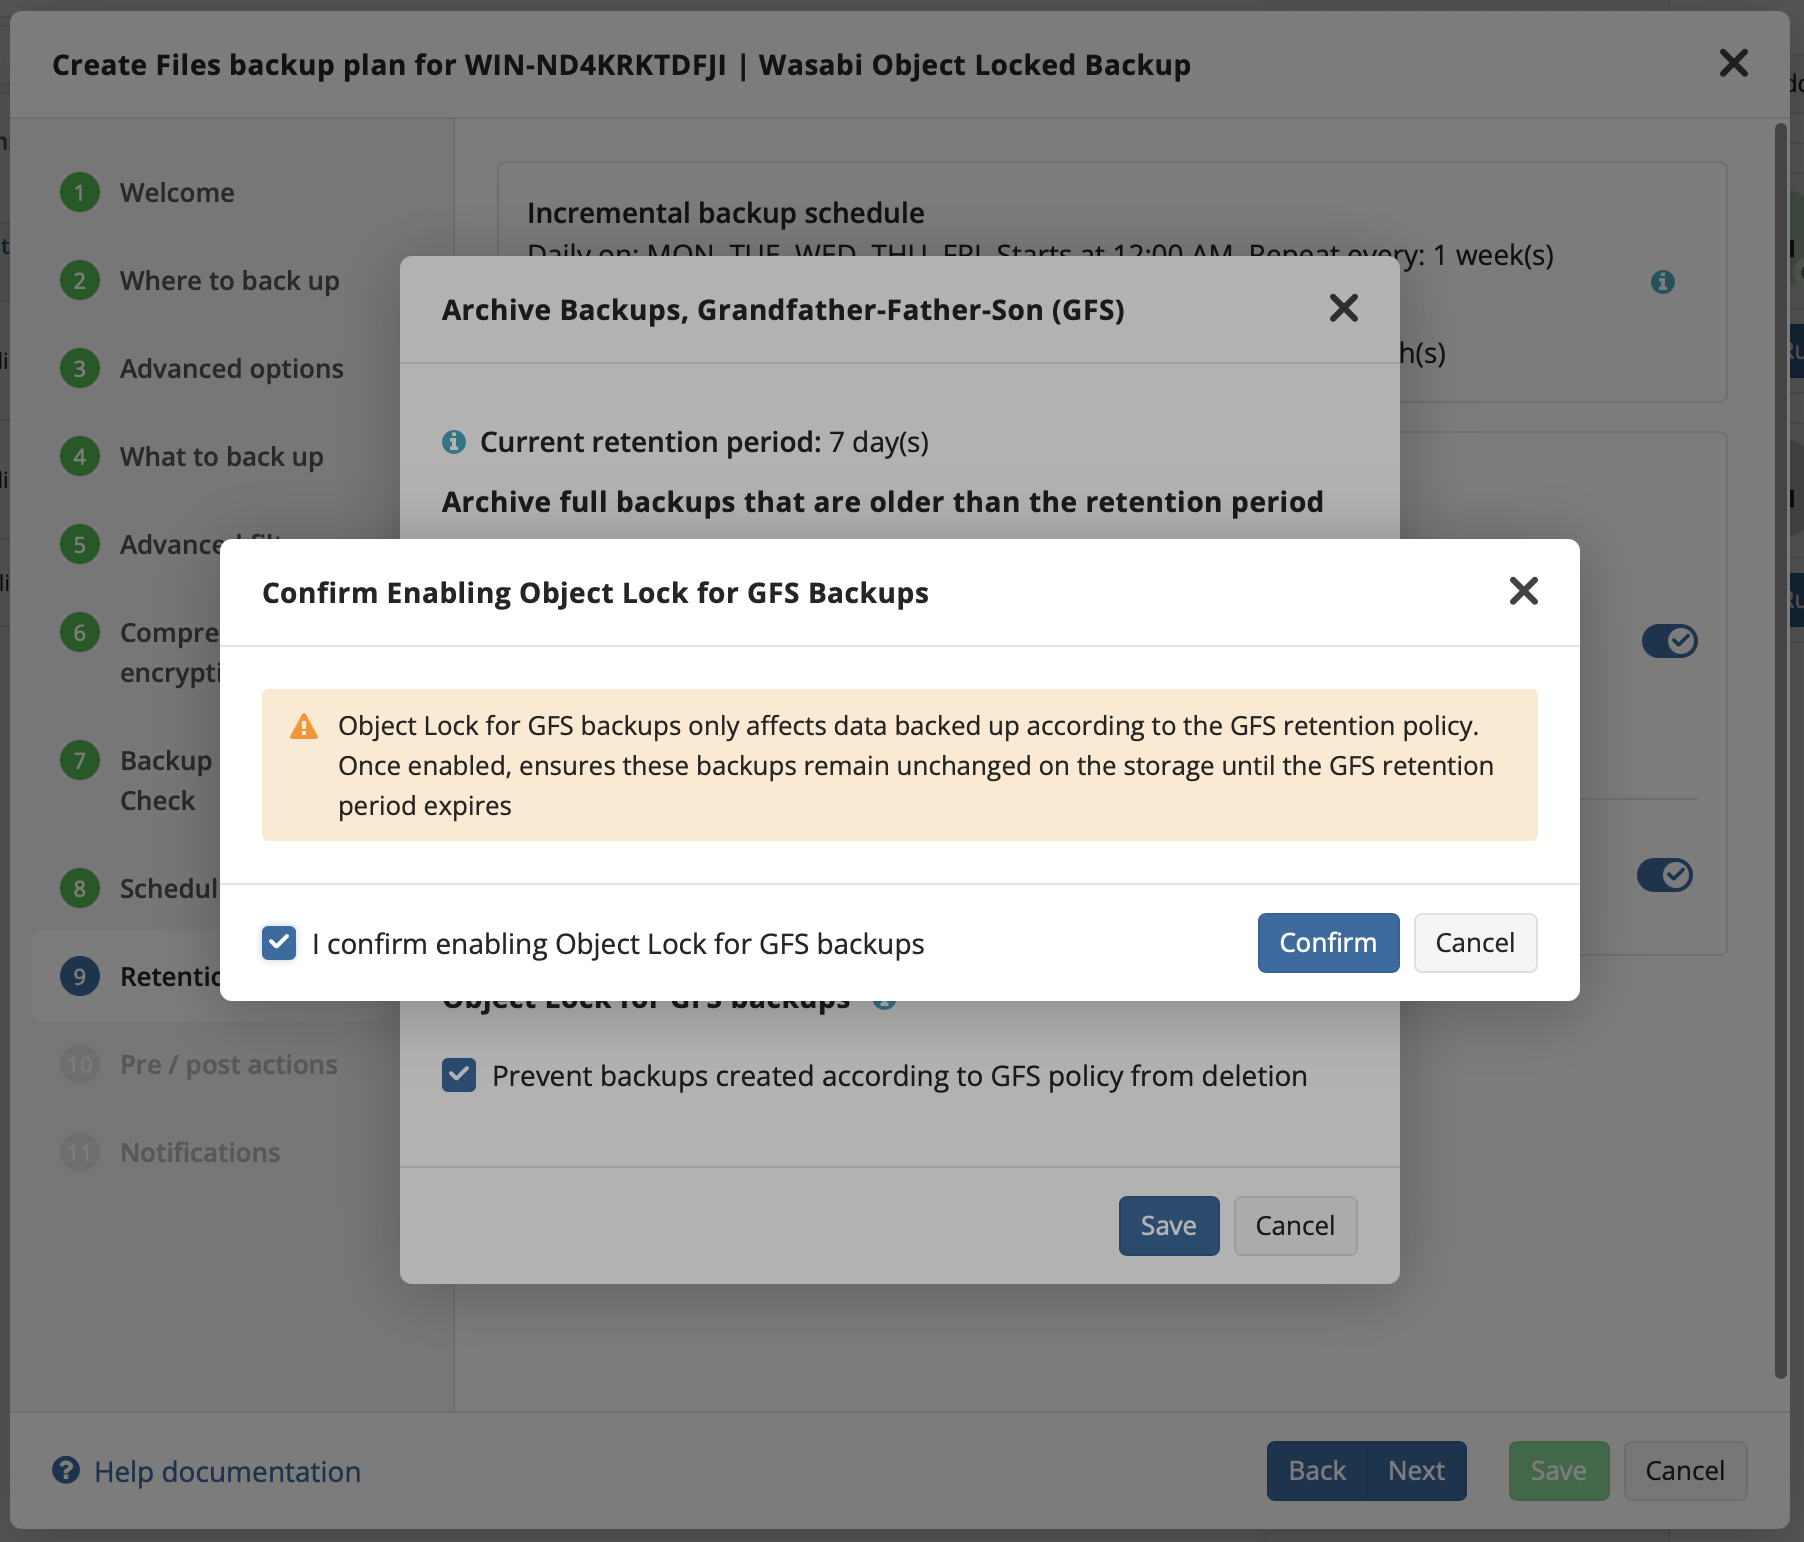
Confirm that you understand that Object Locked data cannot be deleted for the entire immutability period.
Click Save.
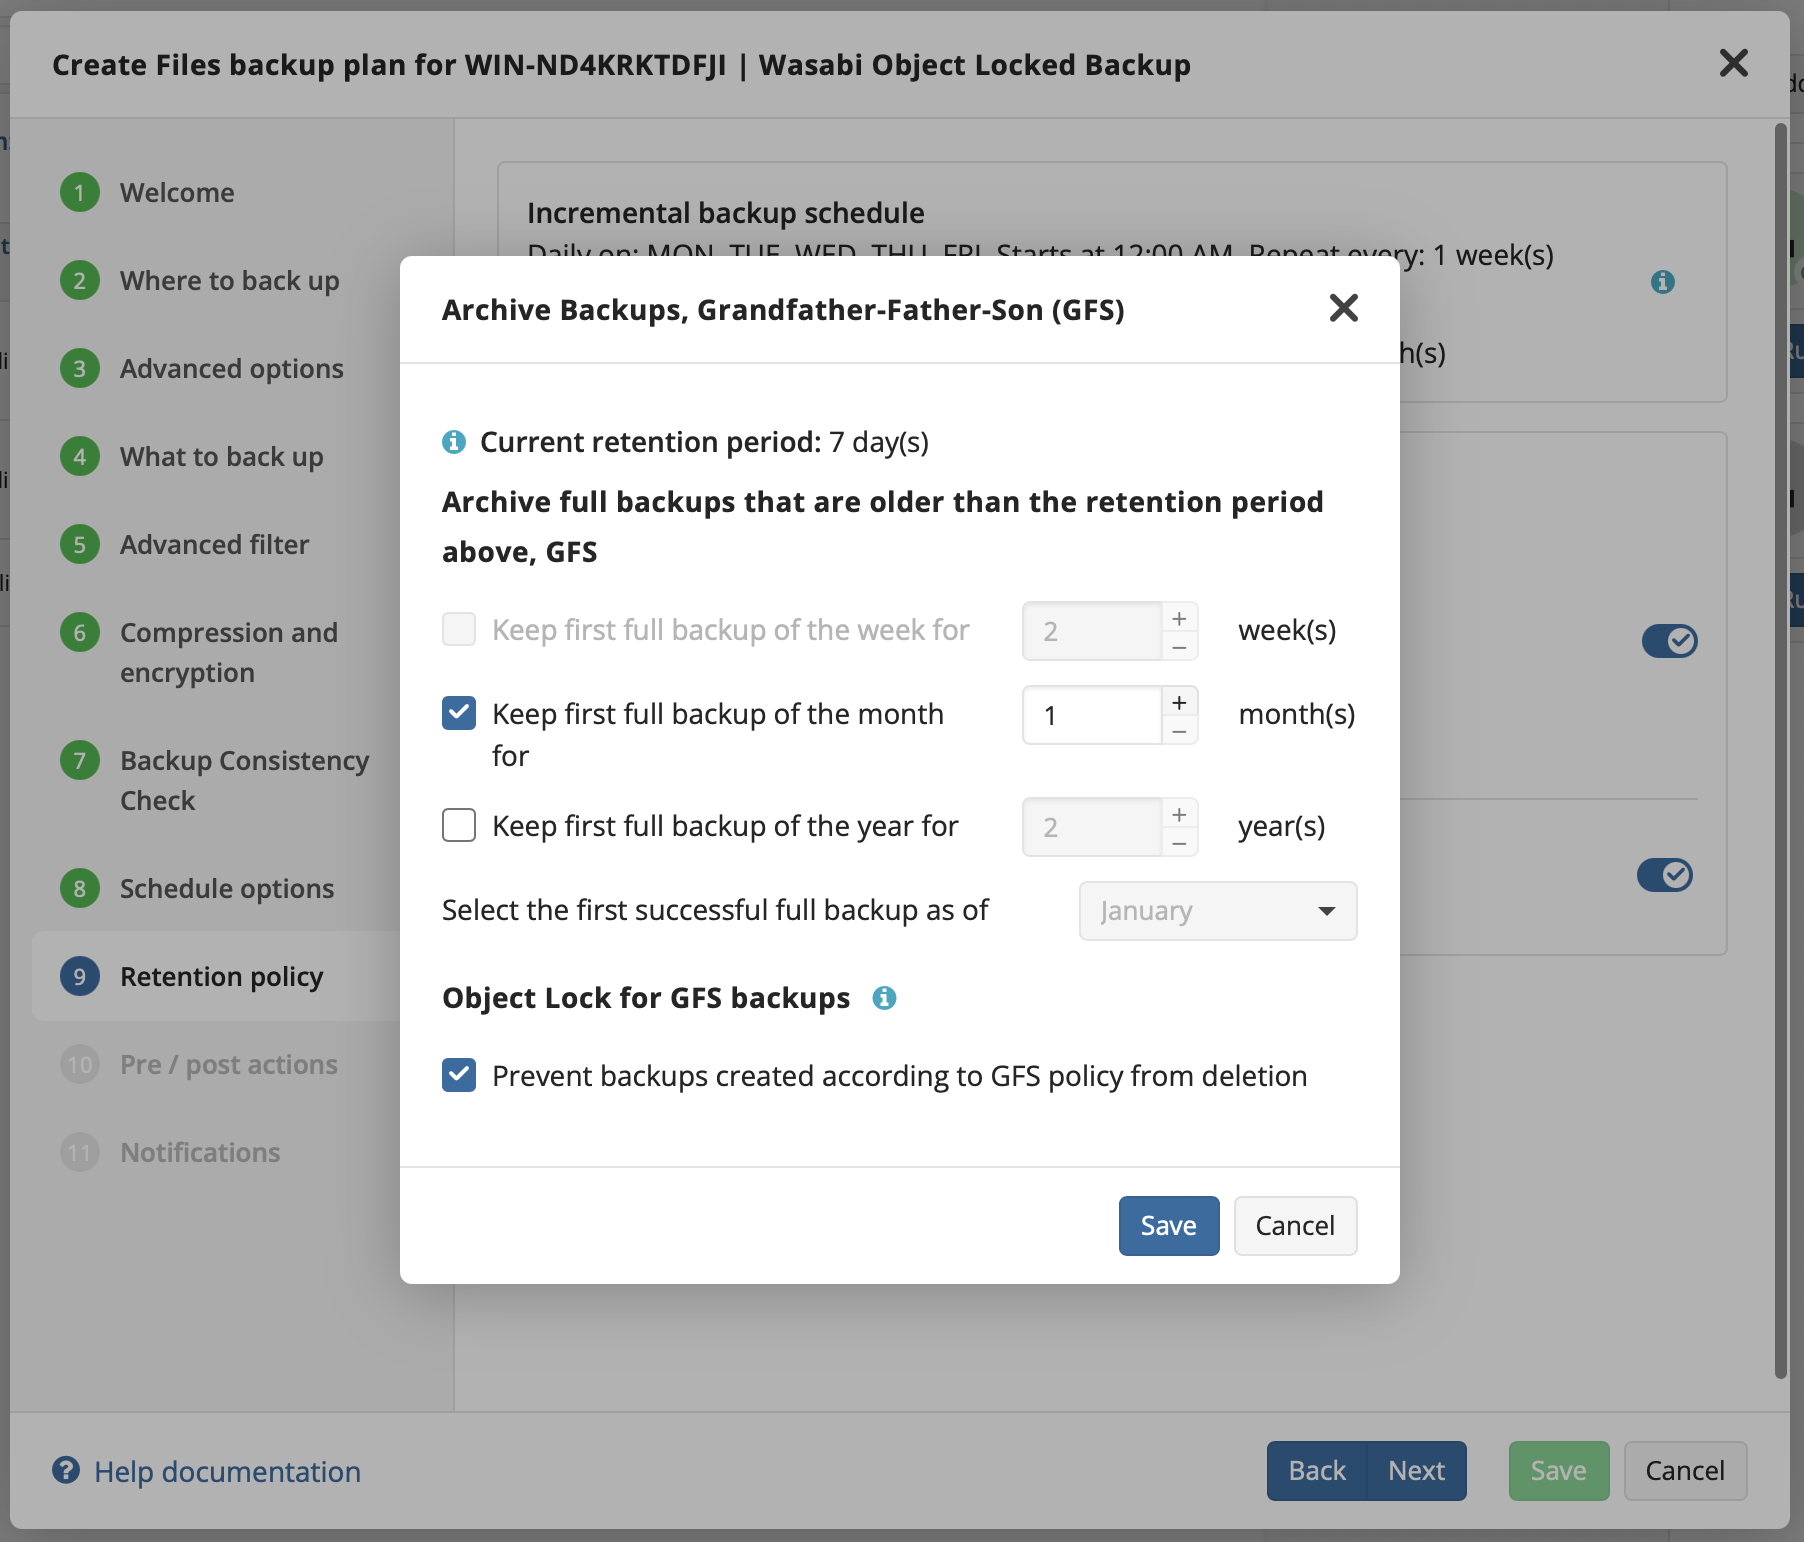
Click Next.
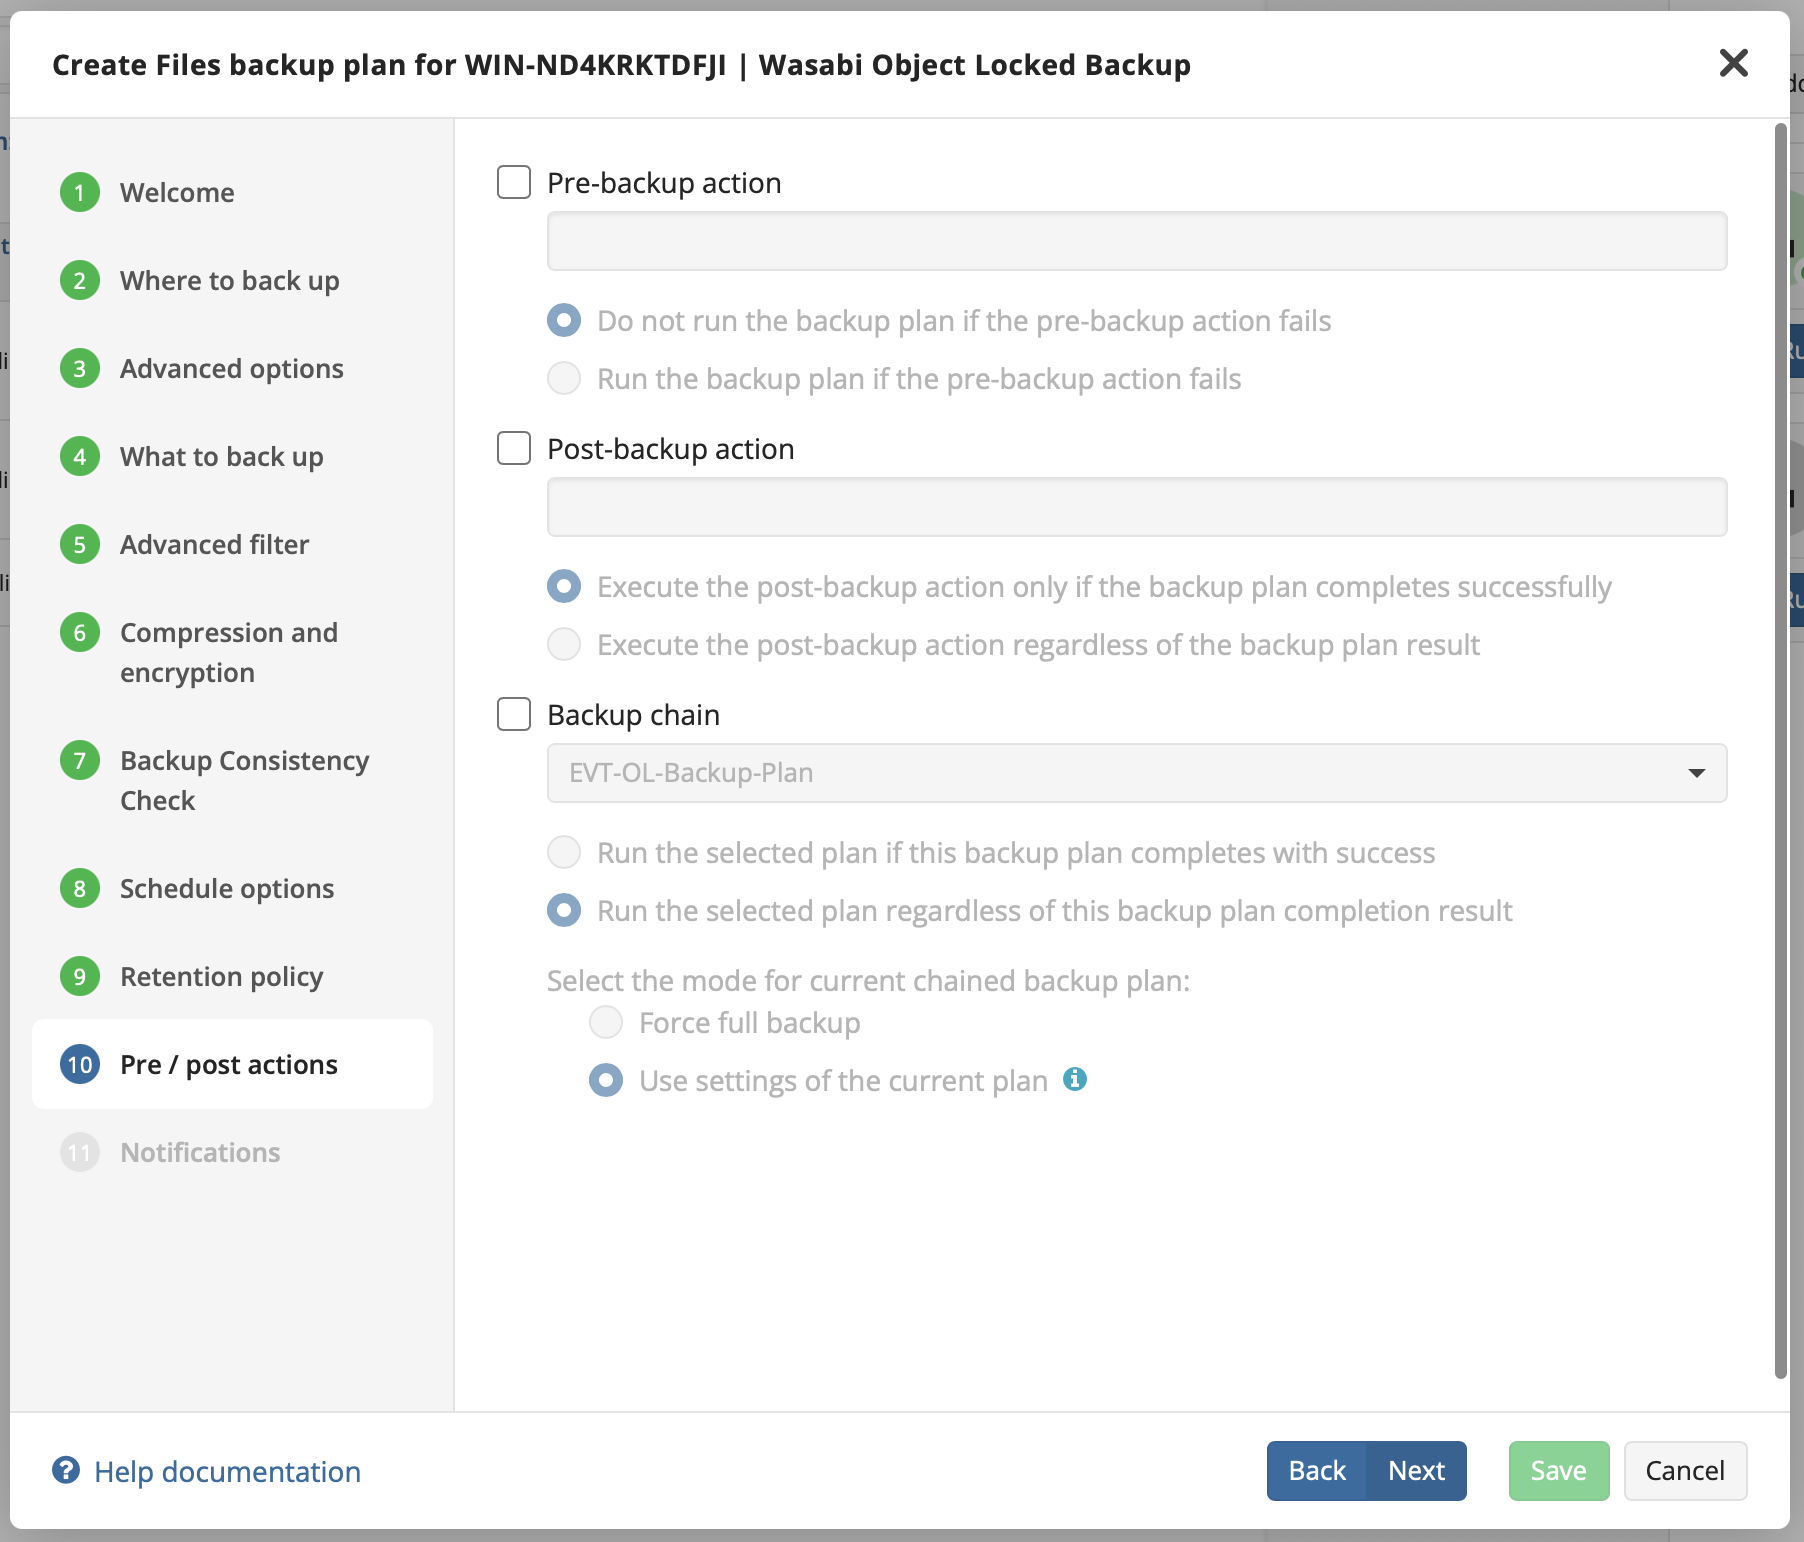
Optionally, enable any pre- or post-backup actions.
Click Next.
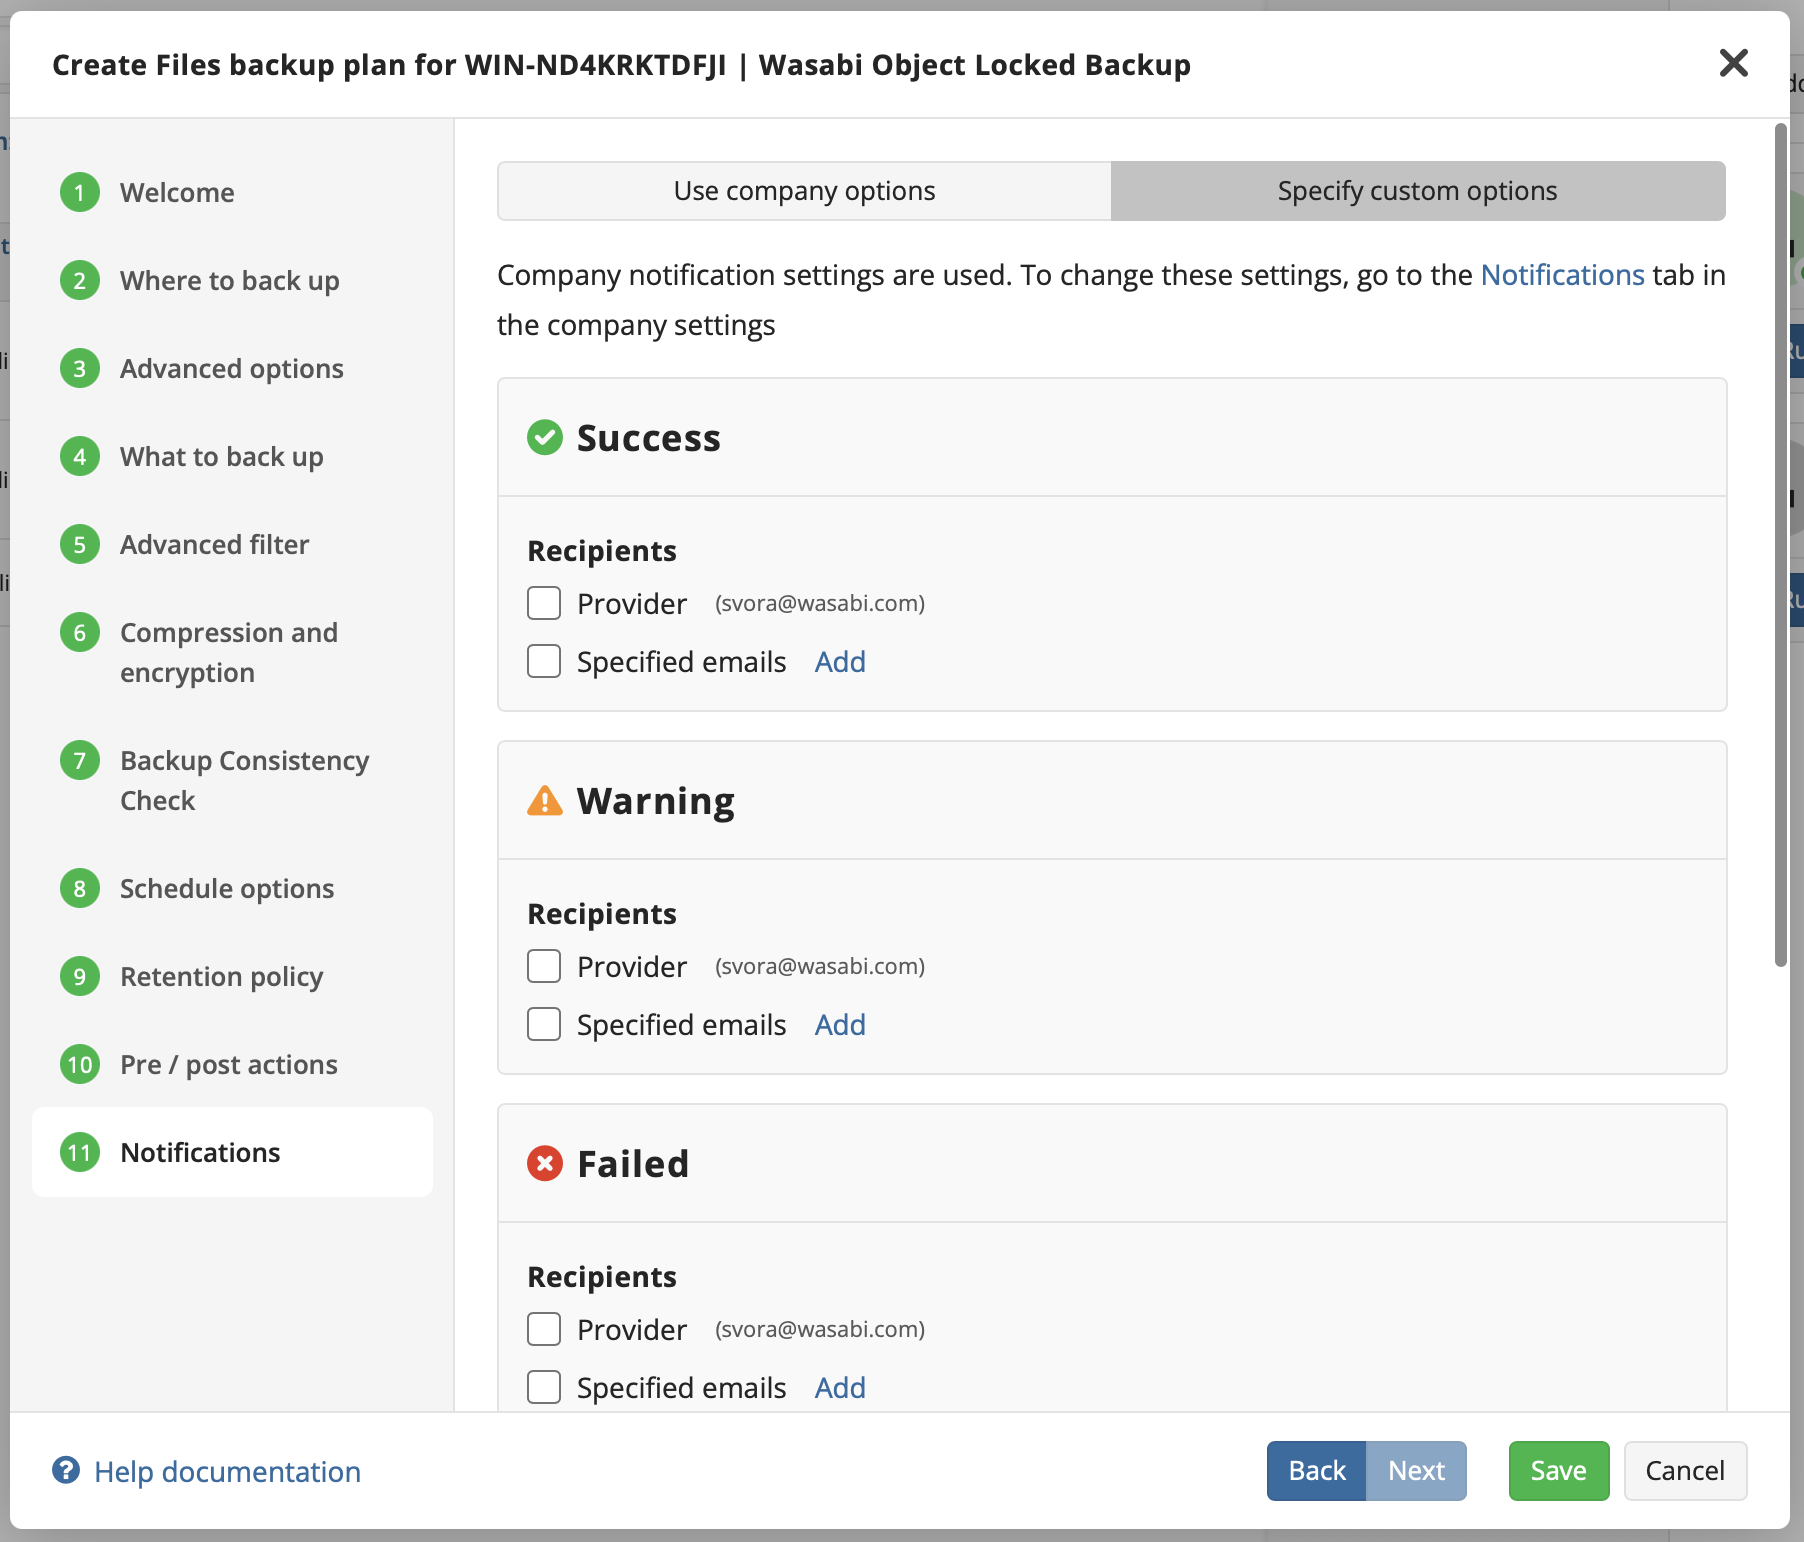
Enable any relevant notifications and click Save.
Backing up Data to Wasabi
Launch the MSP360 Online Backup application on the client machine.
Choose the appropriate backup plan.
Click Play to run the backup.
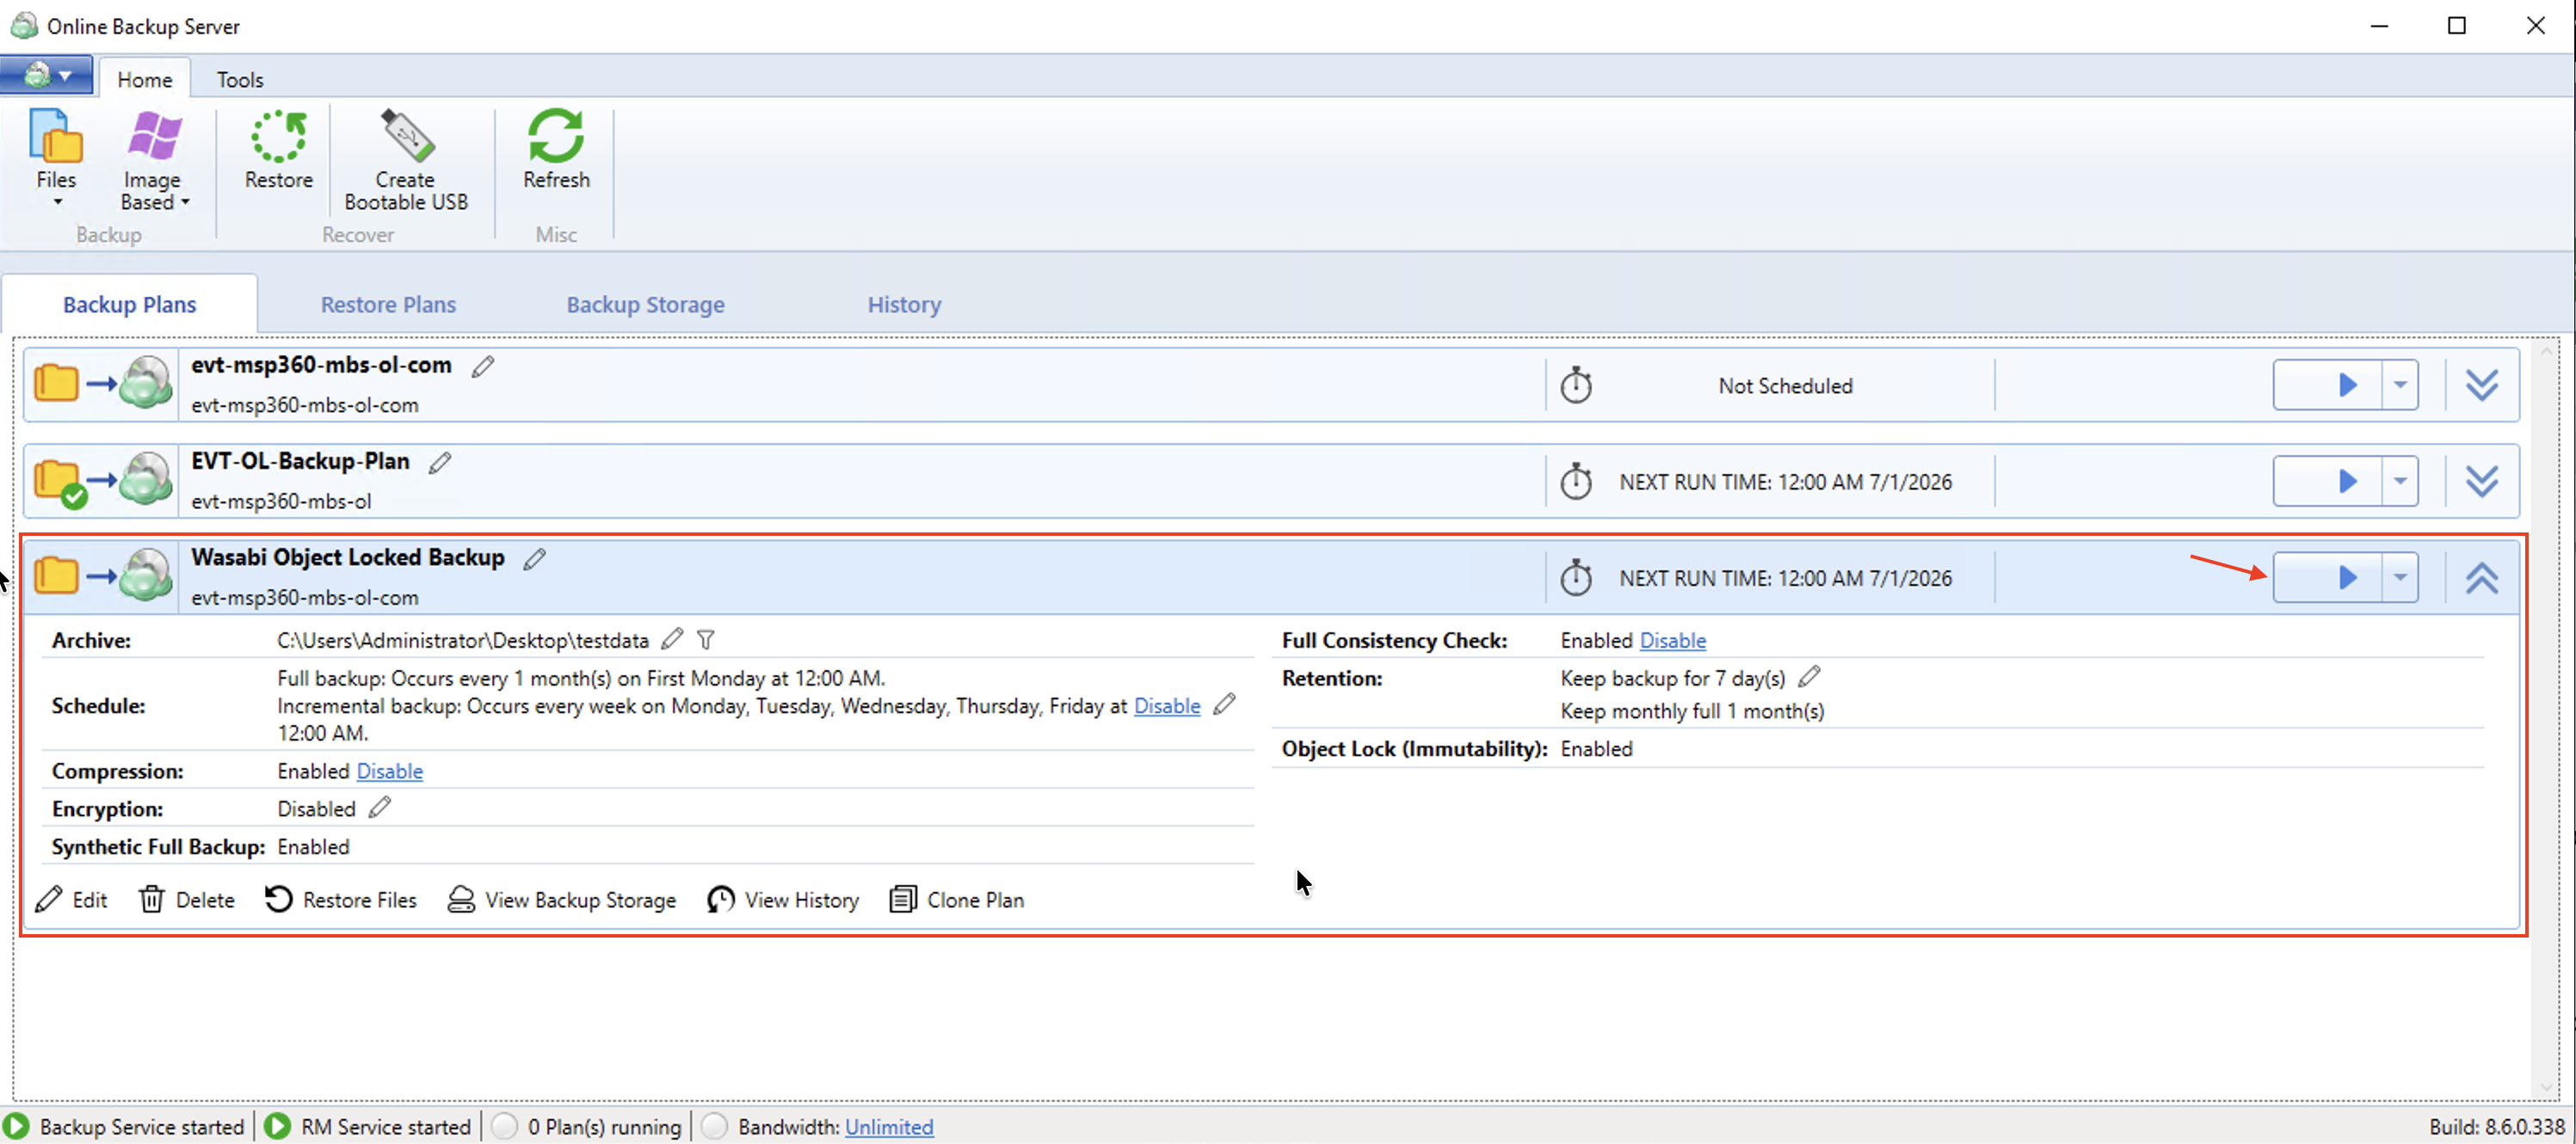
The backup will start immediately and display progress until it completes.
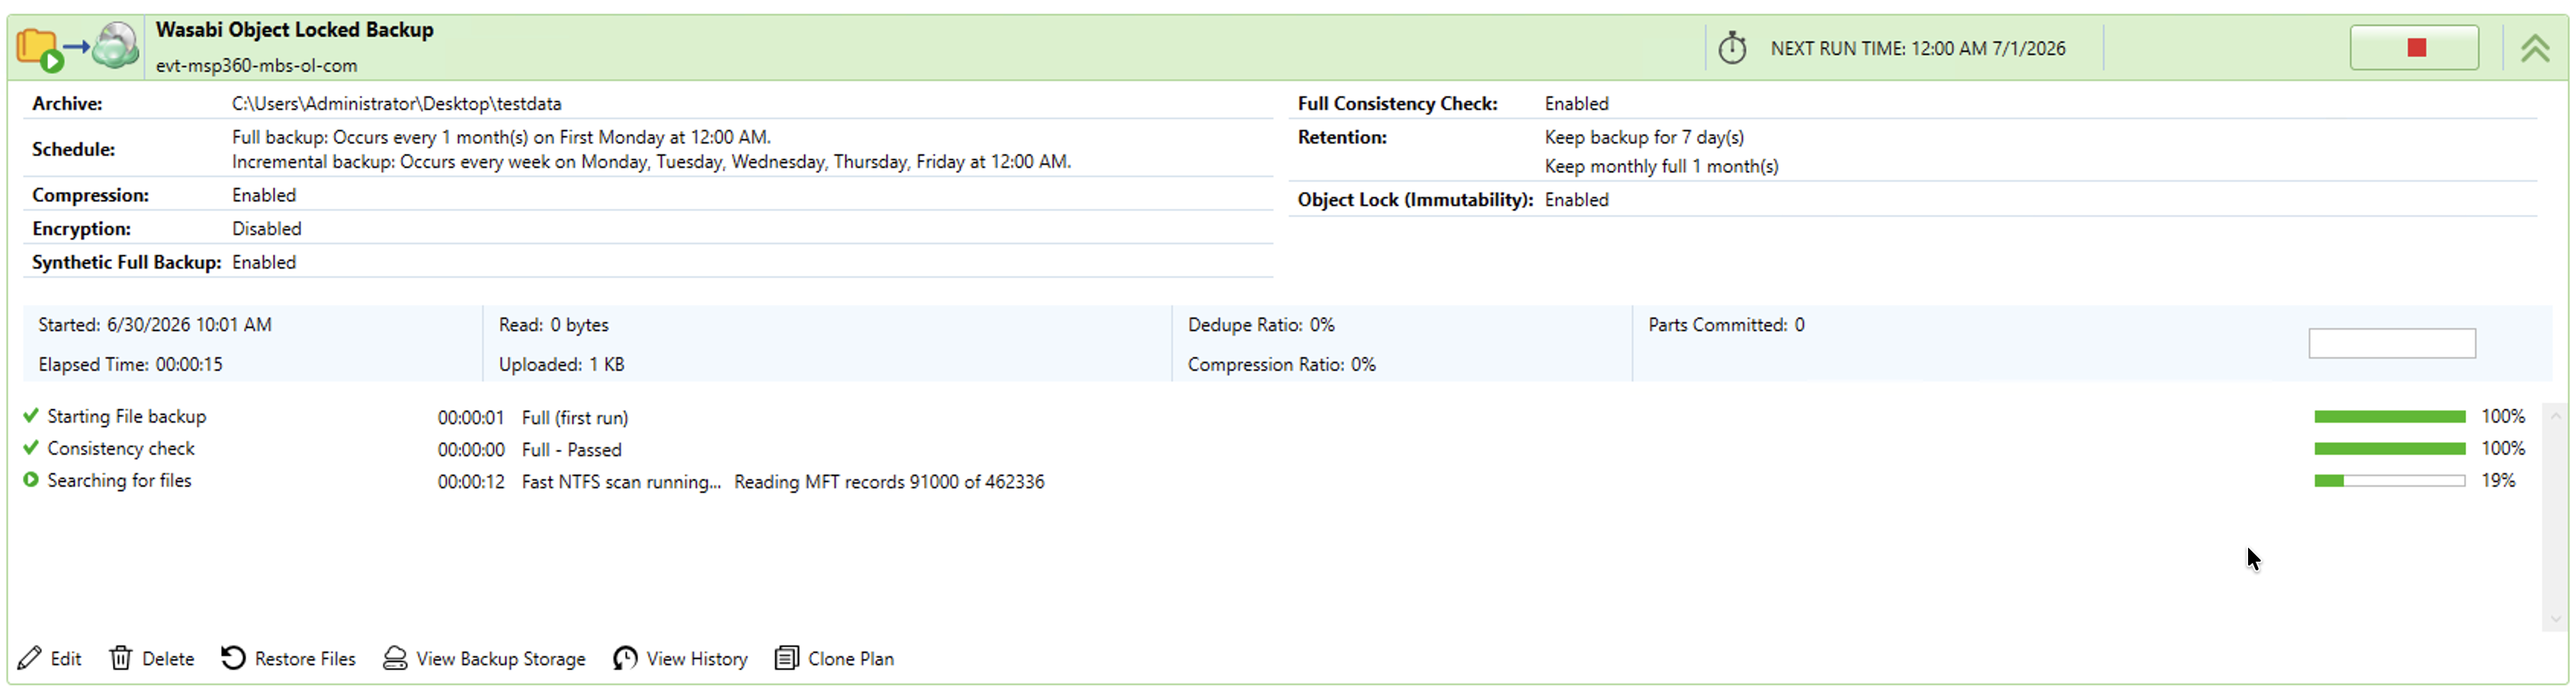
After some time the backup will complete. The time this takes depends on the size of the data.
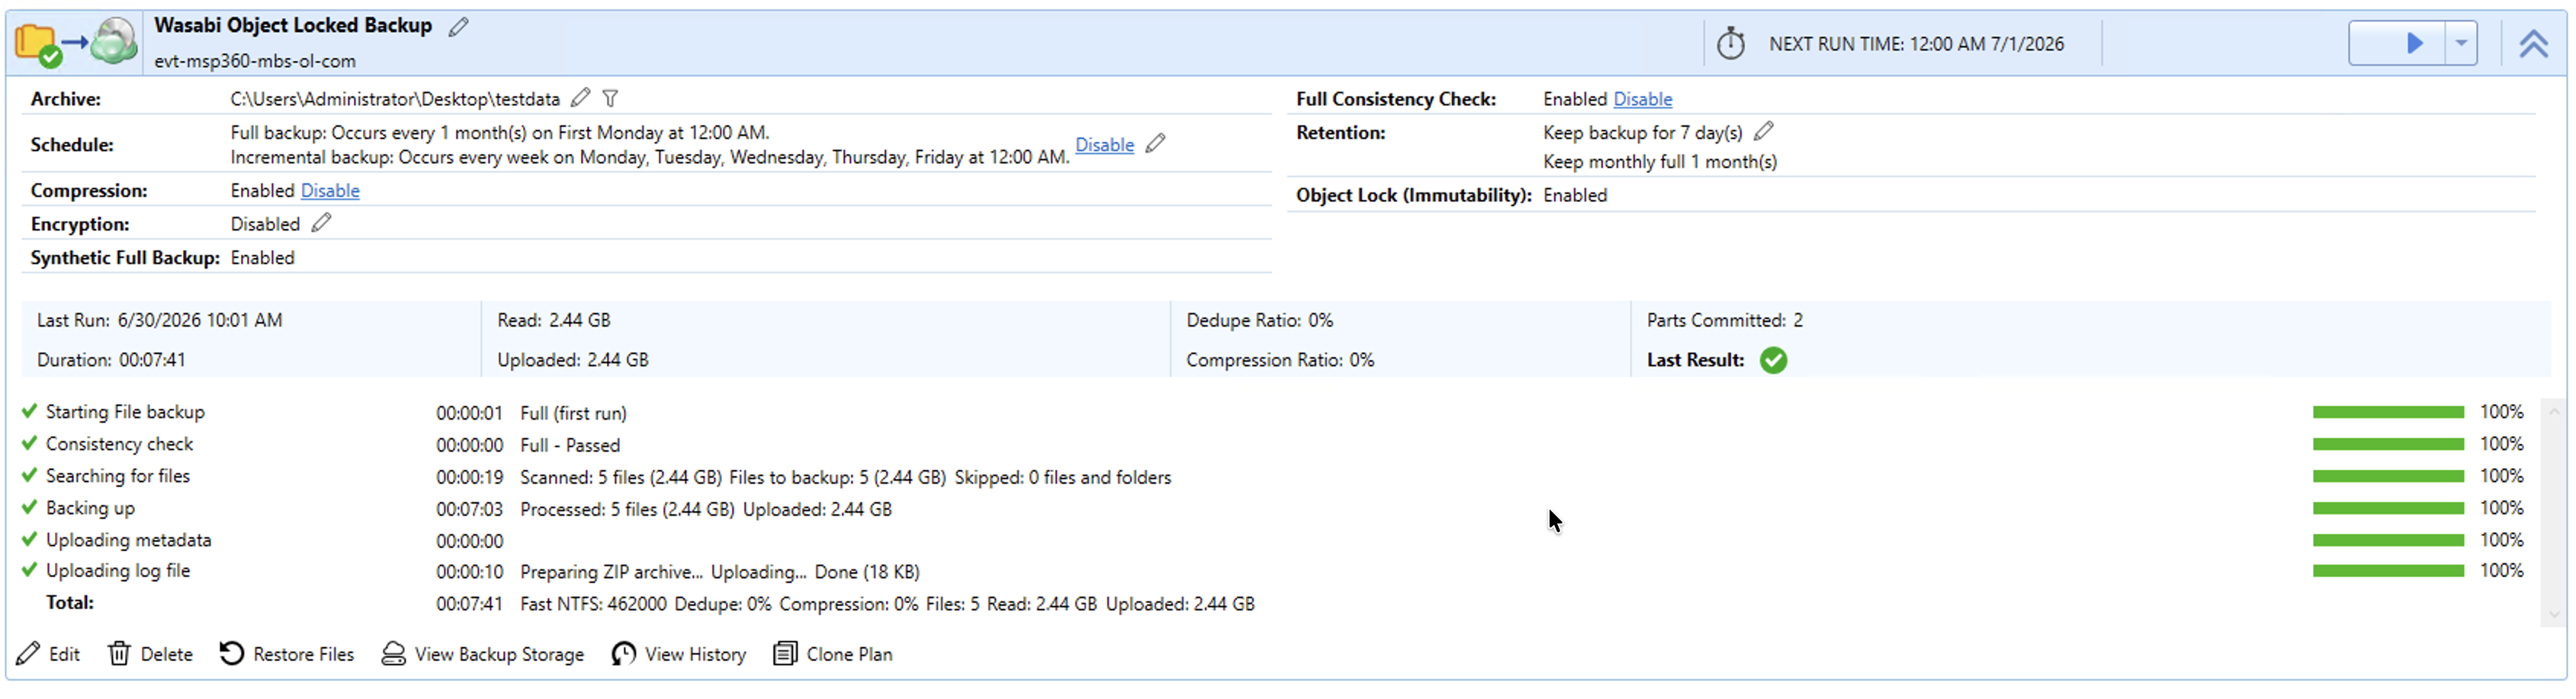
Verifying the Data
Log in to the Wasabi Console.
Select Buckets and search for your MSP360 bucket.
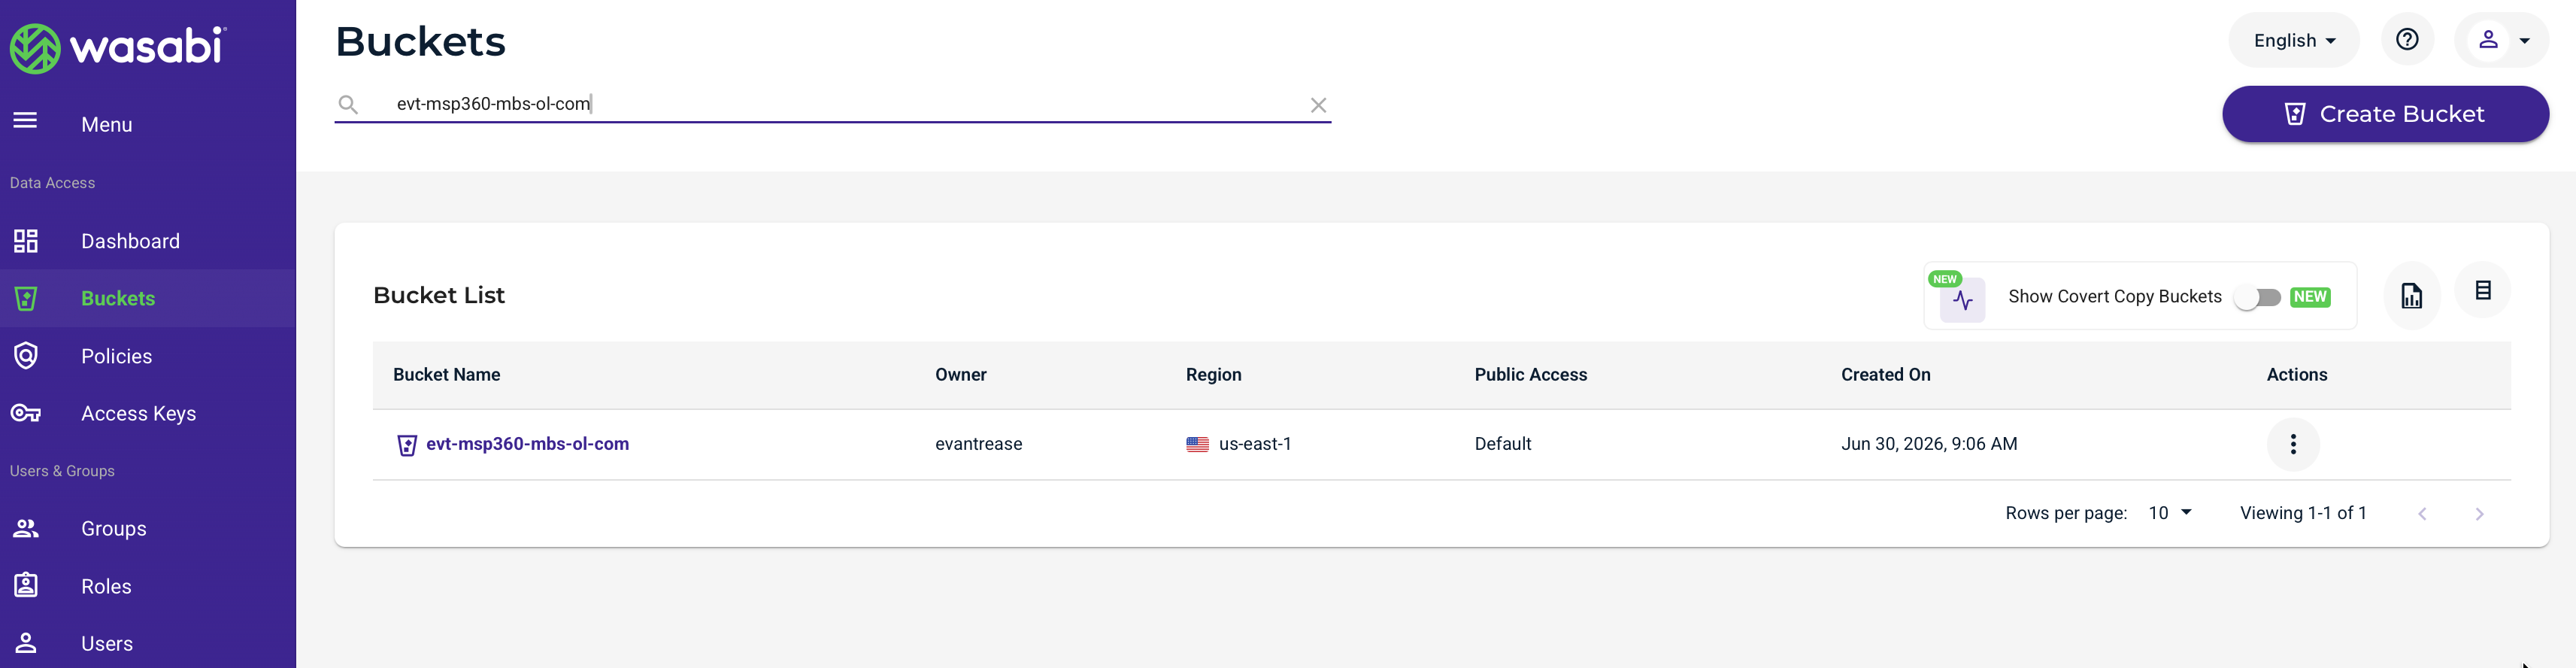
Navigating the directory structure shows that the data is stored by MSP360 MBS in a proprietary format.
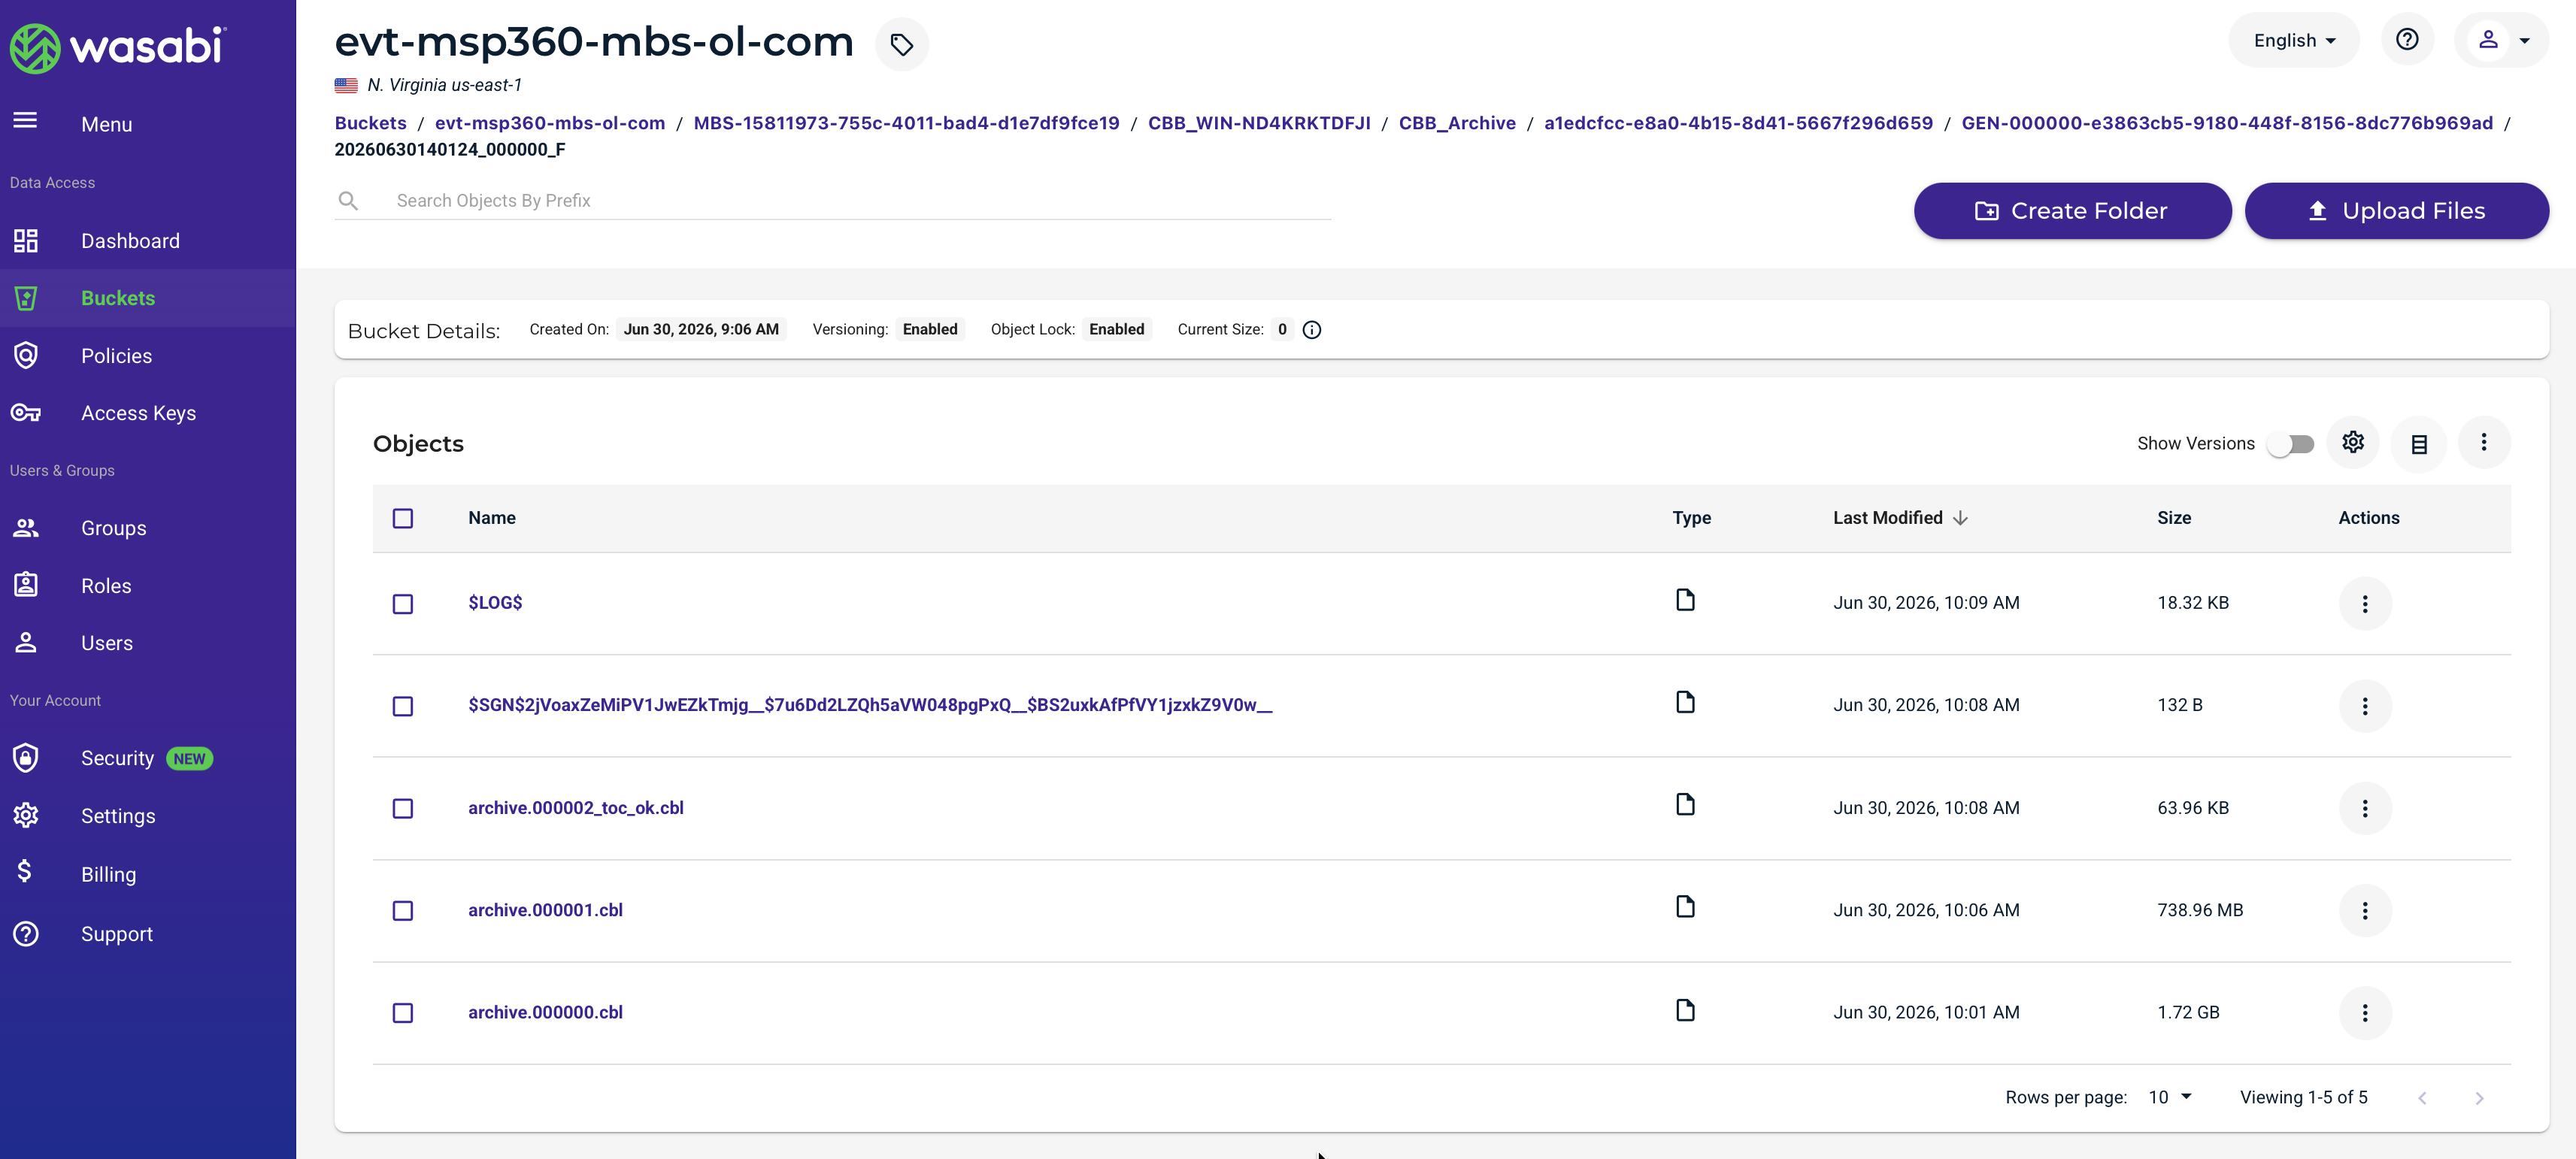
Restoring Data From Wasabi
The data restoration process is handled by your specific backup software application. As there are many, potential variables that will affect your unique environment, Wasabi strongly recommends that you seek the guidance of your backup software's technical support team in the event that you encounter difficulty or have application-specific inquiries.
Launch the MSP360 Online Backup application on the client machine.
Choose the appropriate backup plan.
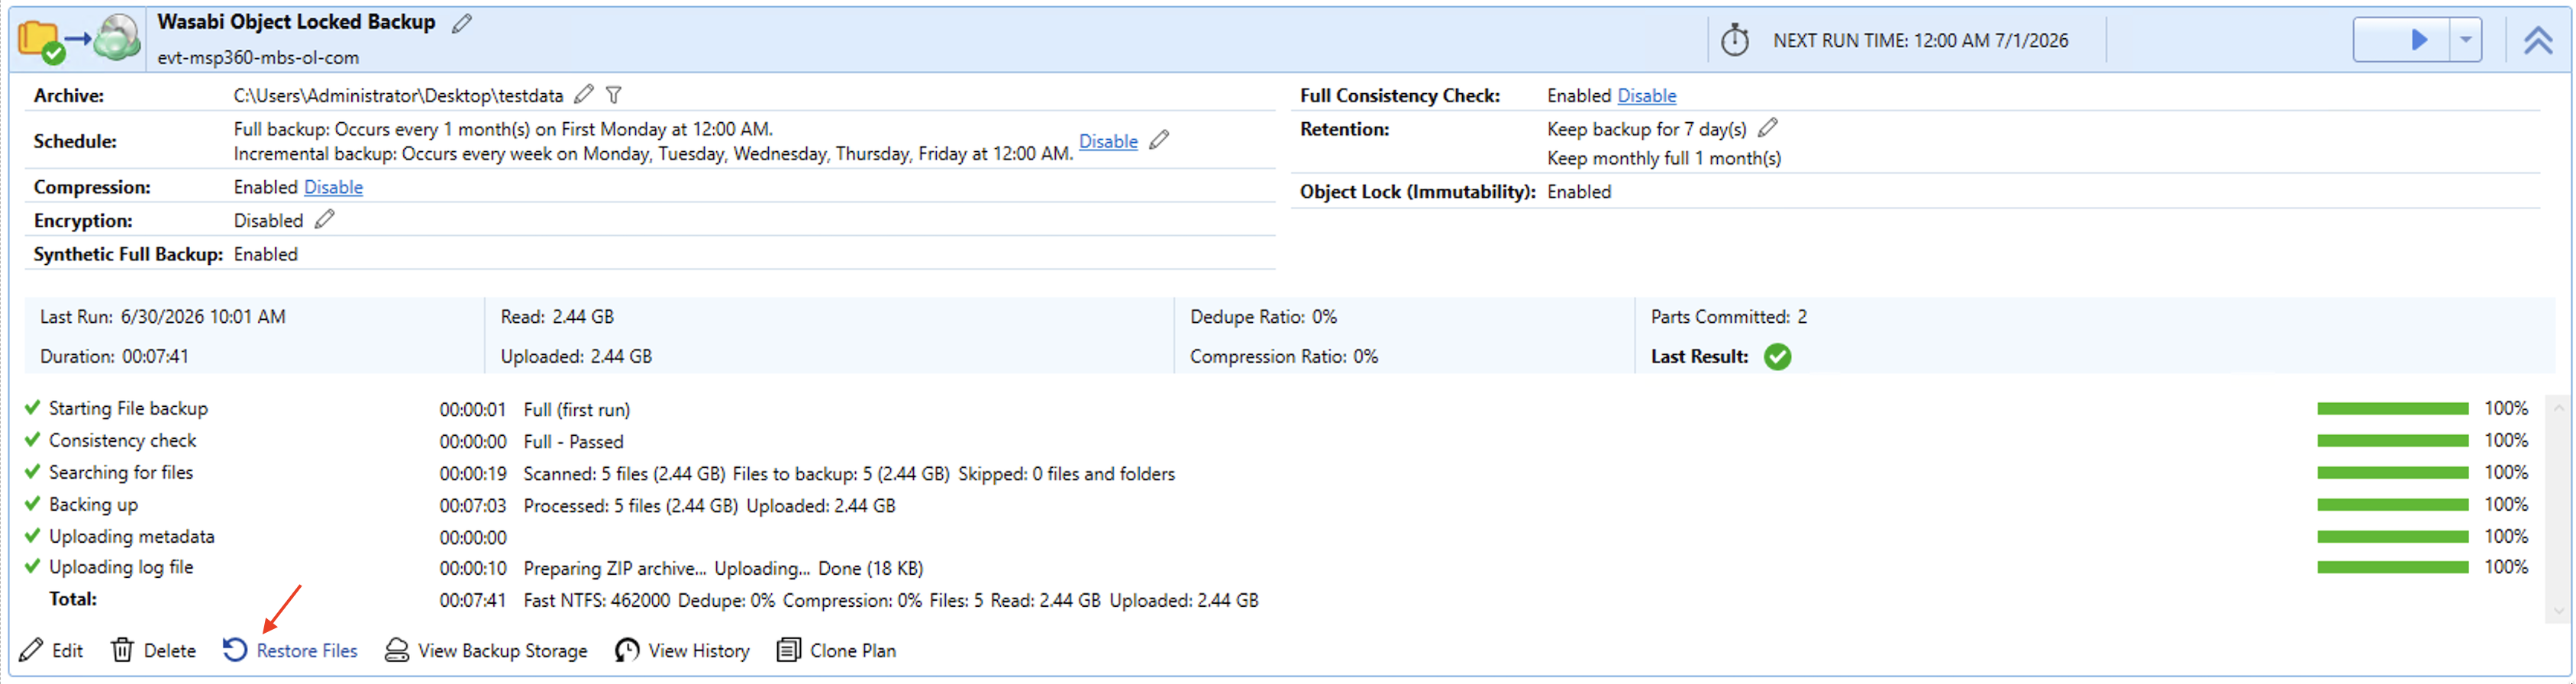
Click Restore Files.
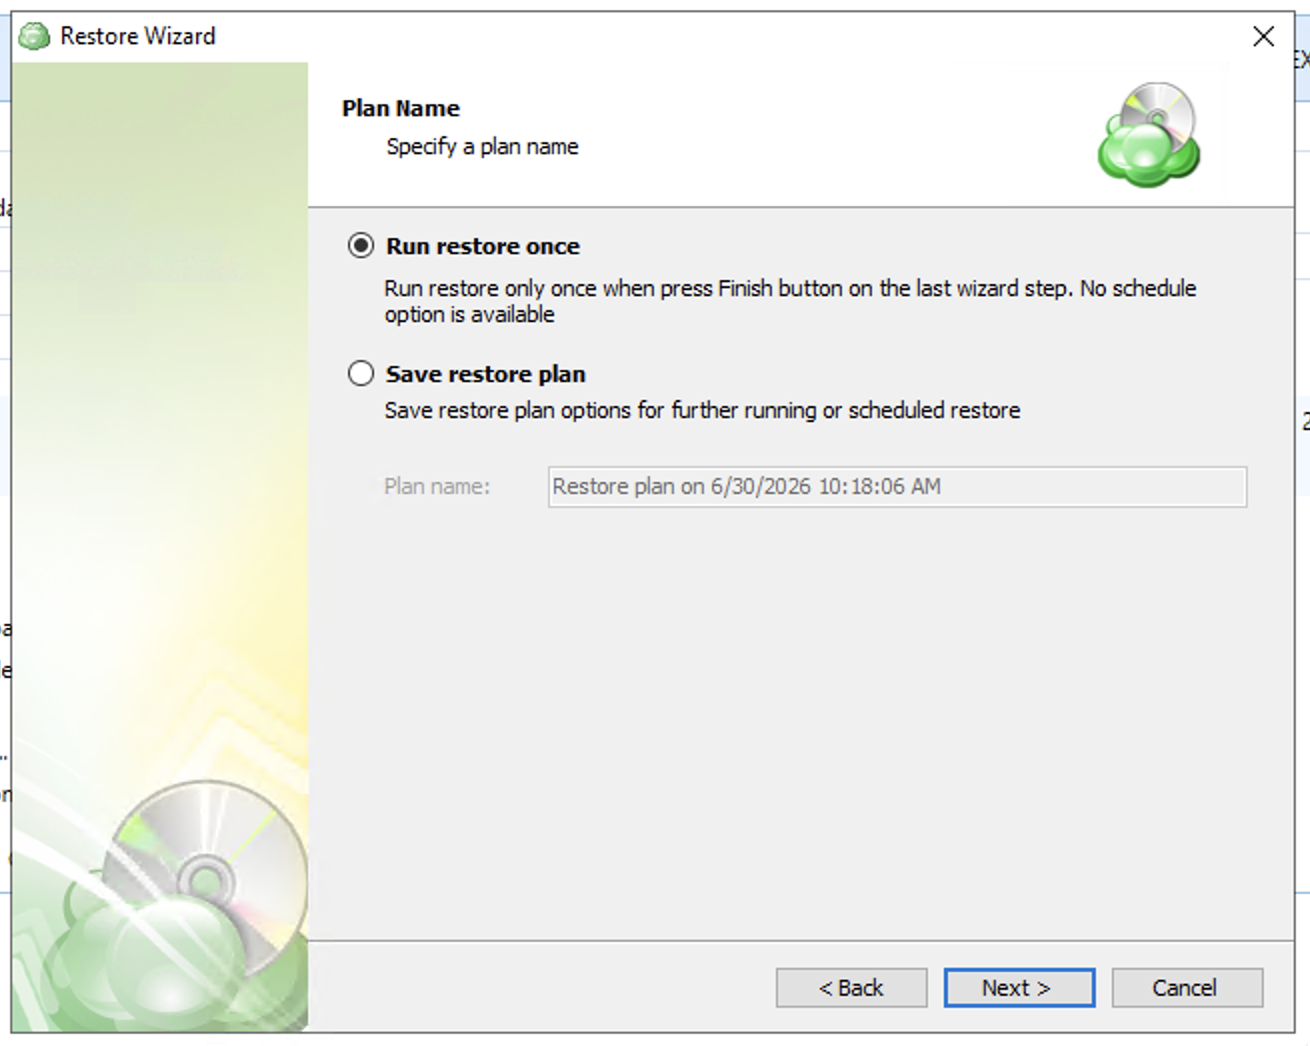
Click Next.
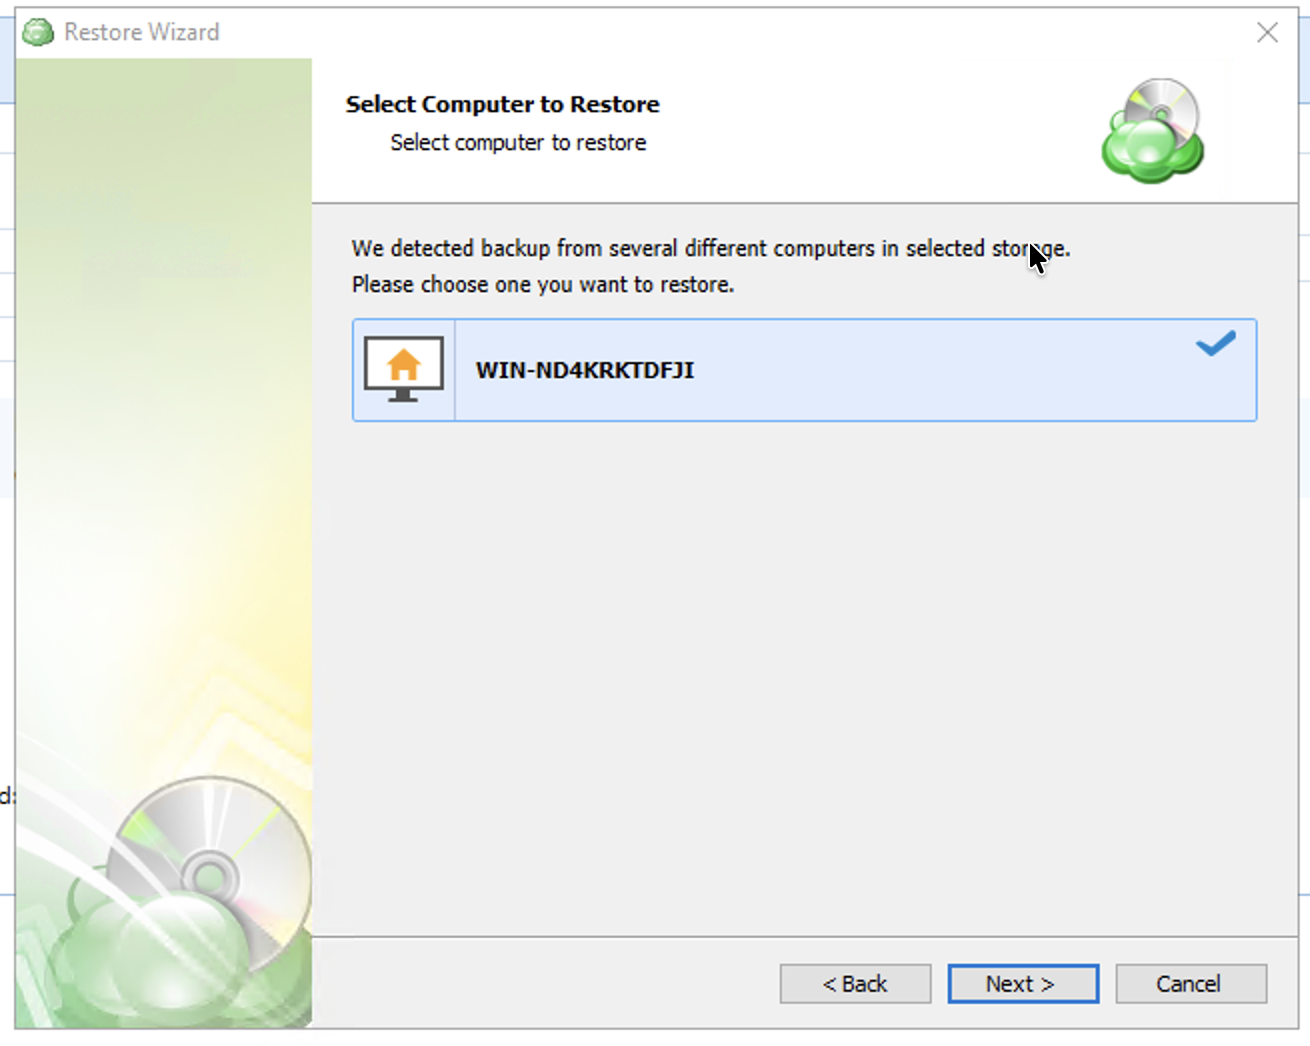
Select the computer to restore.
Click Next.
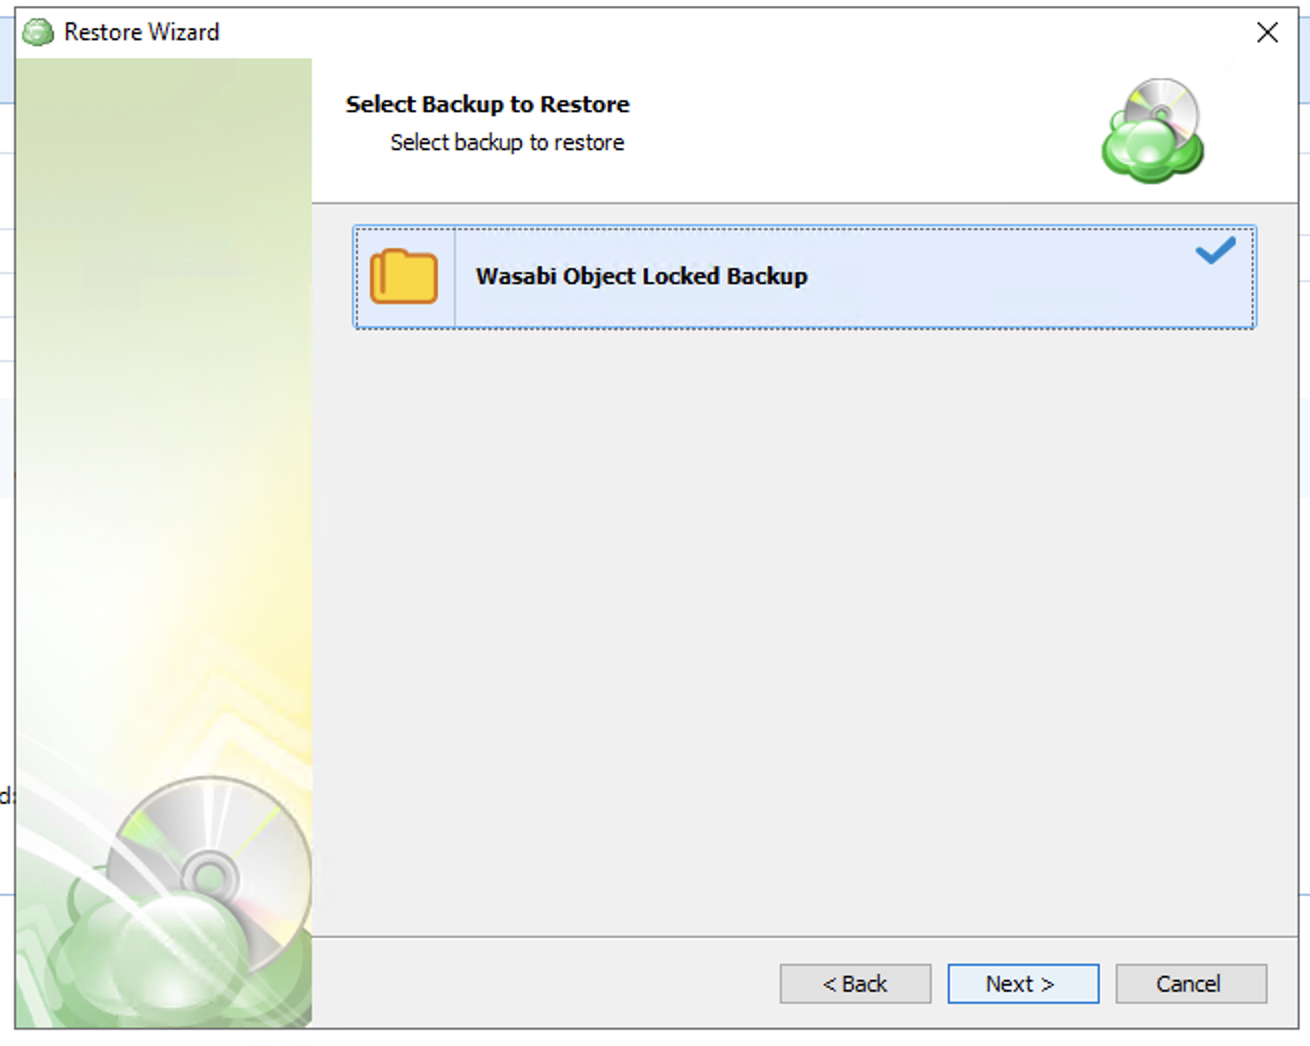
Select the backup to restore.
Click Next.
Select the restore point.
Click Next.
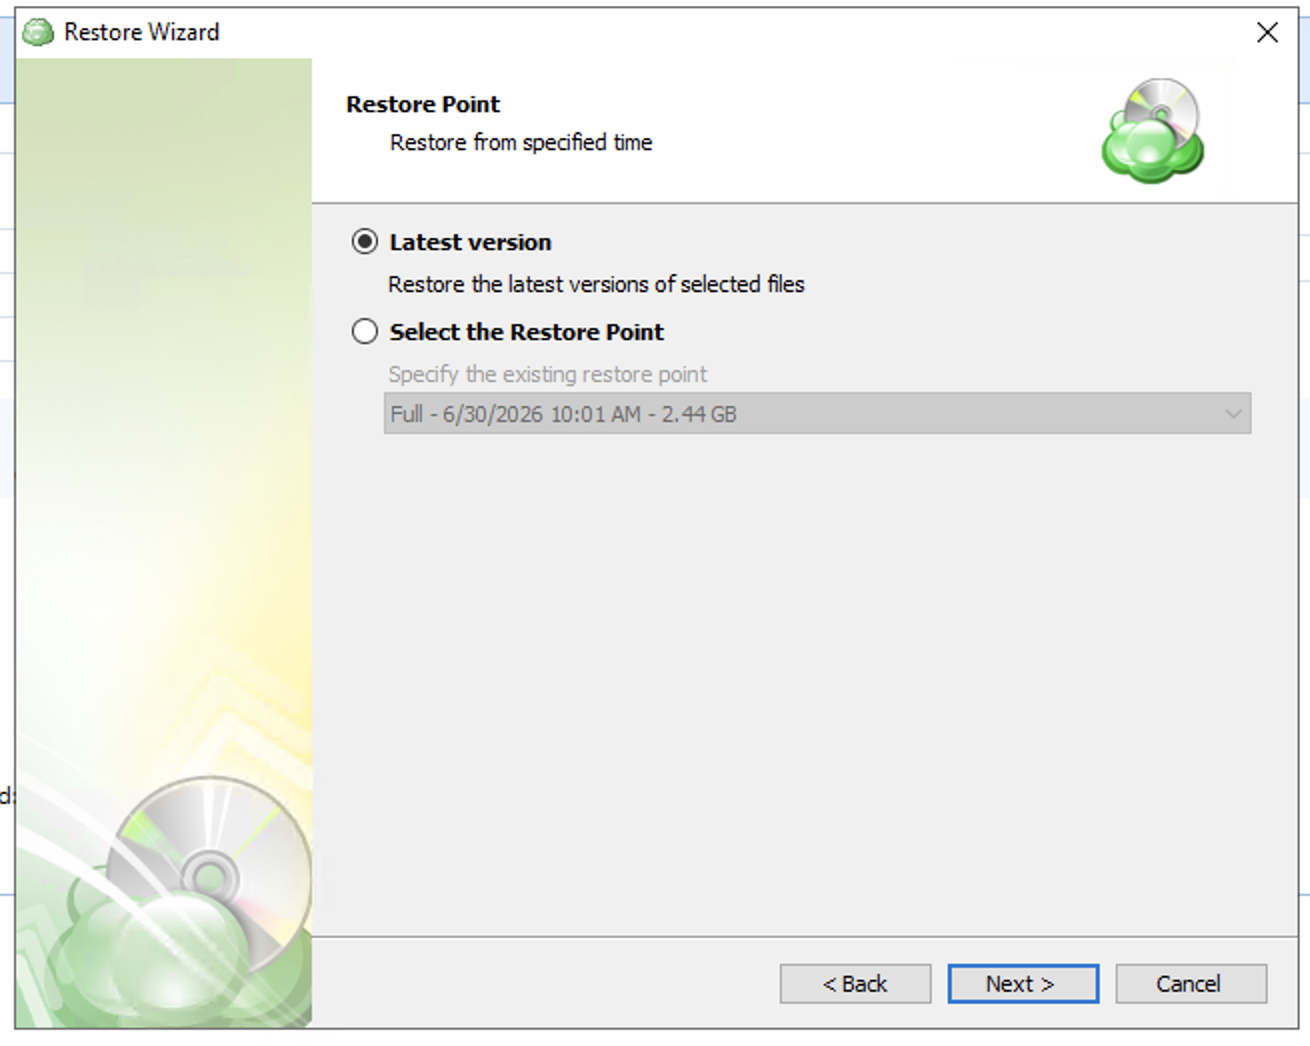
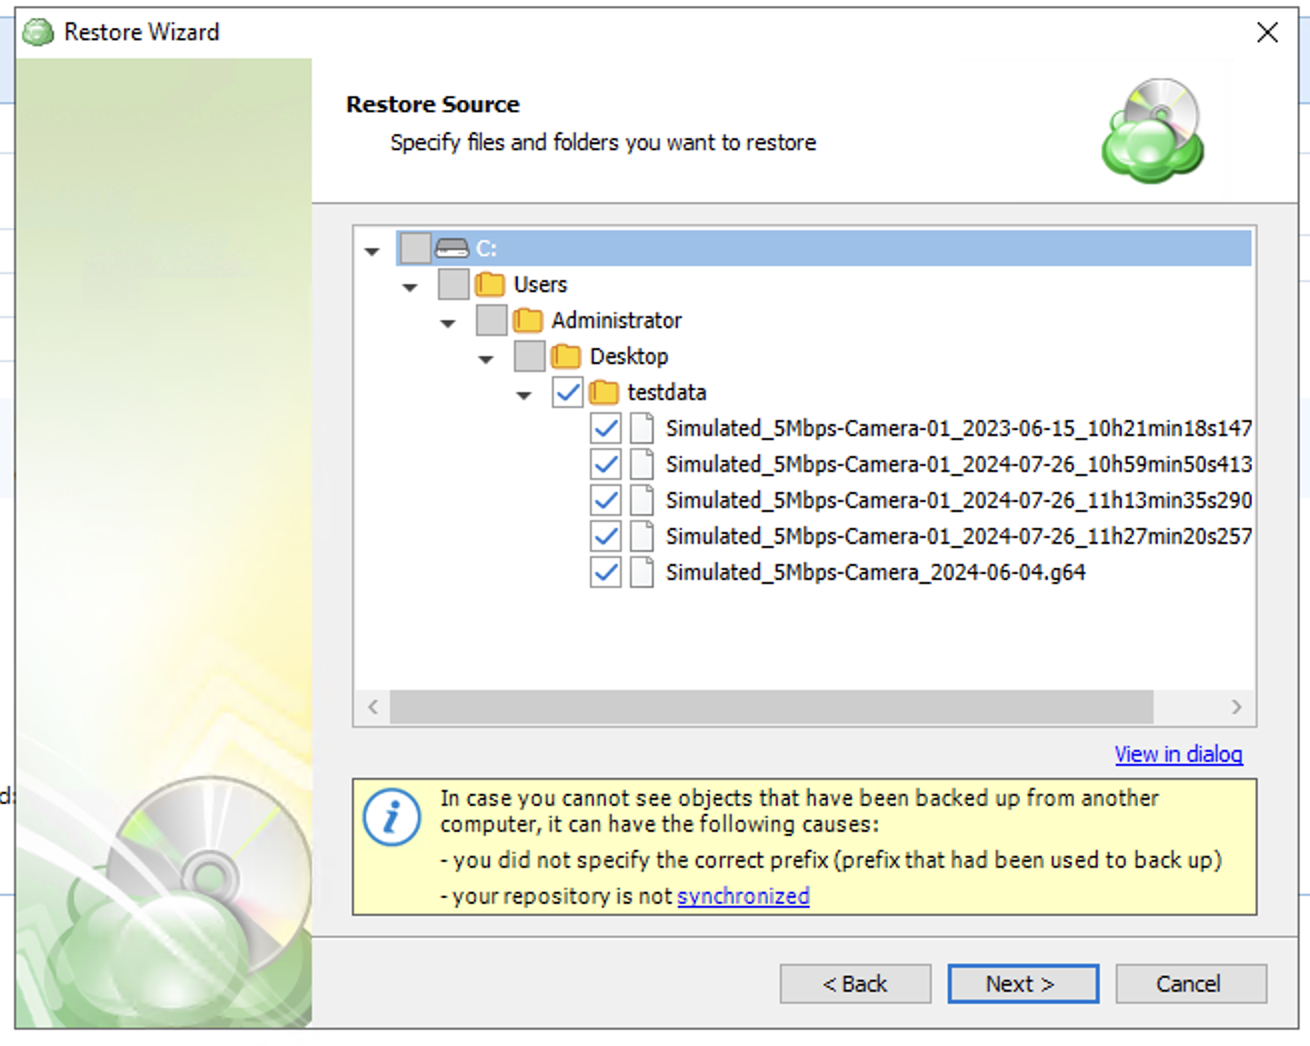
Navigate the tree to select the files to restore.
Click Next.
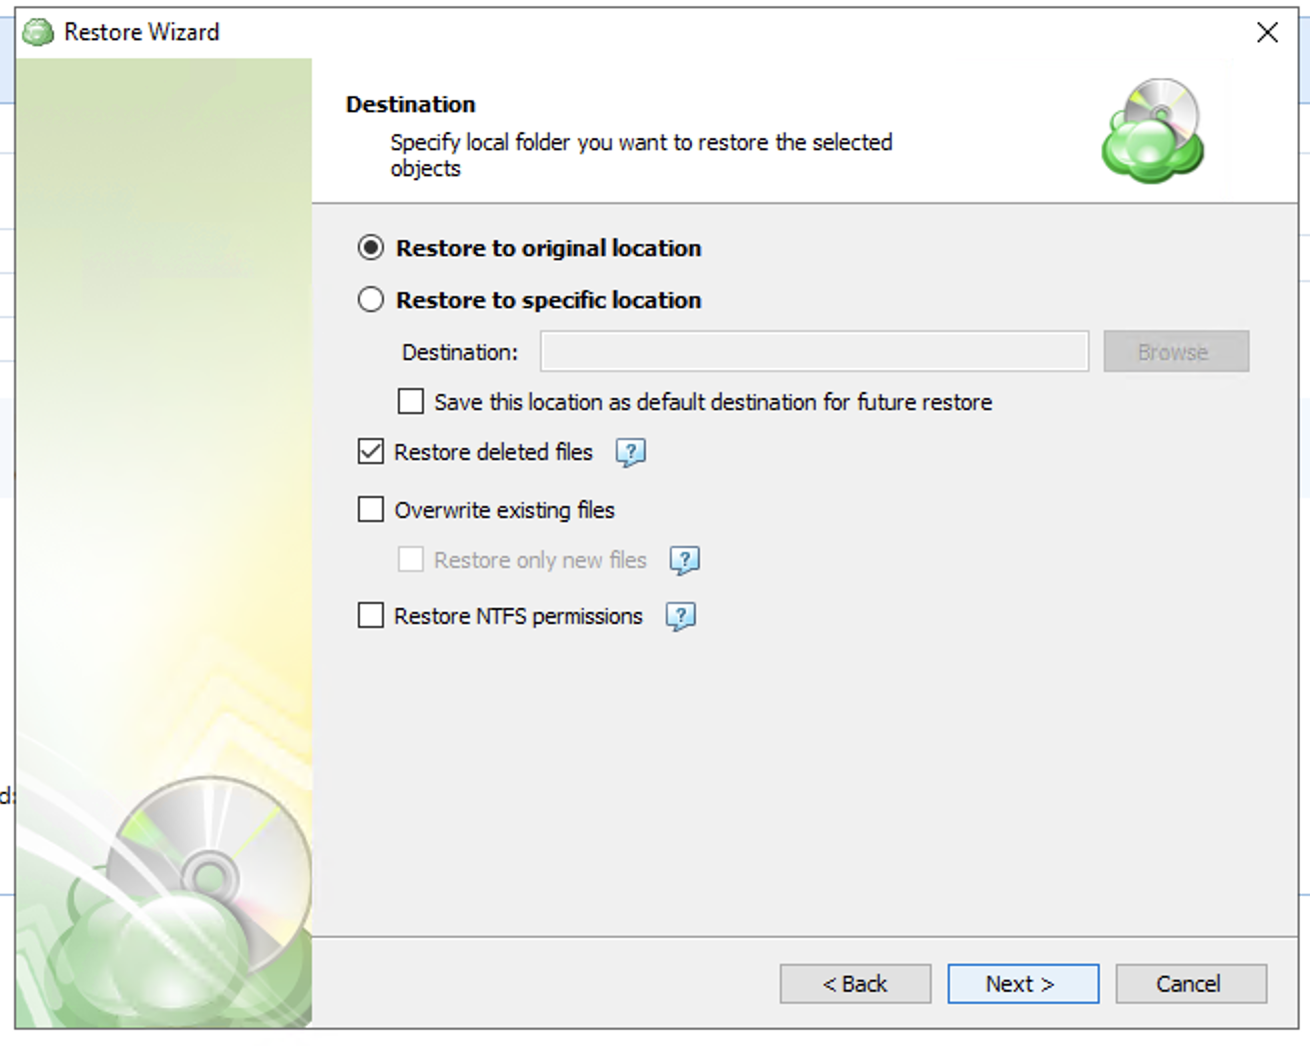
Optionally, configure file handling settings.
Click Next.
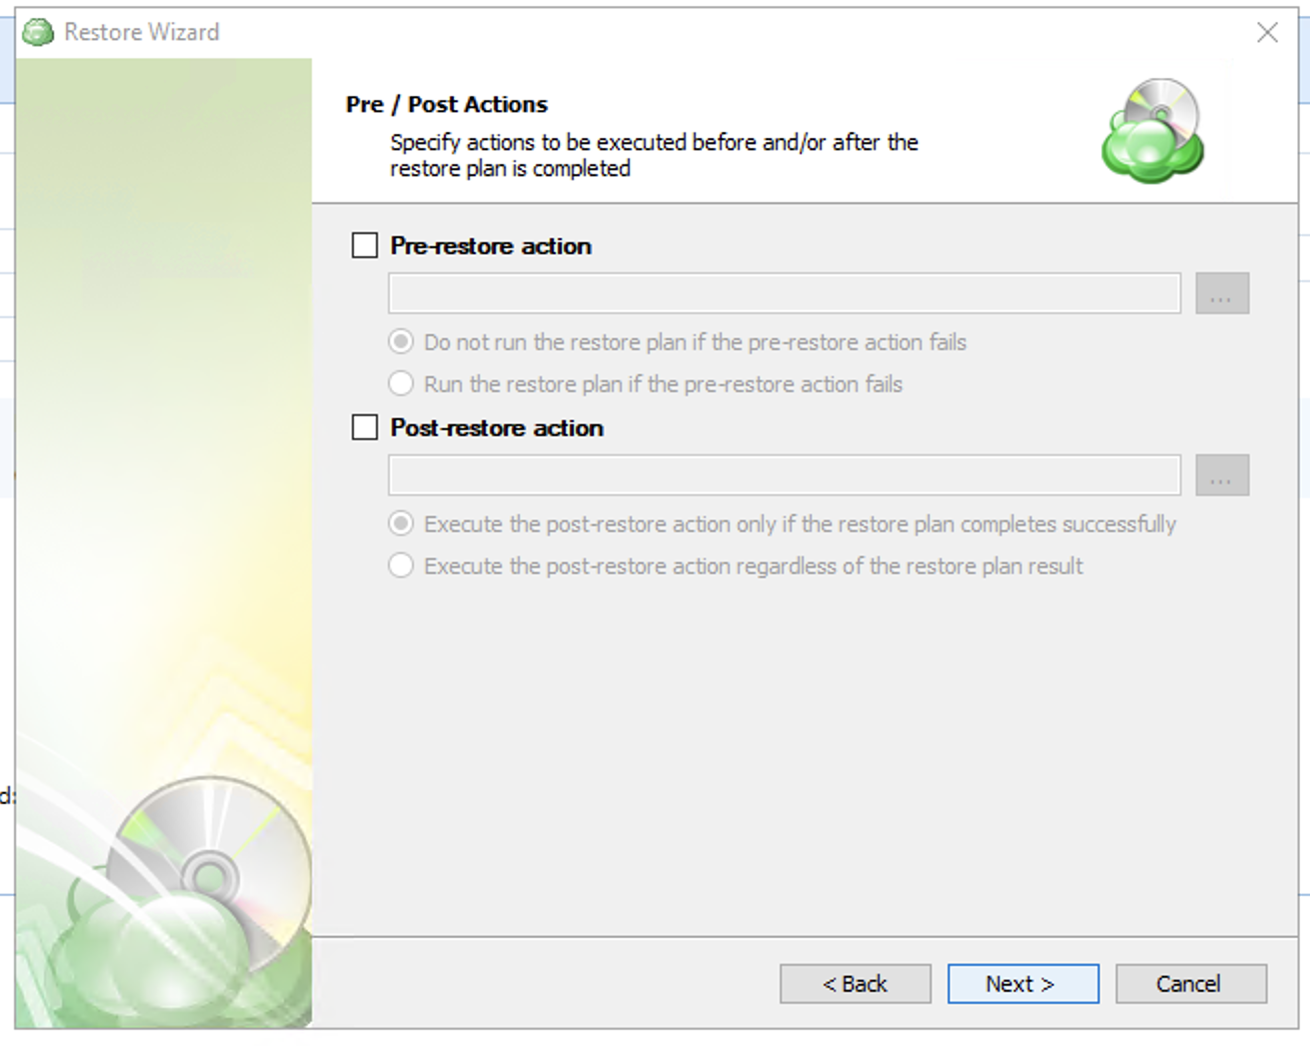
Optionally, select pre/post restore actions.
Click Next.
Review the summary. Click Next.
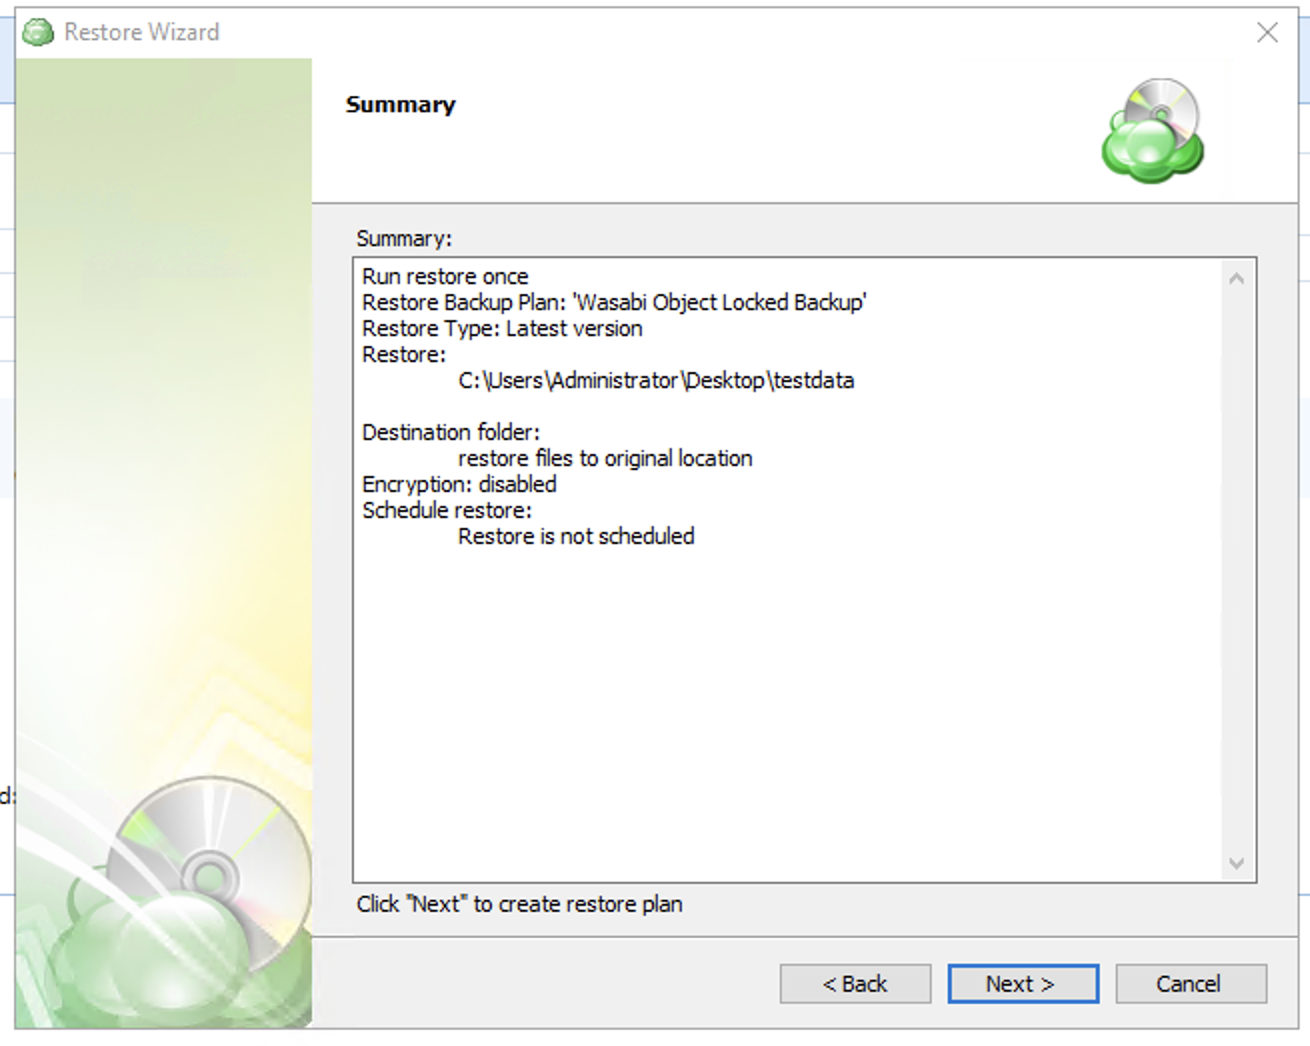
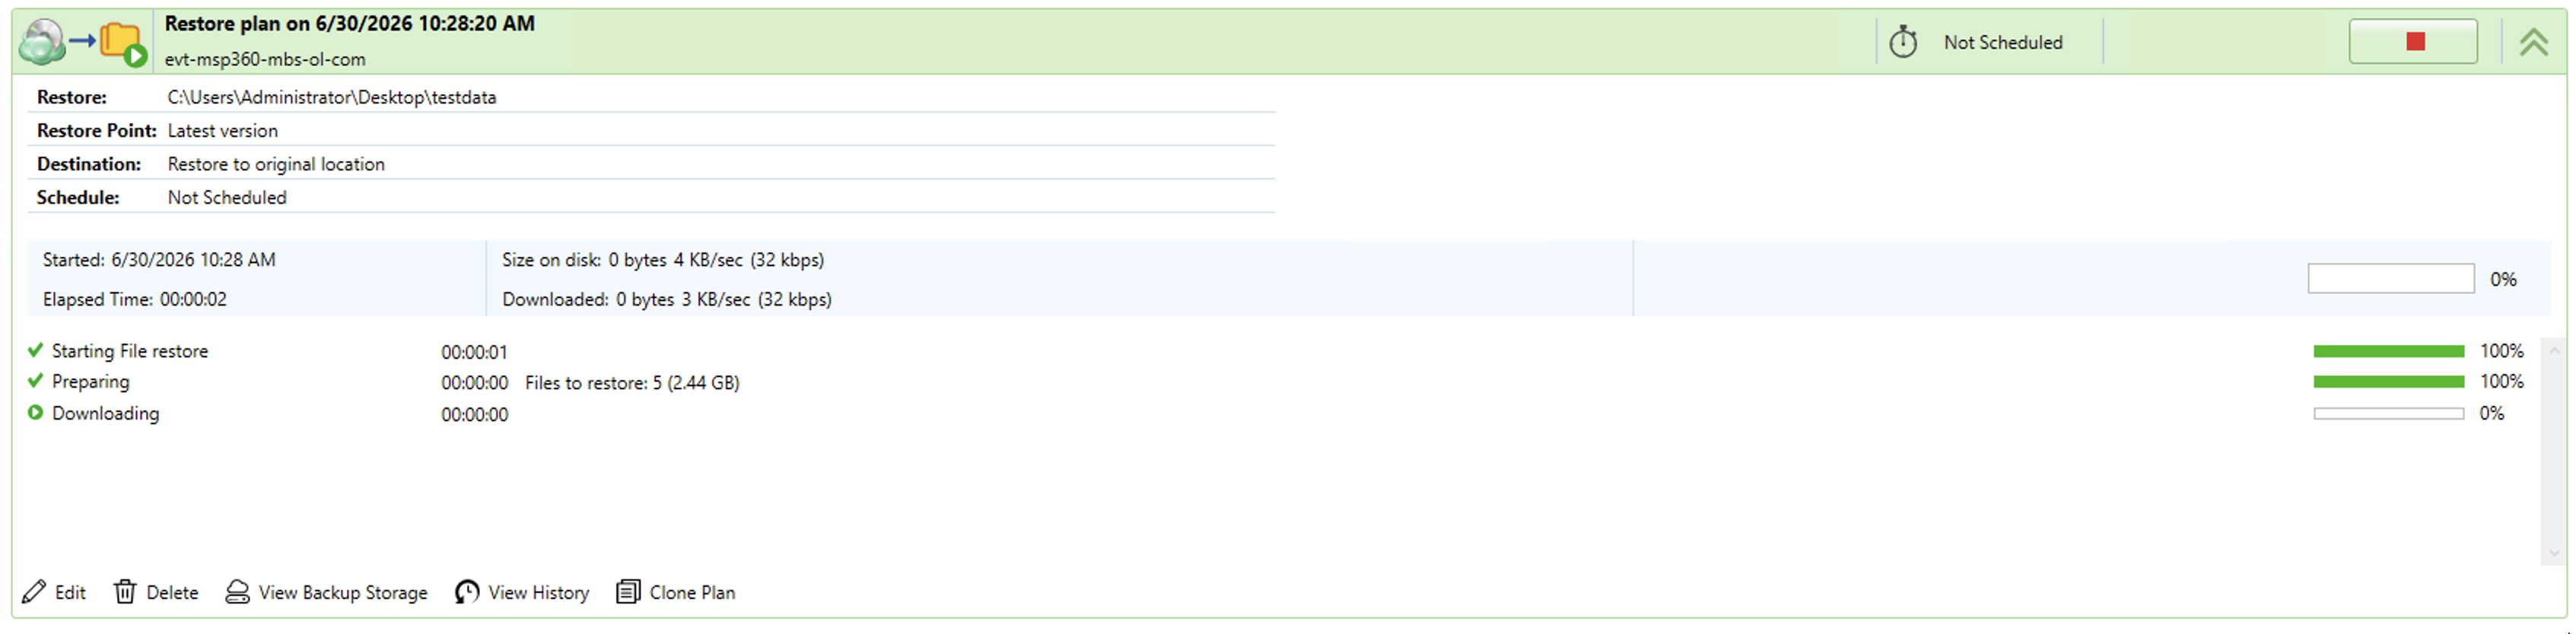
To start the restore process, click Finish. The restore will take some time to complete, depending on the size of the data.