MSP360 (Cloudberry) Managed Backup Service (formerly CloudBerry) software is certified for use with Wasabi. MSP360 Managed Backup is an easy-to-use solution with centralized management, monitoring, reporting and free web-based remote access. The platform is natively integrated with Wasabi to enable best-in-class data protection for Windows, Linux, macOS, VMware, Hyper-V, Microsoft 365 and Google Workspace.
Note: The data restoration process is handled by your specific backup software application. As there are many potential variables that will affect your unique environment, it is strongly recommended that you seek the guidance of your backup software's technical support team in the event that you encounter difficulty or have application-specific inquiries.
Prerequisites
Active Wasabi Cloud Storage account
A Wasabi non-Object-Locked (OL) (non-immutable) bucket created with access keys
Active MSP360 Managed Backup Service account
- Active AWS S3 cloud storage account
- A standard AWS S3 non-Object-Locked (OL) (non-immutable) bucket with access keys
Note - Object Lock Buckets are not supported for WCSM Migrations and cannot be used for this service.
WCSM Account Configuration
Wasabi Cloud Sync Manager (WCSM) is a paid managed migration service. Refer to Getting Started With Wasabi Cloud Sync Manager to begin the migration process.
1. You will need to first request a WCSM Account by either completing the WCSM Questionnaire or reaching out to your Wasabi Sales contact.
2. Upon approval and notification of account creation you will be able to login to the WCSM Portal and follow the steps outlined in the Entering Credentials for Cloud Migration KB.
This will require you to enter your Source Storage Account credentials and Wasabi Account Credentials along with your Bucket information.
3. The WCSM team will work with you and perform the migration process and notify you once the migration has been completed and your application data has been successfully uploaded to your Wasabi bucket.
MSP360 Wasabi Storage Configuration
Once you have successfully migrated your data to your Wasabi account you can now log into MSP360 Managed Backup and add your Wasabi storage account and remove your AWS S3 storage account.
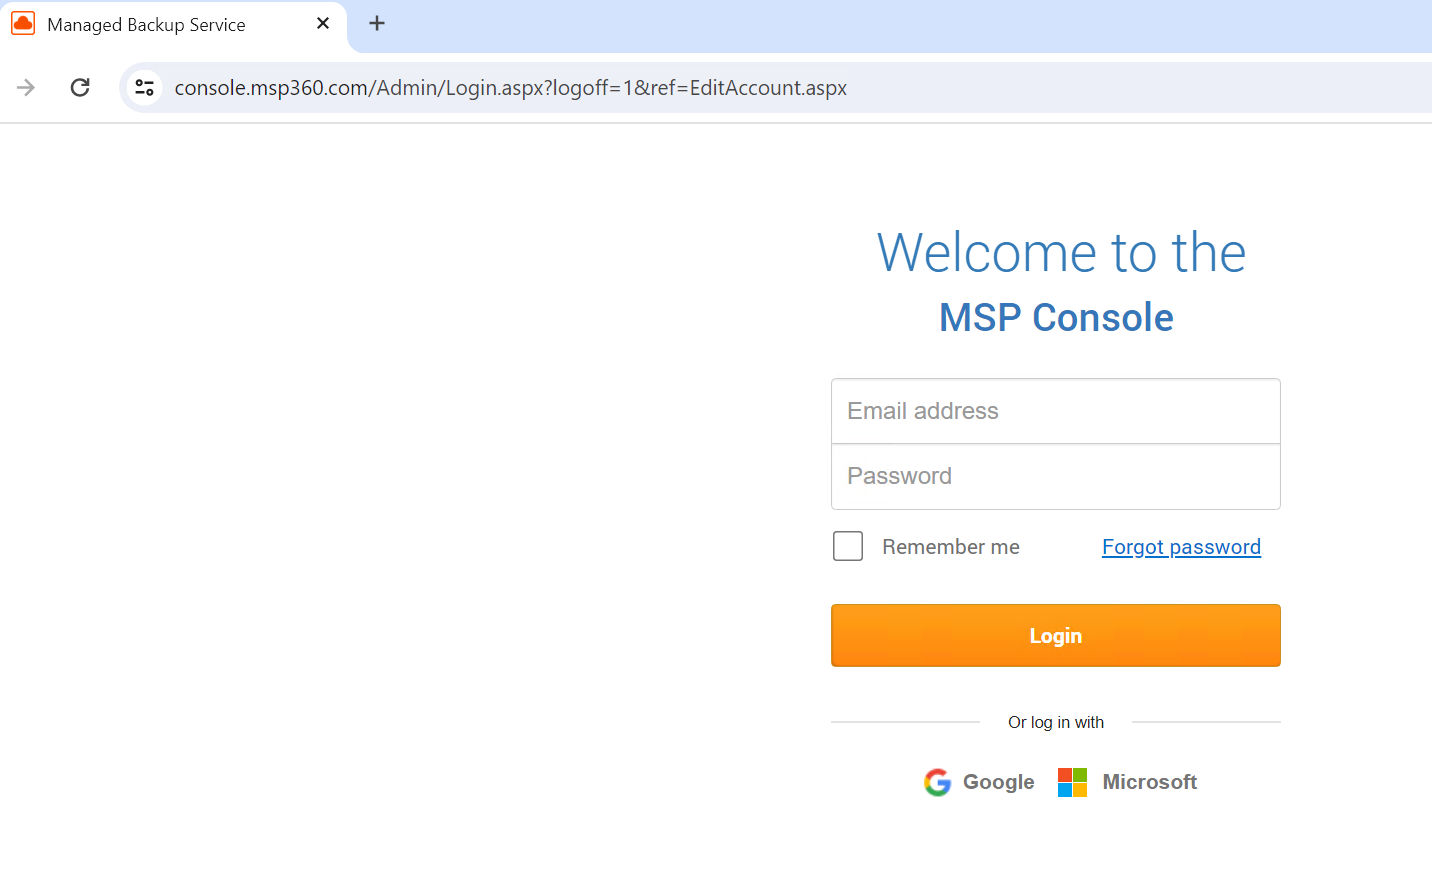
1. Log into the web console.
2. Under the Storage Accounts section click on Add Account.

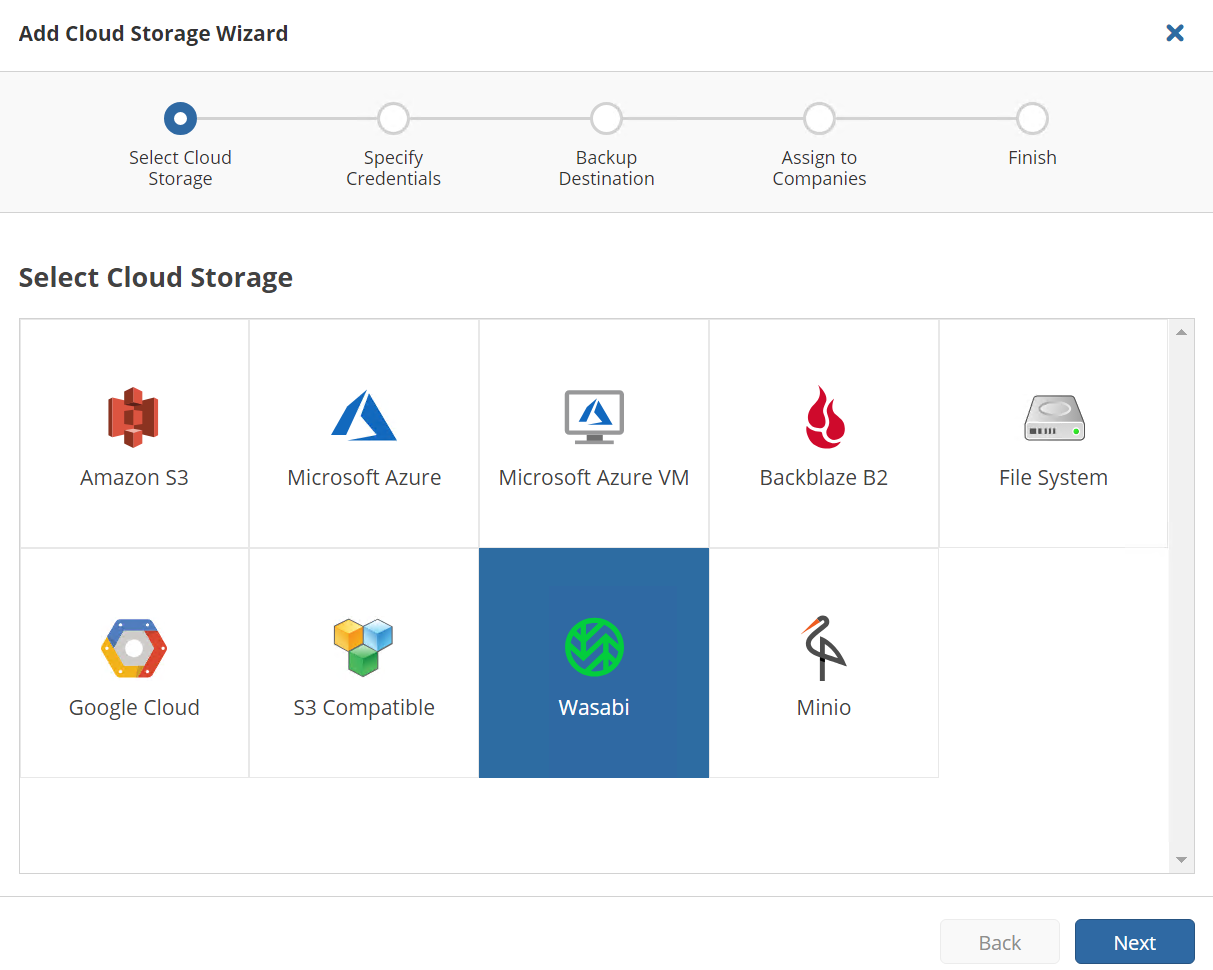
3. Click on Wasabi and then select Next.
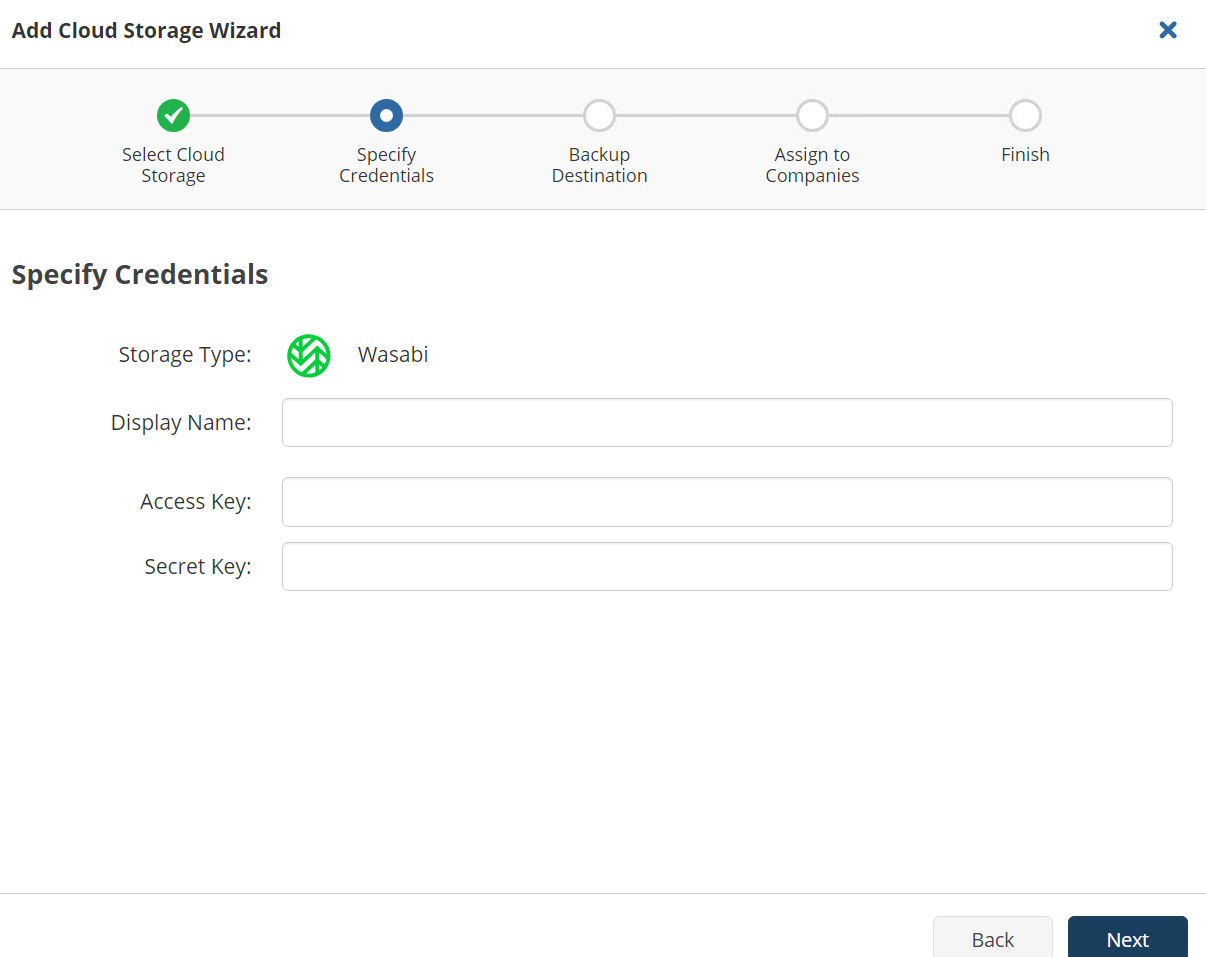
4. Enter the following information:
- Display Name - Unique name for the account
- Access Key - Wasabi Access Key
- Secret Key - Wasabi Secret Key
5. Click on Next.
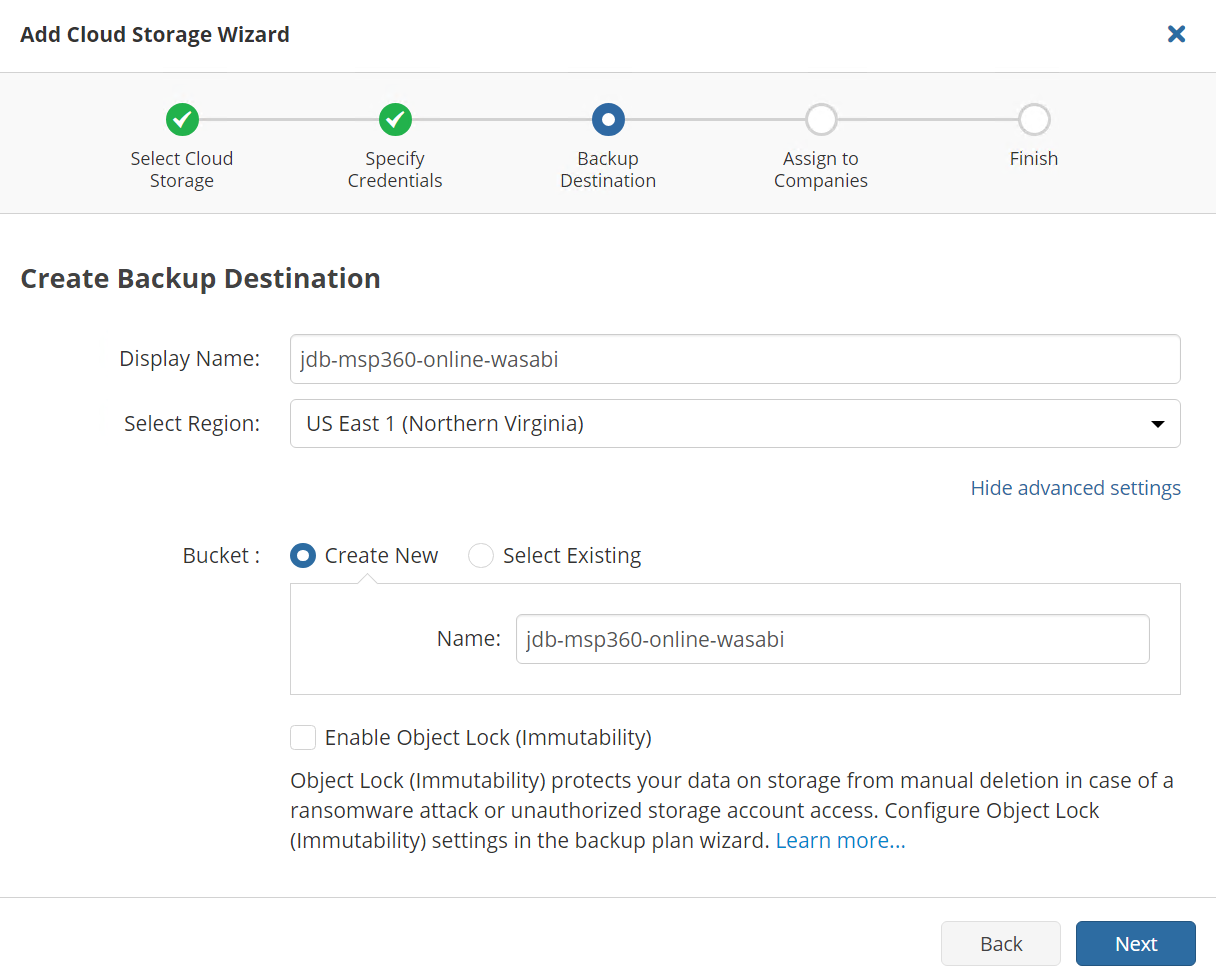
6. Enter a unique display name for the bucket.
7. Click on Show advanced settings.
8. Click on Create New or Select Existing and then locate your secondary bucket you created.
9. Click on Next.
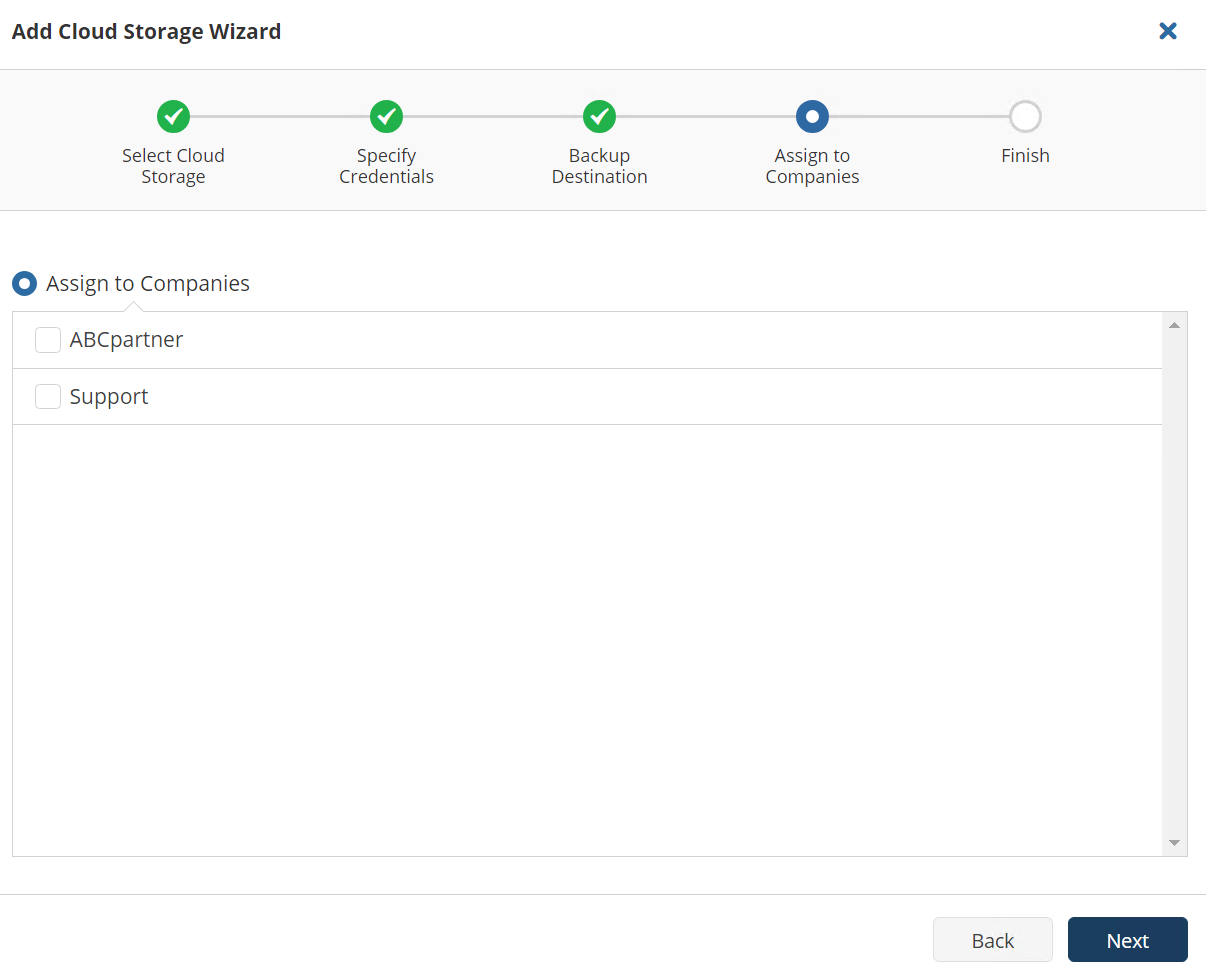
10. Select a company that you want to assign the storage account to and click on Next.
11. Review the details on the summary page and click on Save.
12. Now open up your MSP360 Online backup software and click on the Backup Storage tab.
13. Right click on the Wasabi storage account you added and click on Consistency Check.
14. Click on Run Consistency Check.
15. After completing the check you will need to expand the file structure until you get to the migrated backup. You will be prompted to retrieve the metadata.

16. Click on Run now.
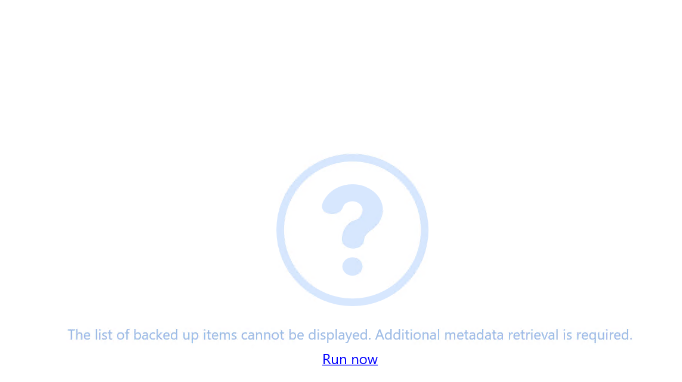
17. You will then see the migrated backup data listed in the window and be able to perform restores.

Delete AWS S3 Backup Plan and Storage Account
Once you have verified you can see the data in MSP360 you can now delete your AWS S3 Storage account out of MSP360 Web Console.
1. Open up the MSP360 Online Backup software and click on Backup Plans.
2. Locate your AWS S3 backup plan and expand it.
3. Click on Delete.

4. Next log in to the web console and click on Storage Accounts.
5. Click on the Gear icon on the right-hand side for your AWS S3 account and then click on Delete Account.

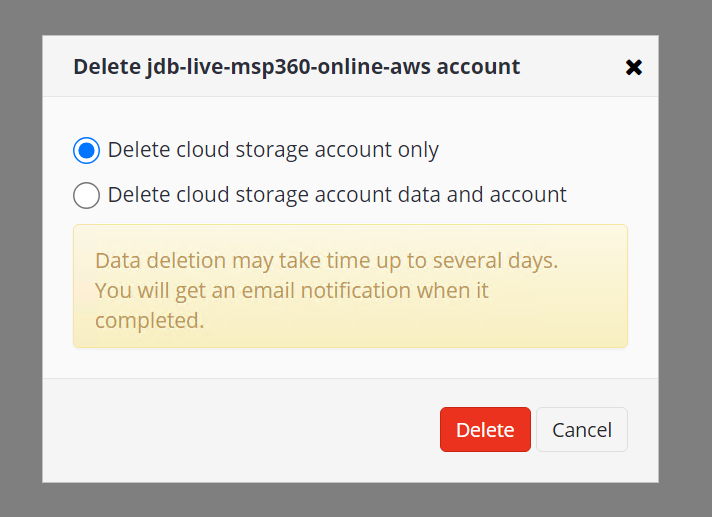
6. You will be prompted to choose between 2 options and then click on Delete.
