Comet Backup has been validated for use with Wasabi. The tips and screenshots below provide details on the configuration.
Note: The data restoration process is handled by your specific backup software application. As there are many potential variables that will affect your unique environment, it is strongly recommended that you seek the guidance of your backup software’s technical support team in the event that you encounter difficulty or have application-specific inquiries.
Requirements
Active Wasabi Cloud Storage account
A Wasabi non-Object-Locked (OL) (non-immutable) bucket created with access keys
Active Comet Backup account
Active AWS S3 cloud storage account
A standard AWS S3 non-Object-Locked (OL) (non-immutable) bucket with access keys
Note - Object Lock Buckets are not supported for Wasabi Cloud Sync Manager Migrations and can not be used for this service
Wasabi Cloud Sync Manager Configuration
Wasabi Cloud Sync Manager (WCSM) is a paid managed migration service. Refer to Getting Started With Wasabi Cloud Sync Manager to begin the migration process.
1.You will need to first request a WCSM Account by either completing the WCSM Questionnaire or reaching out to your Wasabi Sales contact.
2.Upon approval and notification of account creation, you will be able to log in to the WCSM Portal and follow the steps outlined in the Entering Credentials for Cloud Migration KB.
This will require you to enter your Source Storage Account credentials and Wasabi Account Credentials along with your Bucket information.
3.The WCSM team will work with you, perform the migration process, and notify you once the migration has been completed and your application data has been successfully uploaded to your Wasabi bucket.
Comet Backup Storage Configuration
Once the migration has completed, you can log in to your Comet Backup software and update the AWS storage vault to point to your Wasabi storage account.
Note - Comet Backup creates a set of unique encryption keys when you first create the Storage Vault. To restore from the secondary bucket, you will need to use the same Storage Vault you initially created.
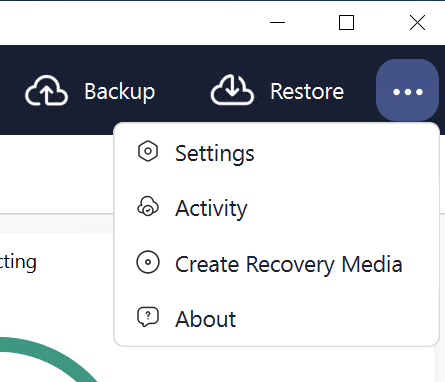
In the Comet application, click on the three dots.
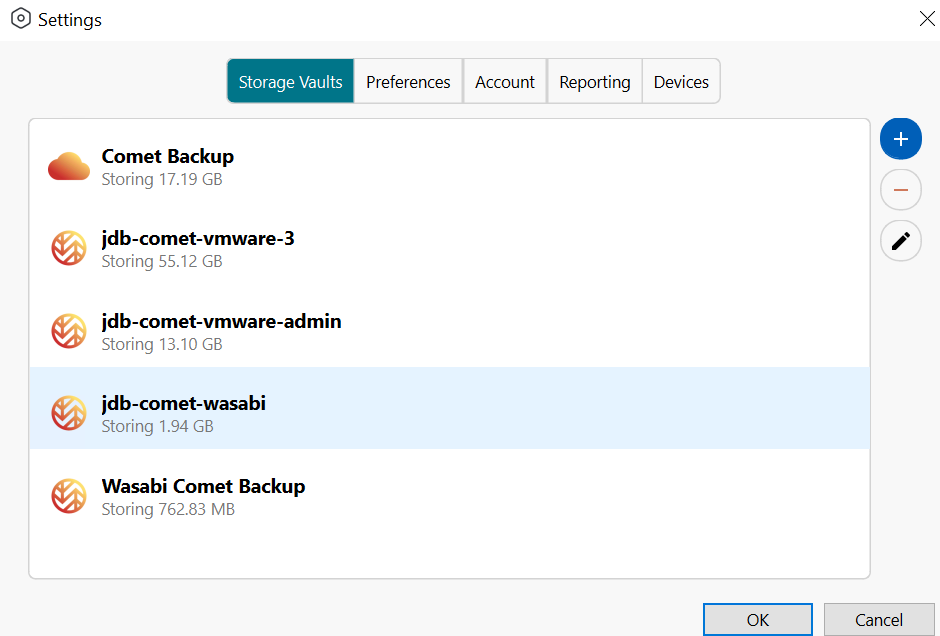
Click Settings.
Click the AWS Storage Vault, then click the pencil icon.
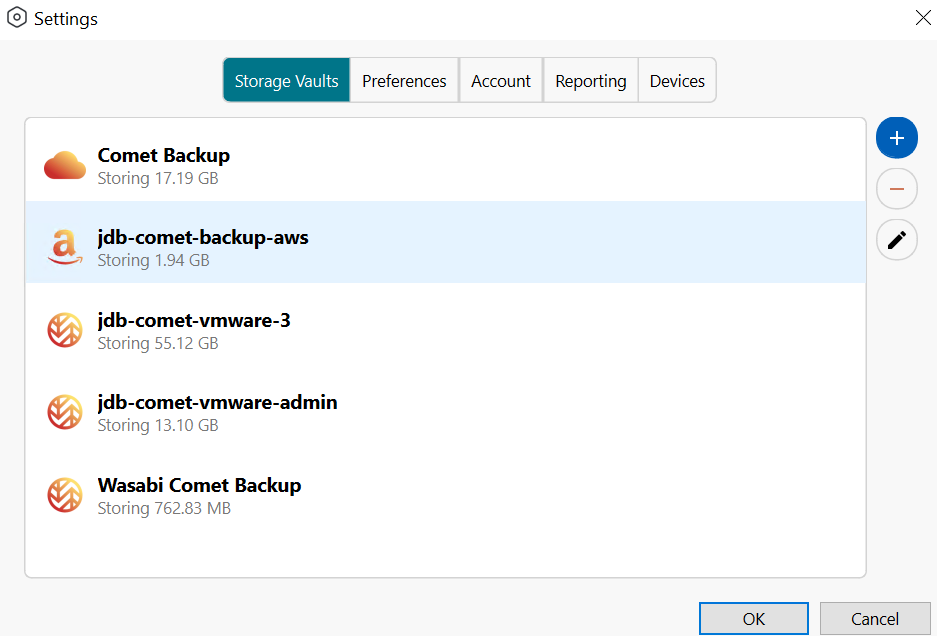
Under the General tab, you can update the name of the storage vault to reference Wasabi.
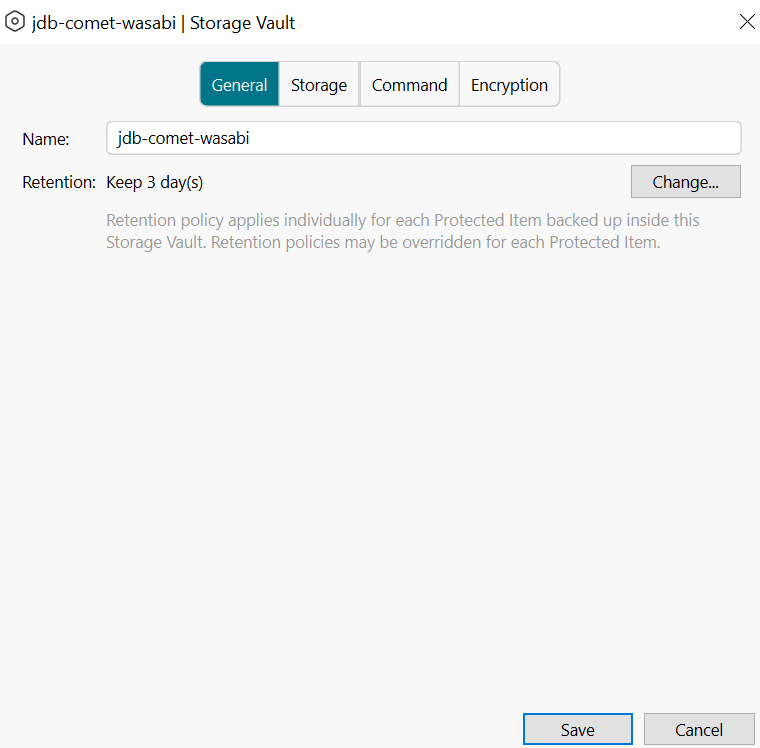
Click Storage. Click on +.
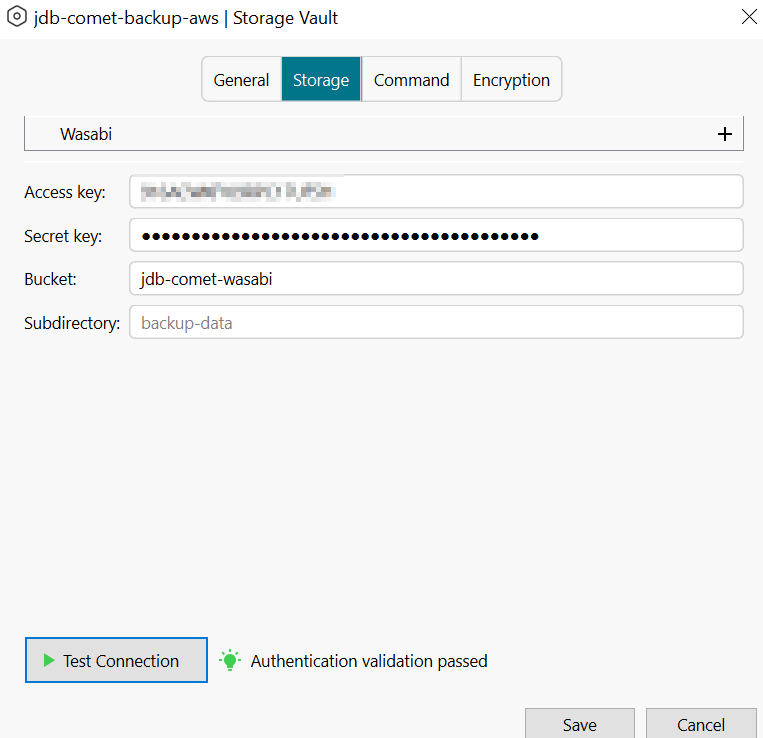
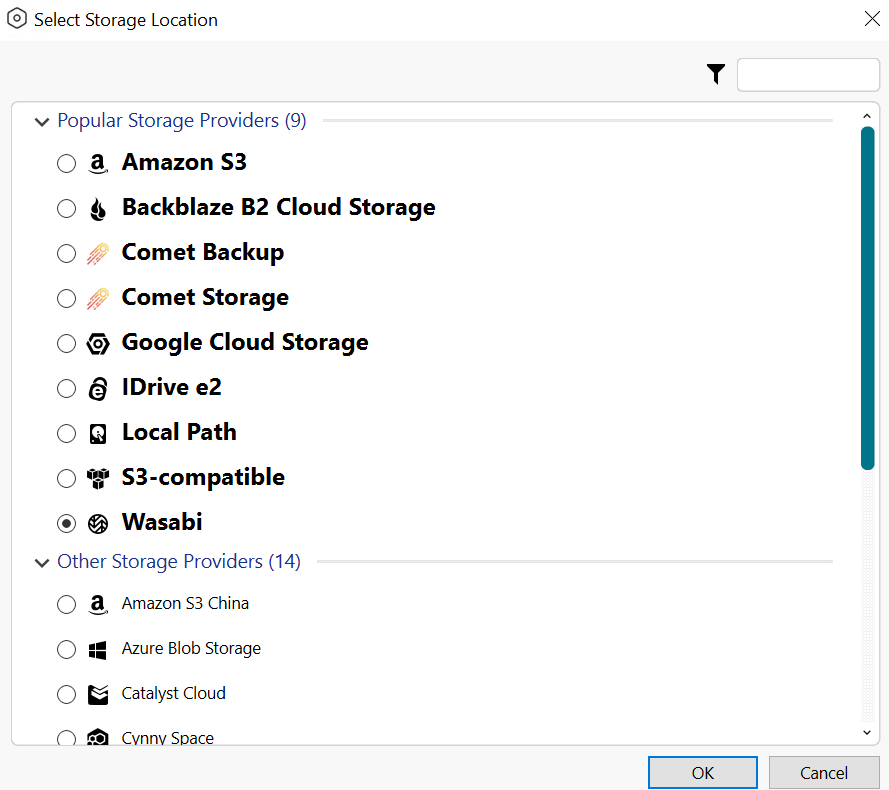
Select Wasabi. Click OK.
Update the Access and Secret keys to your Wasabi keysets.
Update the bucket name to your Wasabi bucket name with the migrated data.
Click Test Connection. Click Save.
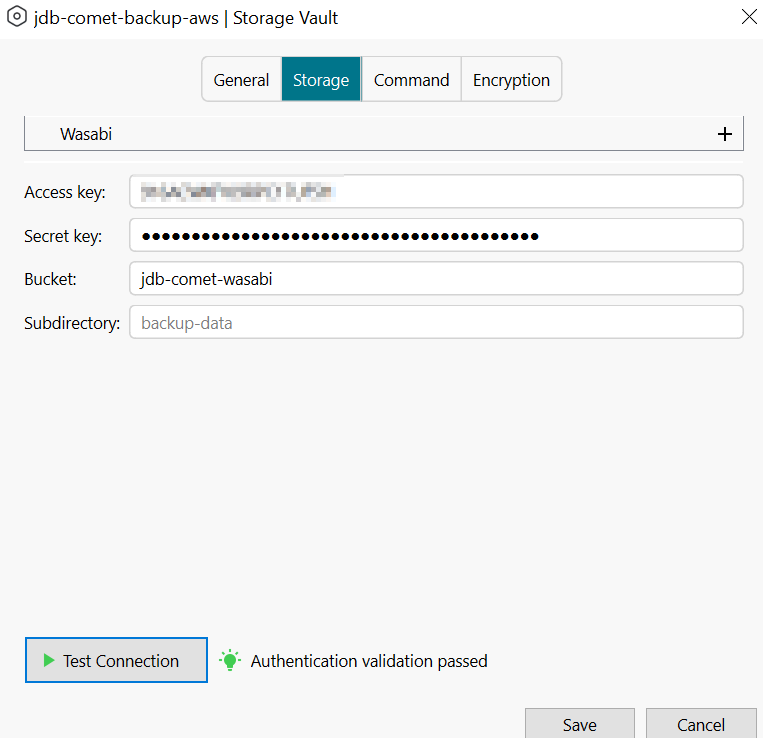
You will notice the AWS icon has updated now to the Wasabi icon.
Click OK.
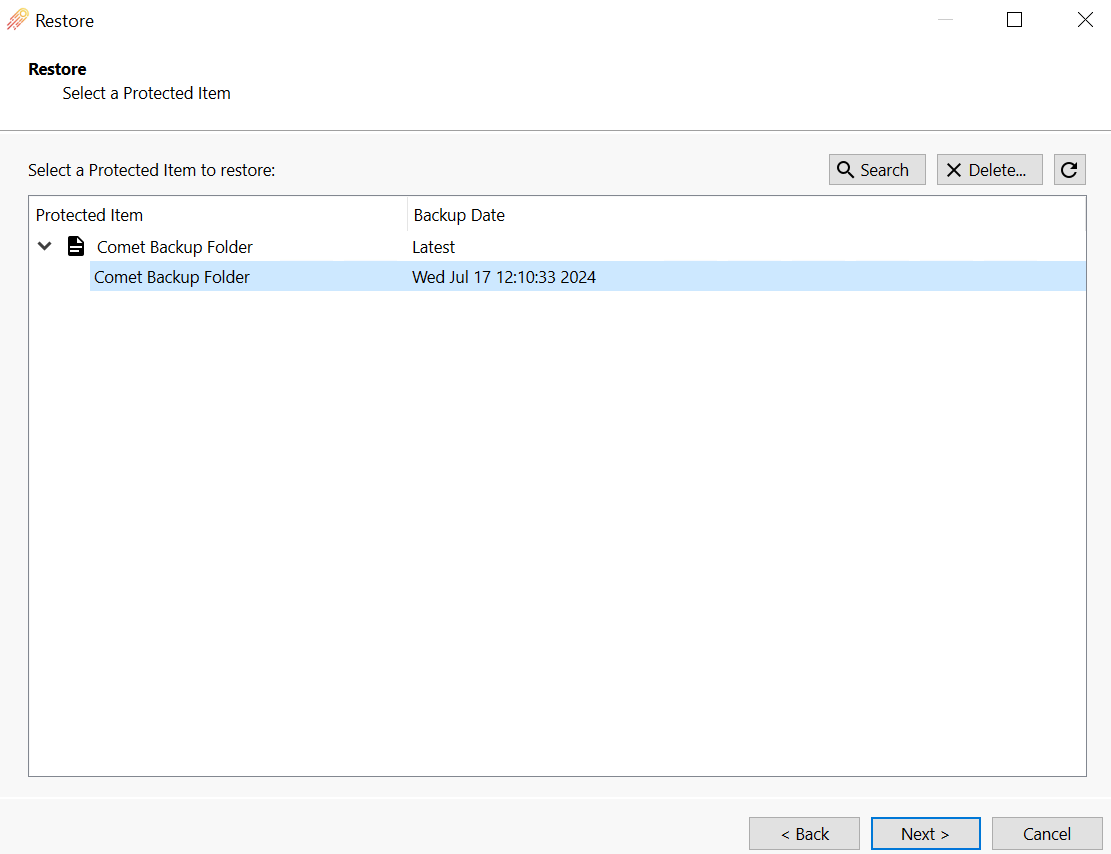
On the Dashboard, click Restore. Select your Wasabi vault.
Click Next.
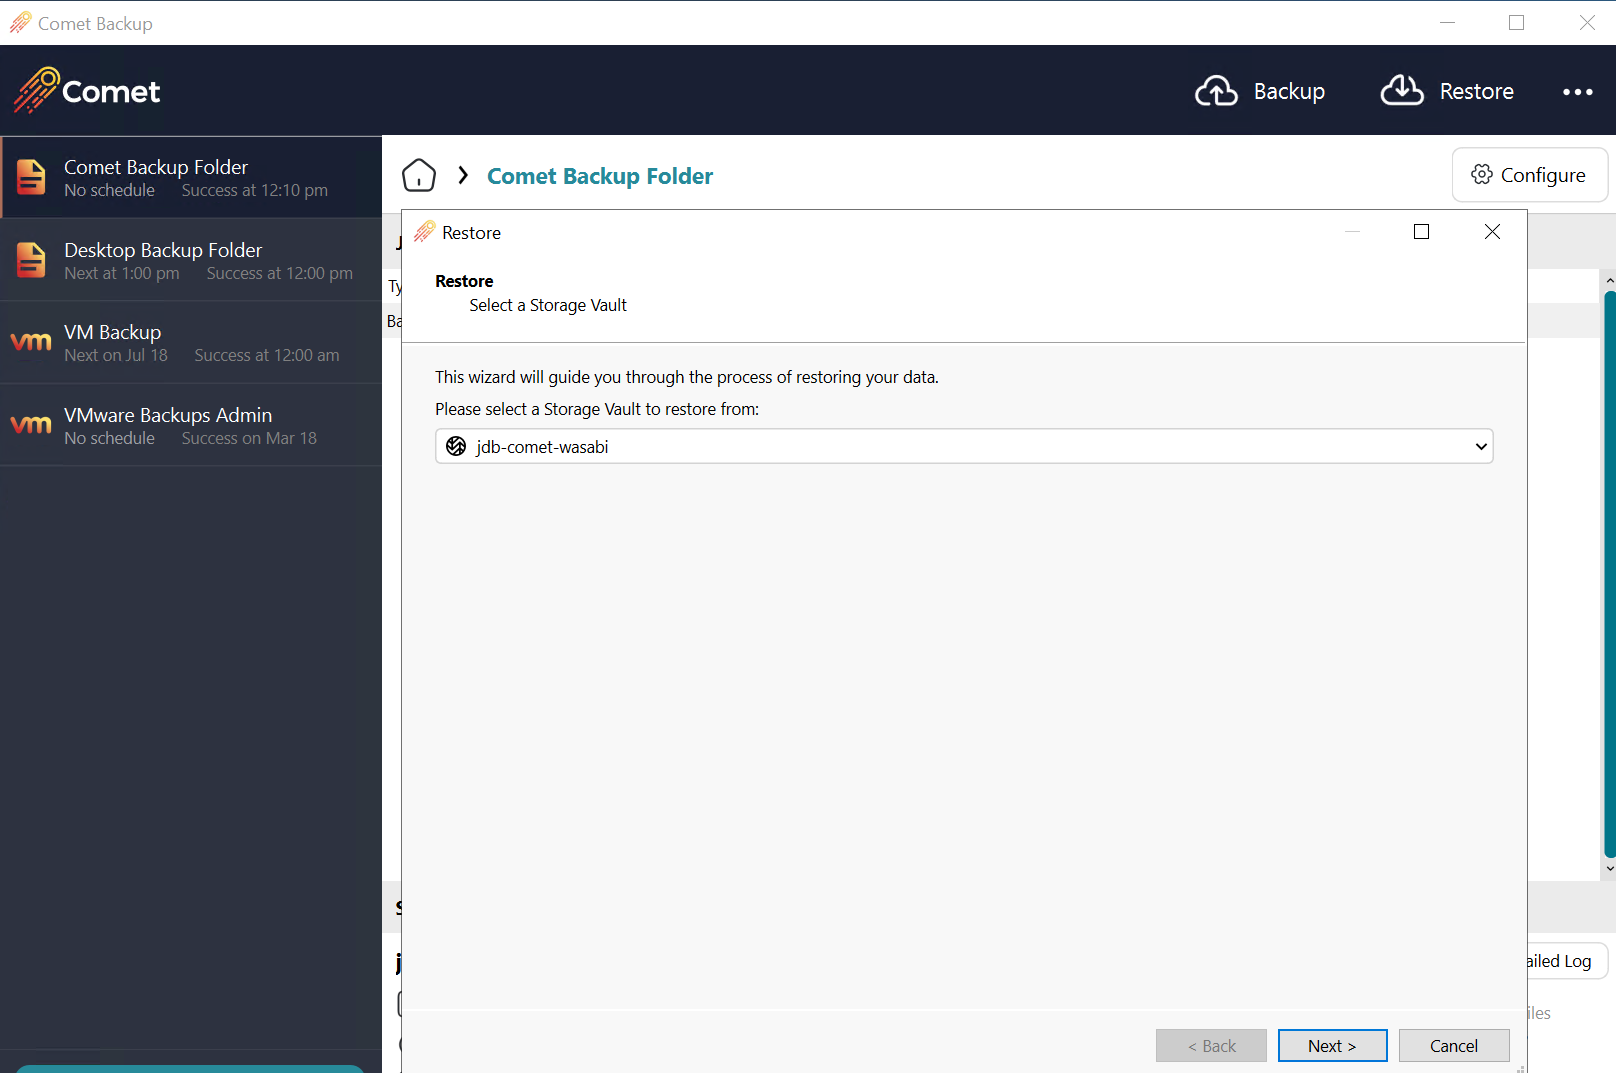
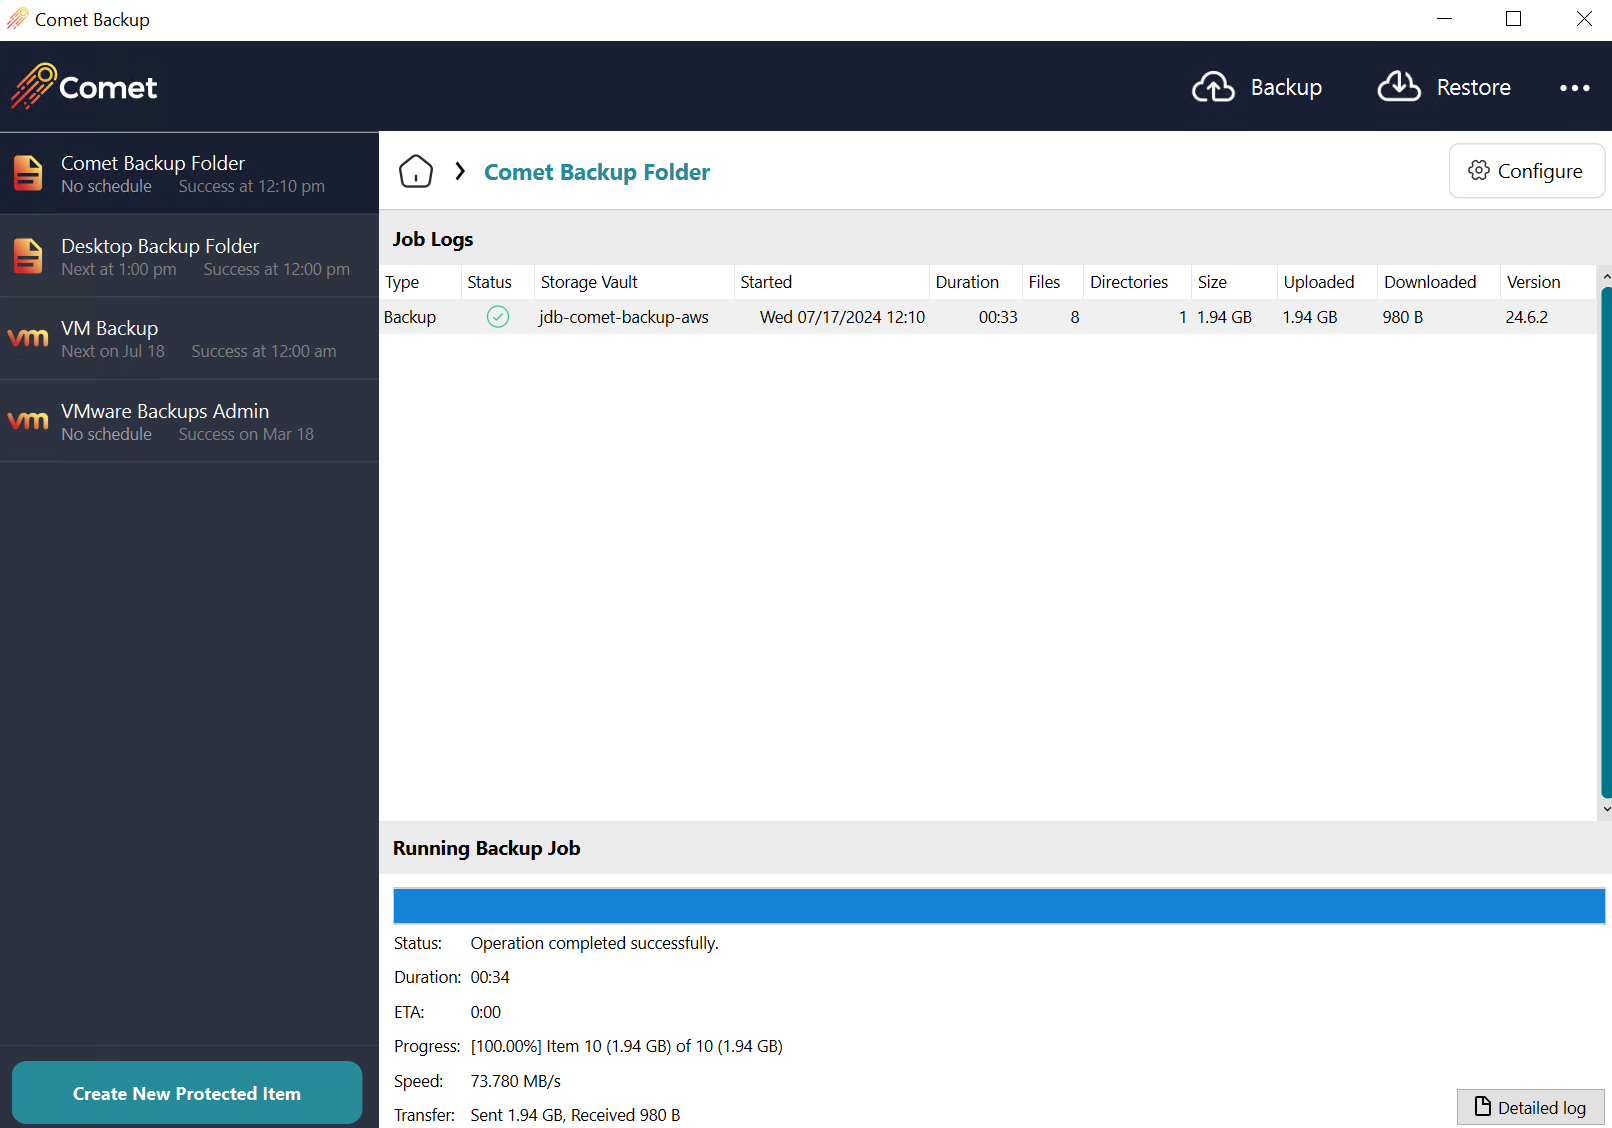
You should be able to see all of your Comet Backups available for Restore from your migration from AWS in your Wasabi Vault.