Comet Backup has been validated for use with Wasabi. The tips and screenshots below provide details on the configuration.
The data restoration process is handled by your specific backup software application. As many variables can affect your unique environment, it is strongly recommended that you seek guidance from your backup software’s technical support team if you encounter difficulties or have application-specific inquiries.
This article describes the procedure to useWasabi Covert Copy to protect a Golden Copy of Comet backups for use in case of a disaster that affects other copies of backups.
Note that Covert Copy is a static, one-time copy, not an ongoing replication.
Requirements
Active Wasabi Cloud Storage account
Active Comet Backup Account
Comet Backup software is installed and set up on the device to be backed up
Multi-Factor Authentication is enabled for the Wasabi account root user. See MFA (Multi-Factor Authentication) for details on how to enable and use MFA on your account.
Multi-User Authentication is enabled for the Wasabi account root user. See MUA (Multi-User Authentication) for details on enabling and using MUA.
Configuration
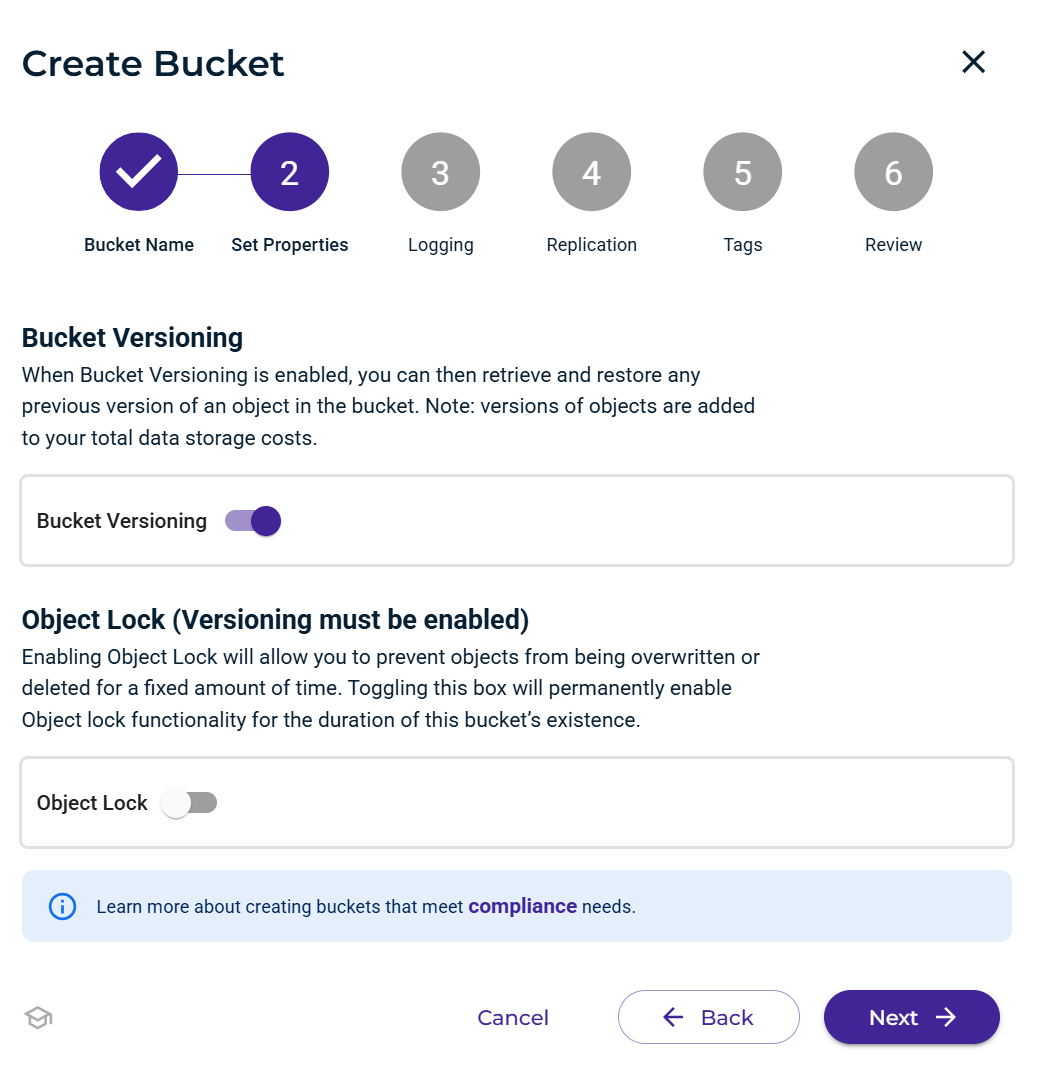
If your Comet Backup Protected Items are not going to a Wasabi version-enabled bucket(s), you will need to create those bucket (s).
Log in to your Wasabi Console and create a new bucket(s).
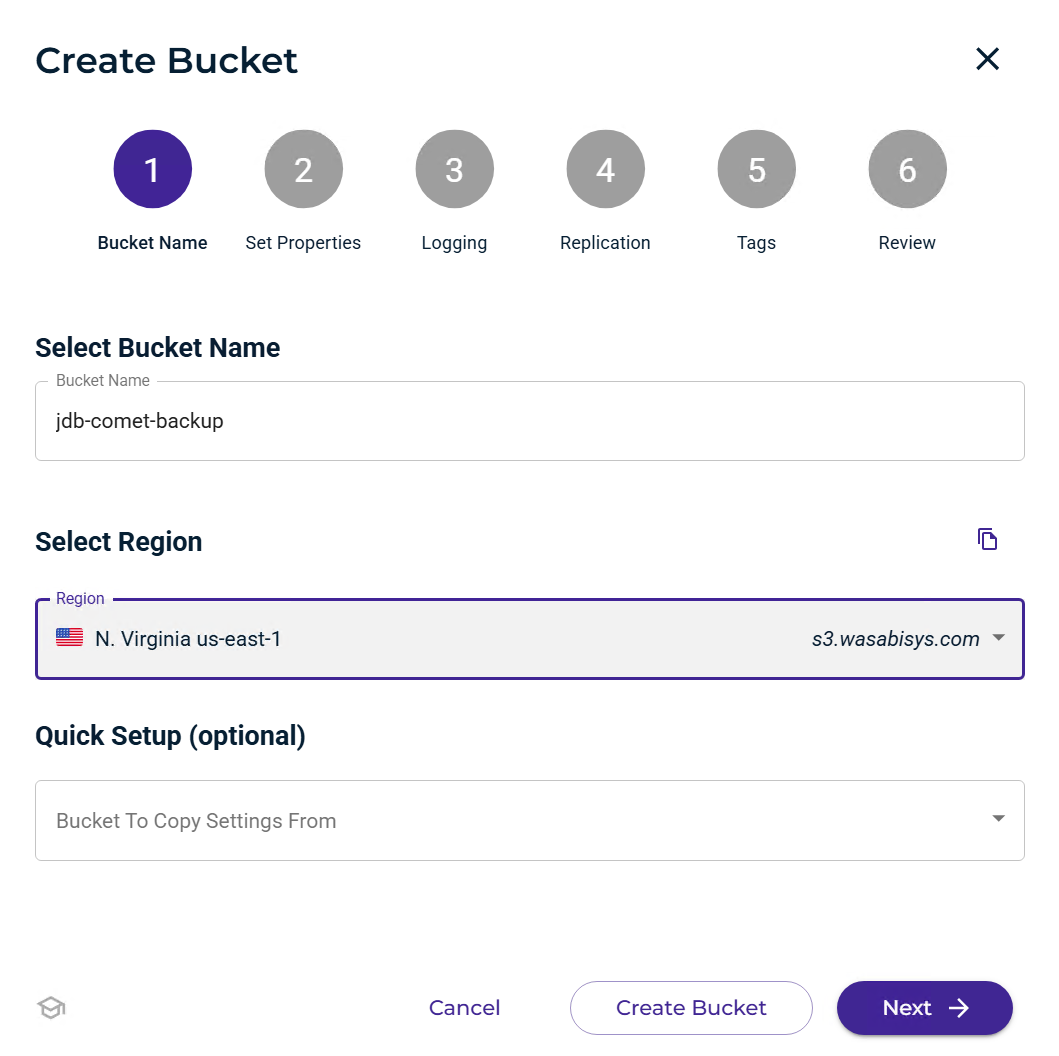
Toggle Bucket Versioning on and continue through the prompts until you create the bucket.
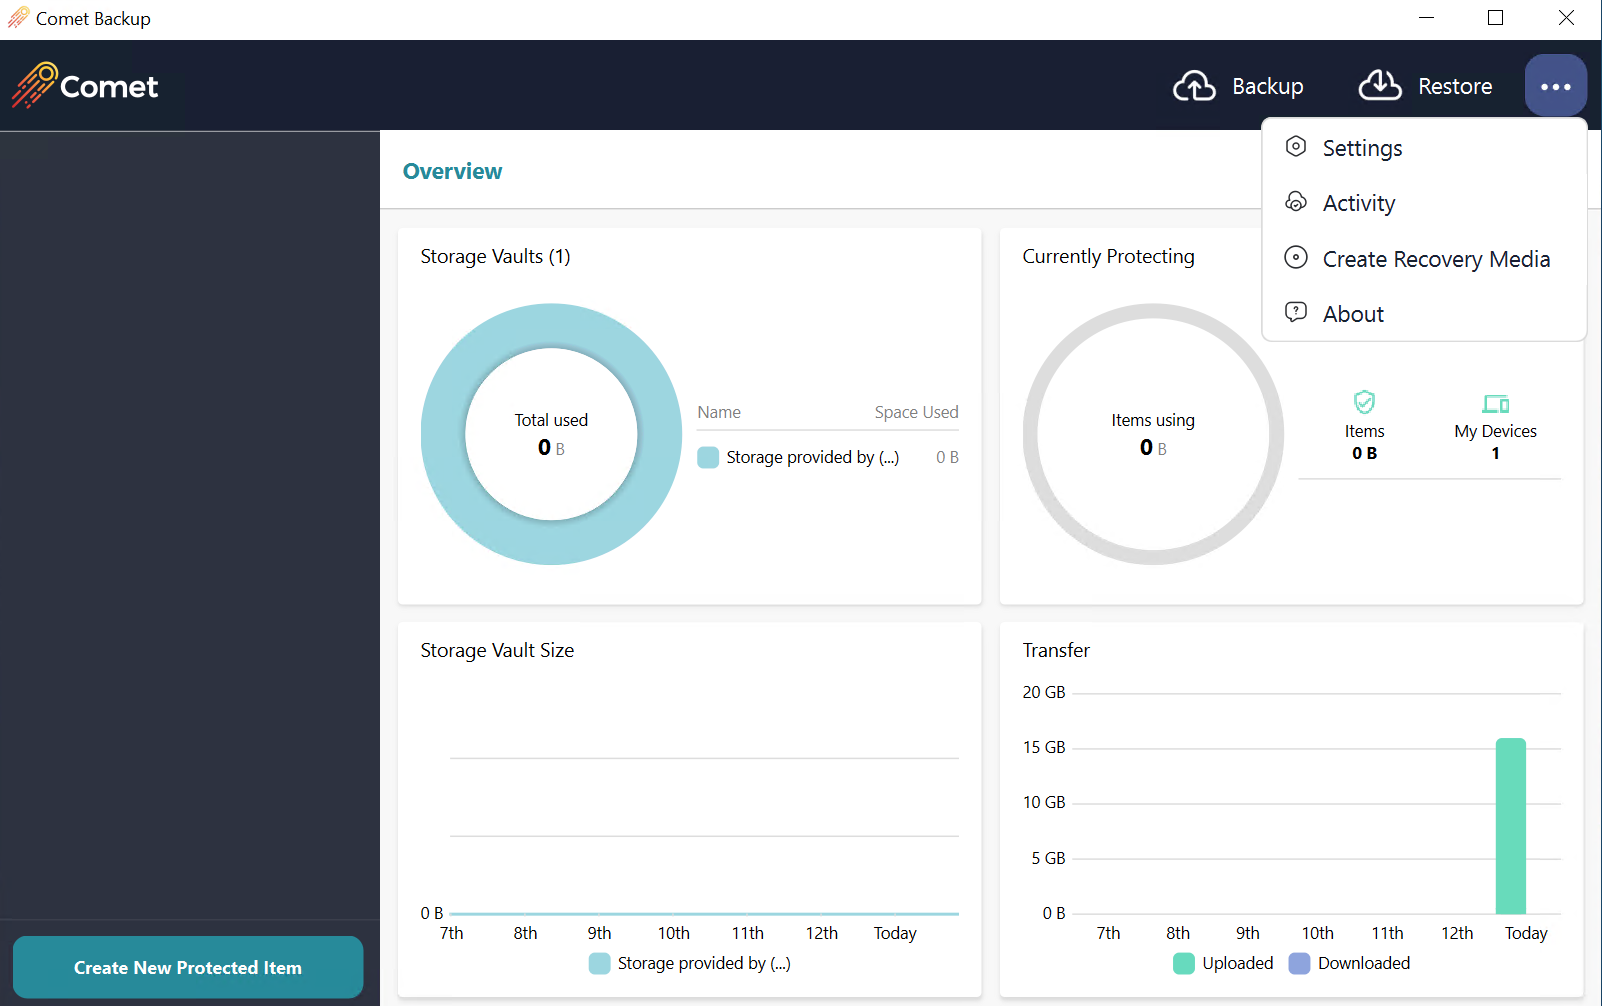
Go to your Comet Backup desktop application and add your Wasabi storage vault.
Click the three dots, then Settings.
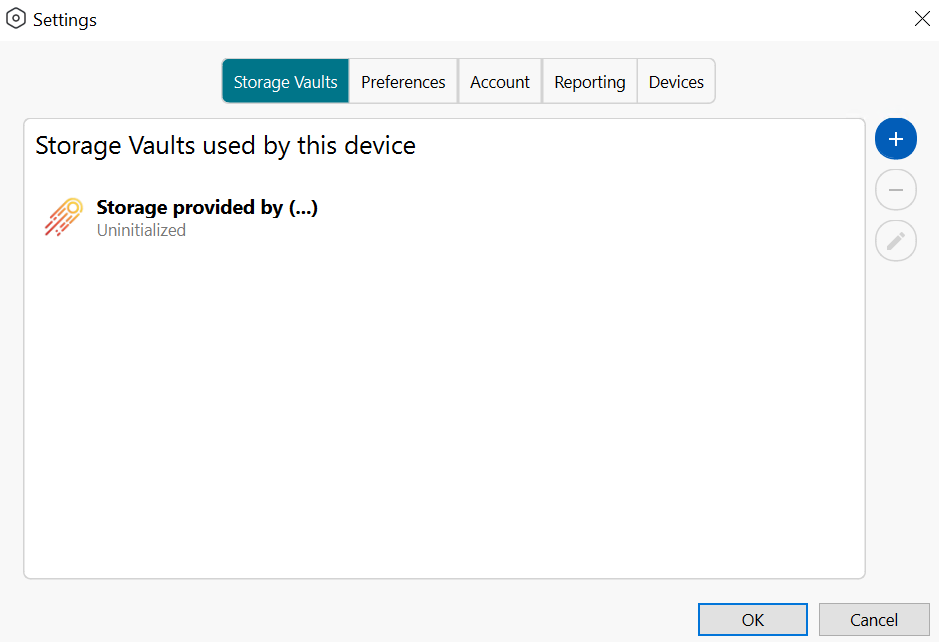
Click + to add the vault.
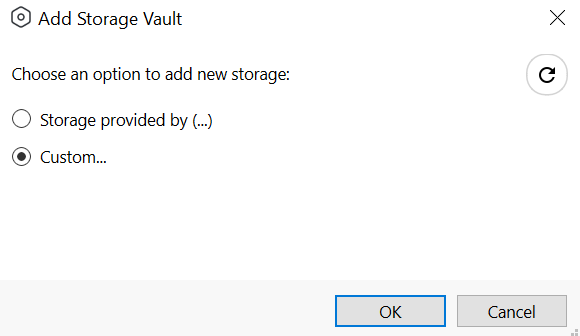
Click Custom. Click OK.
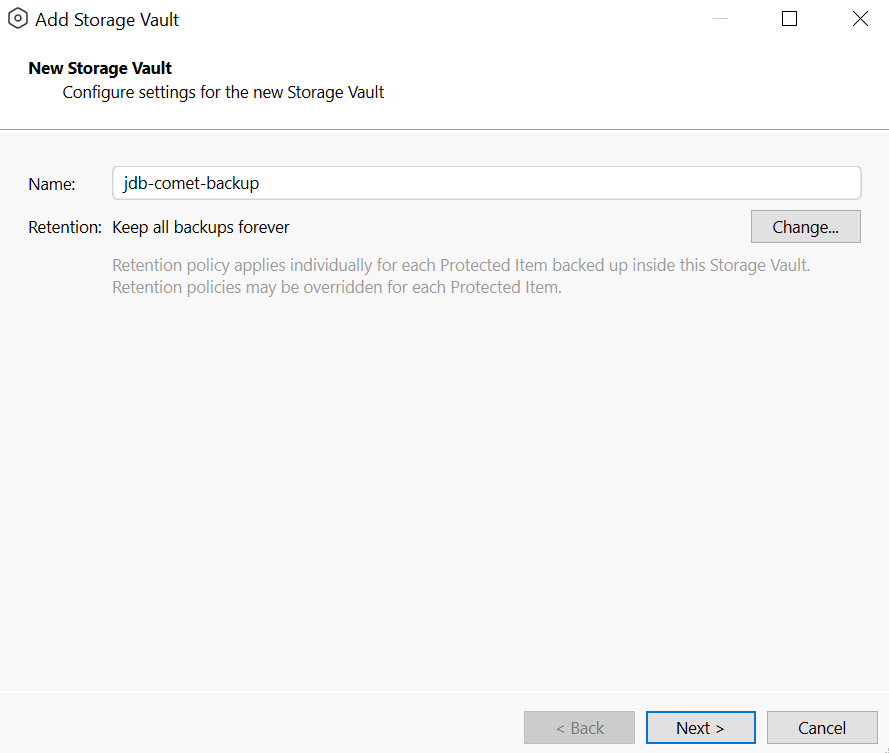
Assign a name that matches your bucket name. Click Next.
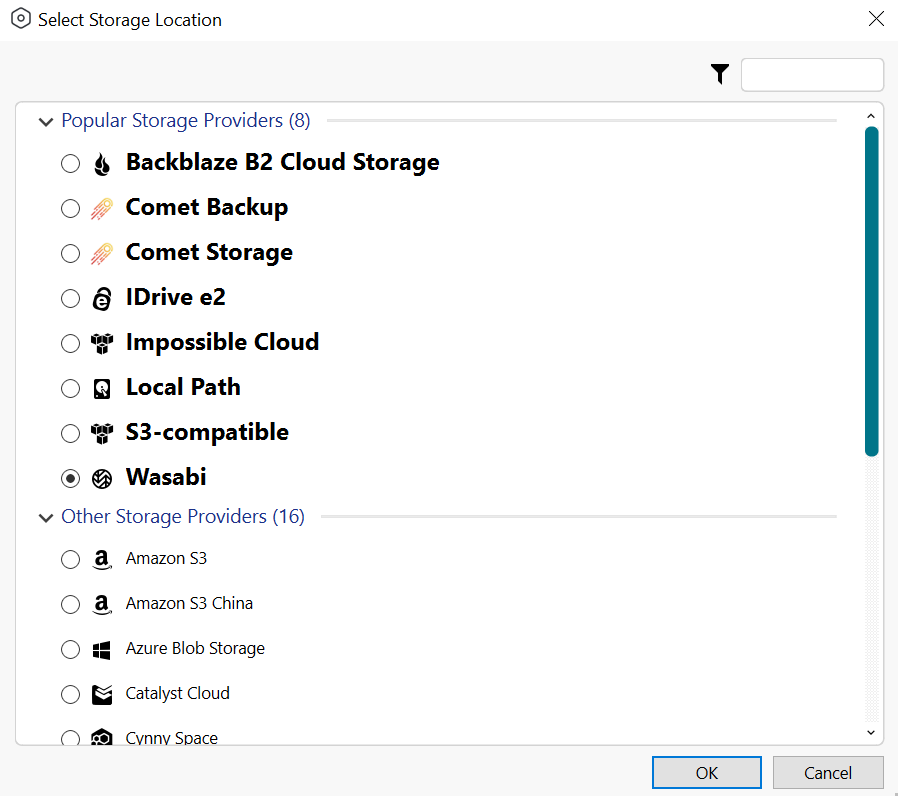
Select Wasabi. Click OK.
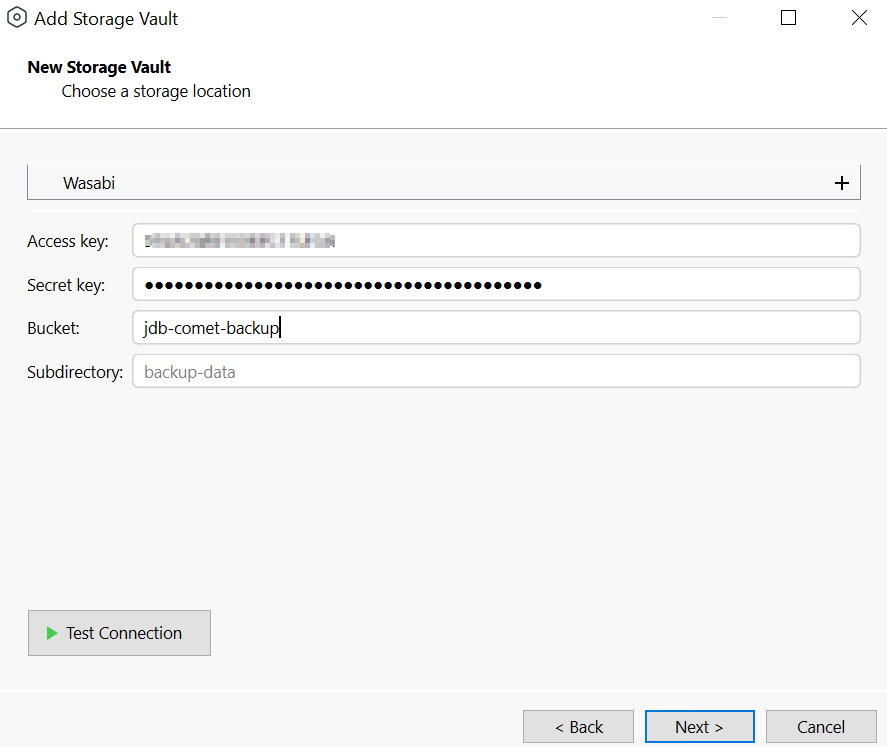
Add the following information.
Access Key - Input your Wasabi access key.
Secret Key - Input your secret key.
Bucket - Provide your bucket name.
Click Test Connection and ensure the validation passes.
Click Next and complete the remaining configuration pages.
Click Create New Protected Item.
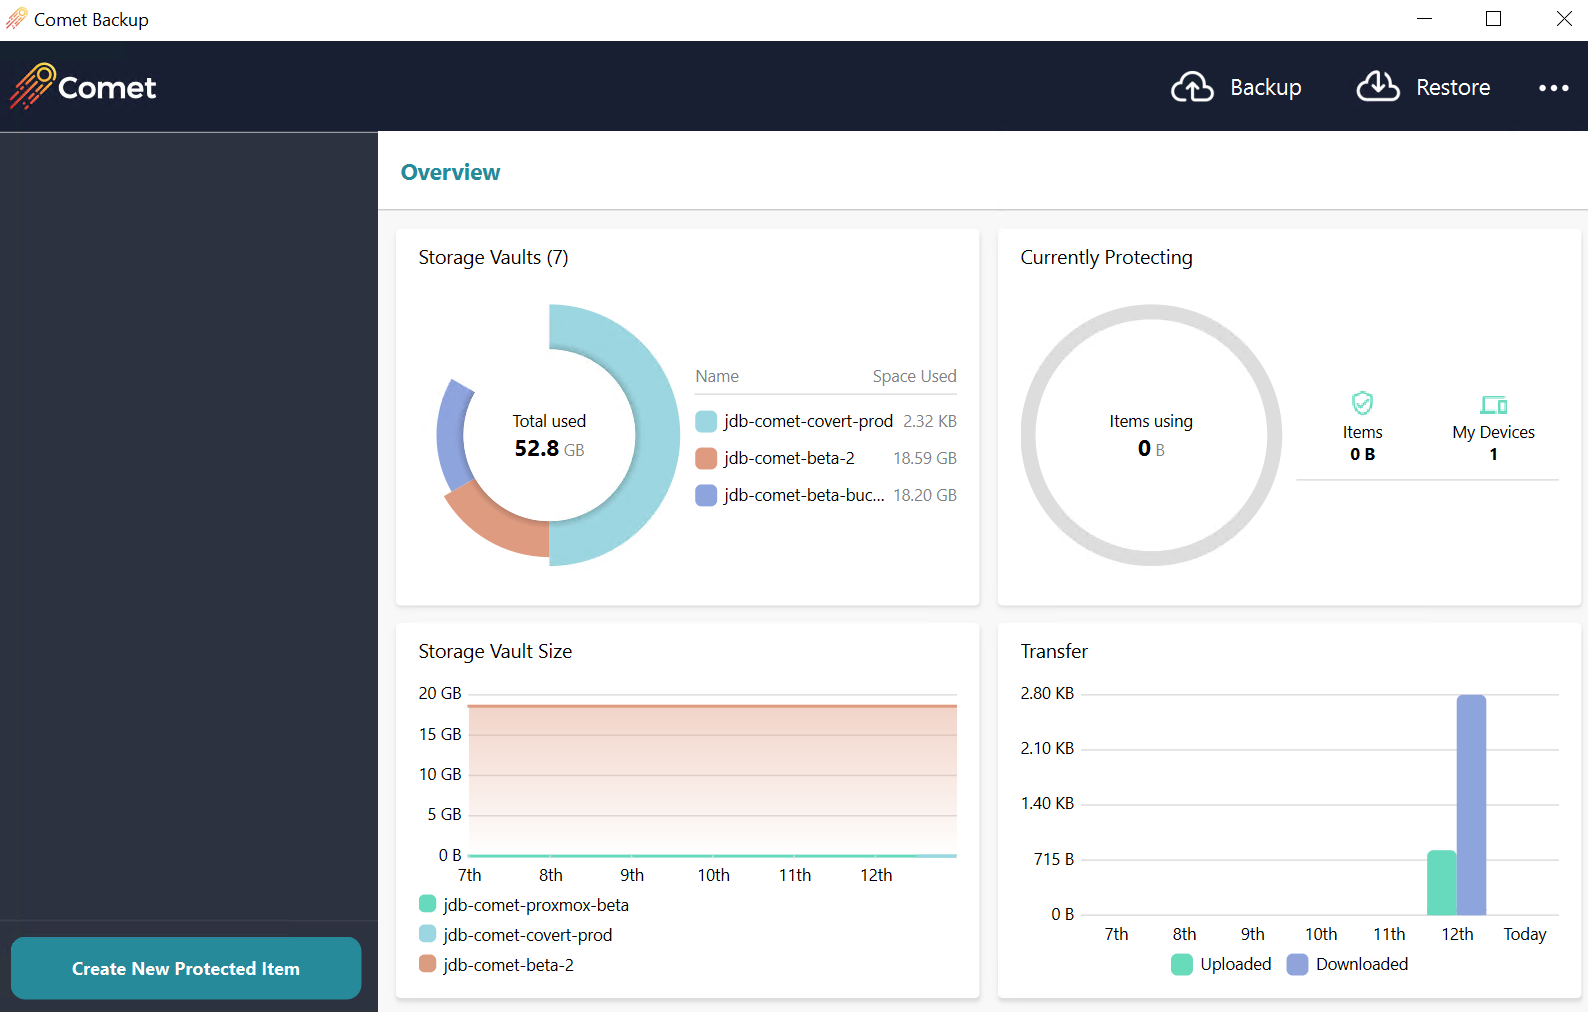
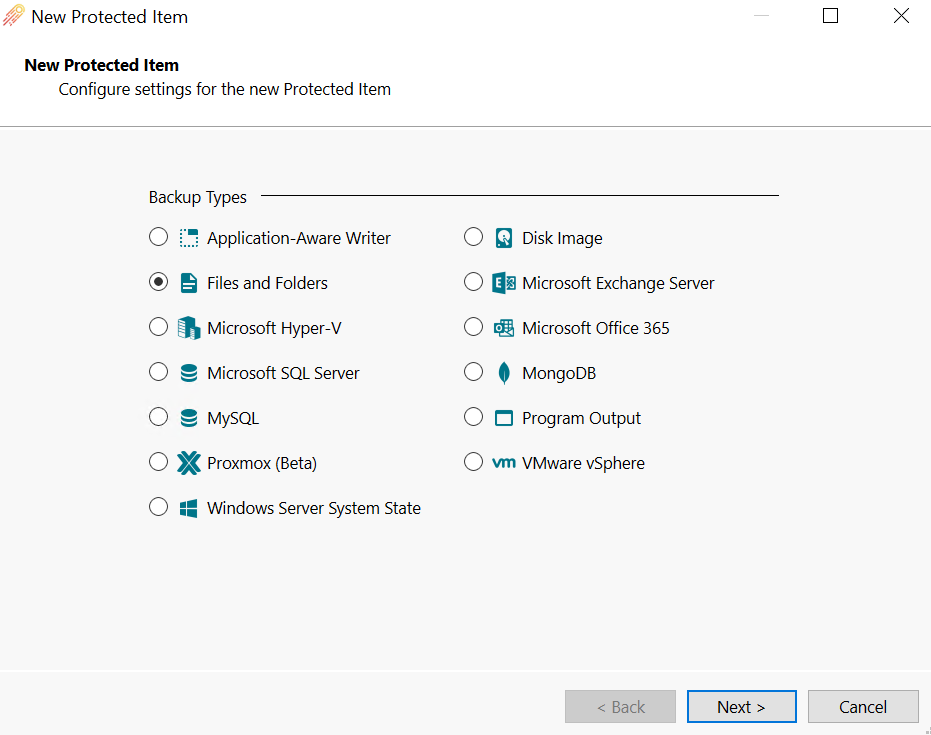
Select your Backup Type and create the new Backup Job.
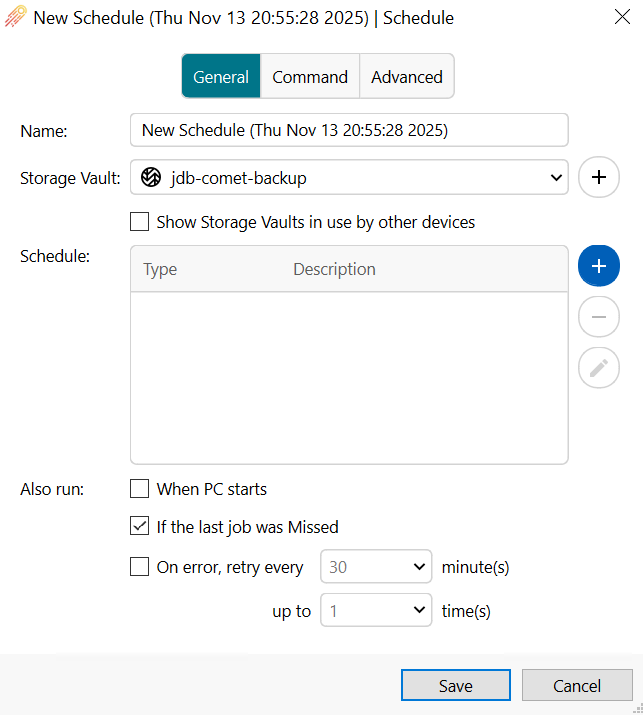
Select the newly created Storage Vault.
Run the Backup Job.
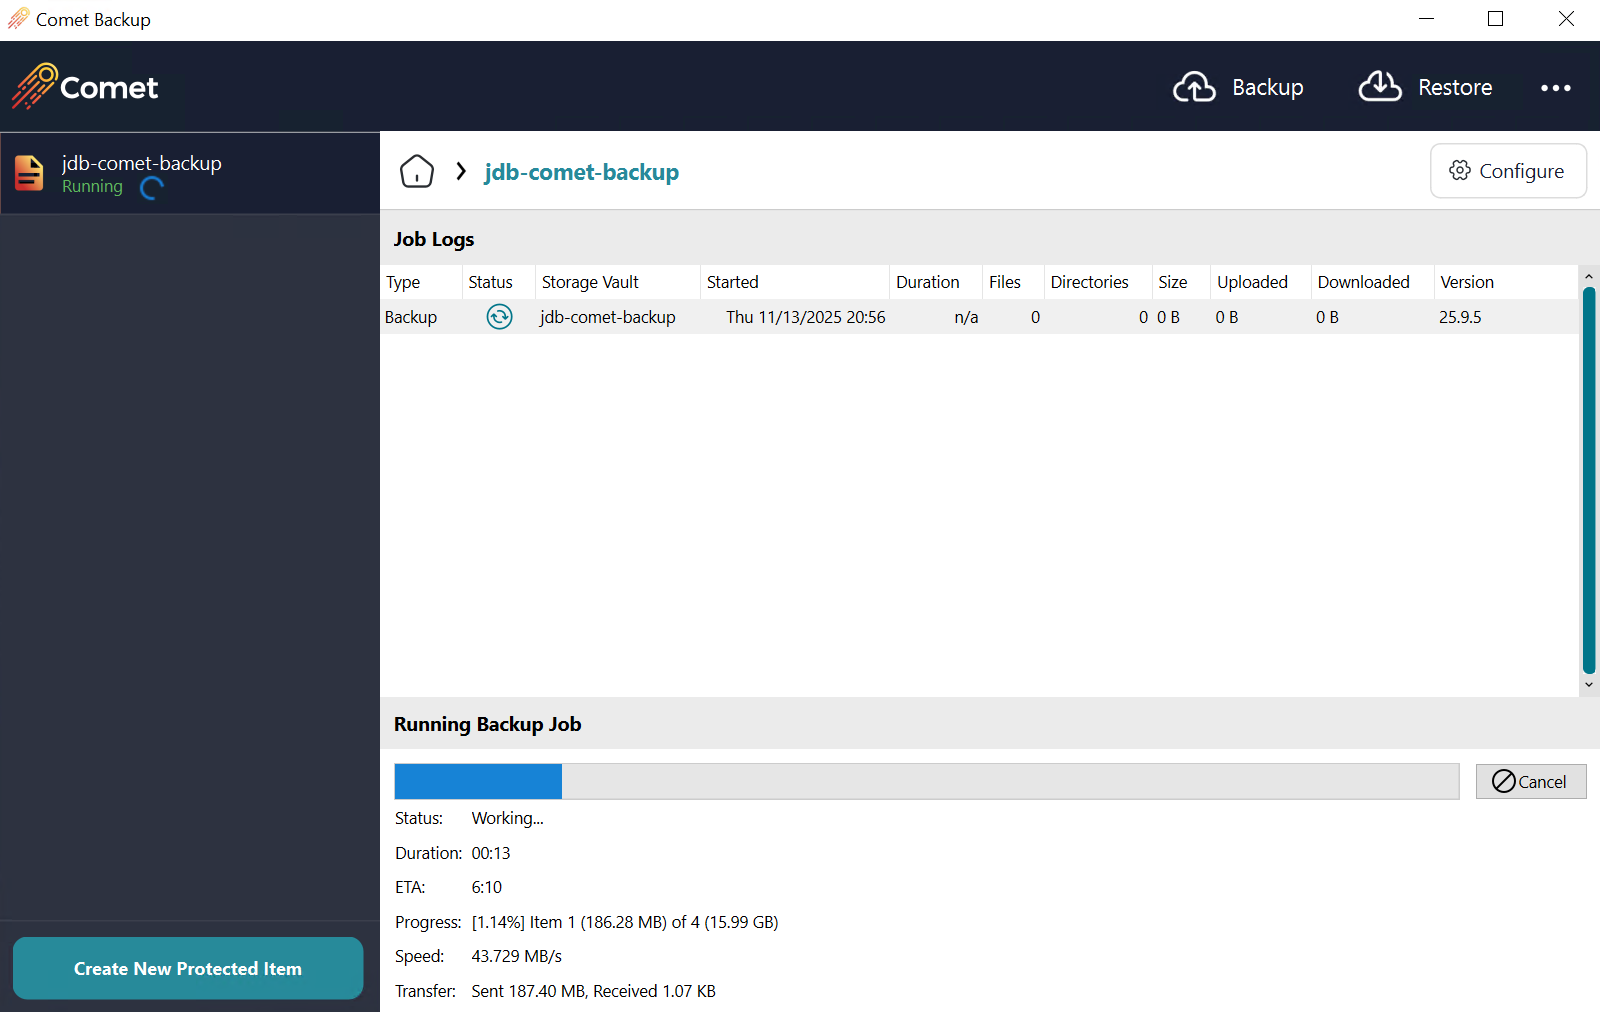
Upon successful completion, depending on how often your backups are scheduled and/or how large your dataset is, you may want to pause your backup plans during this time to run the Covert Copy job without new data being placed into the bucket during replication. Upon completion, open up Wasabi Console and log in.
Check the bucket to ensure the data is listed.
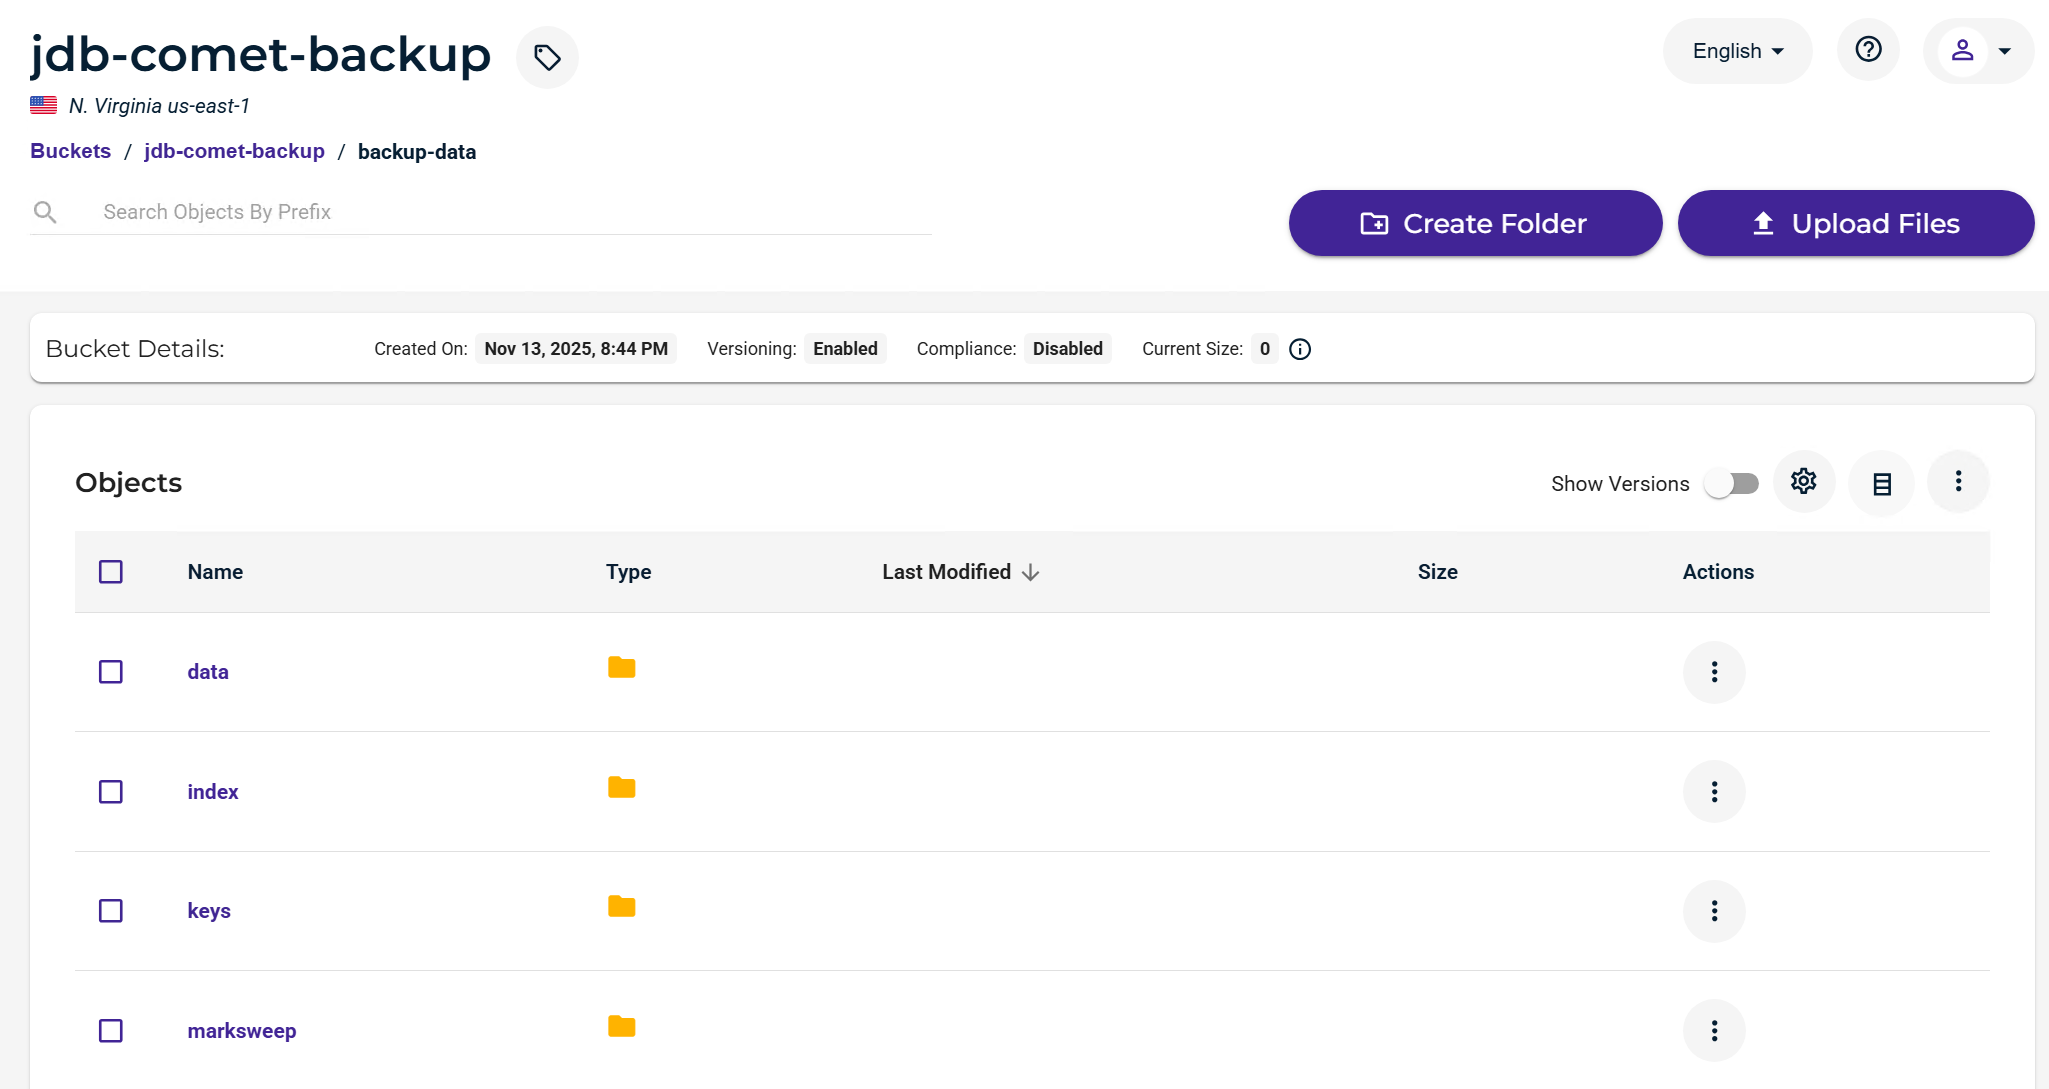
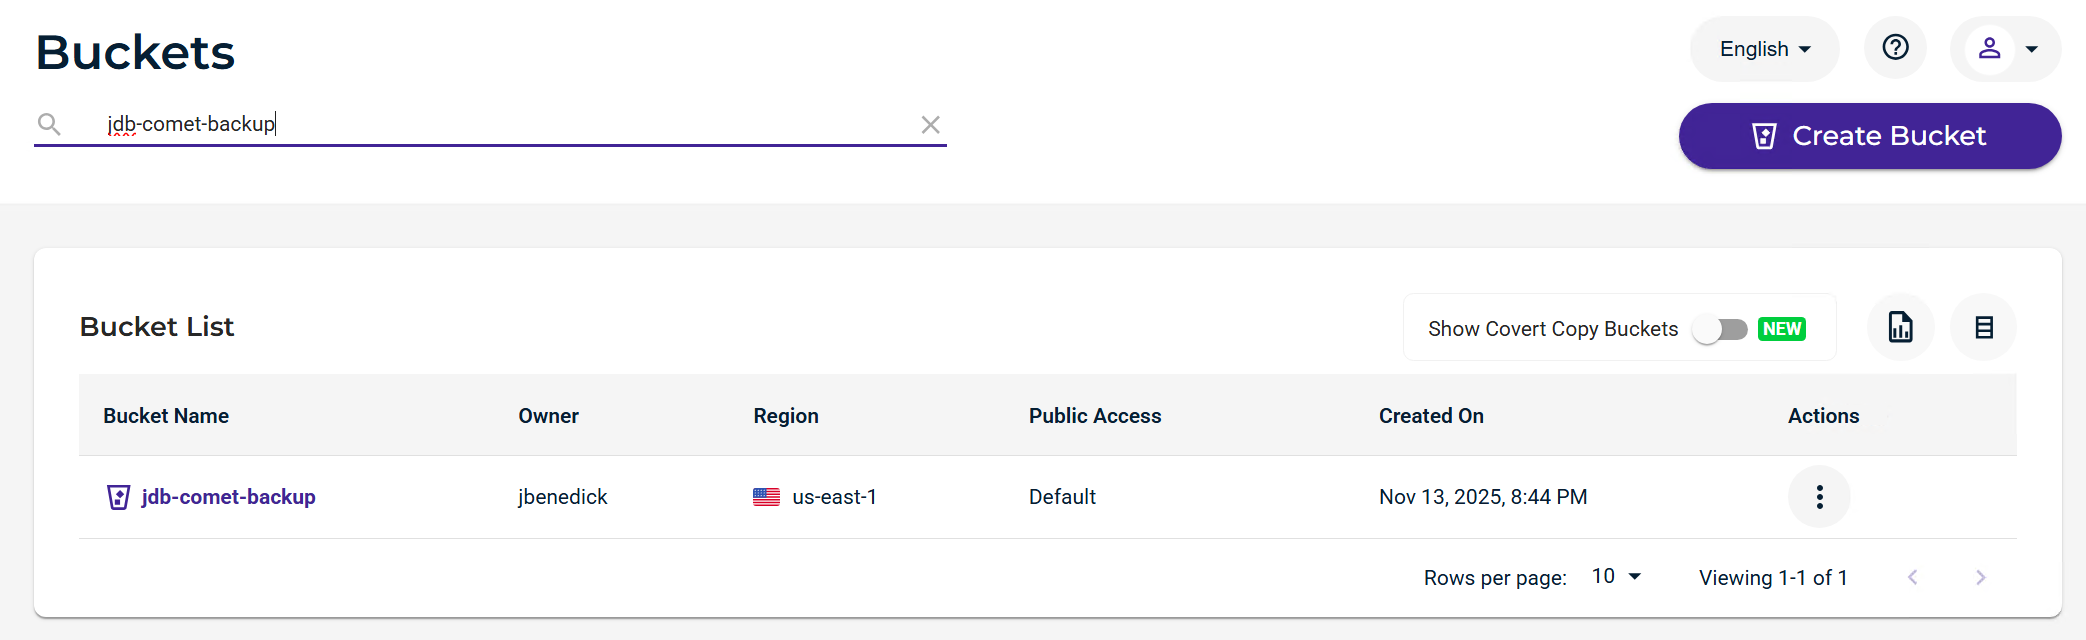
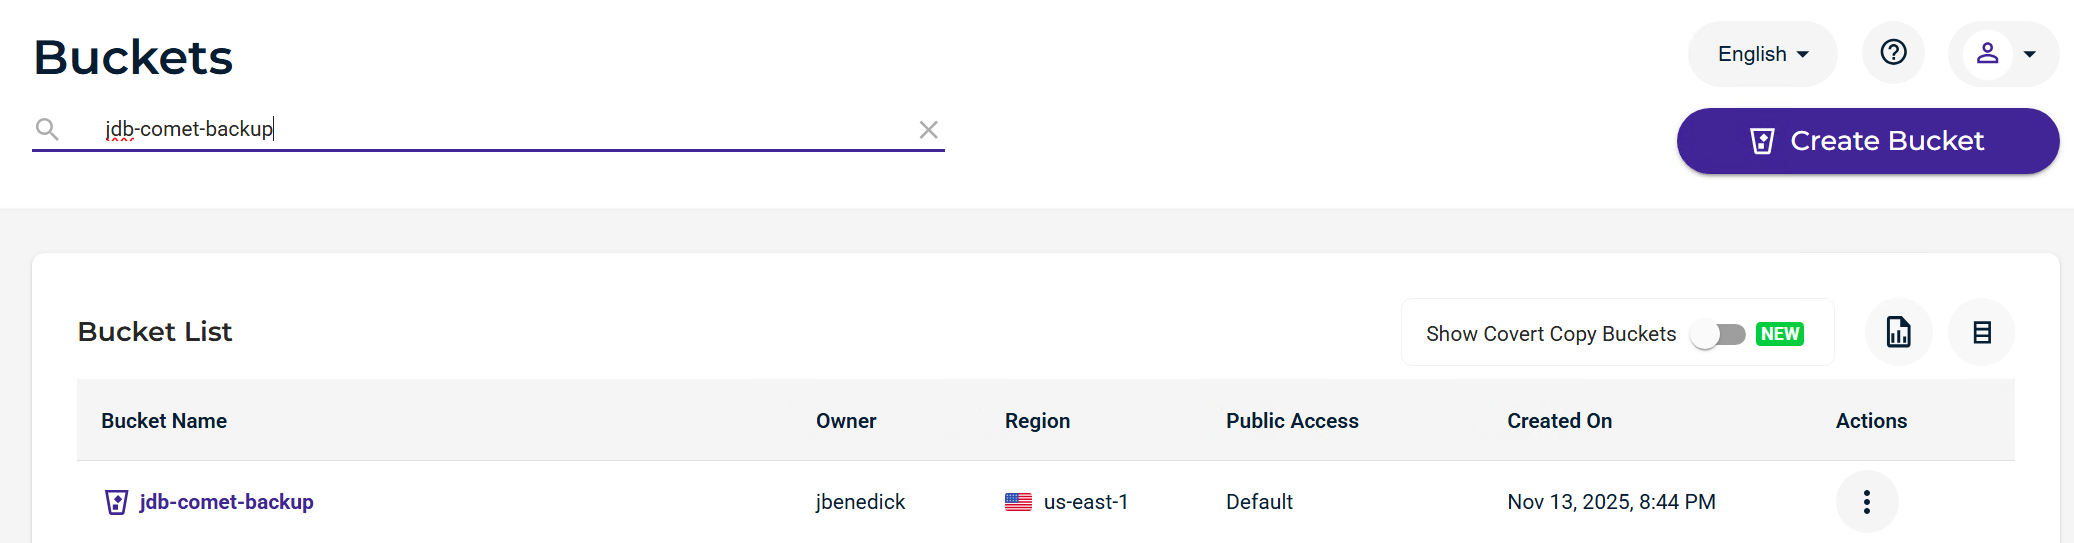
Go back to your bucket list and filter for your bucket.
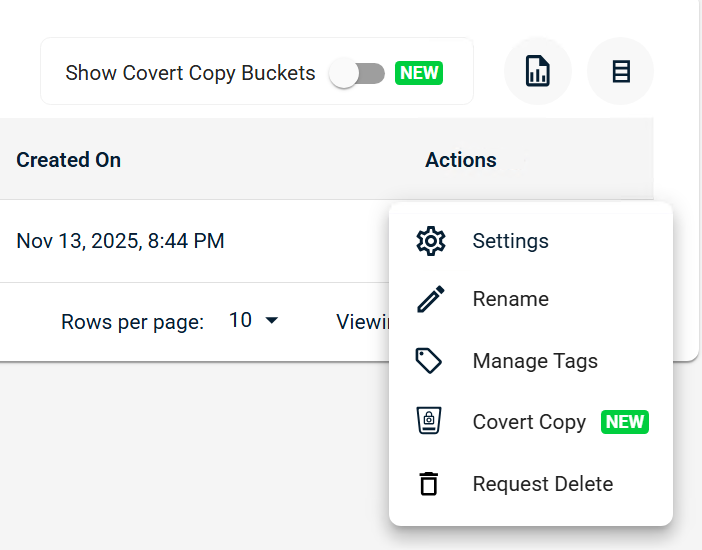
Click on the Actions option (three dots).
Click Covert Copy.
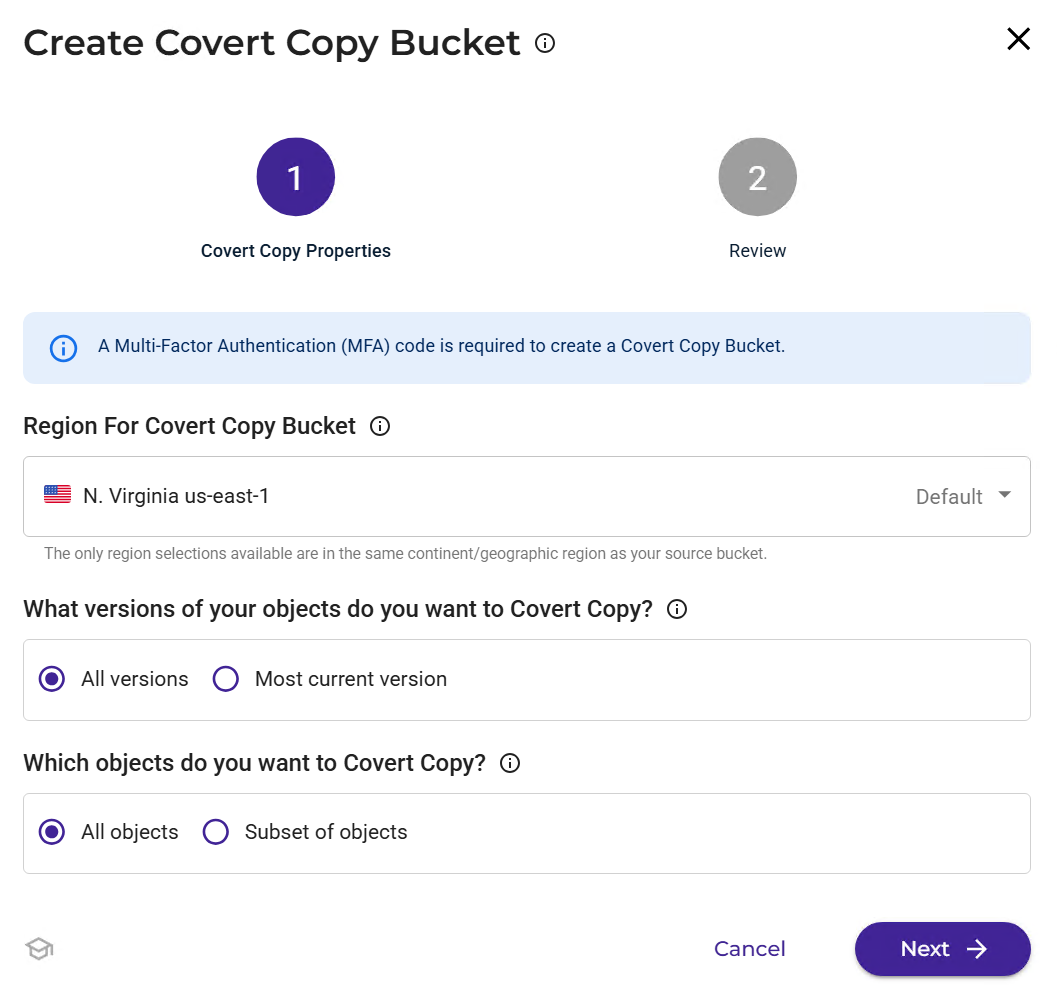
Select the Region in which you want to create your Covert Copy bucket.
This is a new full backup; select All versions and All objects.
Click Next.
Input your MFA Code and click Create Bucket.
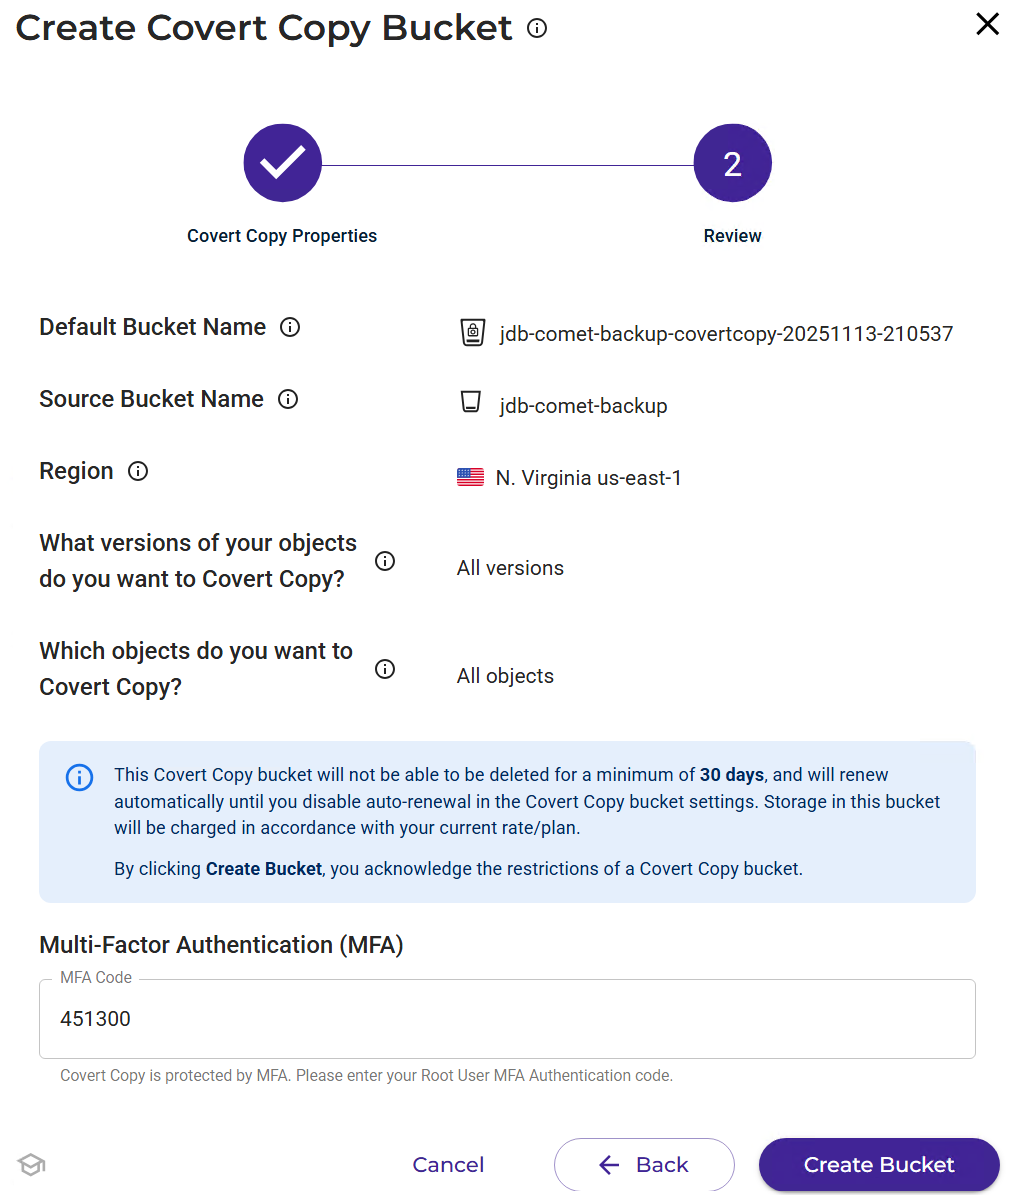
You will see that your Covert Copy job is In Progress.
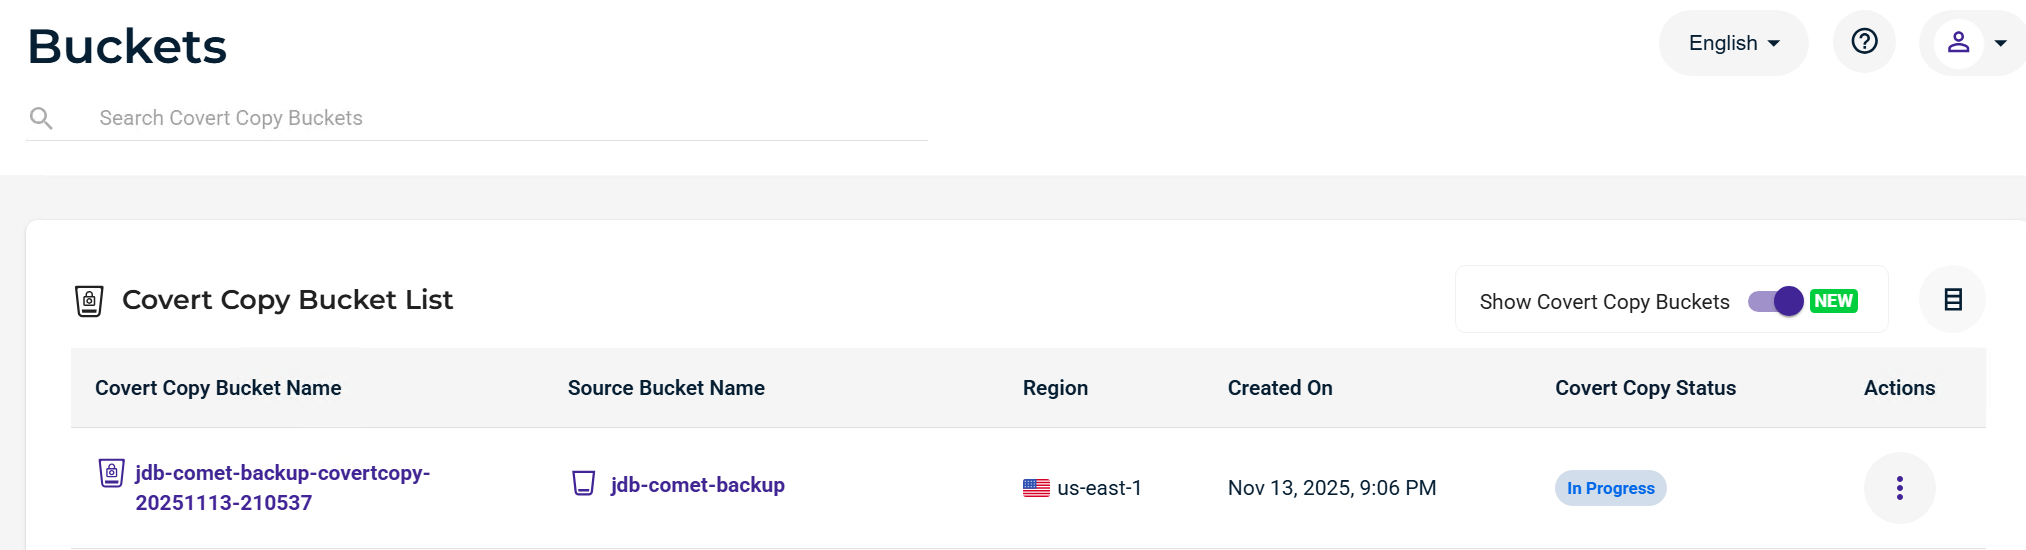
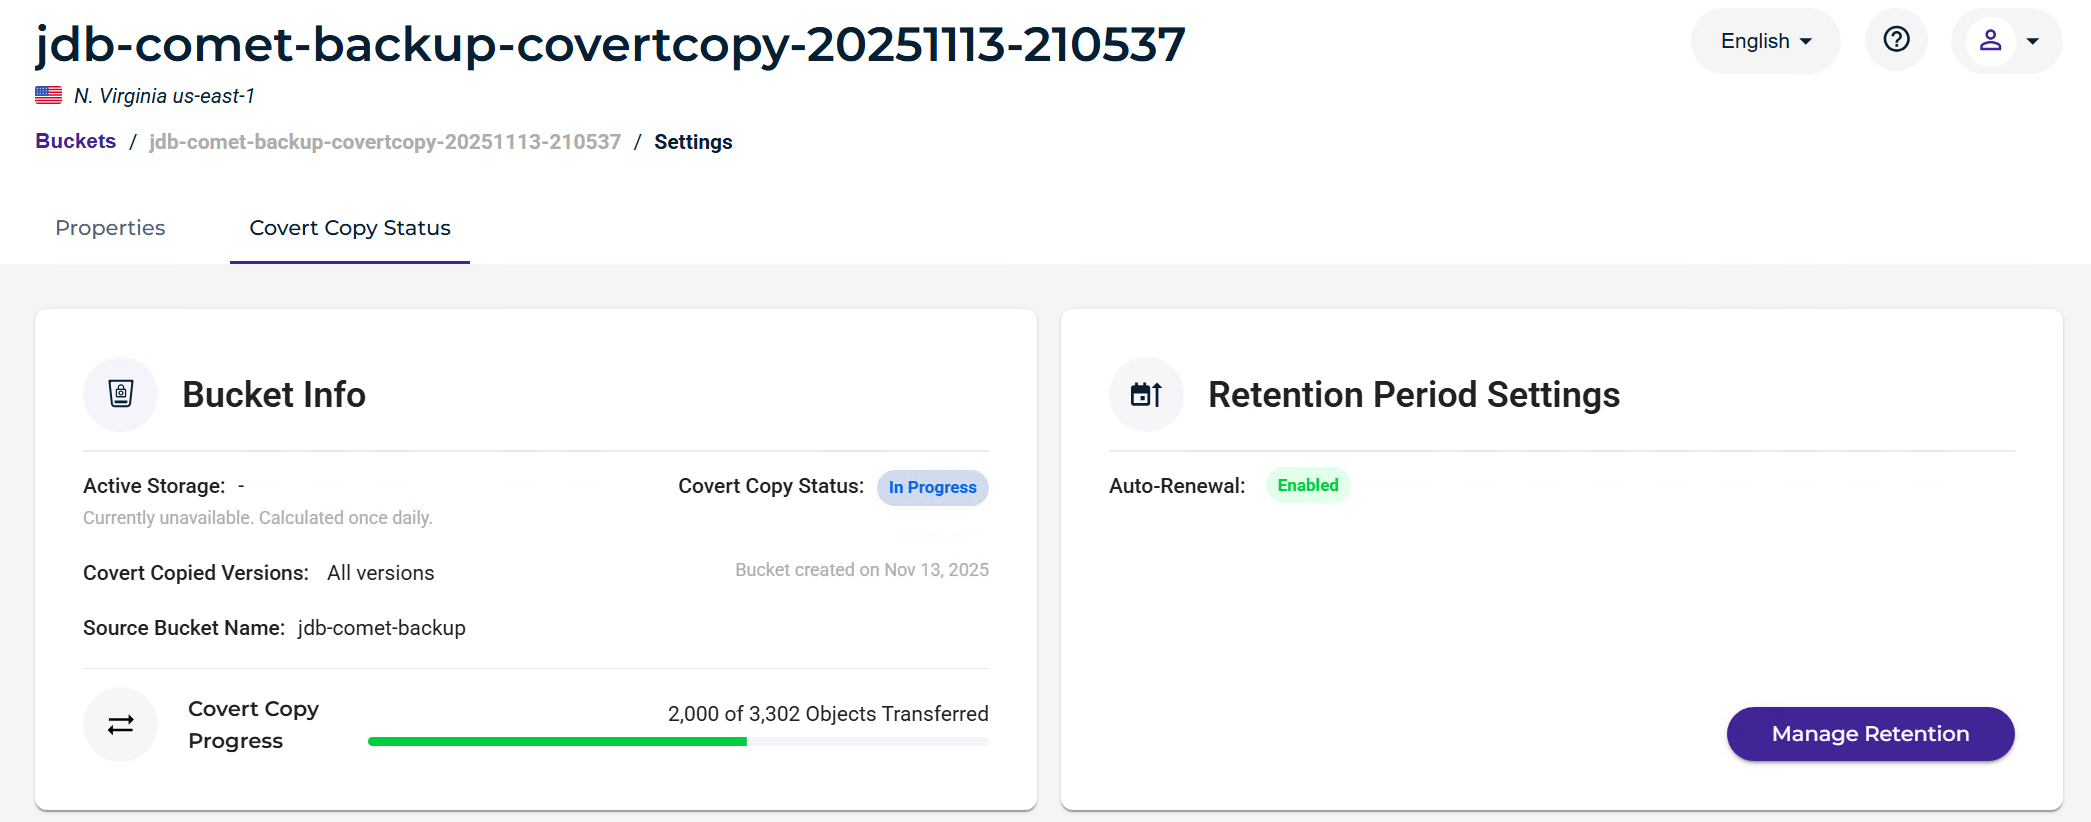
Click the Actions option (three dots) and select Settings to view the progress.
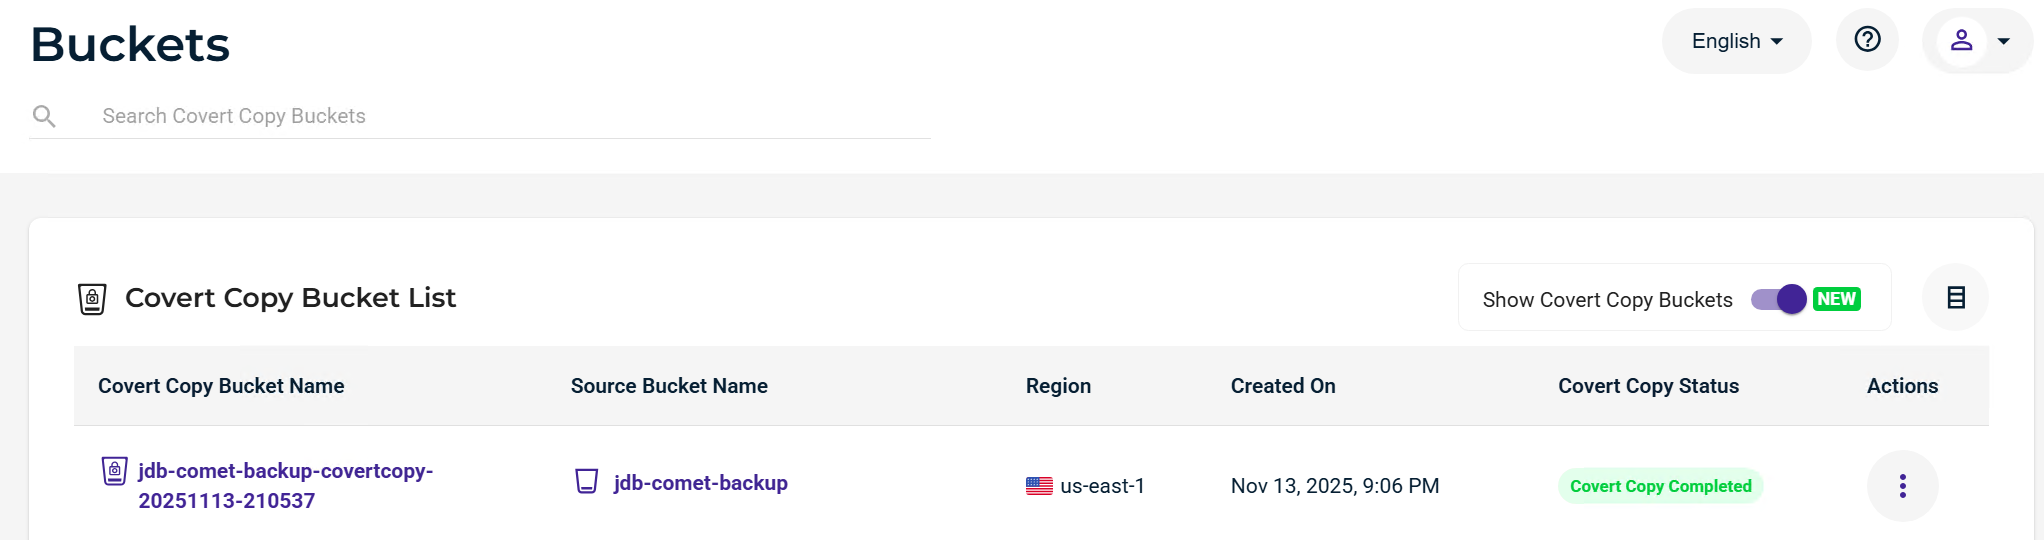
The status will update to Covert Copy Completed.
Your Golden Copy of data is protected and ready to be restored in the event of a disaster.
If you want to view your bucket, you will need to click the bucket name and obtain approval via the MUA process.
Note - Standard Bucket access approved by the MUA request provides the ability to view the data inside the bucket and retrieve data if necessary, but not in high quantities or in a way that is viewable by the backup provider. If you need to restore datasets, open a Support ticket to enable Restore mode so the bucket can be seen by the backup provider.
Restore Mode
If you need to restore your data from the Covert Copy bucket, follow the steps below.
Contact Wasabi Support so they can set your Covert Copy into a Restore Mode-only capacity.
Once they have notified you that the bucket is in Restore mode, you will need to go to the Comet Software and edit the primary storage vault for your Covert Copy bucket.
Click on the three dots and select Settings.
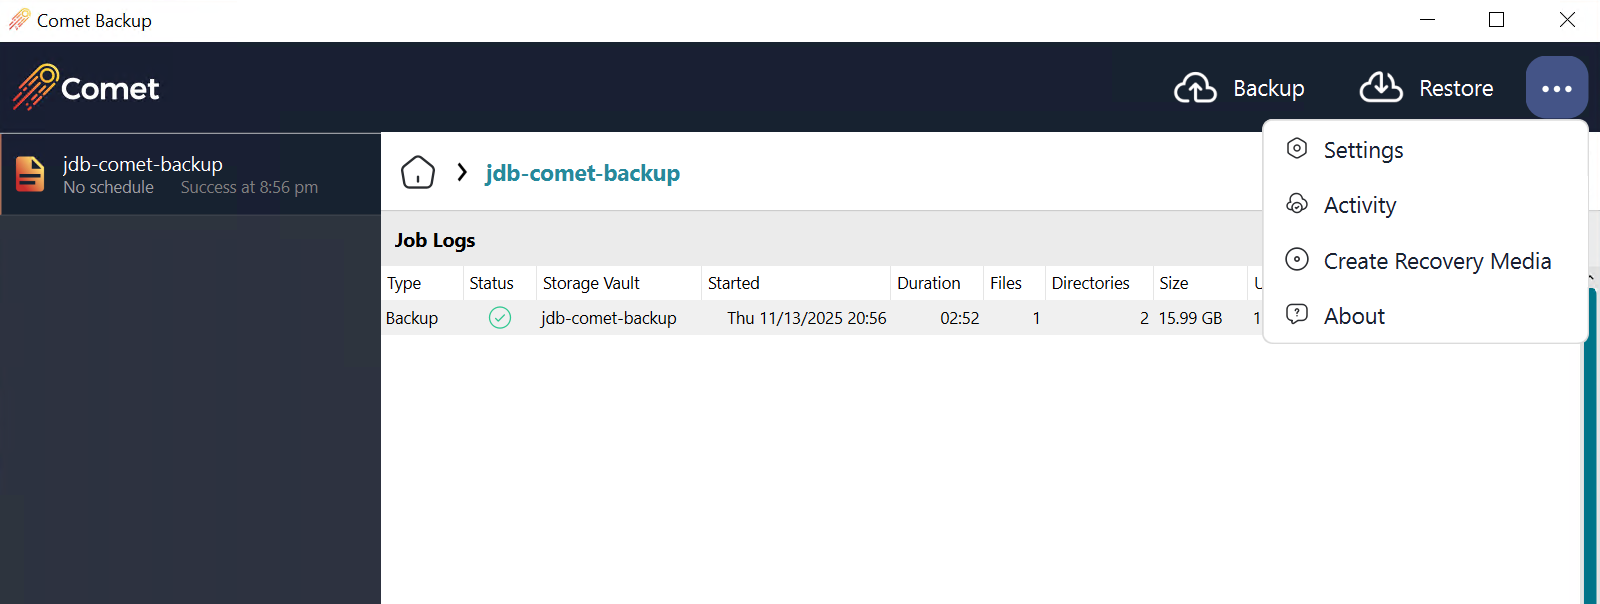
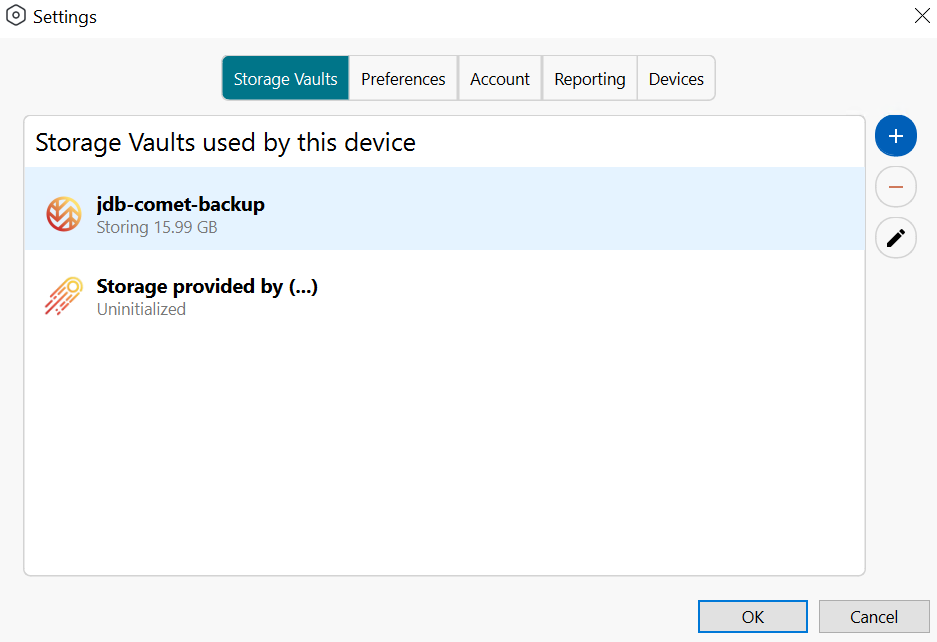
Highlight your Storage Vault. Click the Pencil icon to edit.
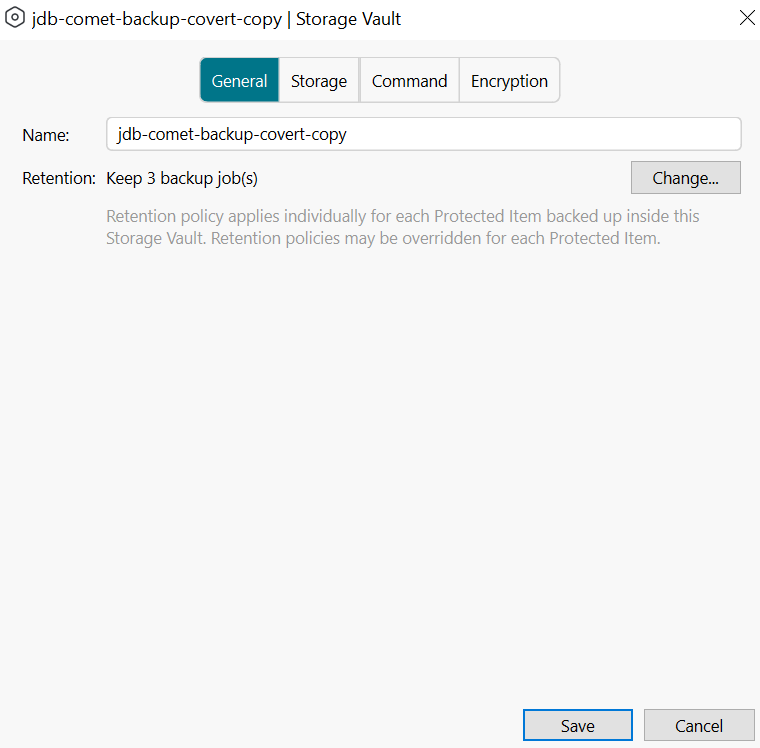
Update the Name to reflect that this is now targeting the Covert Copy bucket.
Click the Storage tab.
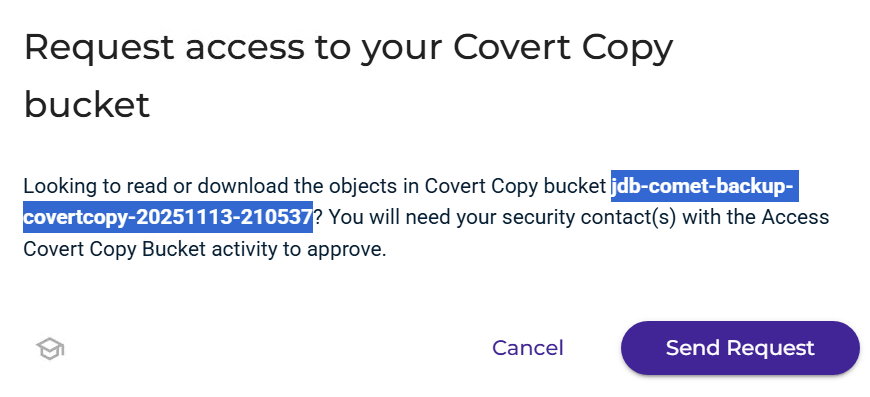
Copy the Covert Copy bucket name from Wasabi Console to input into the bucket name field.
Click Test Connection and ensure it passes validation. Click Save.
.png)
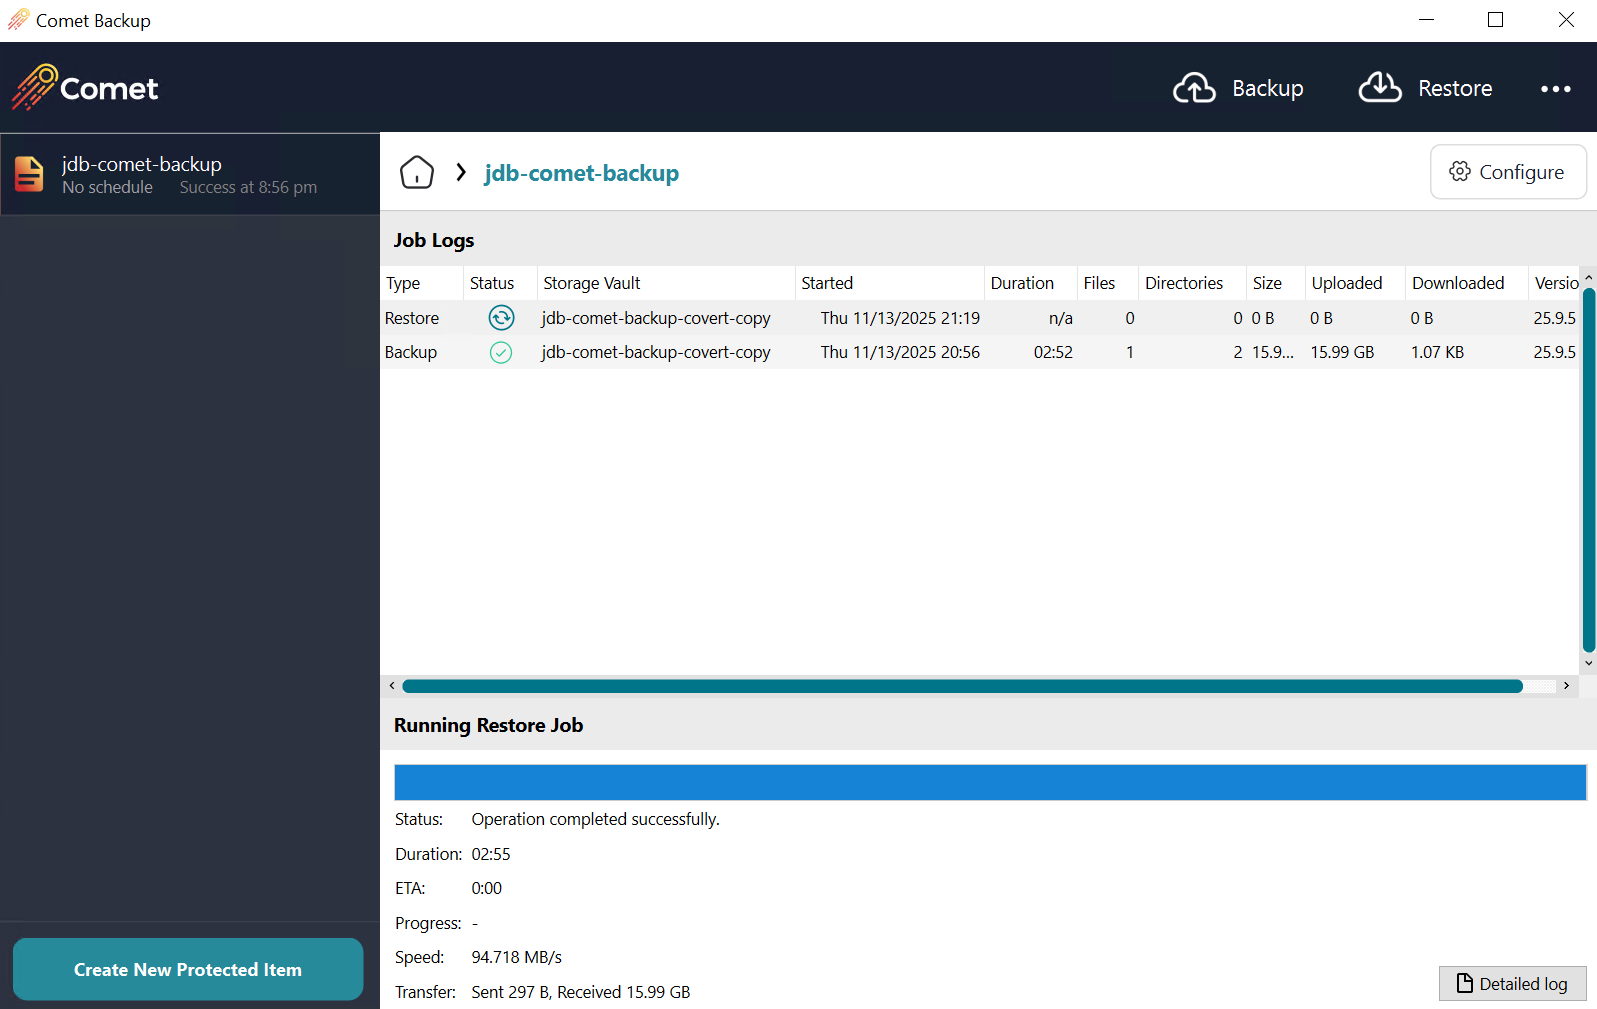
On the Comet Backup application home page, click Restore.
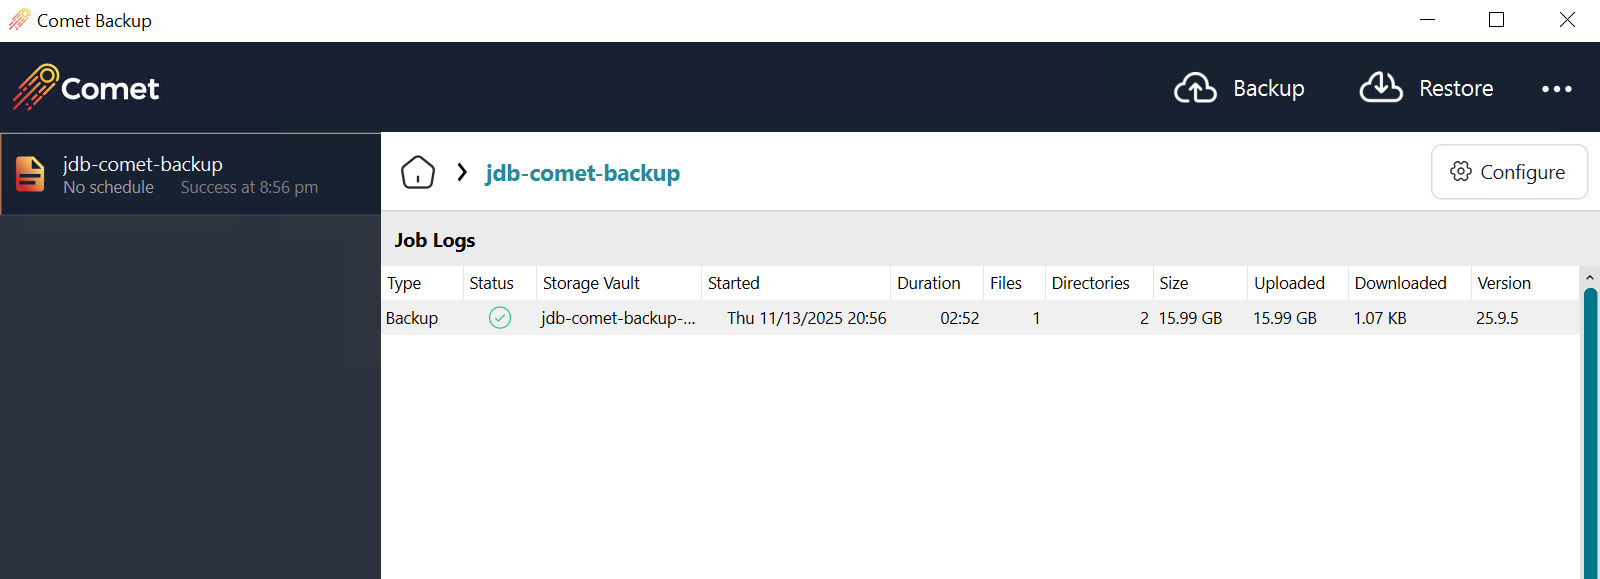
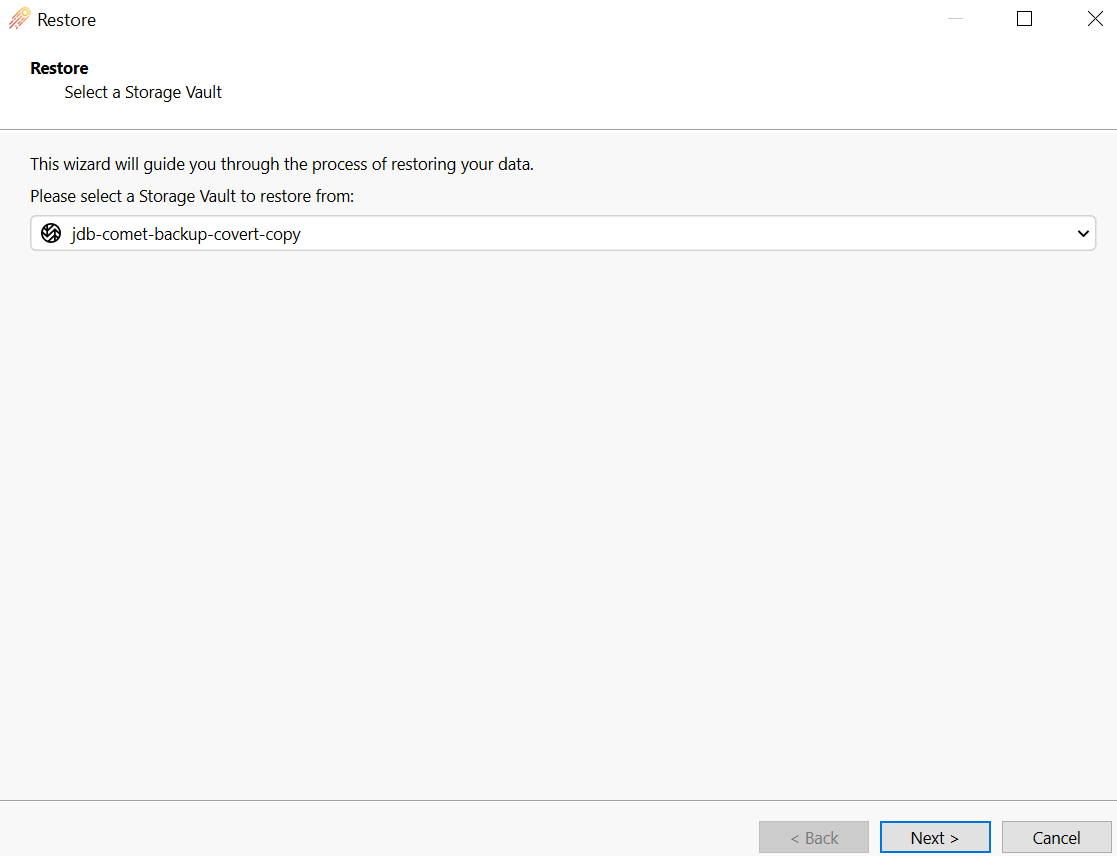
Select the Covert Copy vault. Click Next.
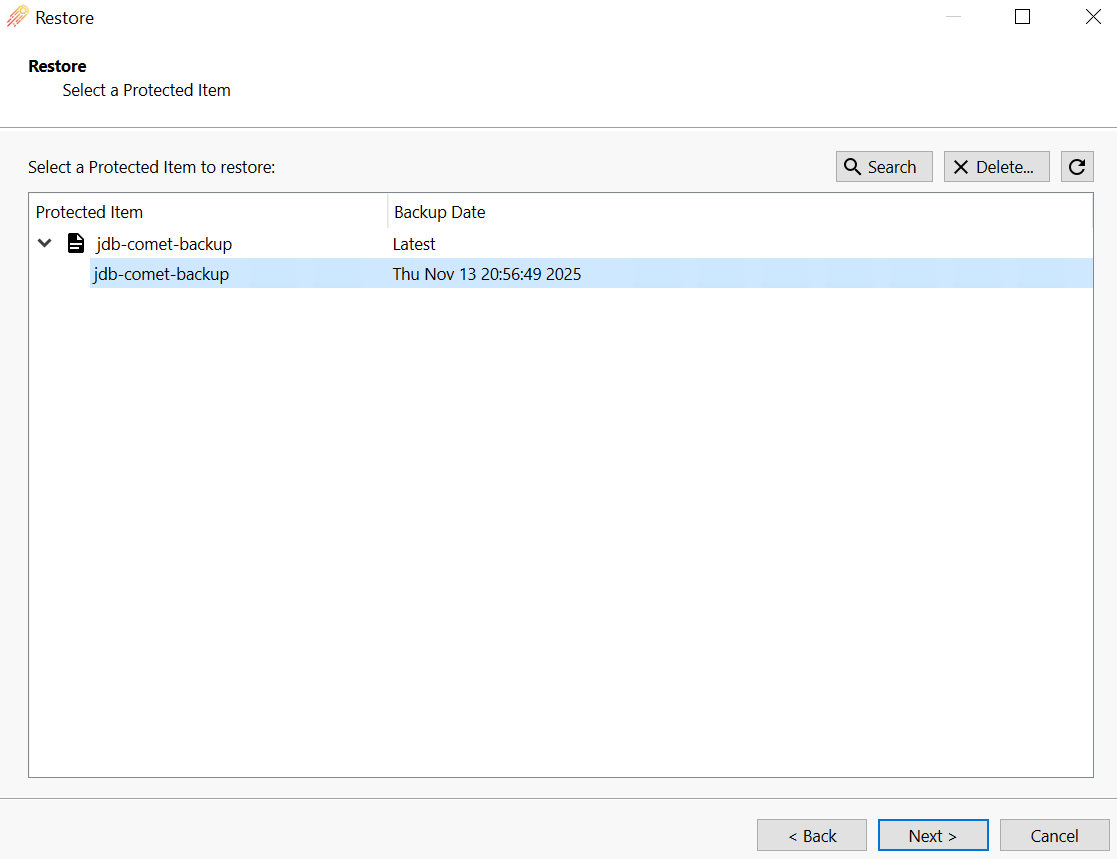
Choose the backup to restore. Continue selecting the protected items that you need to restore.
Run the restore job.
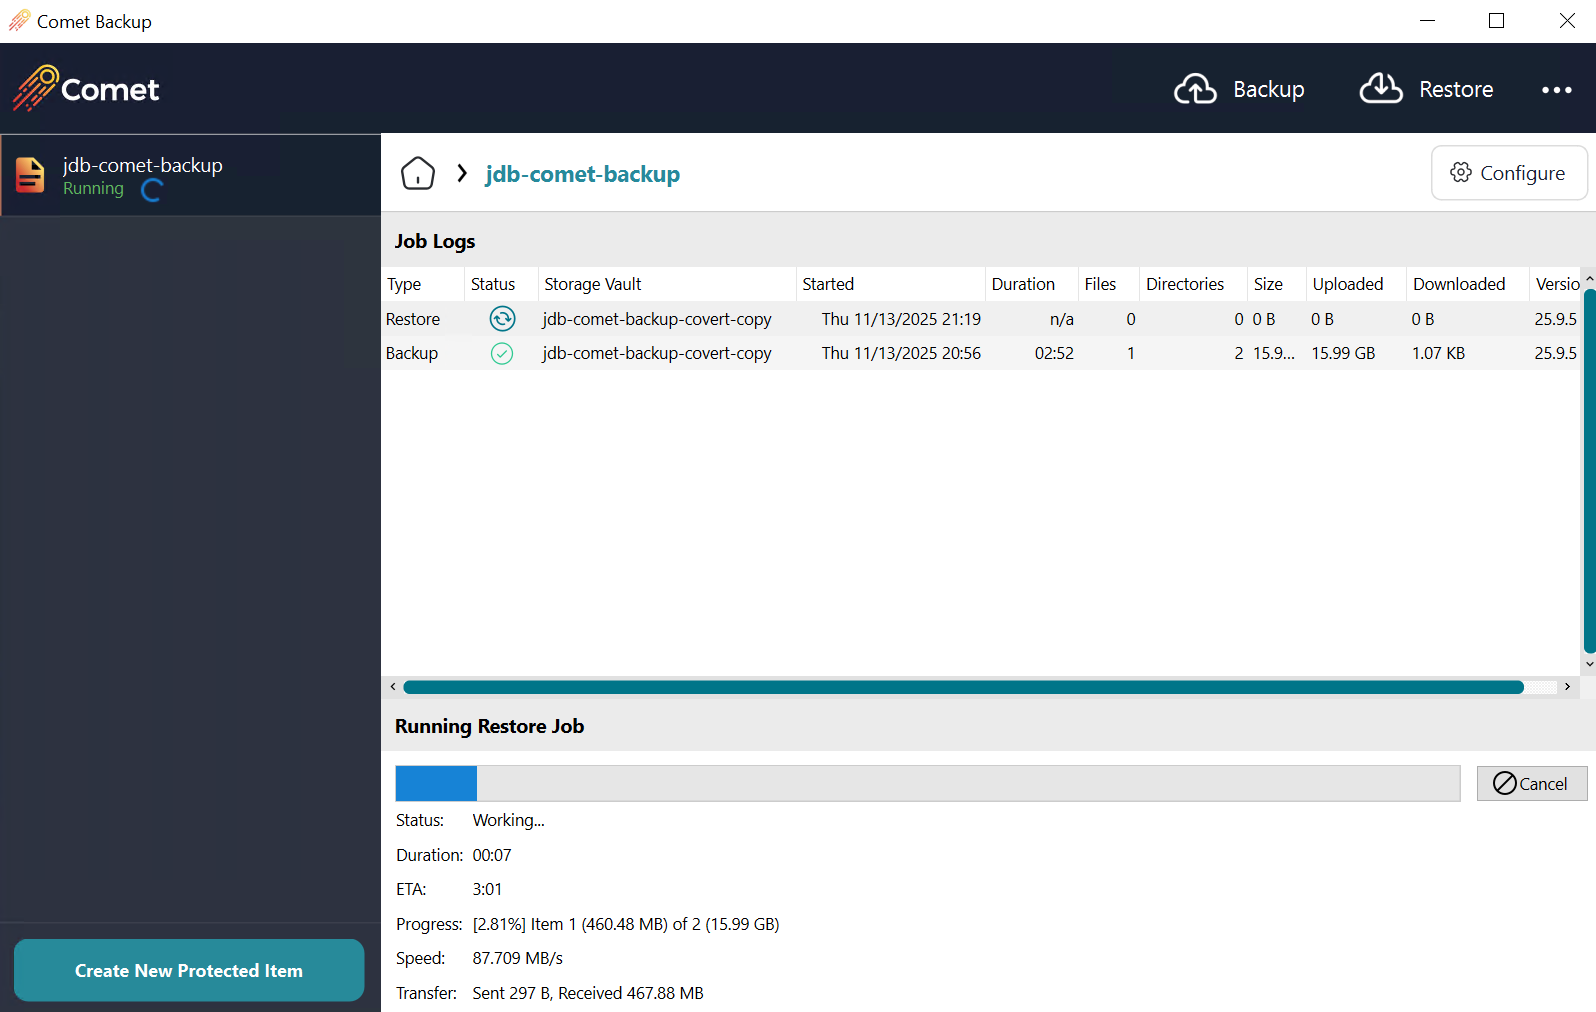
Once the job has completed successfully, ensure all of your data has been restored.
Restarting at Step 3, you will want to revert the changes you made to your storage vault and rename the bucket back to its original name. Save your changes to remove the Covert Copy bucket from the environment.
After you have completed all the Restore steps for your data, reach out to Wasabi Support and ask them to turn off Restore Mode on your bucket so it is hidden again.
Refreshing Your Covert Copy
By default, your Covert Copy bucket will auto-renew its Object Lock retention period every 30 days. If you want to keep your Golden copy of data in line with your most recent backups, it is recommended to perform a new Covert Copy job every 30 days.
If you want to replace your old Covert Copy bucket with your new bucket, you will need to turn off Auto Renewal.
Log in to your Wasabi Console.
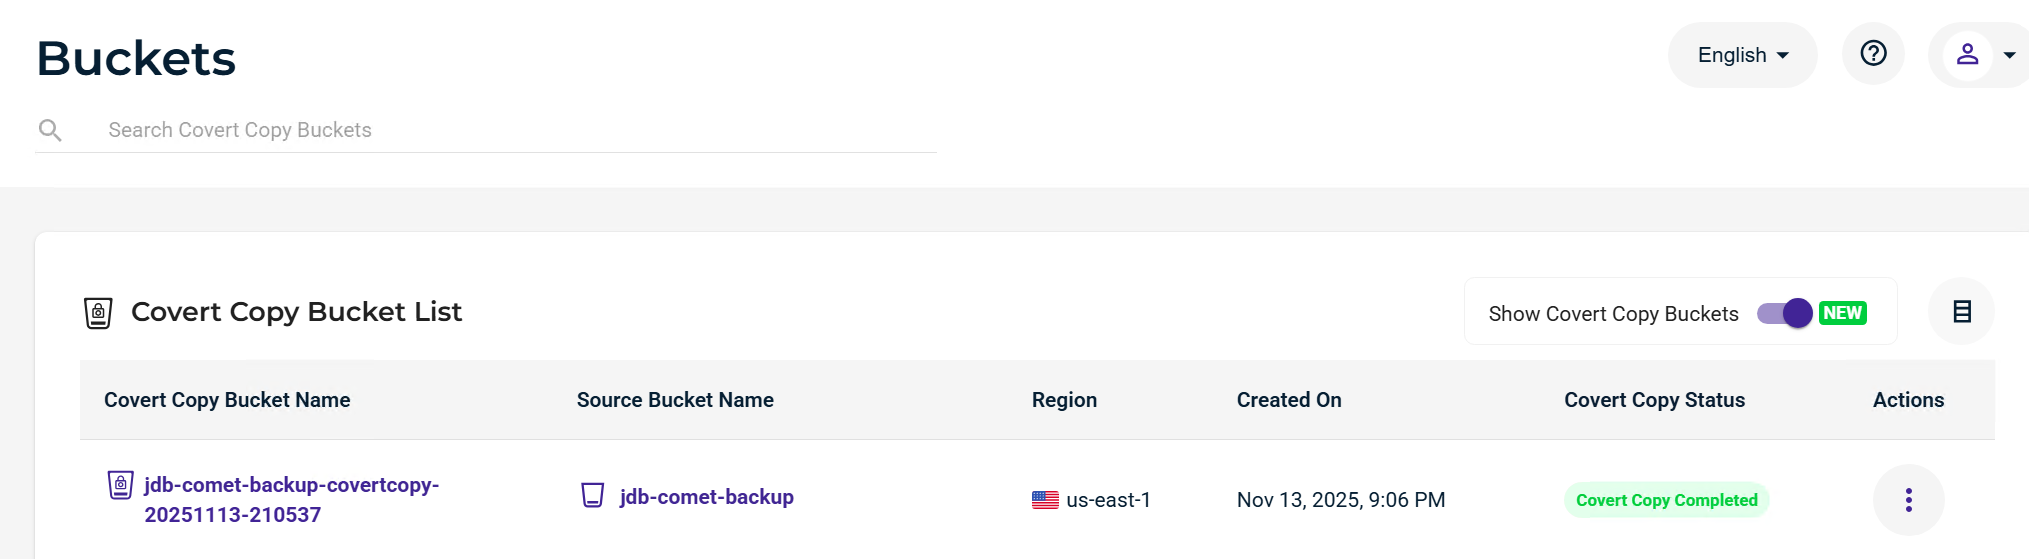
Navigate to your buckets and turn on the Show Covert Copy Buckets toggle.
Click the Actions option (three dots) and click Settings.
Click Manage Retention.
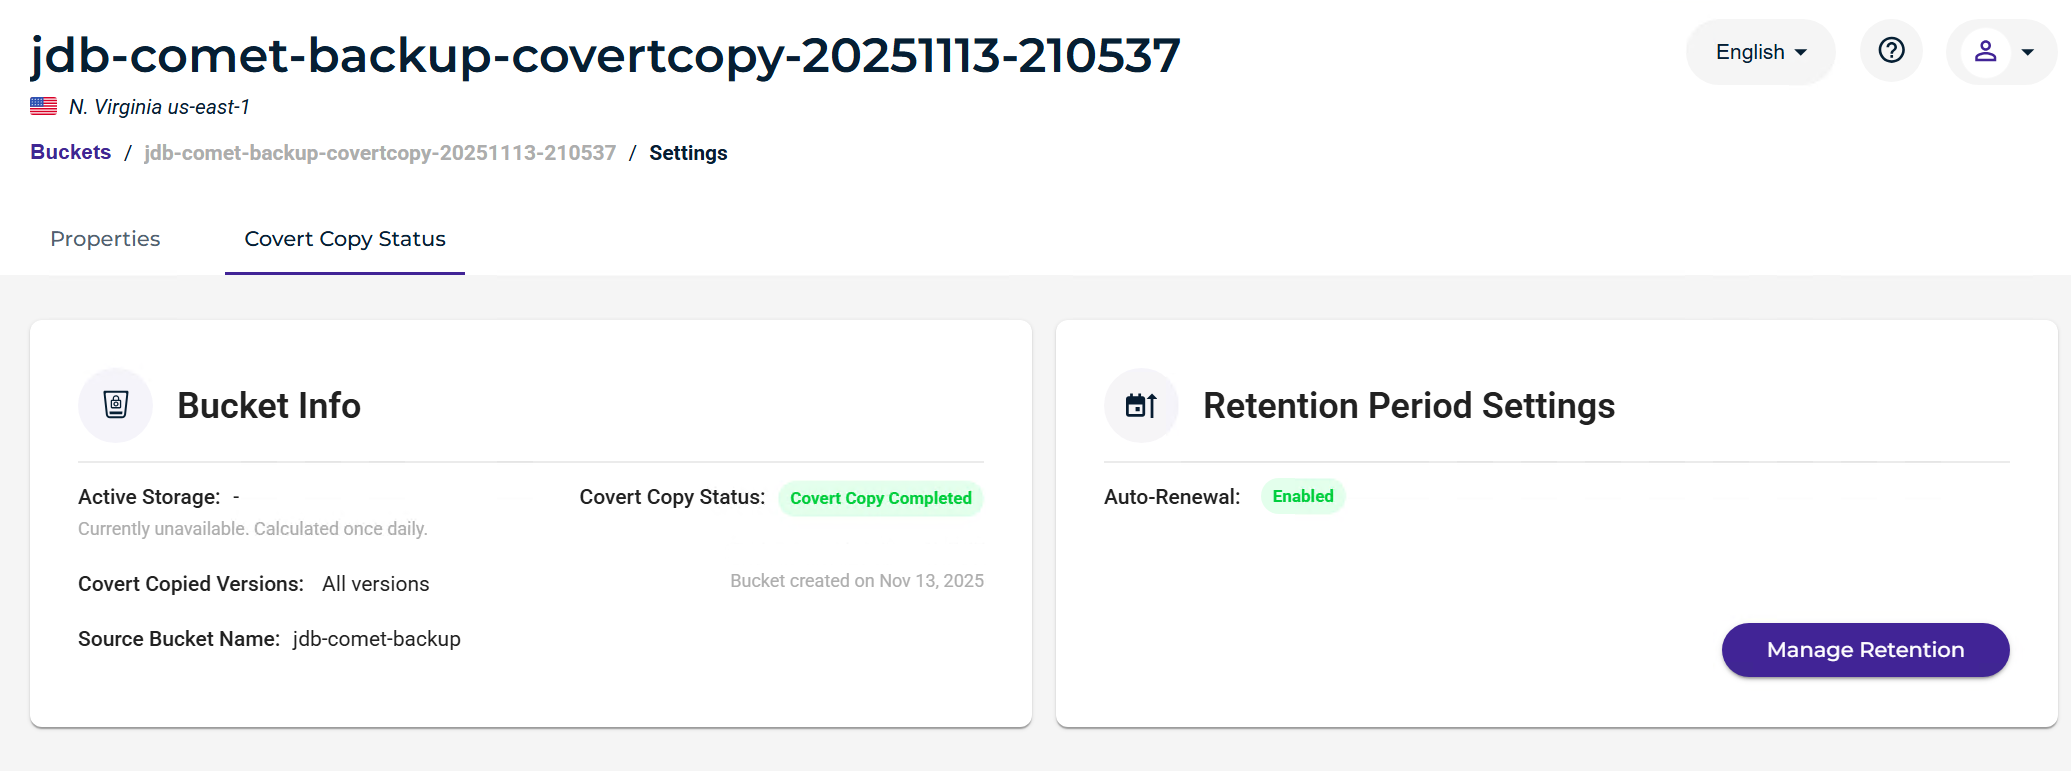
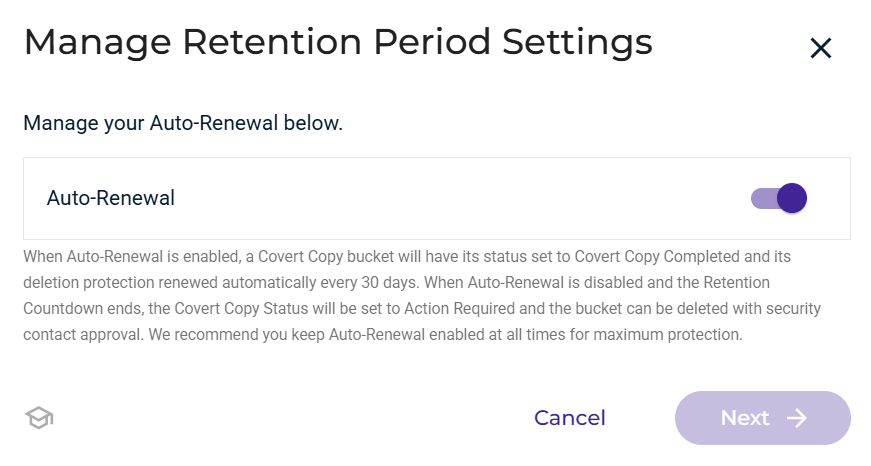
Toggle off Auto-Renewal.
Click Next.
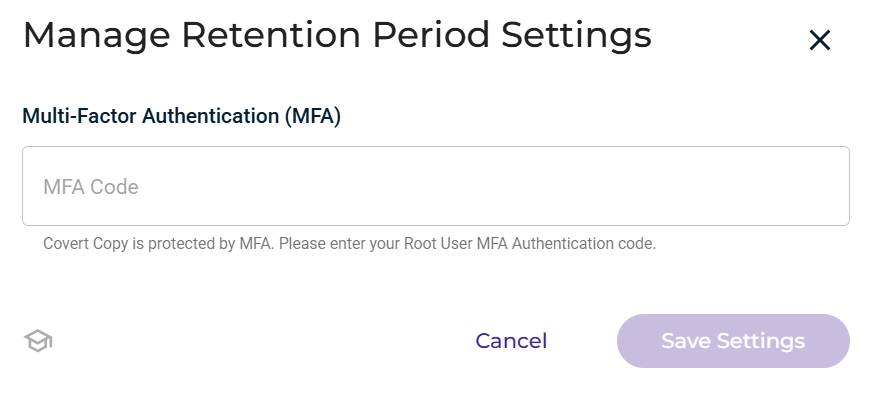
Enter your MFA code, then click Save Settings.
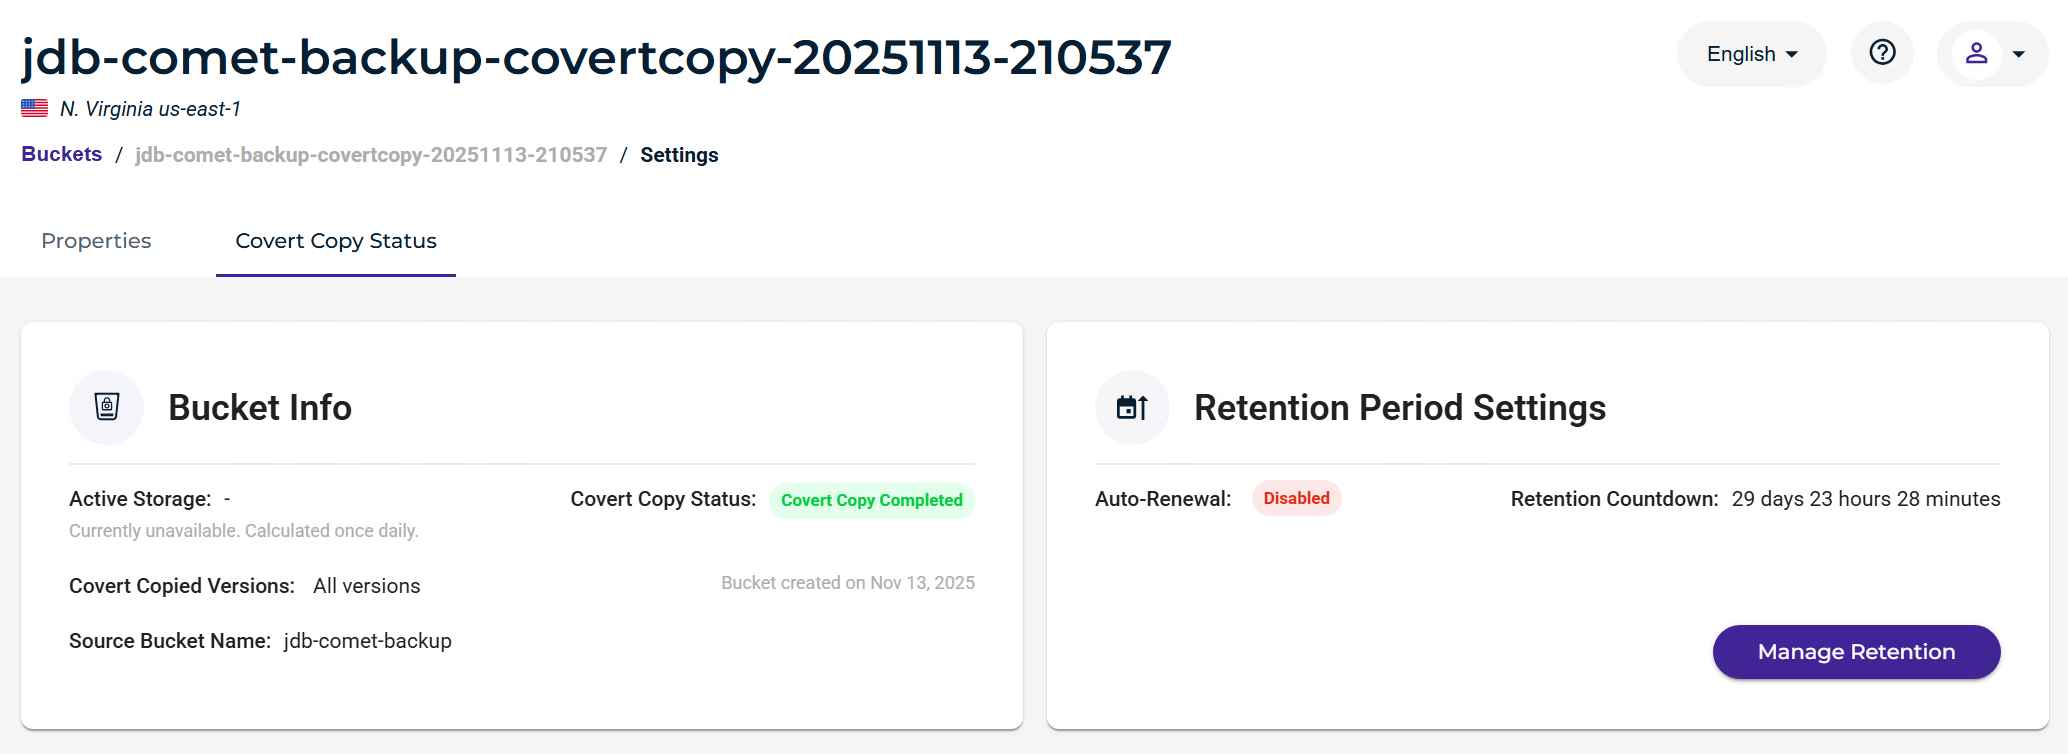
This will turn off auto-renewal, and you will see a Retention Countdown displayed. Once this hits all zeros, you can delete this Covert Copy bucket from your account.
Now you can take a new Covert Copy Snapshot of your Comet Buckets and have the latest Golden copy of data from which to restore.
If you wish to delete a previous Covert Copy bucket once its countdown has expired, please follow the directions located under our Covert Copy section.