You can use tags to organize your objects (files). While folders are the first level of organization in a file system, tags add another dimension that can make objects easier to sort and find. Think of a tag as a keyword that you apply to an object. You can add up to 25 tags to an object.
Each tag has two parts defined as a key/value pair:
Key—must be a unique term used only once as a tag for the object
Value—further describes the key
For example:
Key=Tree / Value=Cherry
Key=Fruit / Value=Cherry
The keys Tree and Fruit are unique terms. Both can be described with the same value (Cherry).
Applying Tags
Tags are applied to objects in several ways:
When creating a bucket to apply tags to all objects that you will upload into the bucket (as described below)
When uploading one or multiple objects (see More About Tags)
After an object(s) has been uploaded and stored in a bucket (see More About Tags)
Tags can be modified after an object has been uploaded and stored in a bucket (see More About Tags).
Applying a Tag While Creating a Bucket
The action of applying tags here relates to all objects that you will upload into the bucket. Later, you can modify the tags associated with individual objects.
Complete the Bucket Name section for creating a new bucket by entering a bucket name and selecting a region for storage. Click Next.
In the Set Properties section, set Bucket Versioning and Object Lock, if appropriate. Click Next.
Enable Logging, if appropriate. Click Next.
Enable Replication, if appropriate. Click Next.
To apply a tag, enter a key/value pair. For example, Key=Line/Value=Arrowhead:
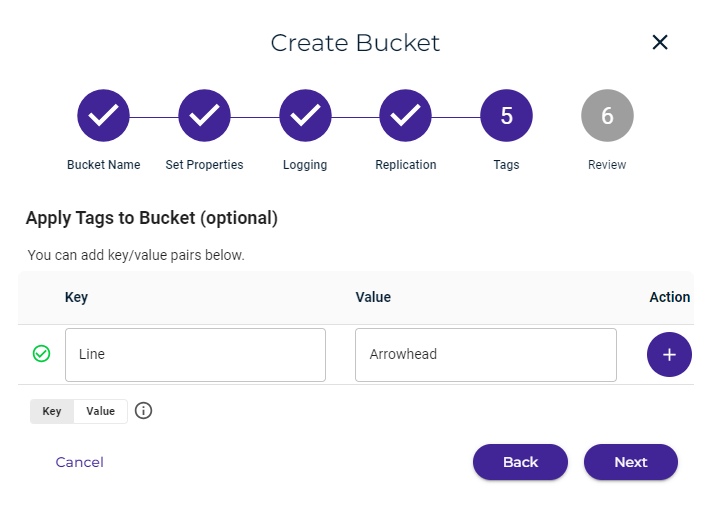
Click
 to add the tag.
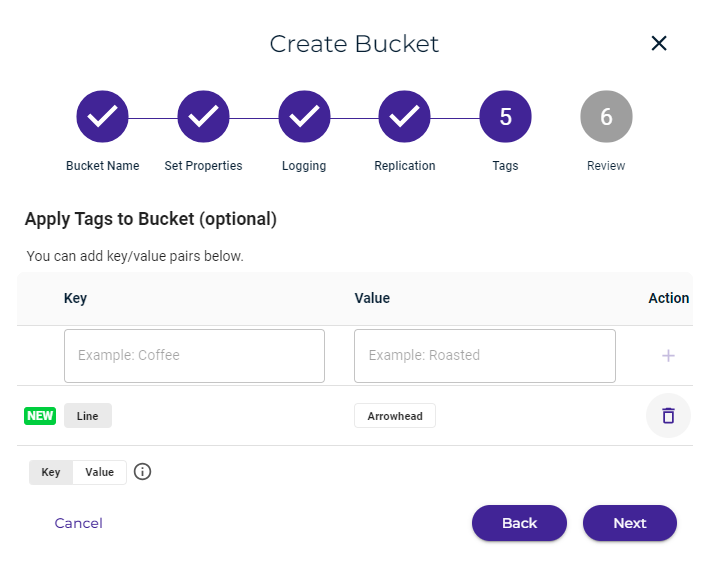
Optionally, add another tag. You can apply up to 25 tags to the objects. In this example, a second tag is added, Key=Arrow/Value=With Number:
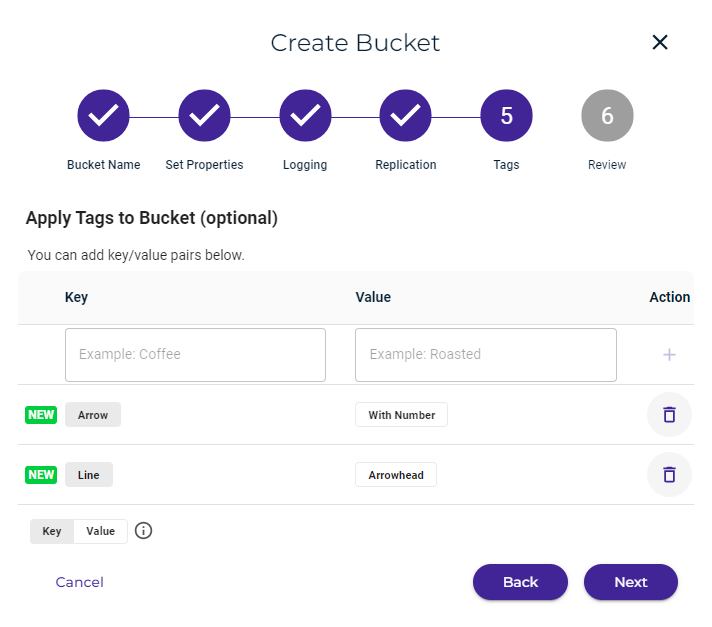
You can remove a tag pair by clicking
 on the tag line.
After adding all key/value pairs, click Next.
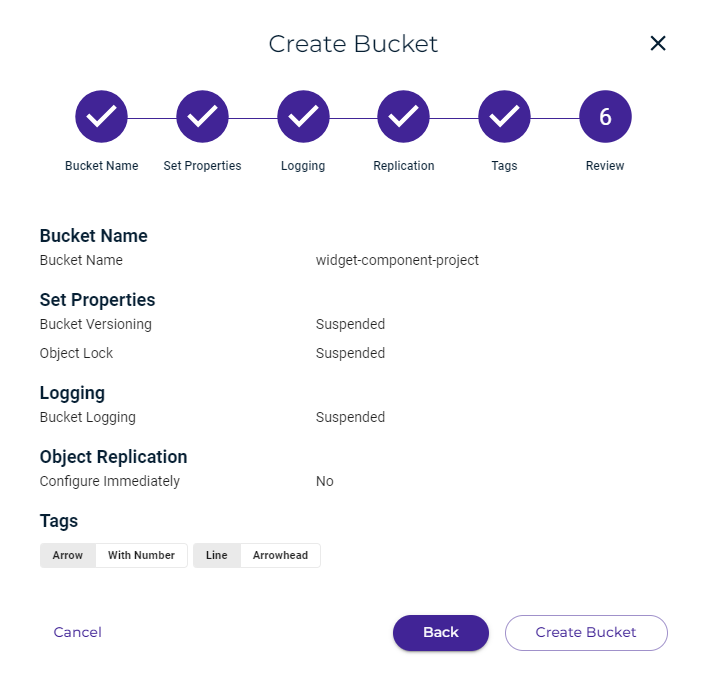
The bucket properties are displayed for your review. You can click Back if you need to change any information. Otherwise, click Create Bucket to accept the information and create the bucket.
A message displayed at the top of your screen indicates that the bucket was created successfully.