SqlBak has been validated for use with Wasabi. SqlBak offers you to automate all database backups from a single place on the web. Connect to your databases (SQL Server, MySQL, and PostgreSQL) and send backups to Wasabi.
Prerequisites
Active Wasabi Cloud Storage Account
Wasabi Bucket - See Working With Buckets and Objects
SqlBak v. 3.3.64 or newer (Windows) or v.1.10.9 or newer (Linux)
Professional Plan
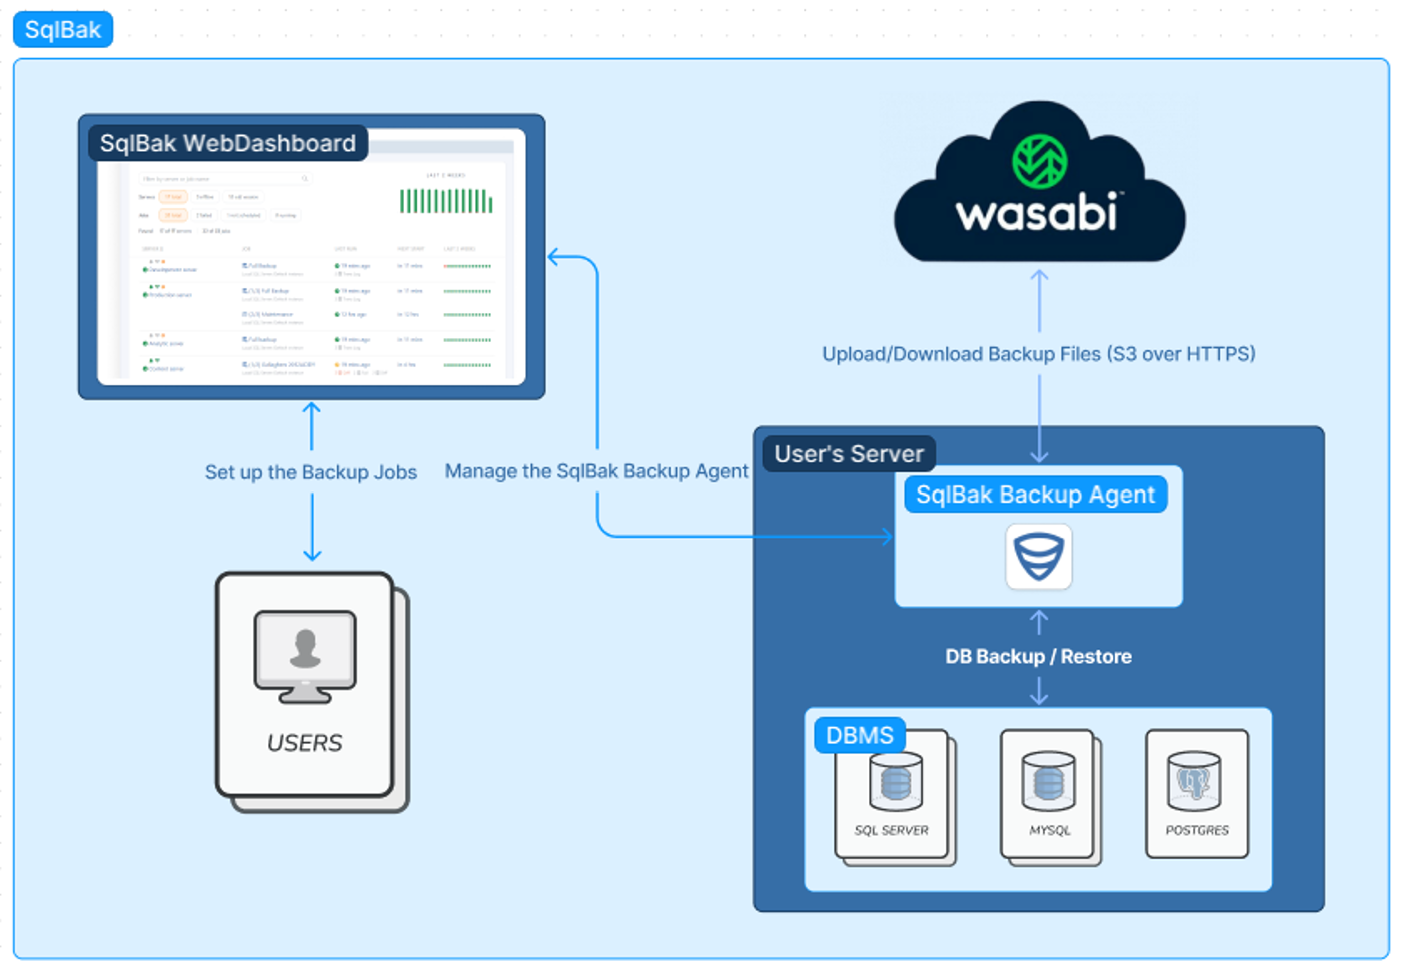
Reference Architecture Diagram
Configuration
1. Install the SqlBack Backup agent on the server of your choice.
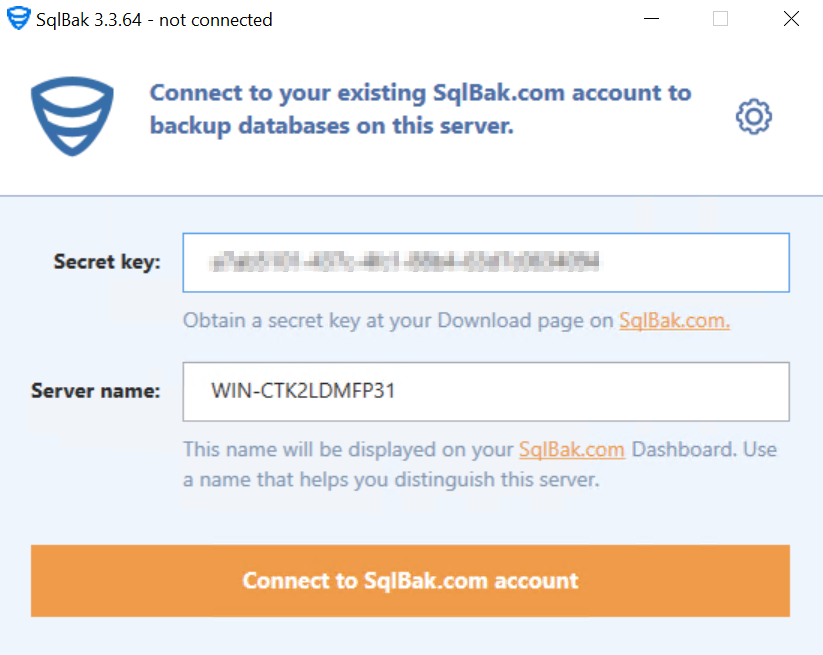
2. Input your Secret Key provided after creating your SqlBak account and give the server a unique name.
3. Click on "Connect to SqlBak.com account".
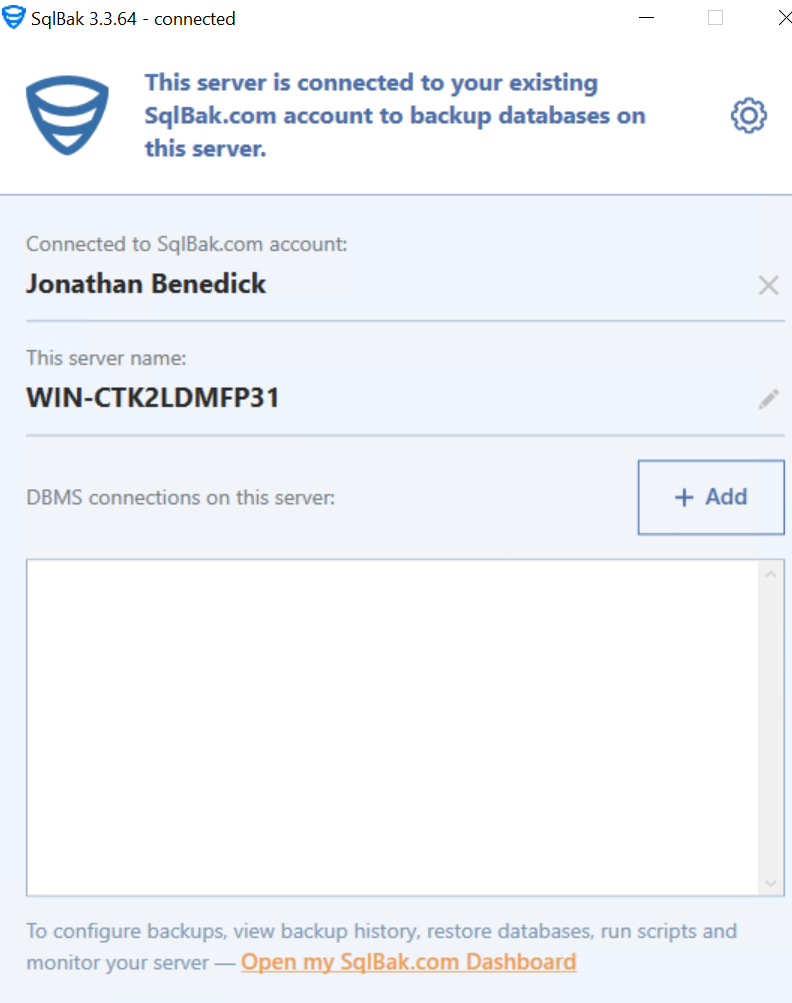
4. Next click on "Add" to select the Sql database you want to back up to Wasabi.
5. Input the server name along with the Sql DB name.
6. Select either Windows or SQL Server Authentication and input the Username and Password.
7. Click on "Test Connection".
8. Upon a successful test click on "Save & Close"
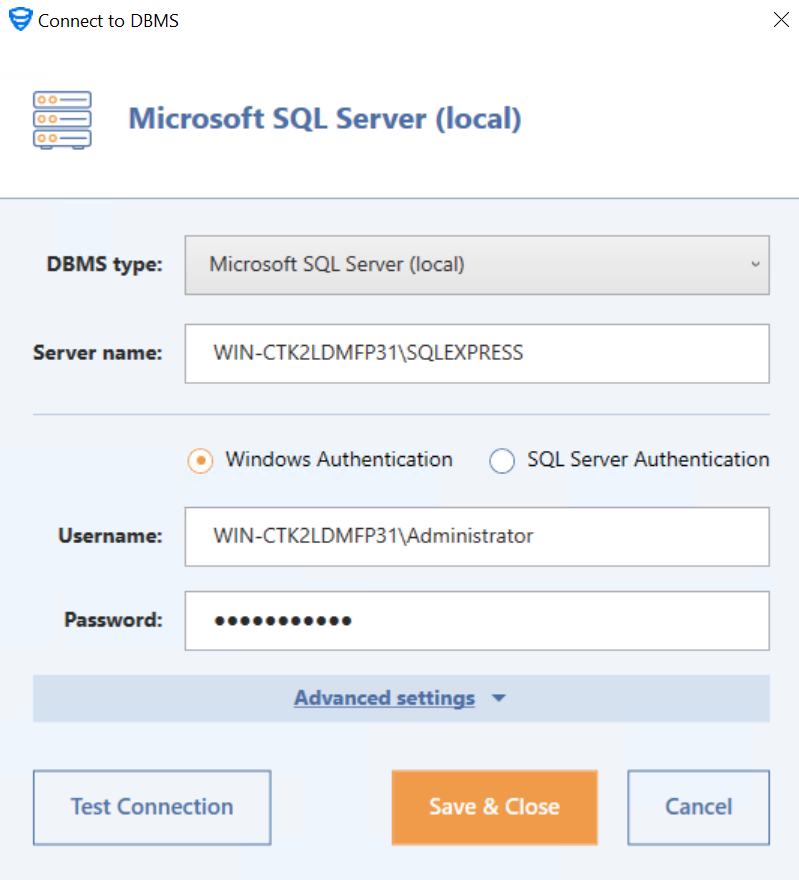
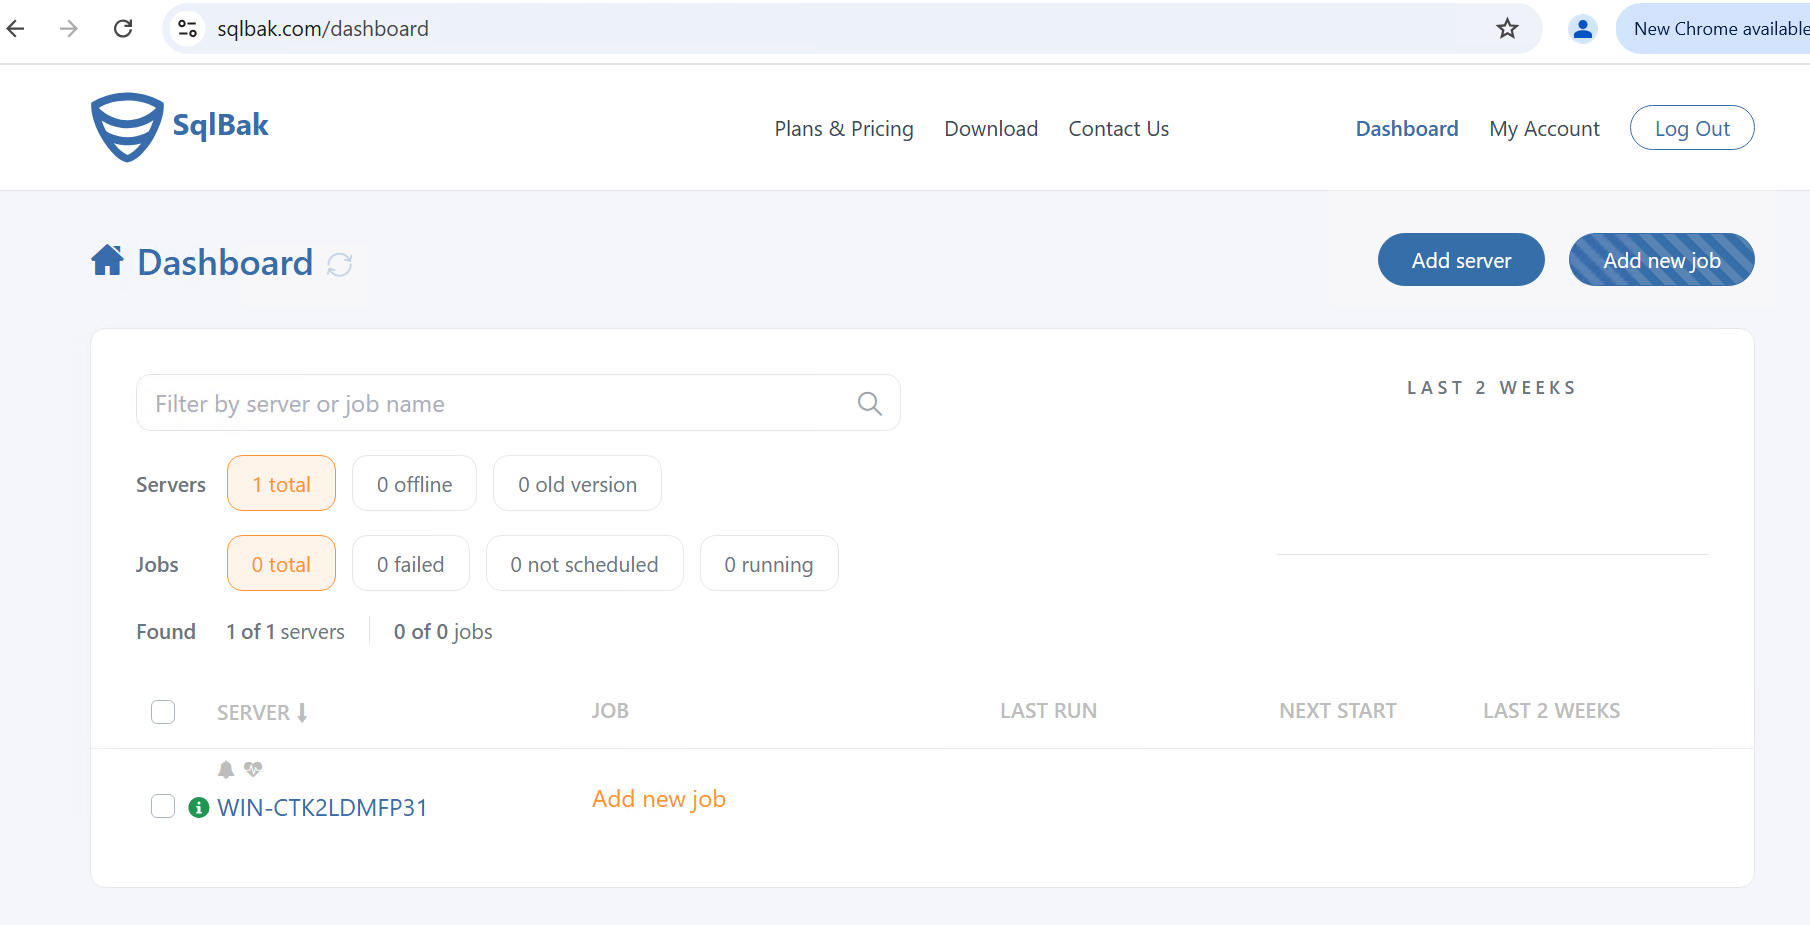
9. Go to your Sqlbak Dashboard in the web portal and find the server you added.
10. Click on "Add new job".
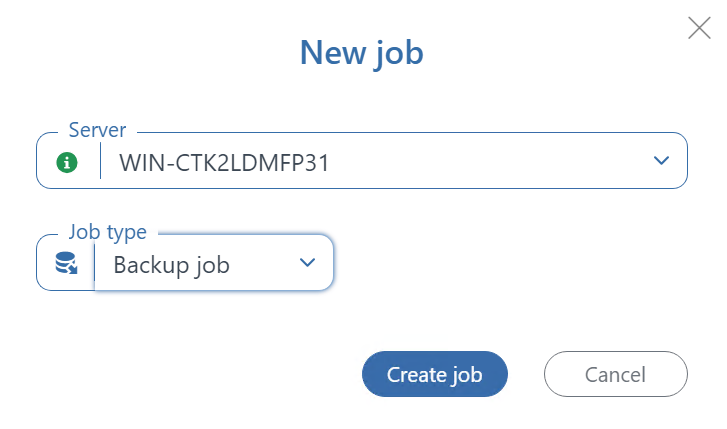
11. Select "Backup job" from the Job type drop down.
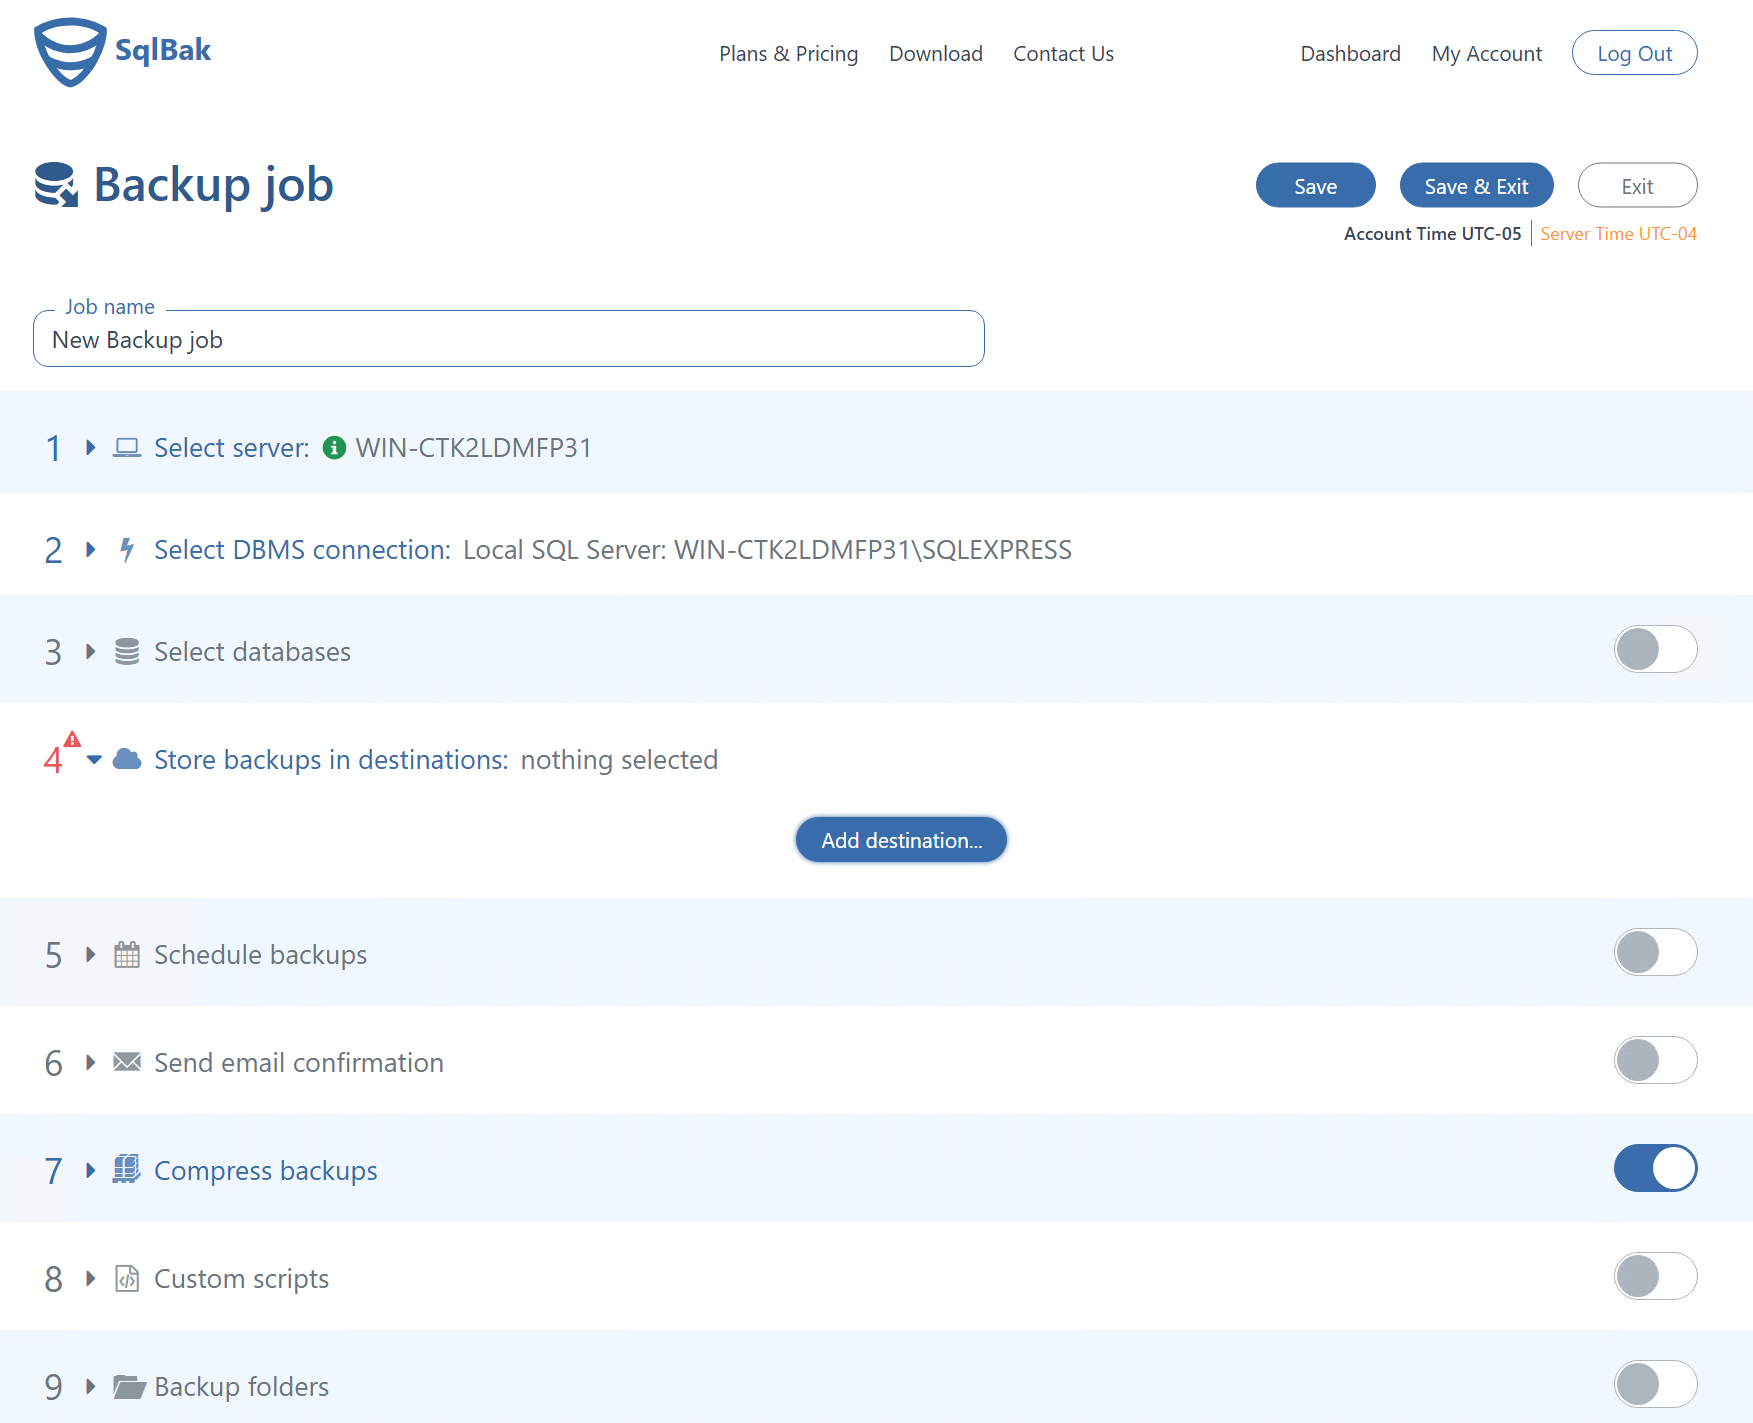
12. Turn on the "Select Databases" Option and then choose the databases you want to backup.

13. Click on "Store backups in destinations" and then select "Add destination...".
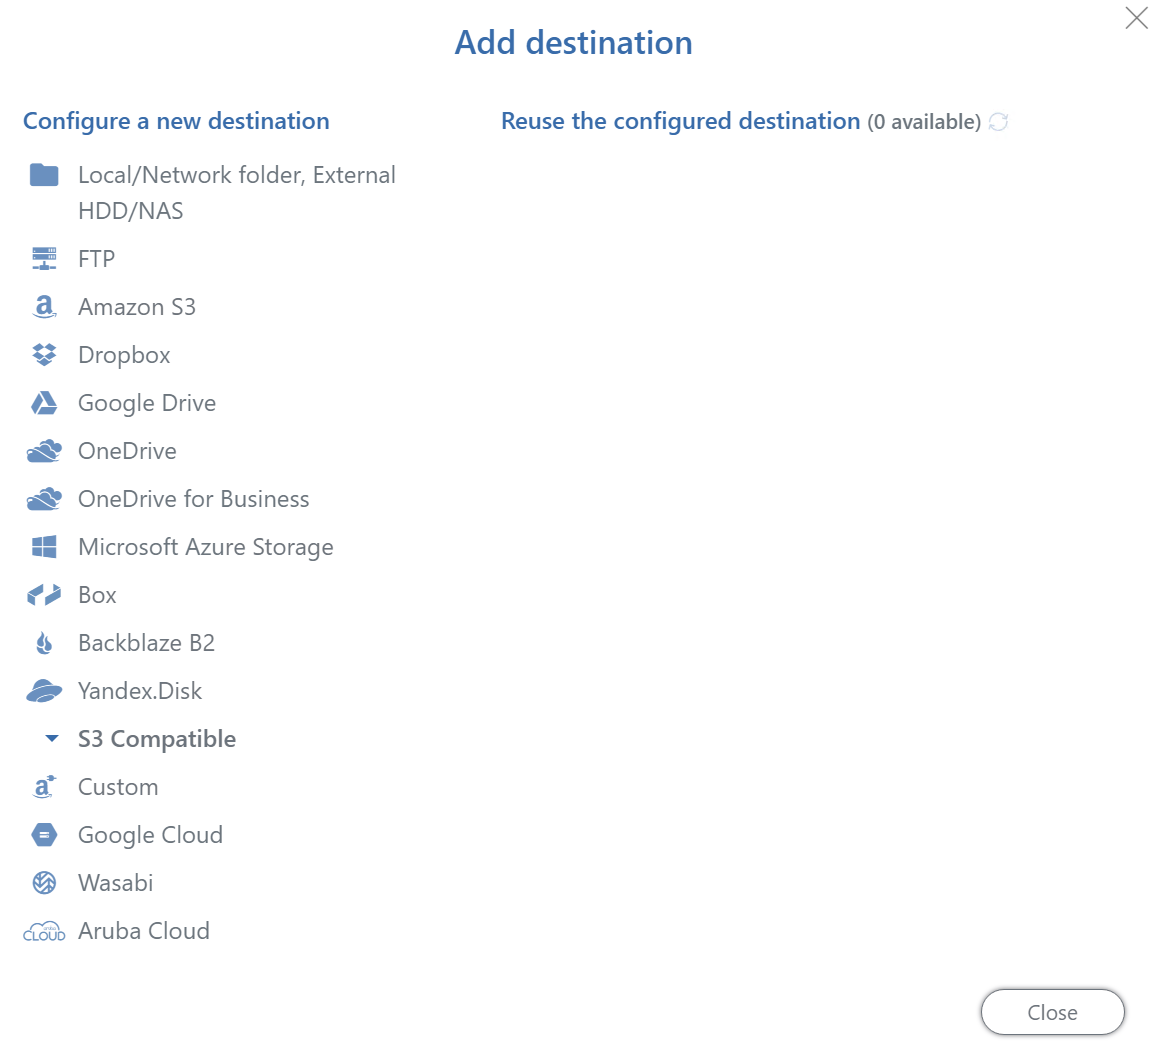
14. Click on "Wasabi".
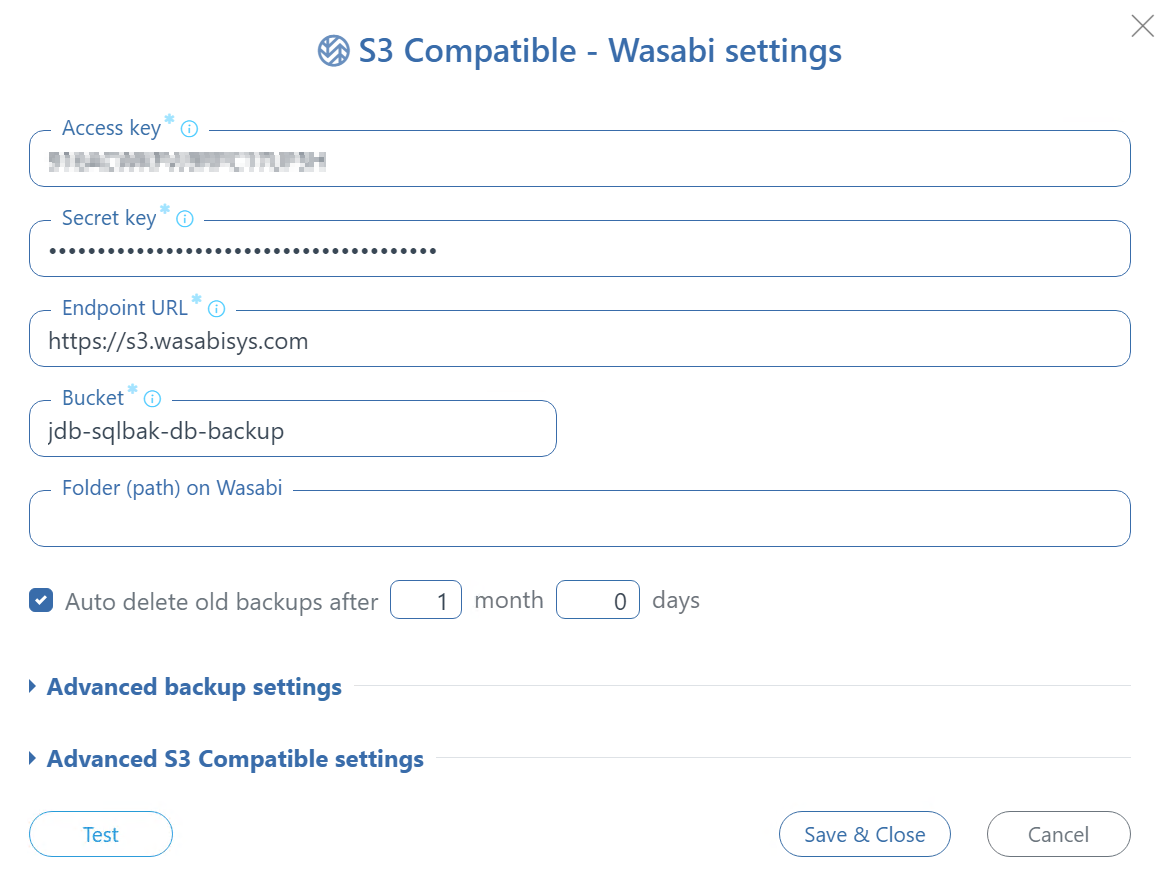
15. To connect to your Wasabi bucket, you need to specify the following information:
- Access key. In order to get an access key to connect your Wasabi bucket open the Access Key page in the Wasabi Console.
- Secret key. In order to get an access/secret key pair to connect your Wasabi bucket open the Access Key page in the Wasabi Console.
- Endpoint. See the service URLs for Wasabi’s different storage regions.
- Bucket. In order to create or get your Wasabi bucket information open the Buckets page in the Wasabi Console.
- Auto delete old backups option
16. Set your backup schedule.

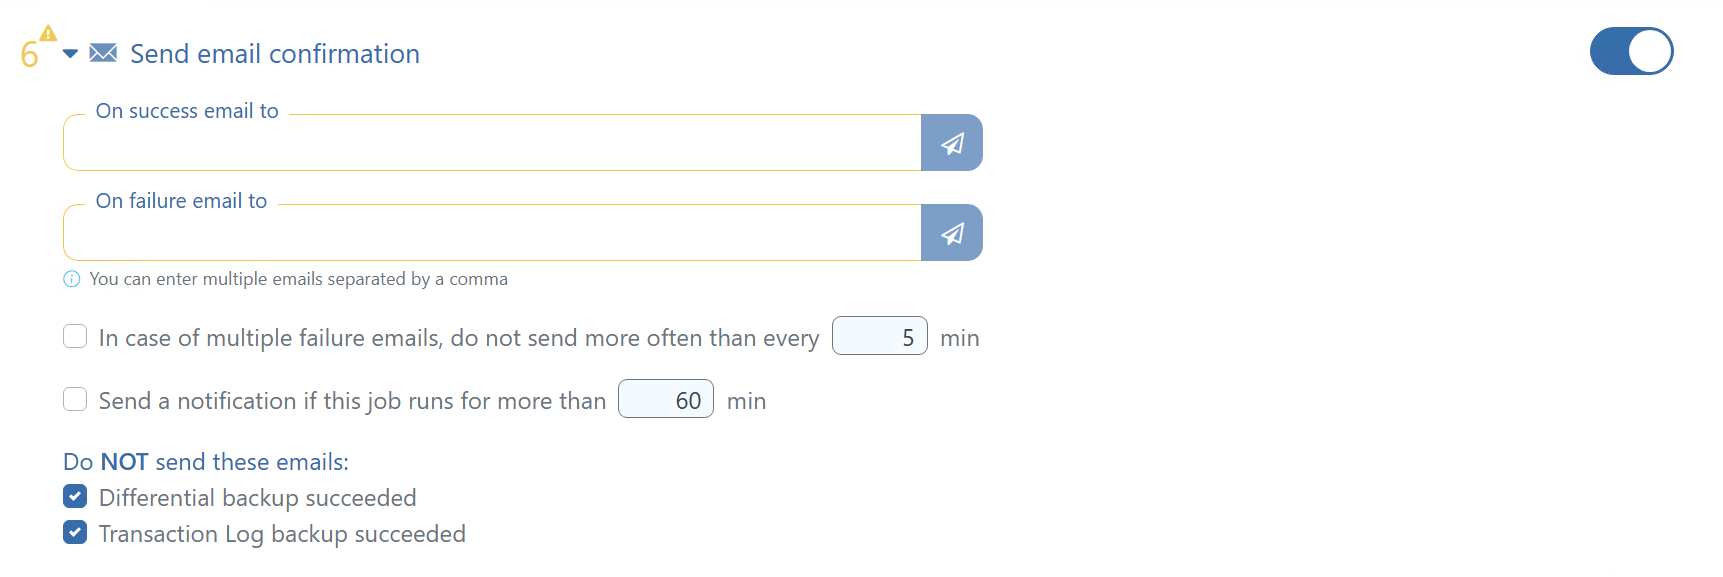
17. Turn on Email Confirmations for your backup jobs if you prefer.
18. Adjust the compression settings to your preference.

19. Once you are done configuring all of the settings click on "Save & Exit" at the top of the page.
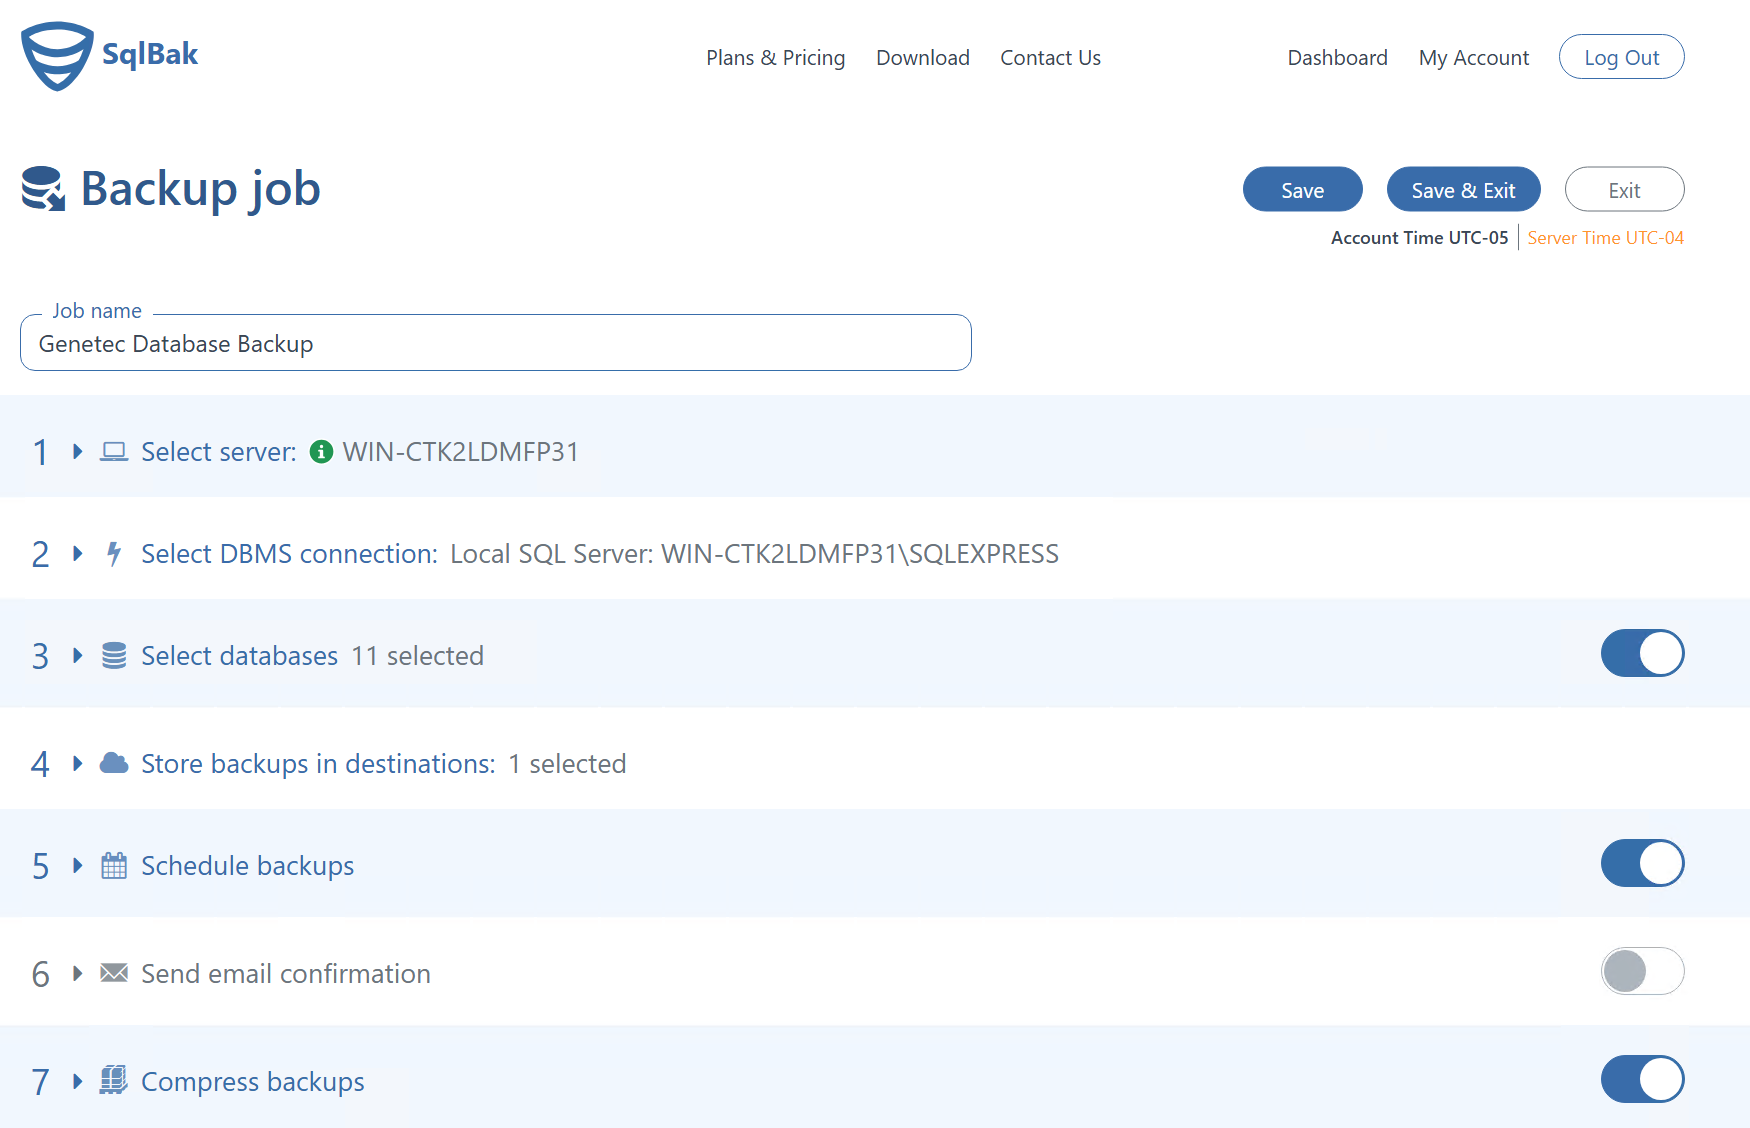
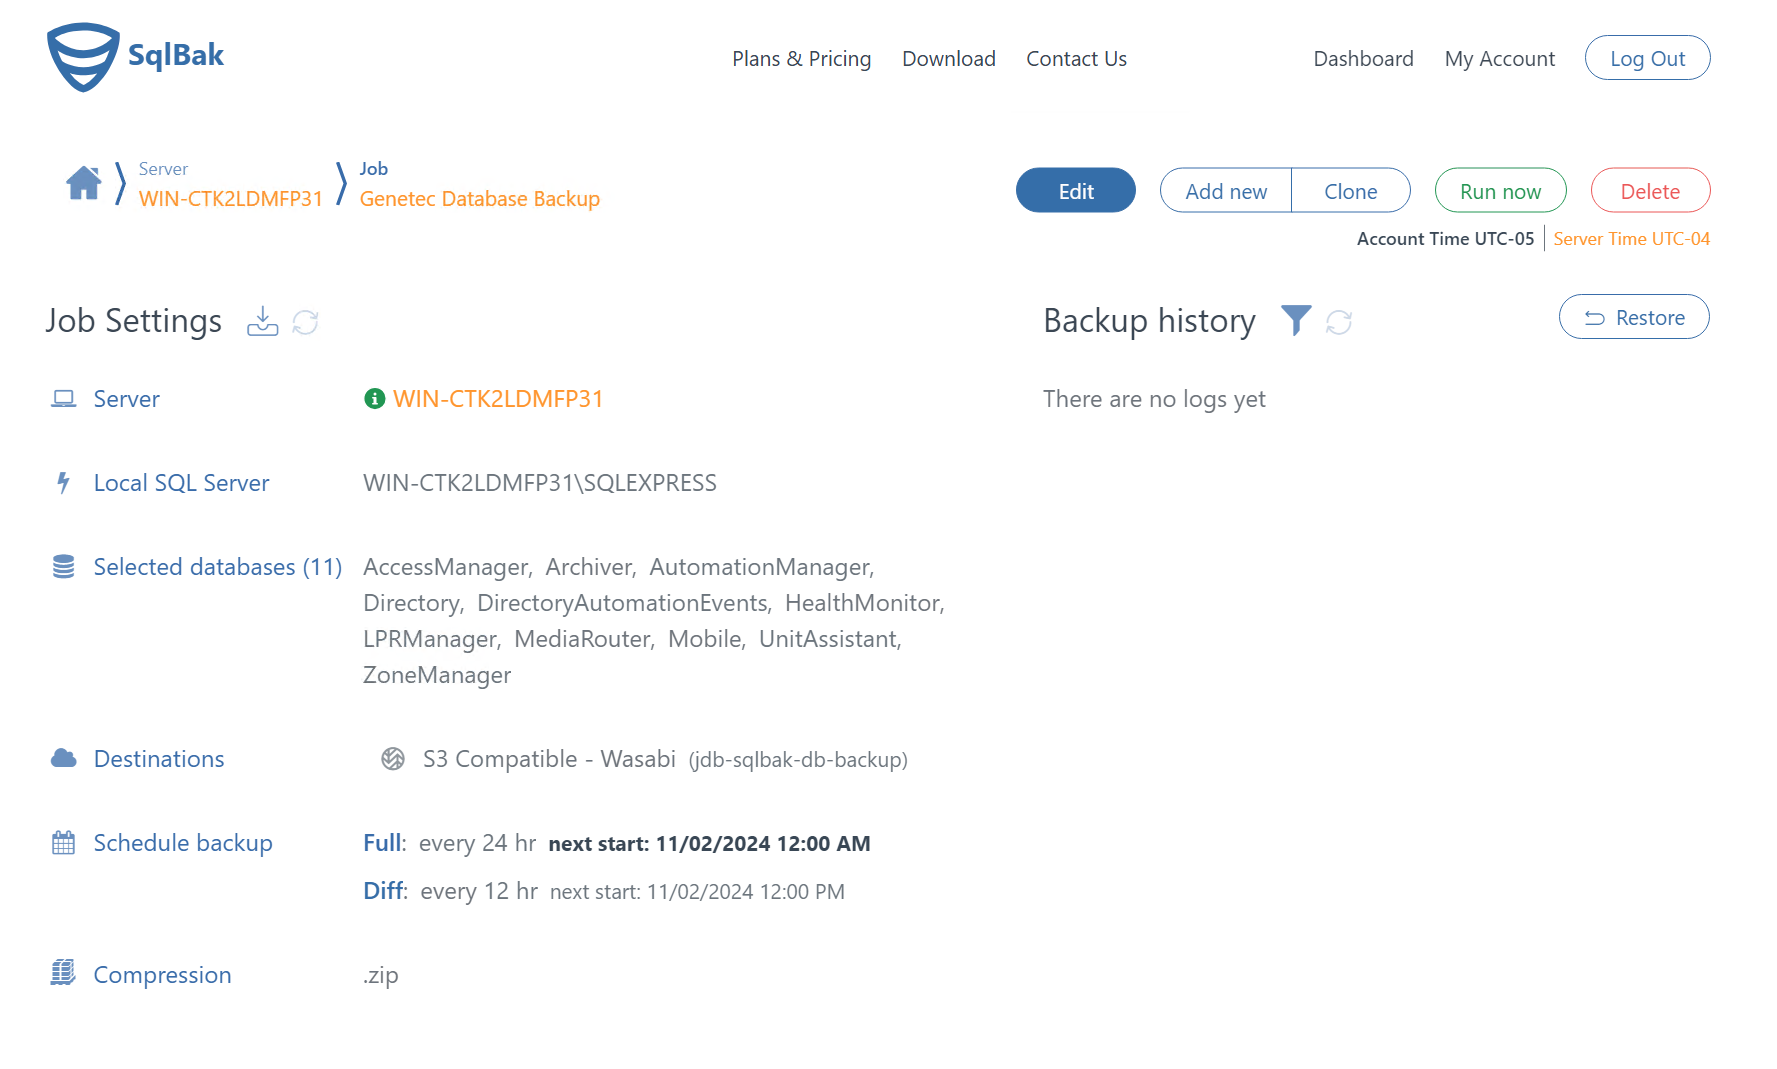
20. You will see a summary of the Job. Click on "Run Now" to protect the databases.
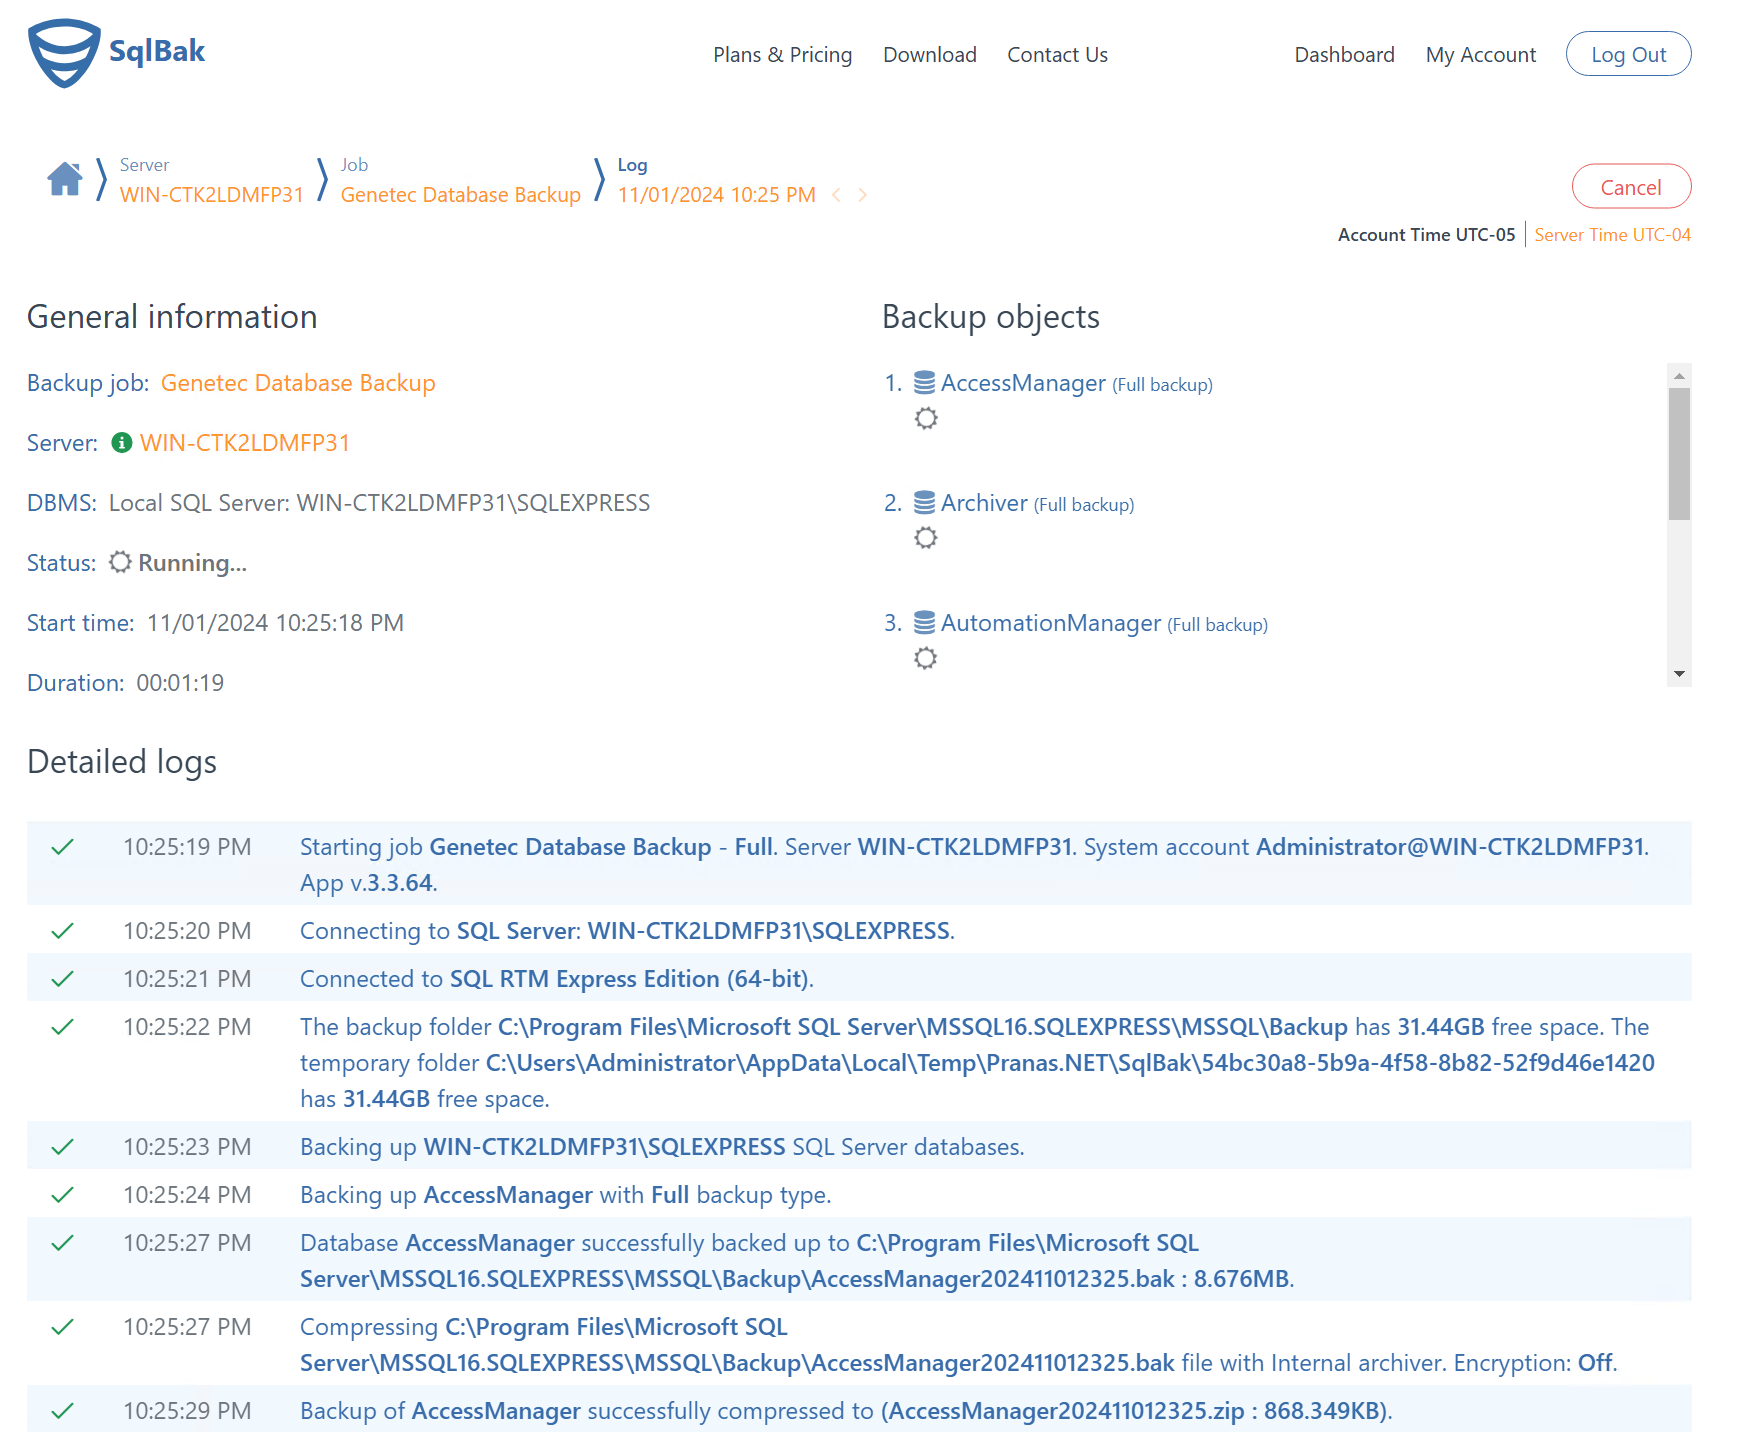
You will see a detailed log job running.
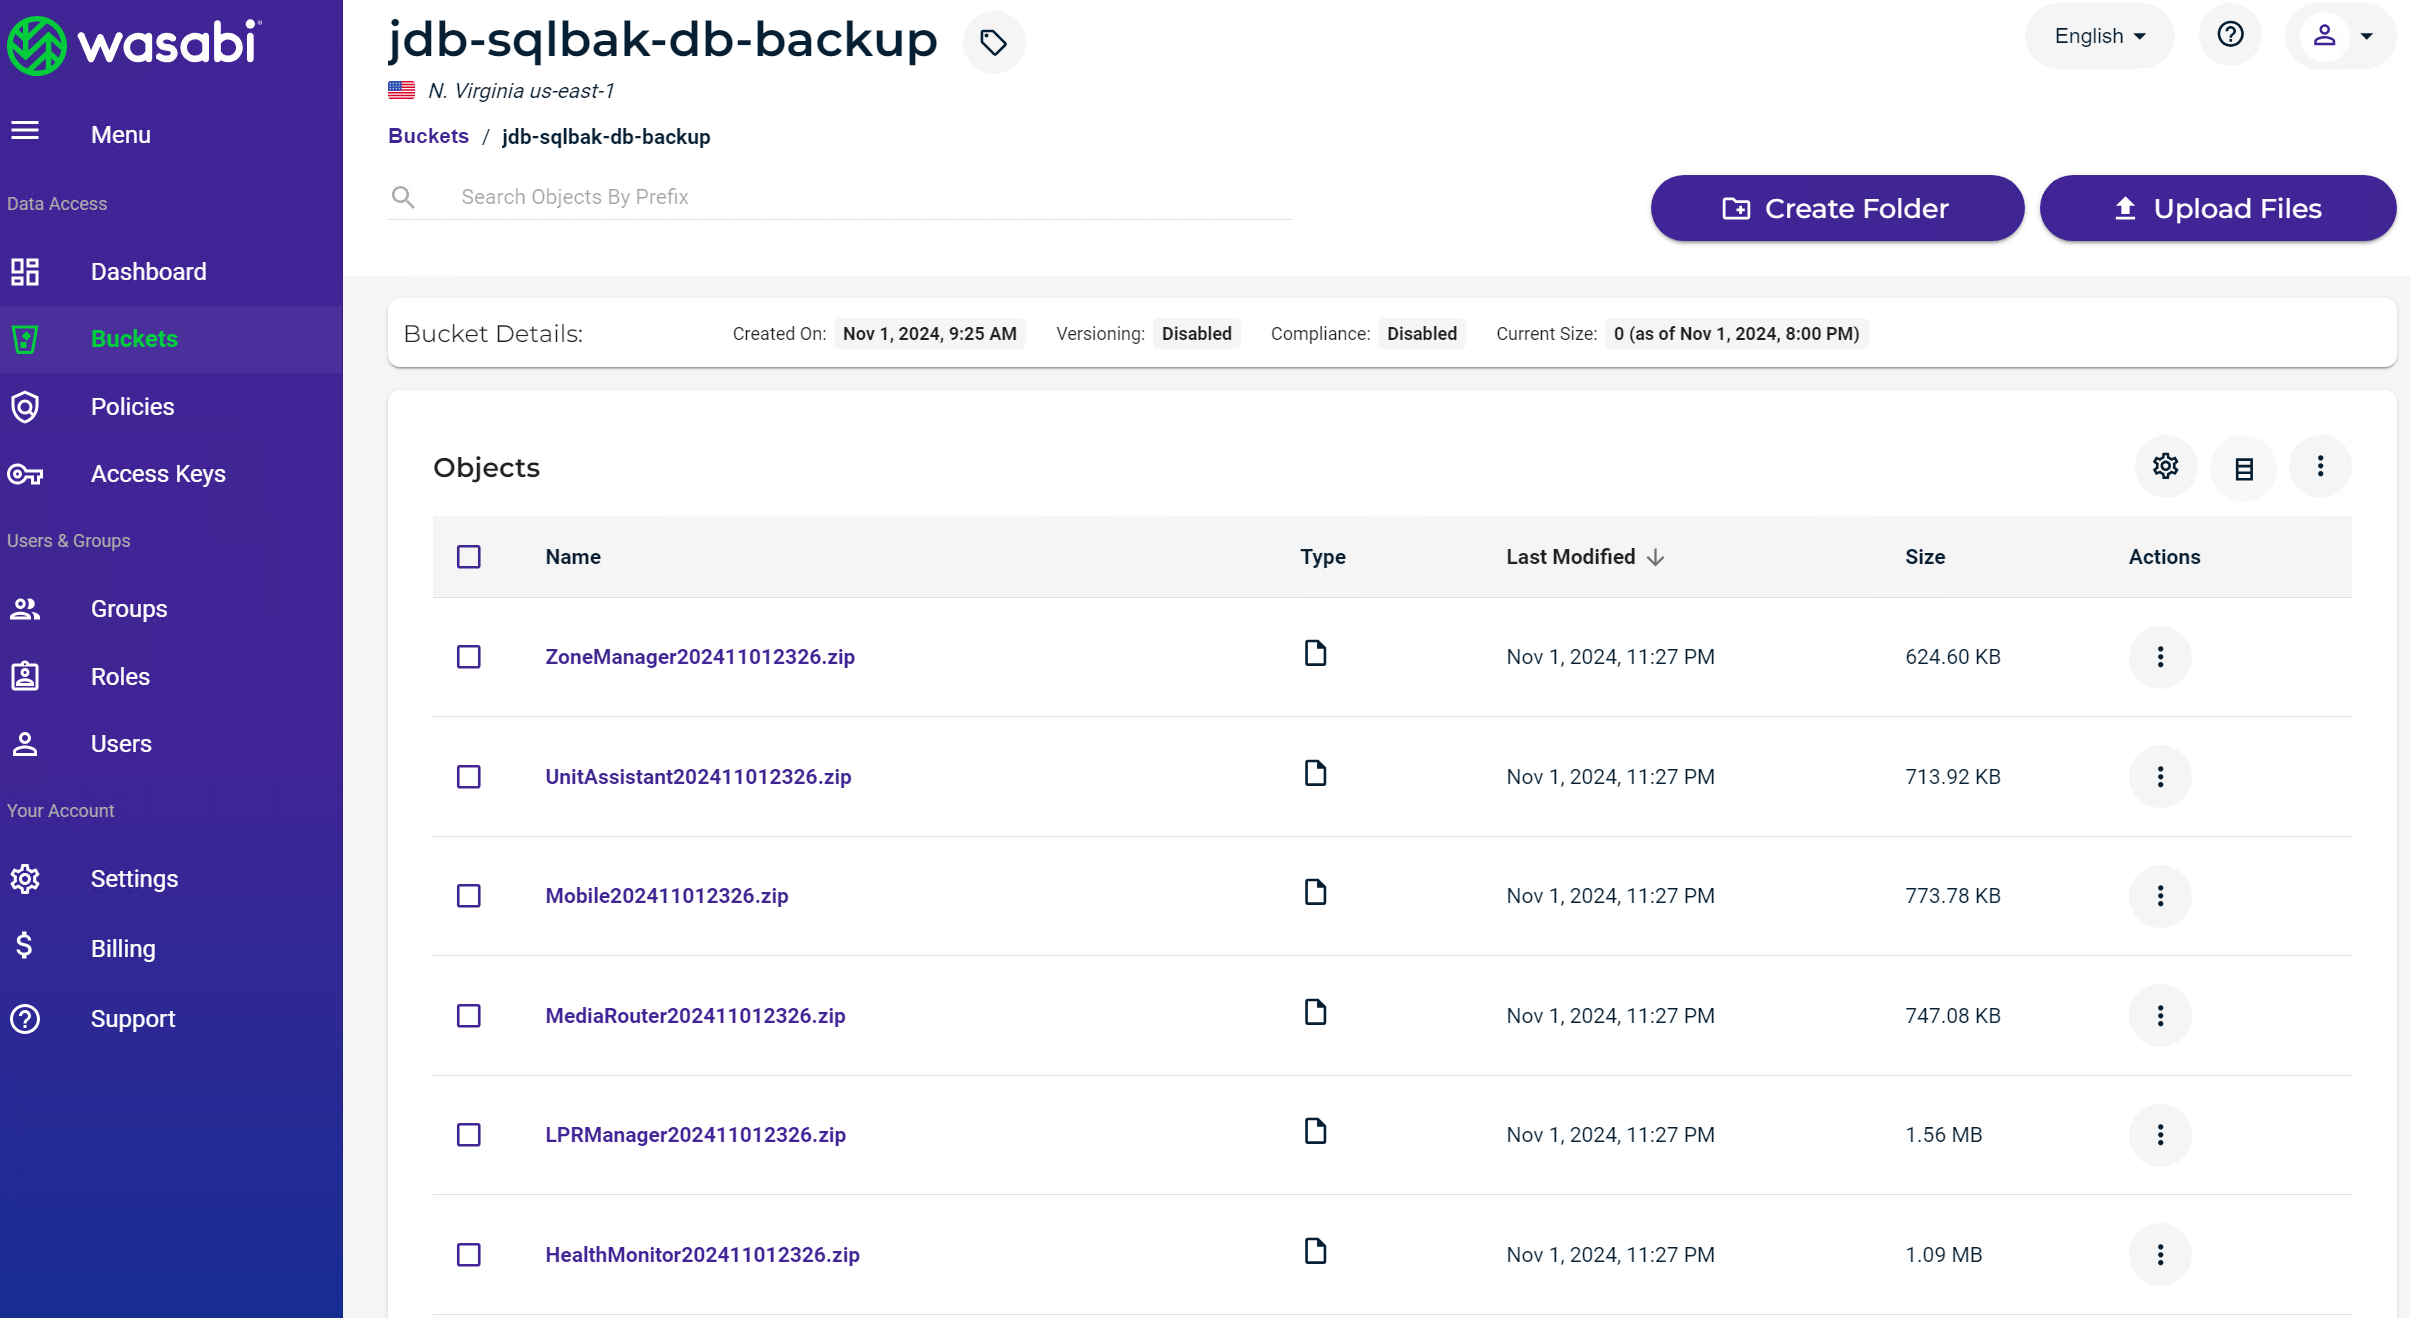
21. When you log into your Wasabi Console and access your bucket you will see the Database zip files listed in the bucket.
