Videowares Cloud Bridge is an integration adapter that securely transfers video surveillance archives, metadata, and event logs from local security systems directly into cloud-based or S3-compatible storage environments.
Requirements
Wasabi Hot Cloud Storage account
Wasabi bucket (see Creating a Bucket)
Access & Secret Keys (see Creating a New Access Key)
NX Witness VMS Client & Server installed
Windows. For more details, review Windows OS • Installation Guide.
Linux. For more details, review Ubuntu Linux OS • Installation Guide.
NX Witness License. For more details, review NX Witness VMS.
Videowares Cloud Bridge Installed. For more details, review VideoXware Cloud Bridge for Nx Witness.
Videowares Cloud Bridge License Key. Contact Videowares for license.
For more information, review the video VideoXware Cloud Bridge Integration for Powered by Nx Products.
Configuring Videowares Cloud Bridge With Wasabi
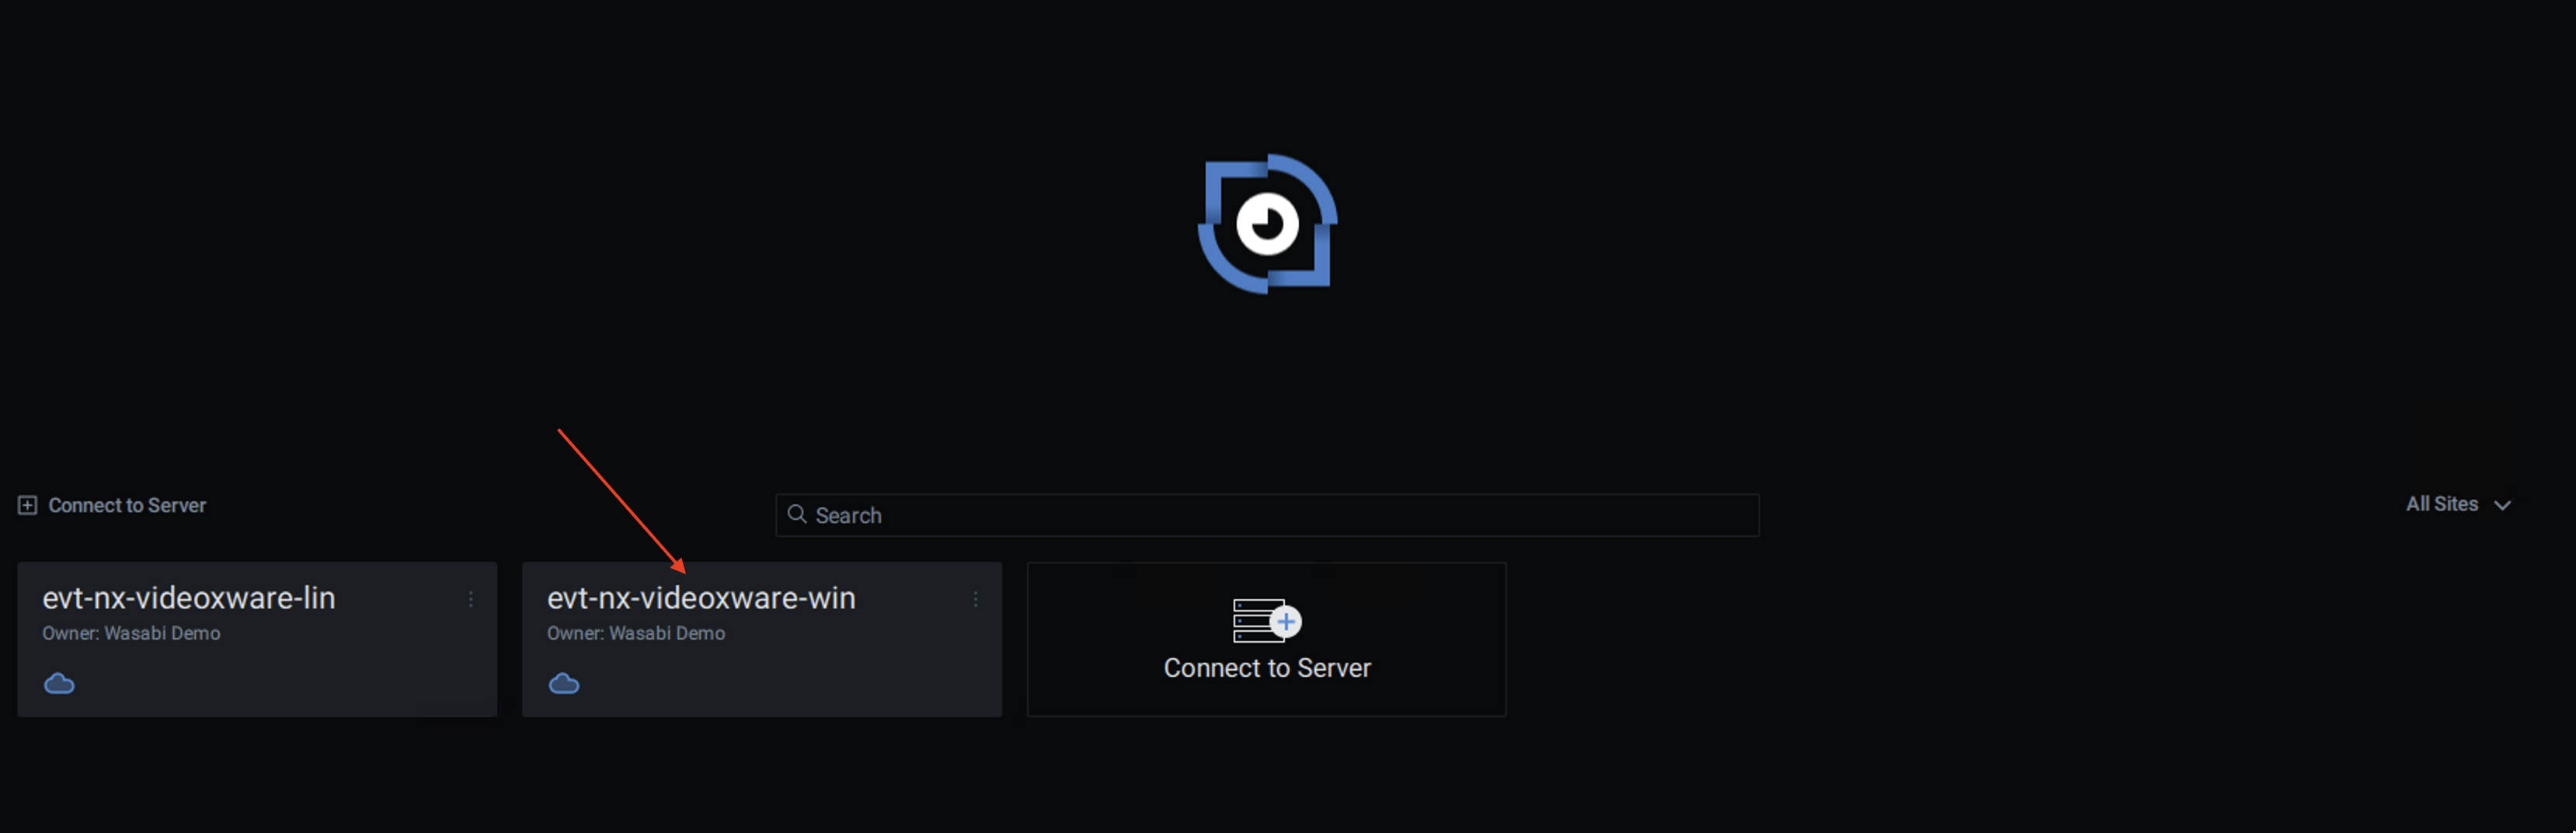
Launch the NX Witness Client.
Select the appropriate NX Witness Server with the Videowares Cloud Bridge installed.
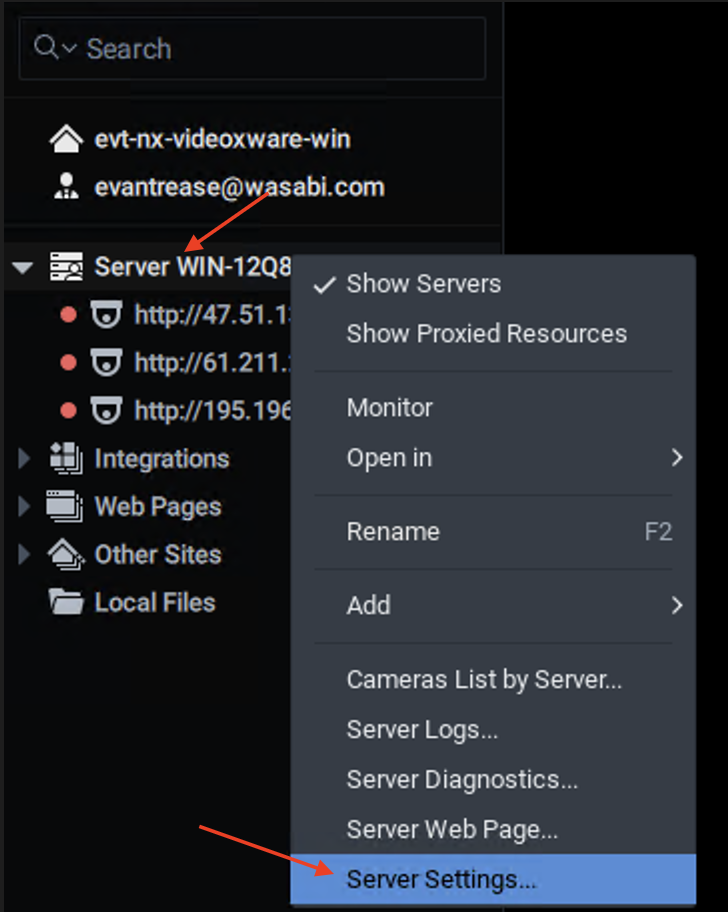
Right-click the Server Name in the side navigation panel.
Click the Server Settings option in the drop-down menu.
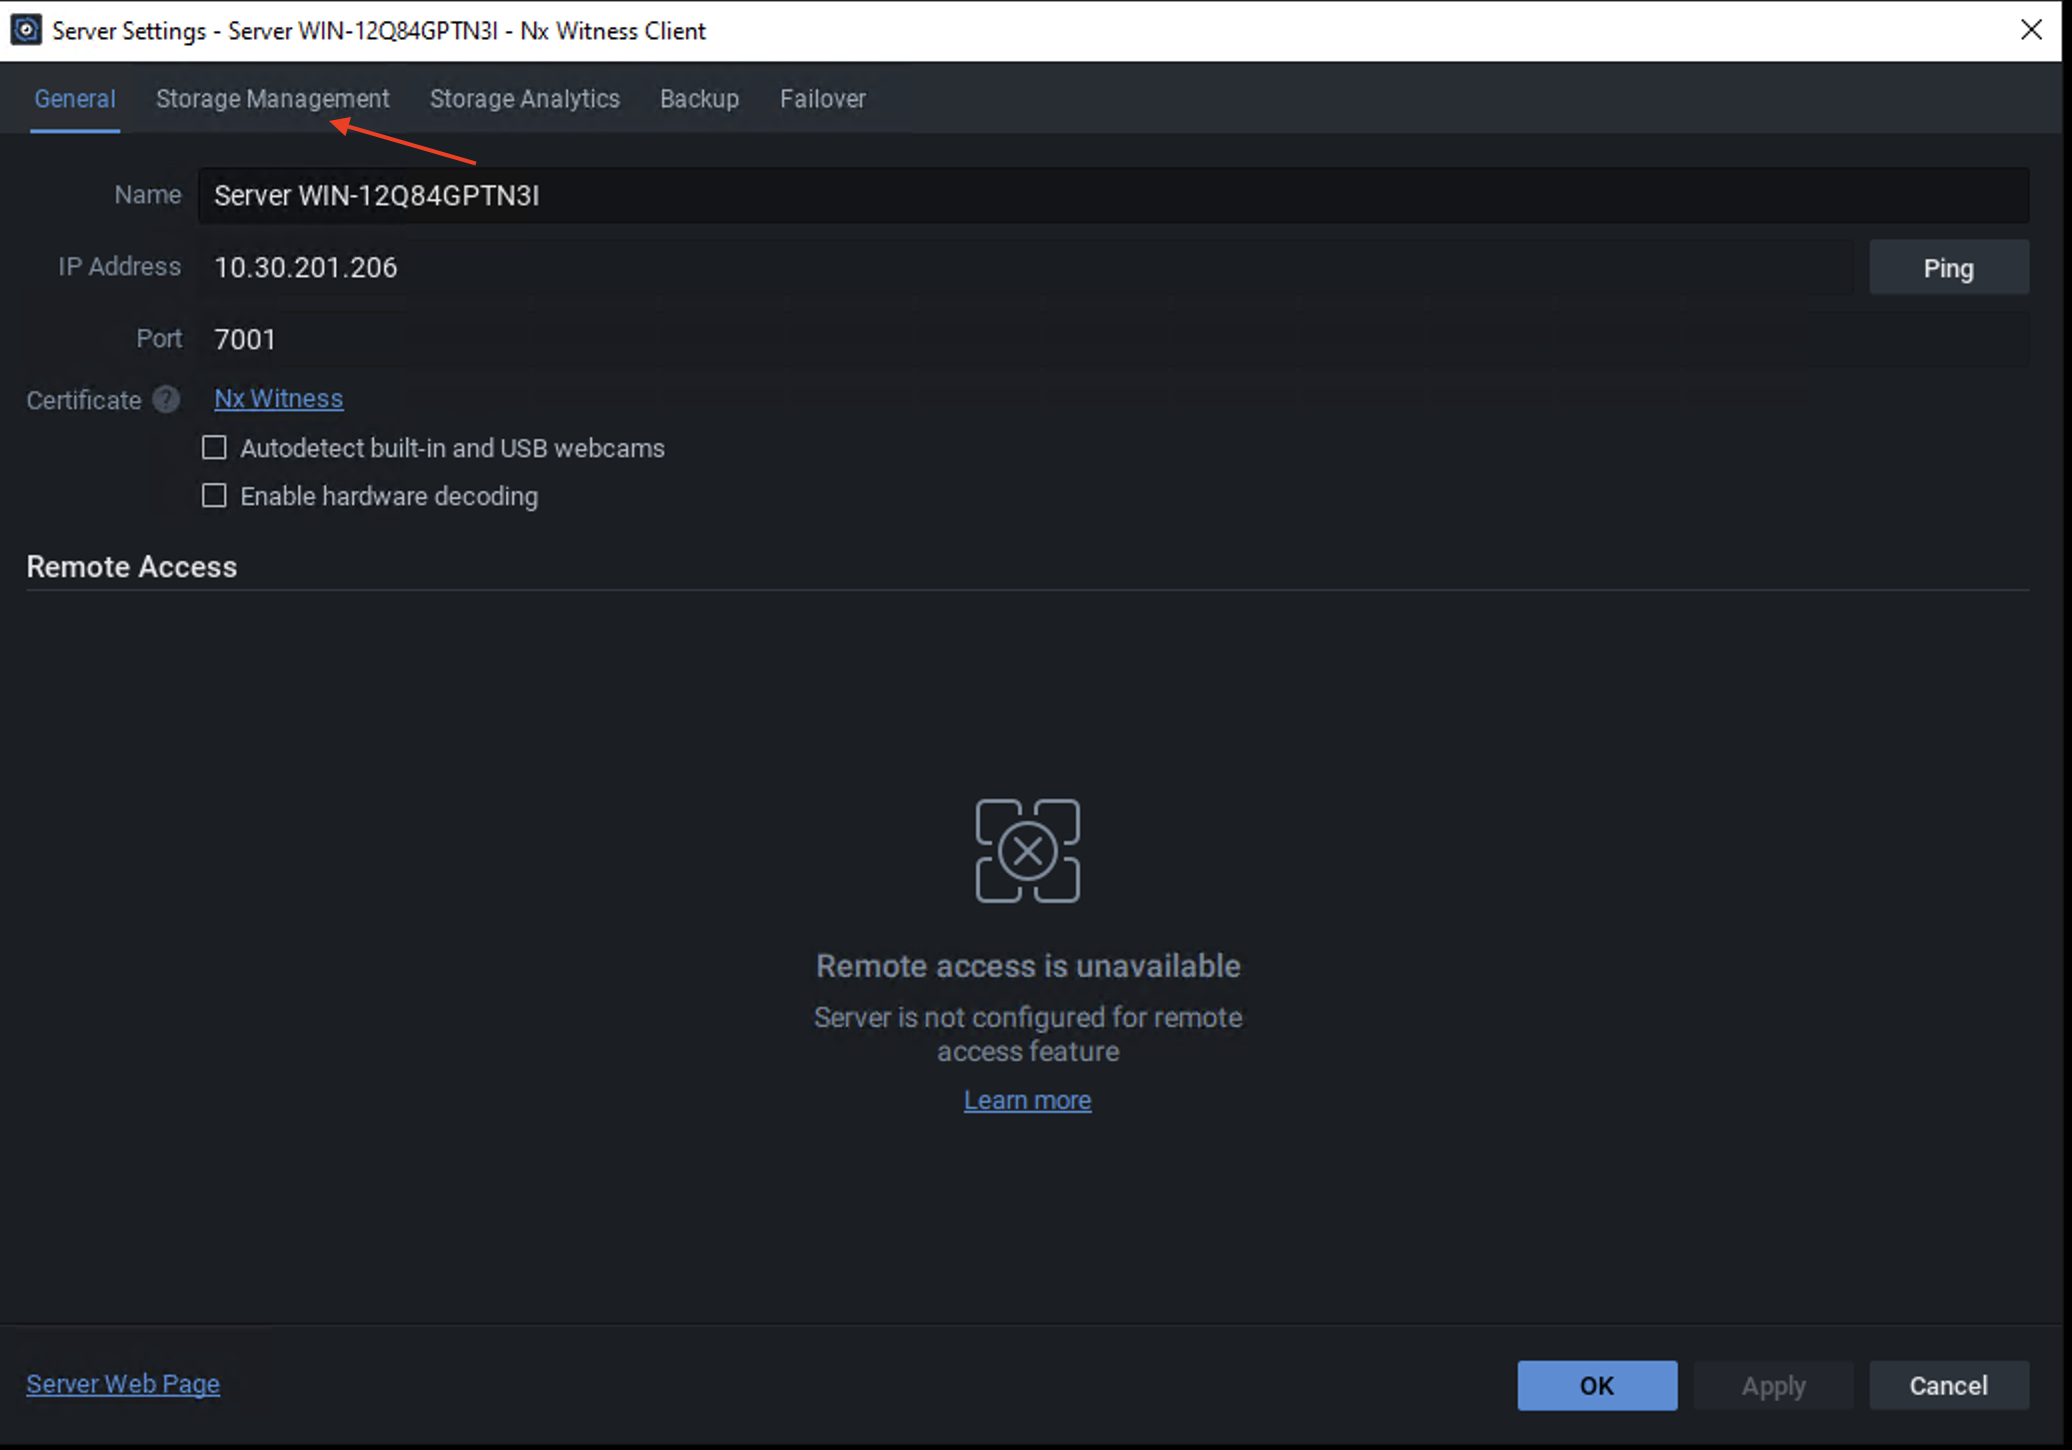
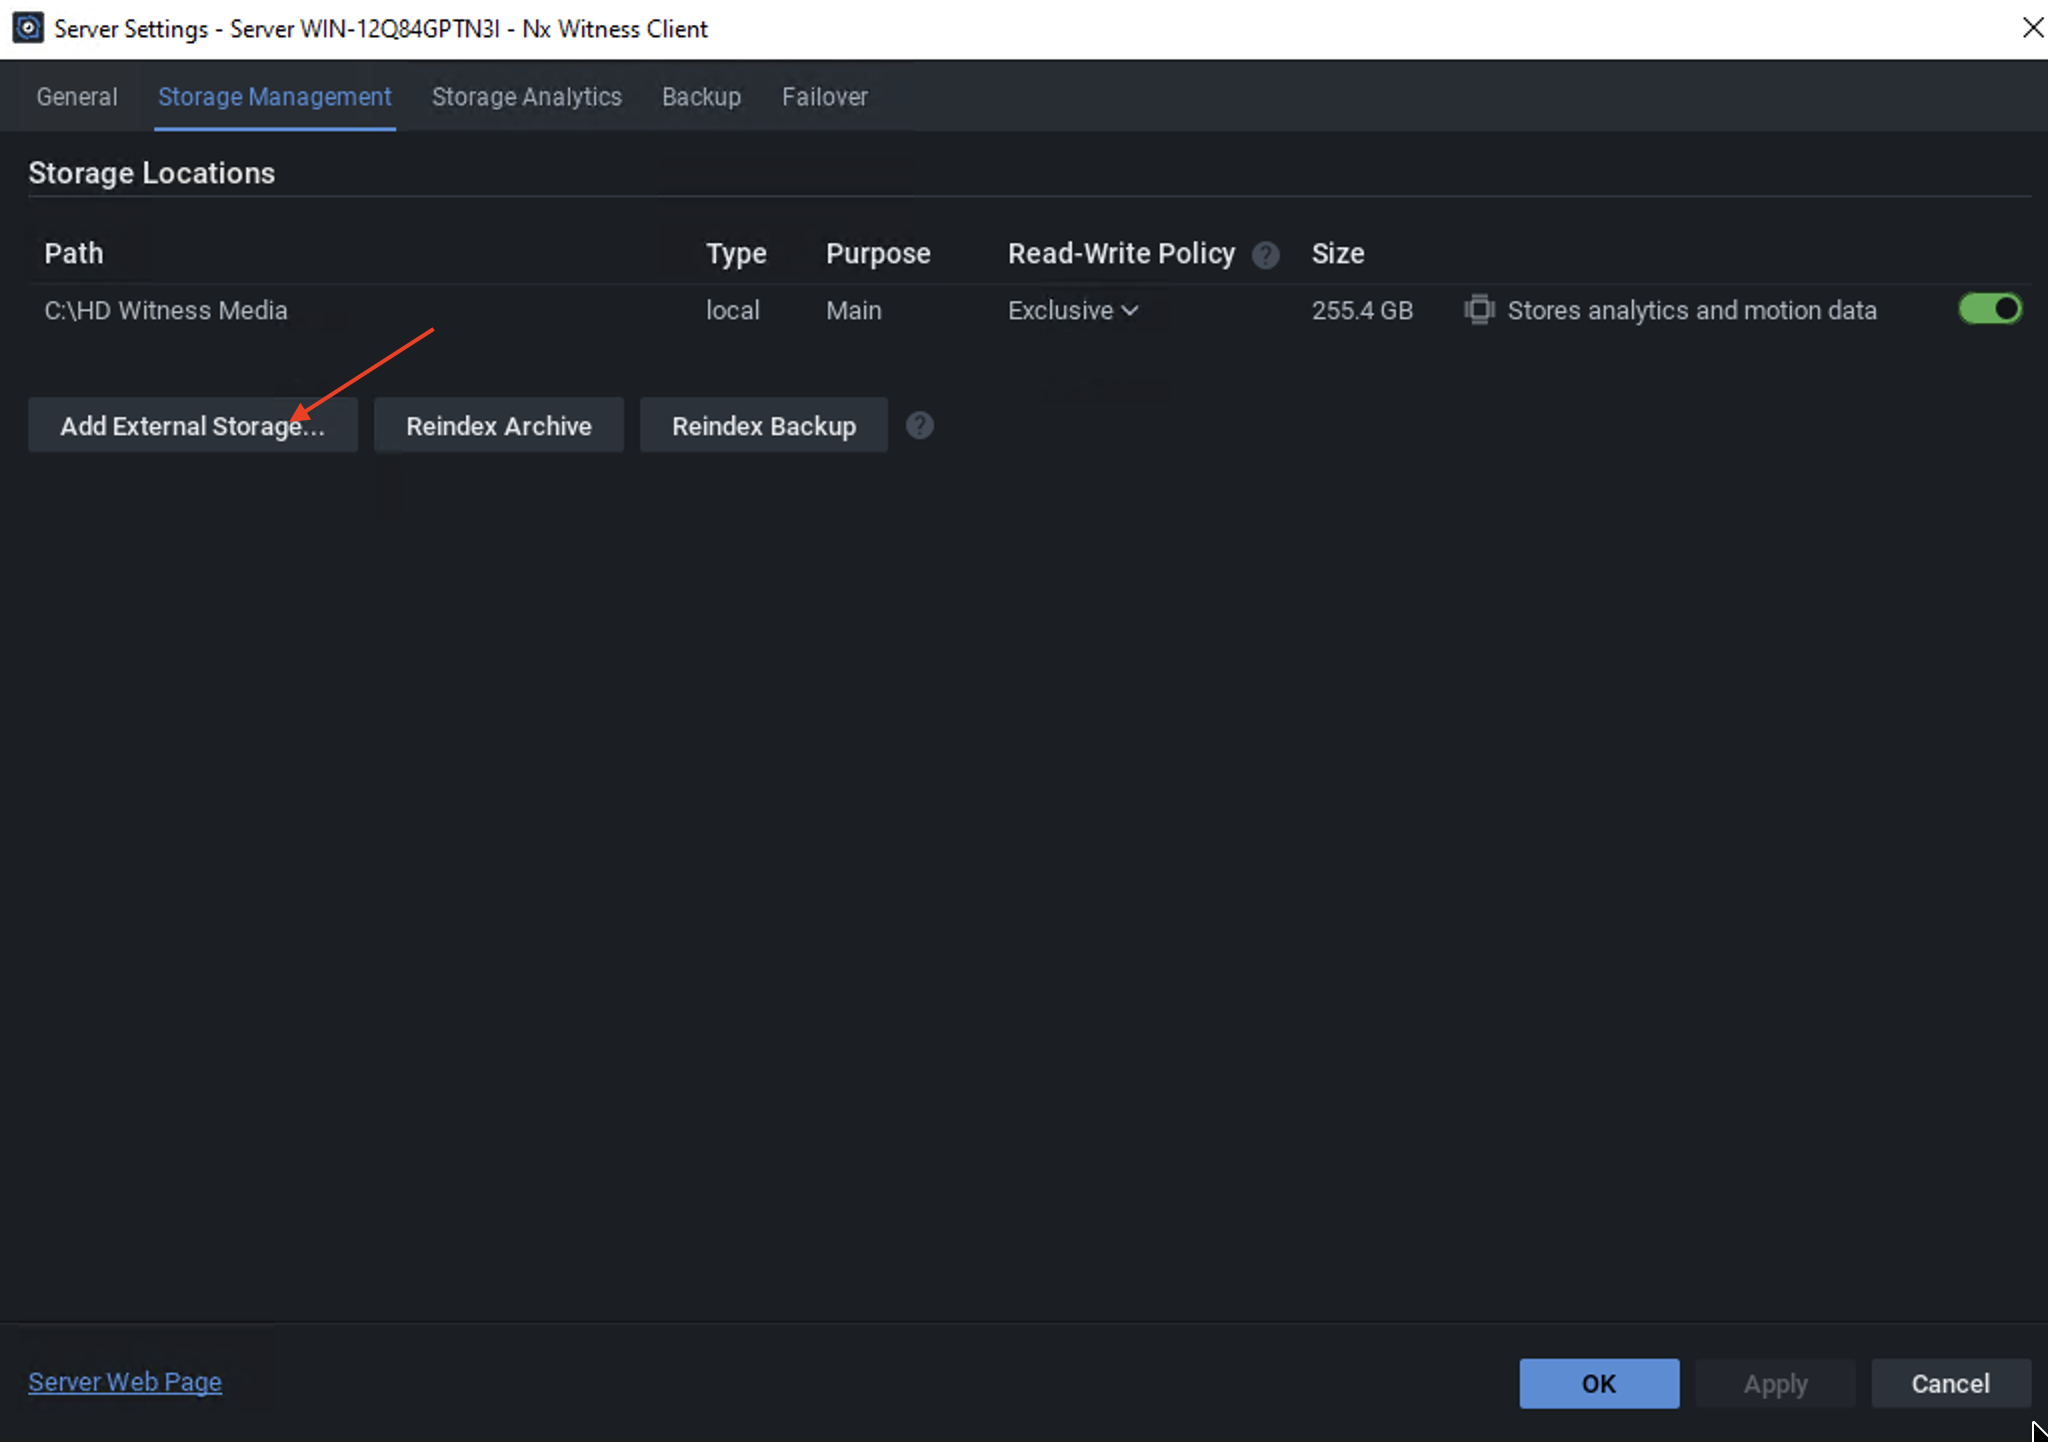
Select the Storage Management tab.
Click Add External Storage.
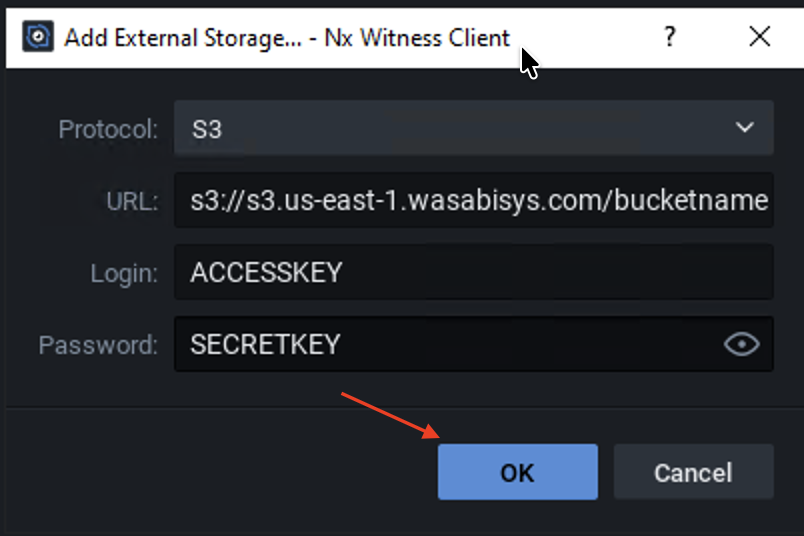
Input the following information.
Protocol—Click the dropdown menu and select S3.
URL—Input your Wasabi Service URL, including the bucket name (for example, s3://s3.us-east-1.wasabisys.com/yourbucketname)
Login—Input your Wasabi access key.
Password—Input your Wasabi secret key.
Click OK.
This configuration example uses Wasabi’s us-east-1 storage region. Use the region where your bucket is located. For a list of regions, see Service URLs for Wasabi's Storage Regions.
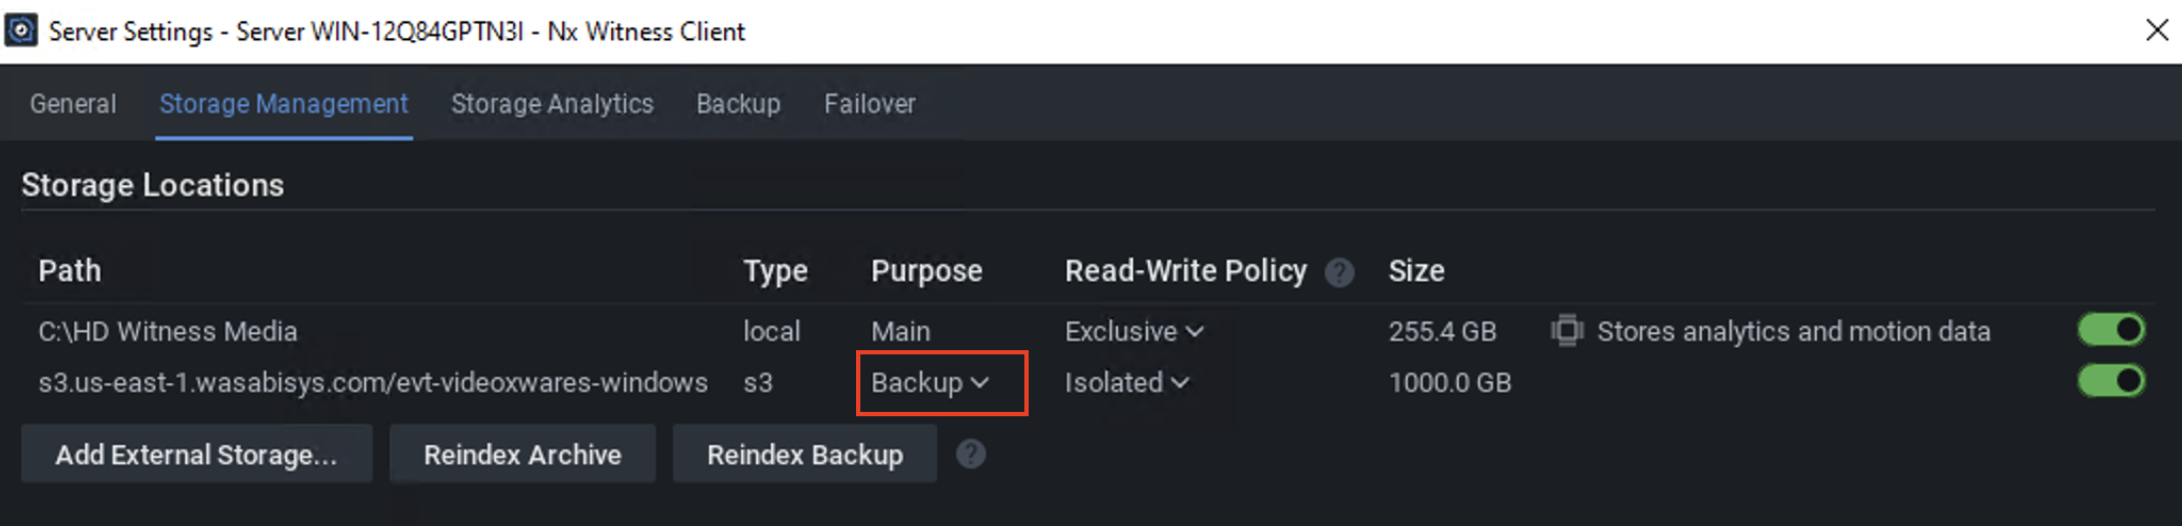
Your bucket will now show on the Storage Management page. Ensure that the Purpose is set to Backup in the drop-down menu.
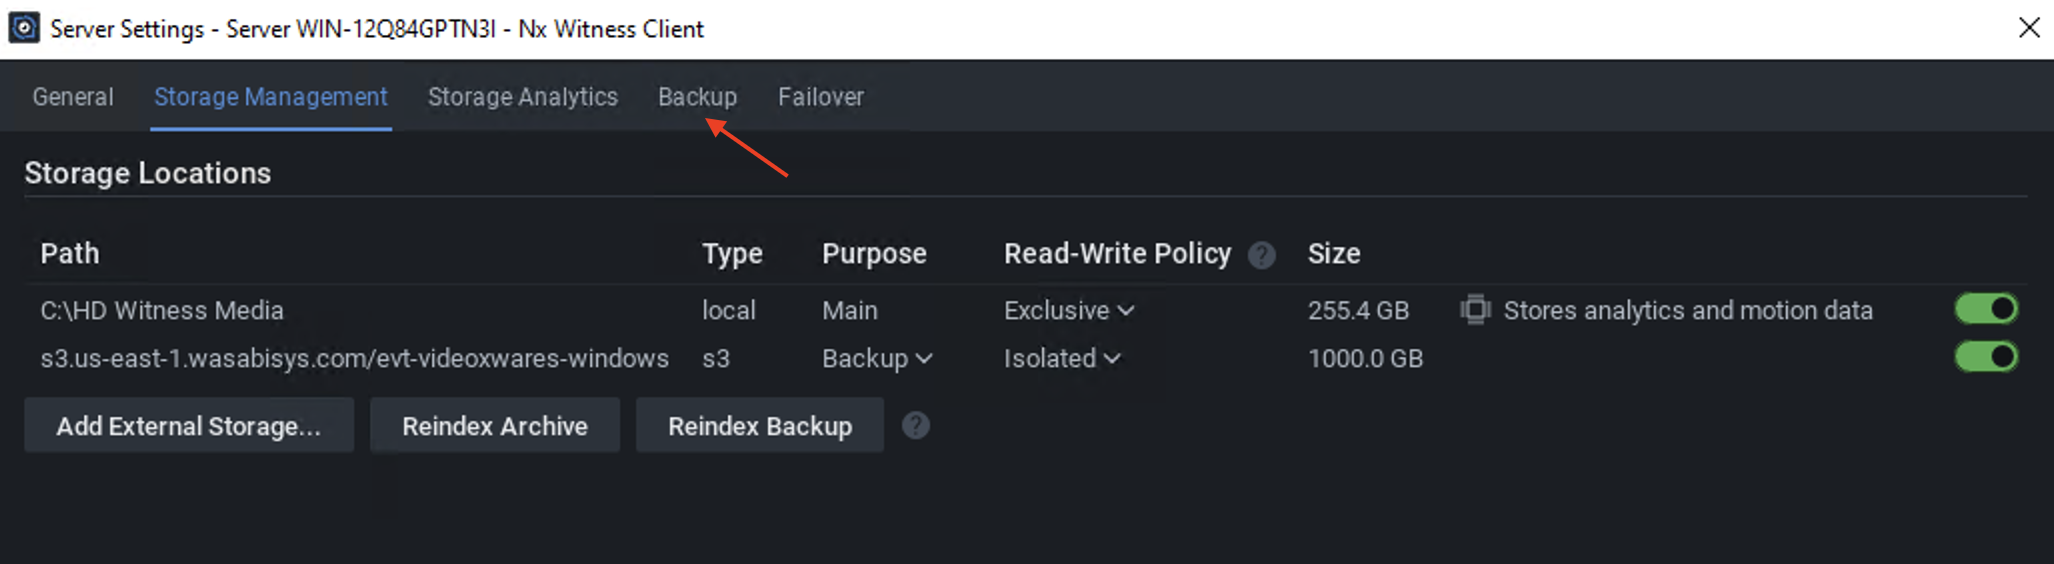
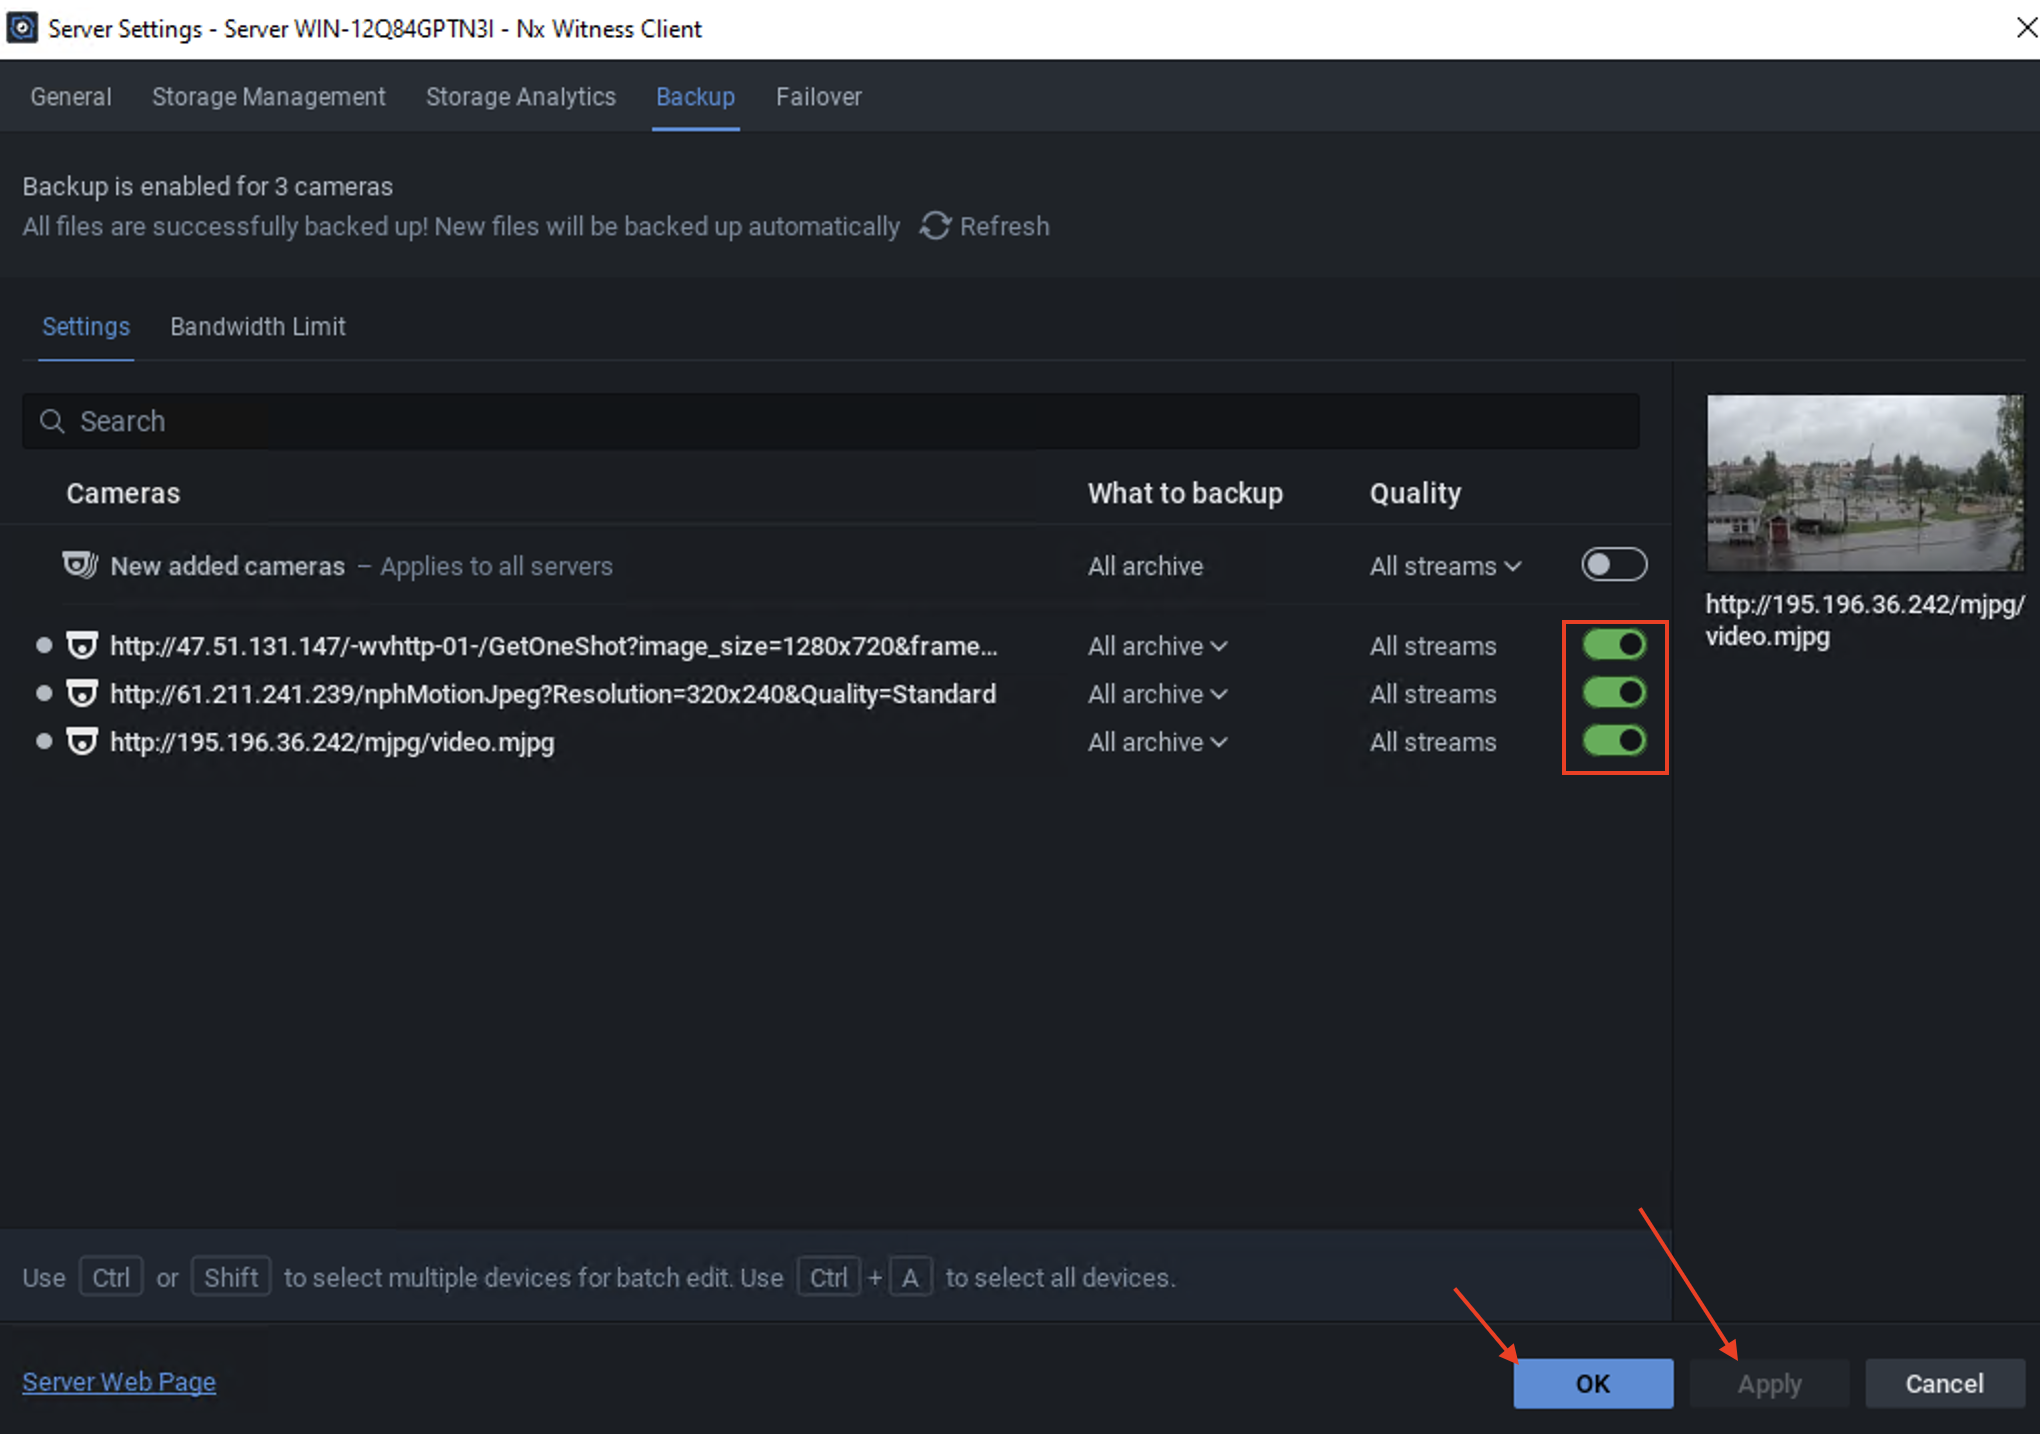
Select the Backup tab.
Click the toggle to enable Backup for the relevant cameras.
Click Apply.
Click OK.
Setting a Camera to Record
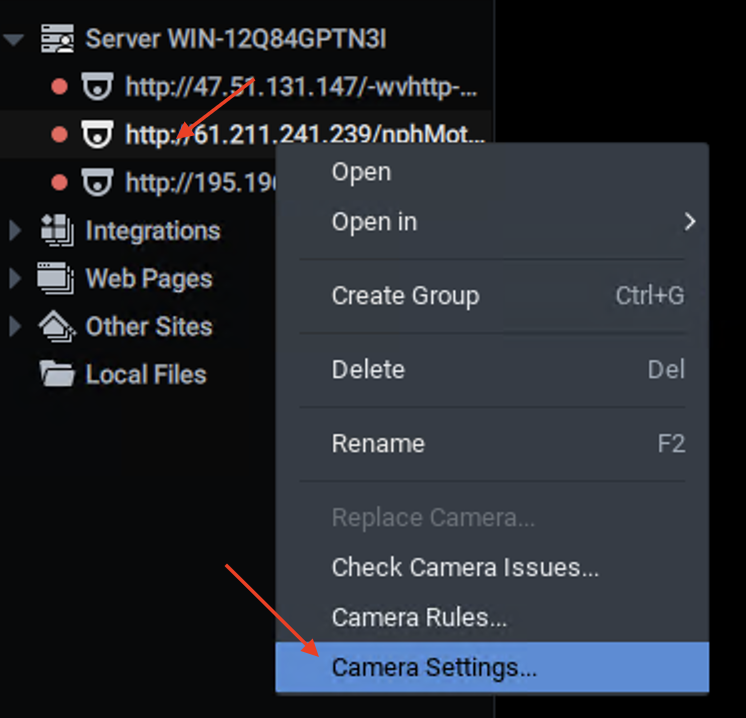
Right—click one of your Camera URLs.
Click Camera Settings.
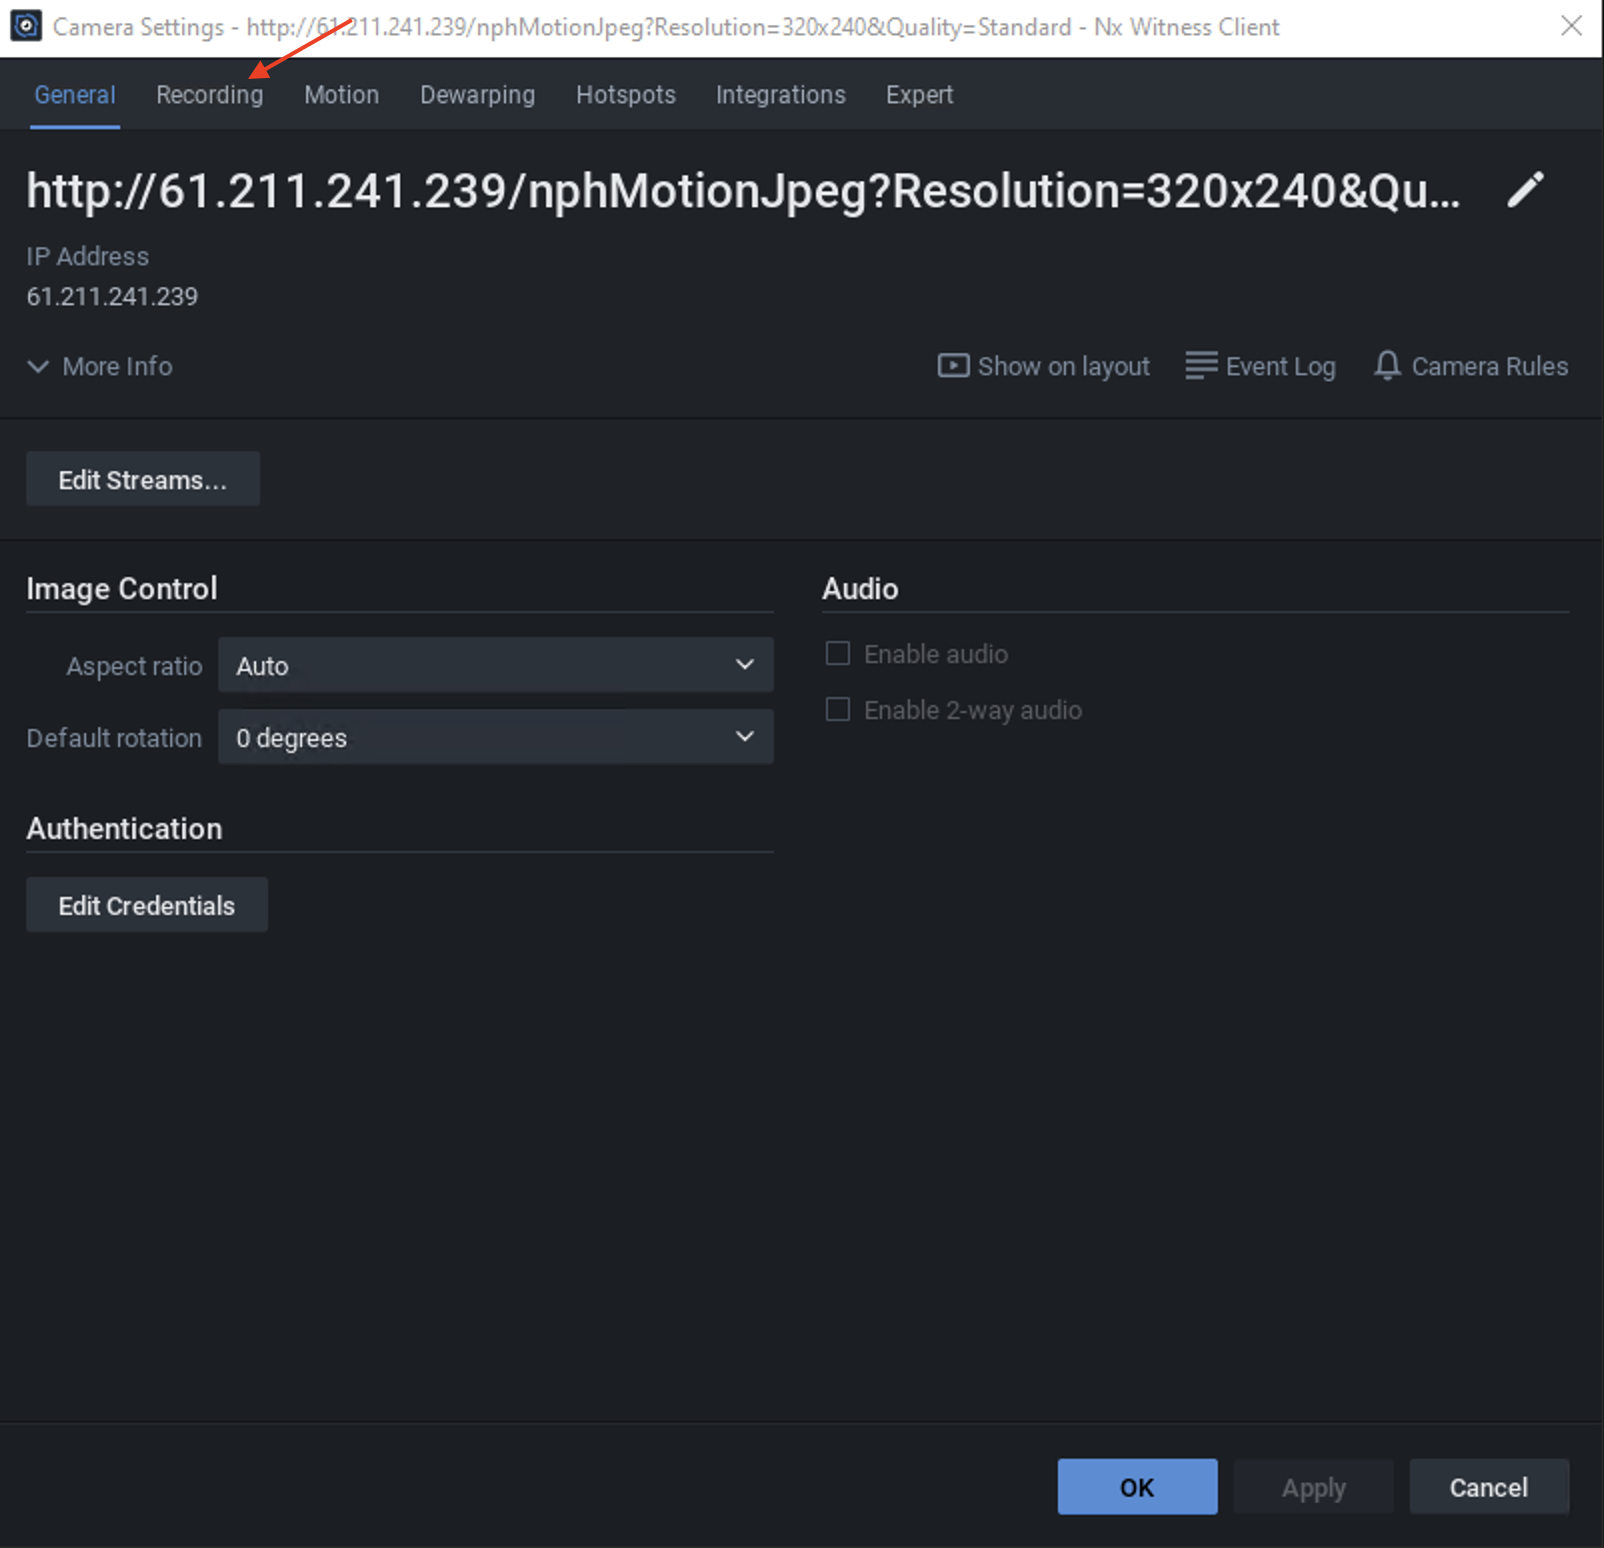
Select the Recording tab.
Click the toggle to enable Recording.
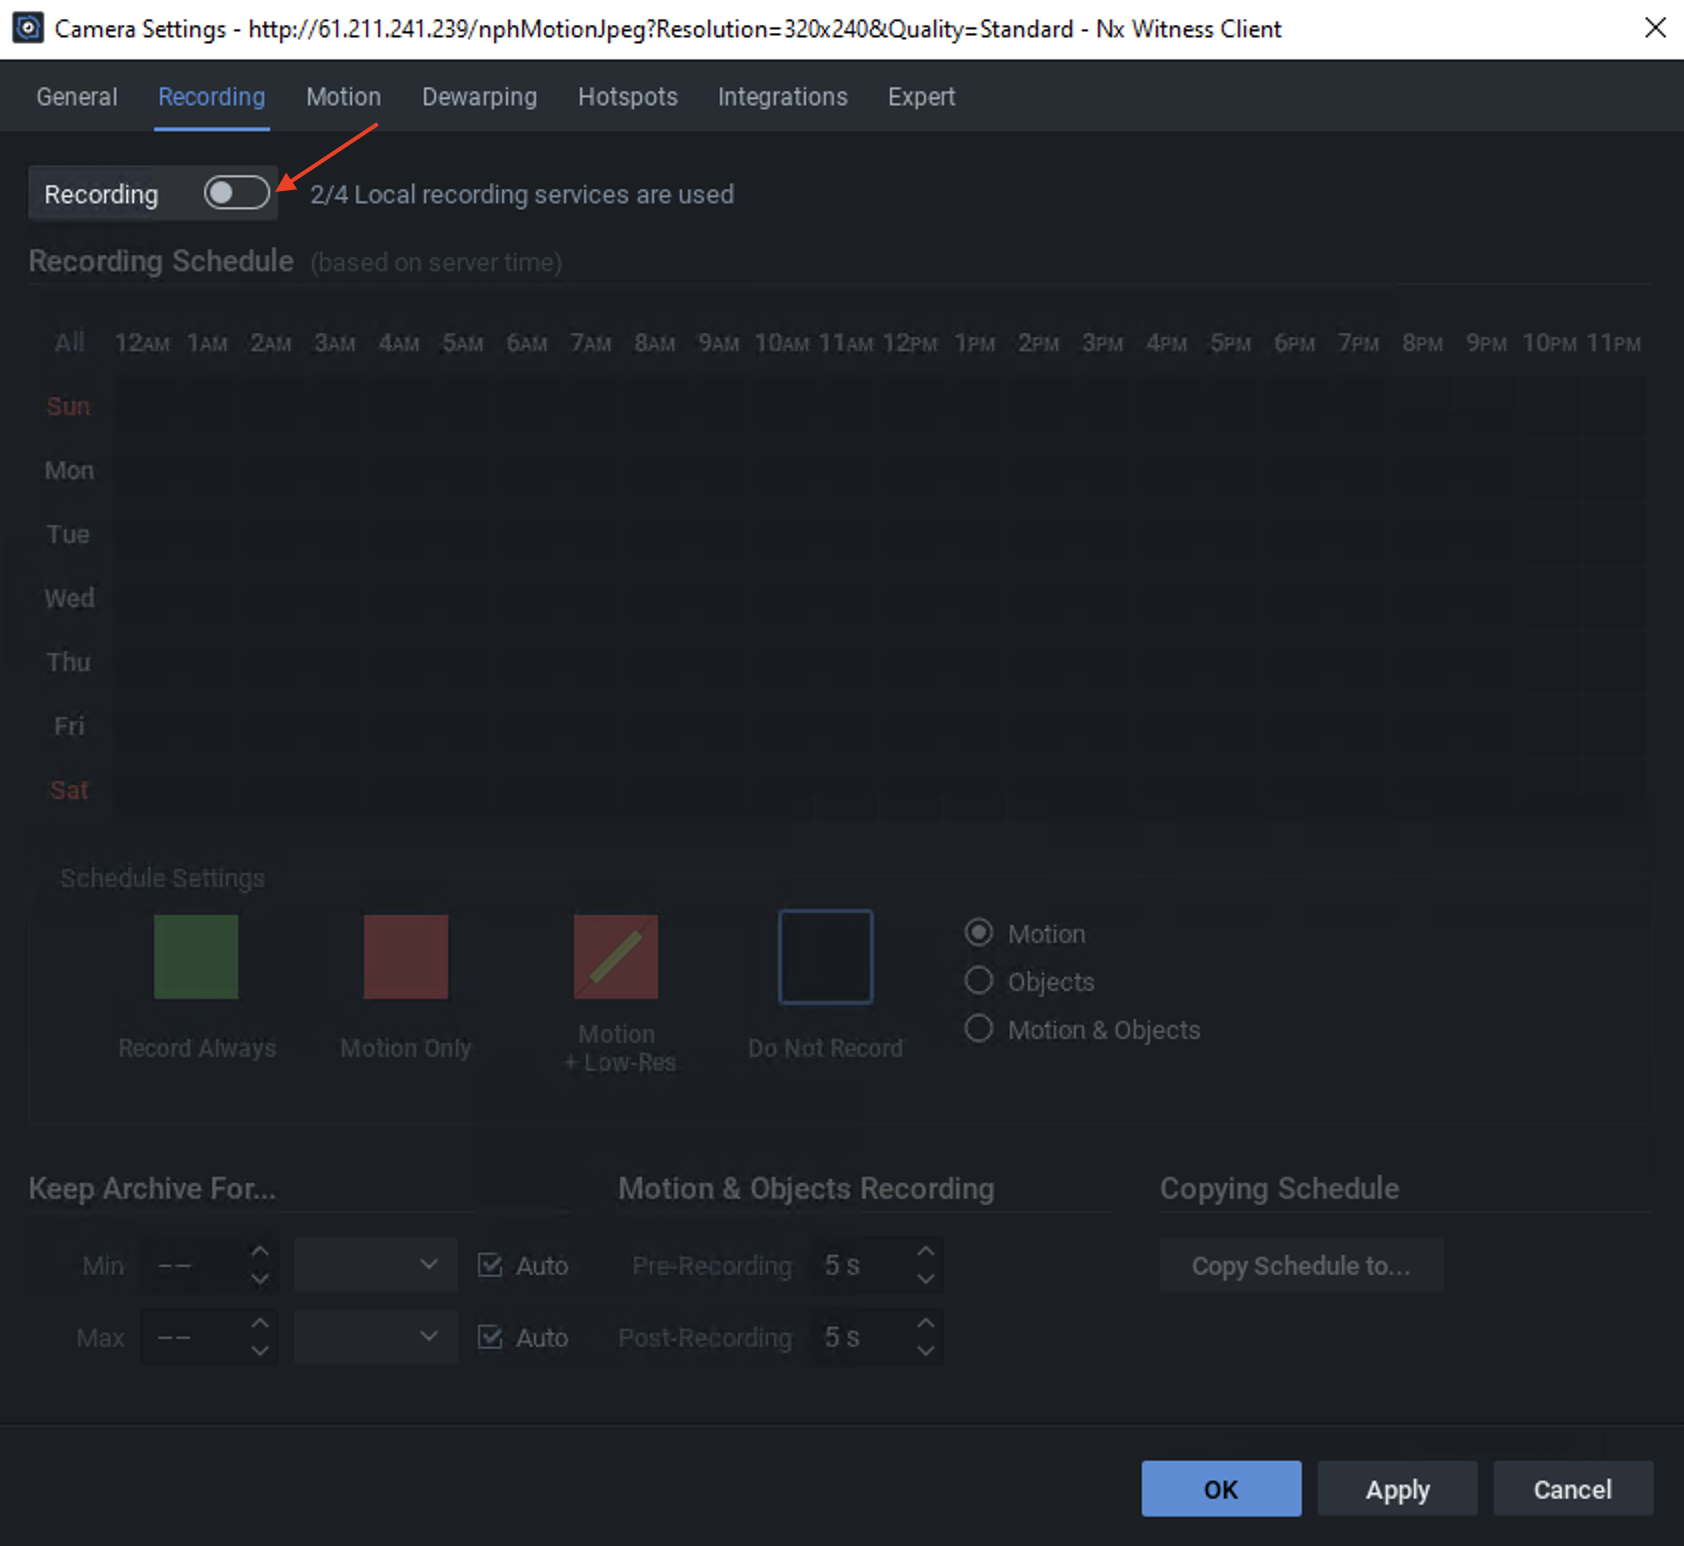
Set an appropriate Recording Schedule.
Click Apply.
Click OK.
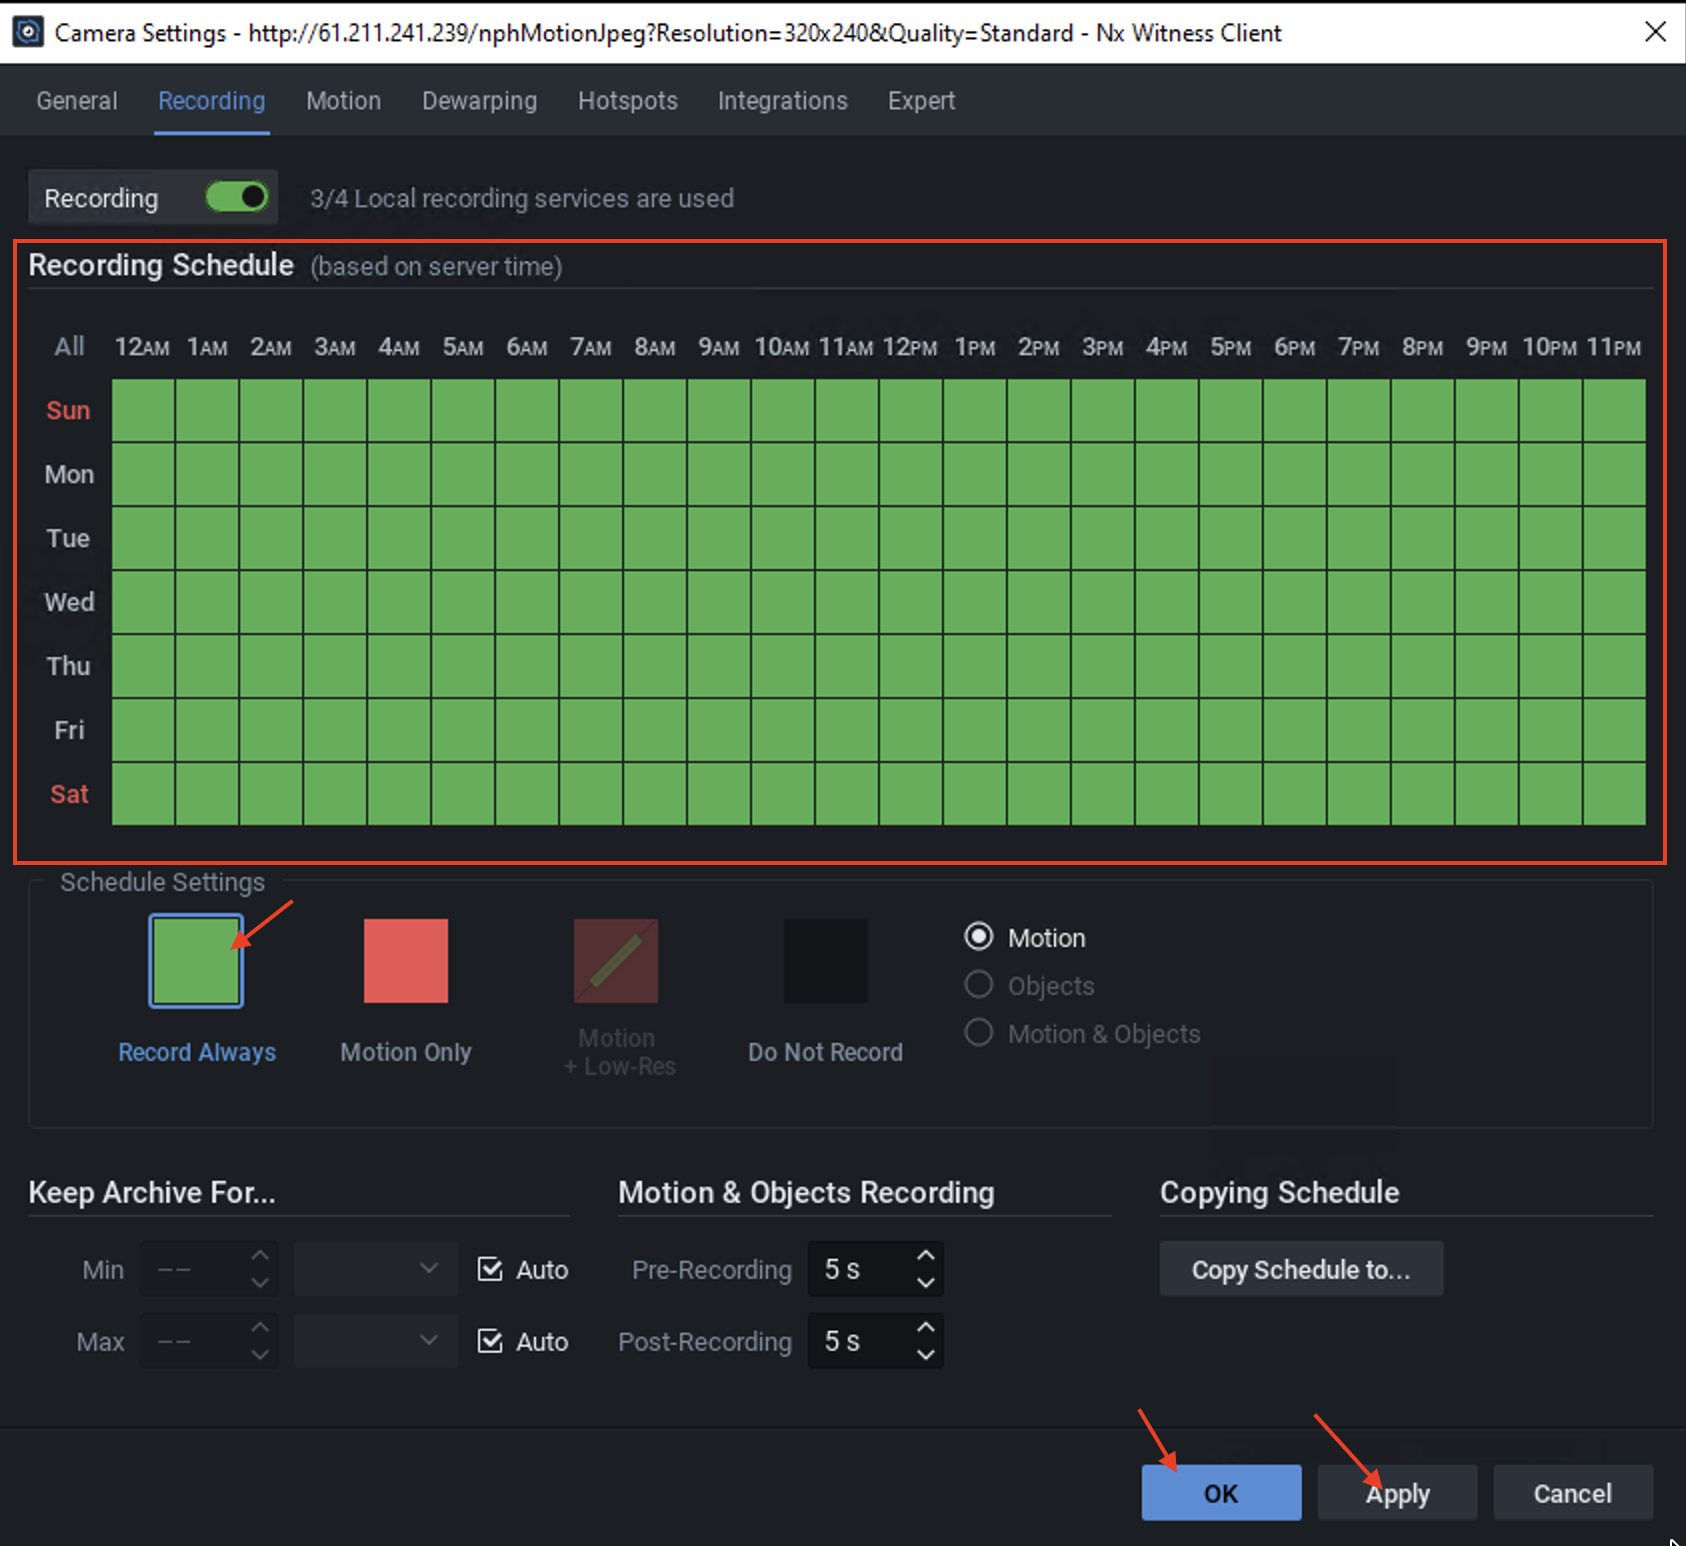
Your camera will now begin recording.
Verifying the Data is Being Written to Your Wasabi Bucket
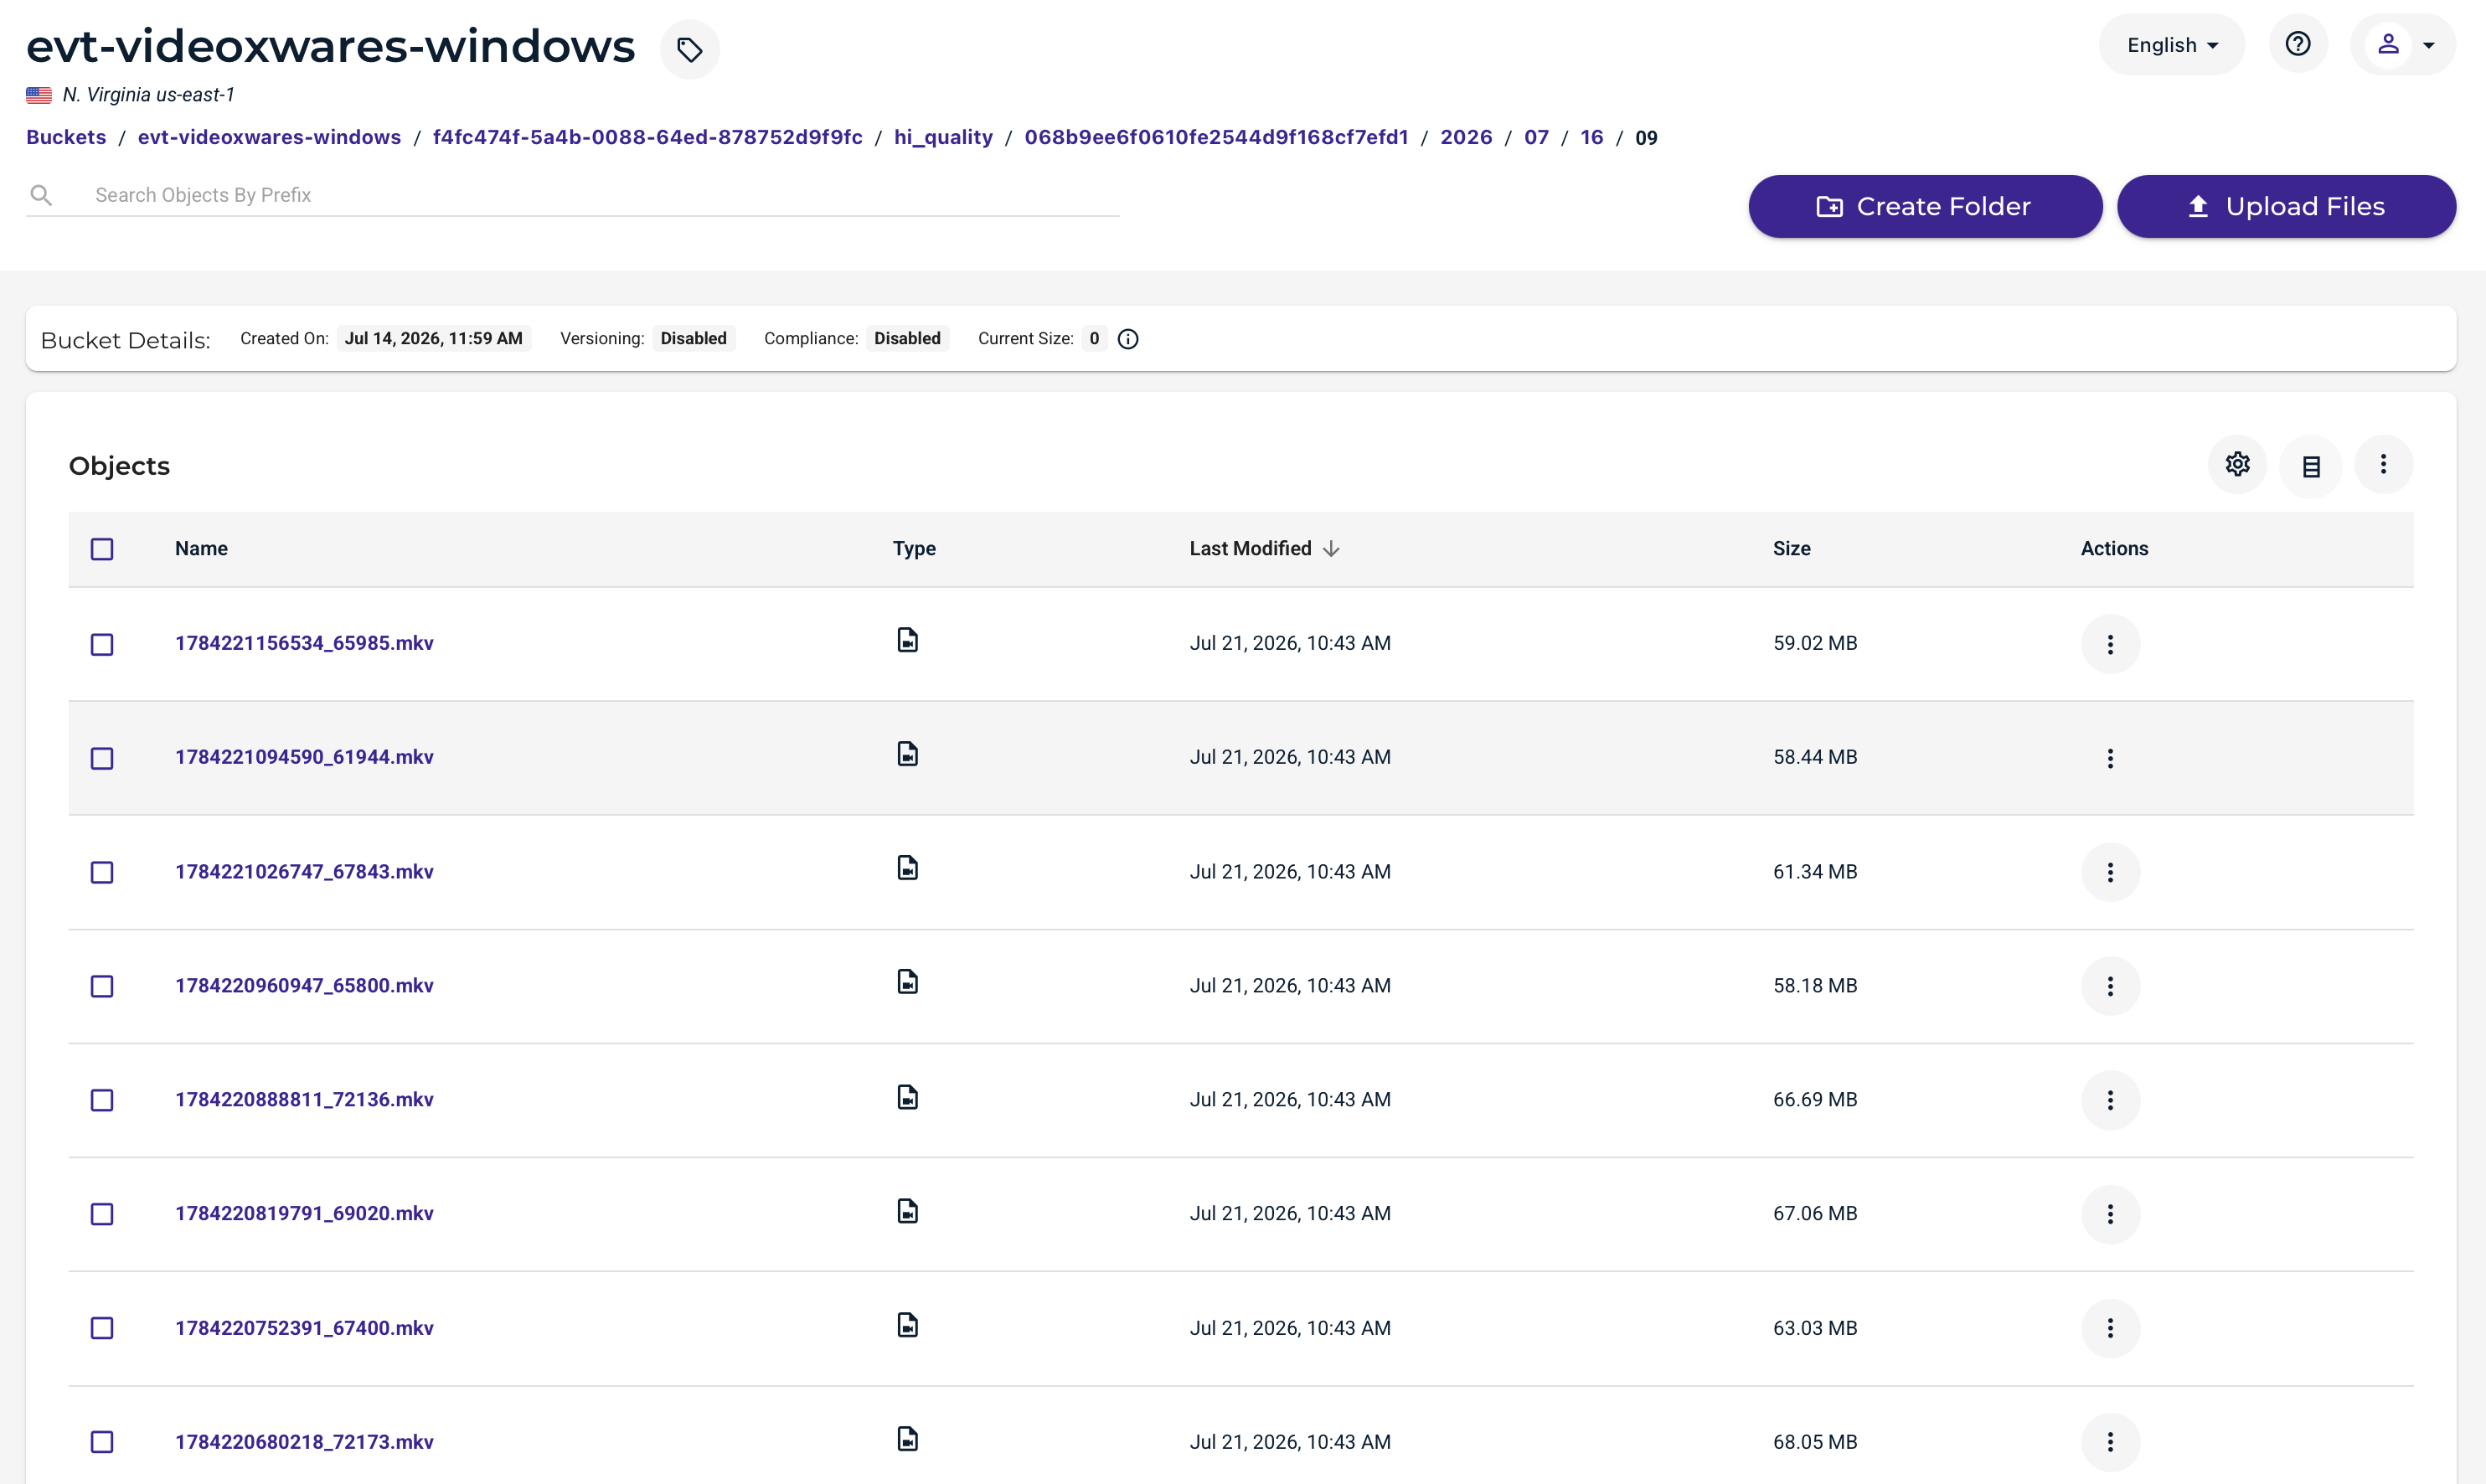
After you have been recording for some time, log in to your Wasabi Storage Console.
Navigate to the bucket that is configured in Videowares Cloud Bridge.
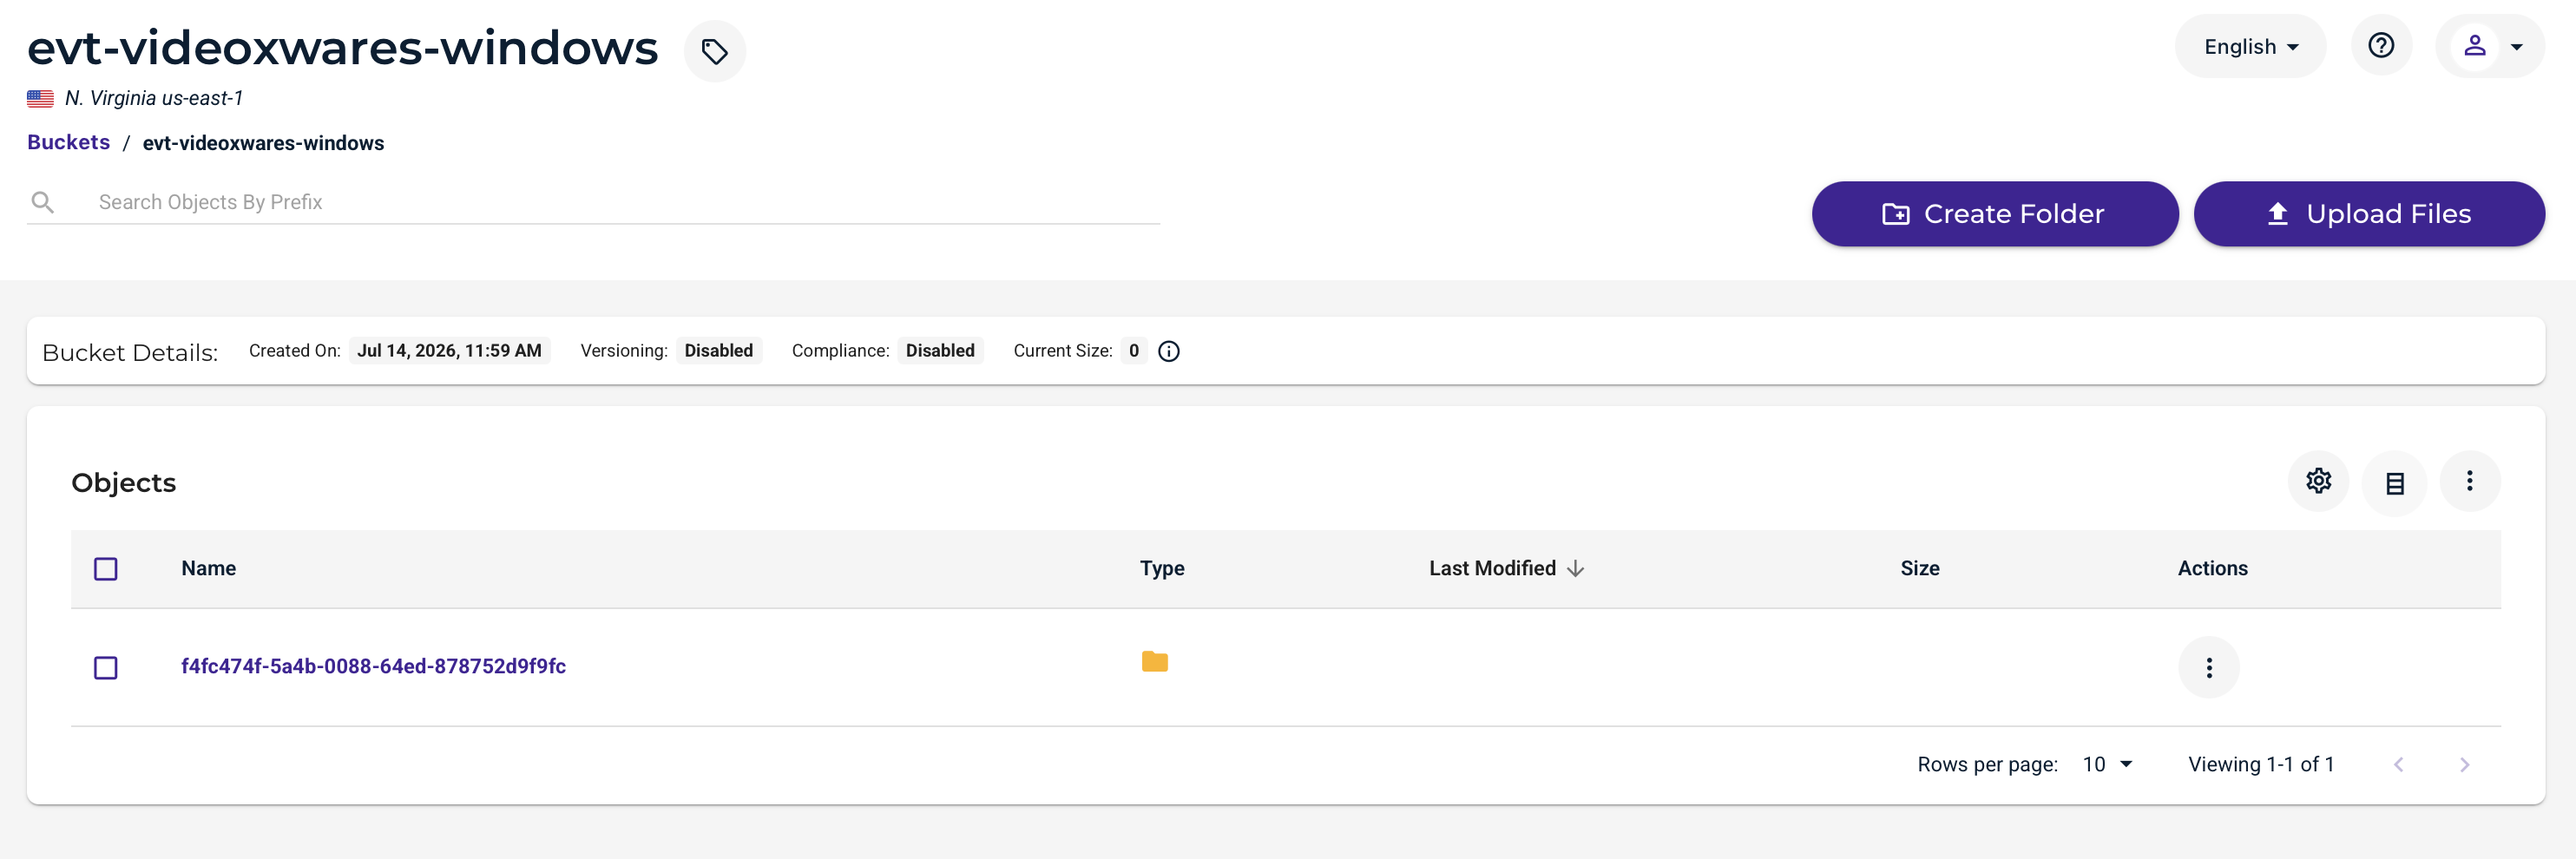
As you traverse the directory tree, you will see folders named Year/Month/Day/Hour that contain the recording files.