Automatic Space Reclaiming (Space Reclaiming) is a user-defined policy that enables WCN to free up space on the source by replacing a replicated file with a nearline file. Space Reclaiming is commonly used for the alignment of data with storage costs.
When configuring a Space Reclaiming policy, you will set two parameters:
File size
Time interval for which the file has not been accessed
For example, if the file size threshold is set to 10MB and the time interval is two weeks, WCN will replace all replicated files over 10MB in size that are not accessed for a minimum of two weeks. All other files on the source (with size 10MB or less and the replicated files with 10MB or more) that are not accessed by a user in less than two weeks will not be reclaimed. By default, WCN replaces any file that has not been accessed for more than four weeks, regardless of the file size.
A global Space Reclaiming policy governs all source-target pairs, while a Space Reclaiming policy assigned to a specific source-target pair overwrites the global policy. If both policies are configured, the global Space Reclaiming policy will govern all source-target pairs that do not have an specific Space Reclaiming policy assigned.
Optionally, configure the processes that trigger file retrieval. For more information, review Configuring Process Filtering.
You can manually retrieve files and reclaim space using the WCN shell extension. When initiated, the manual operation takes precedence over any automatically scheduled tasks or policies.
WCN begins queuing files for space reclamation with the files that are least recently accessed.
With a NAS source, nearline files are located in the shadow copy folder and not on the network share. However, file retrieval pulls the actual data directly from the NAS source.
Space cannot be reclaimed for certain file formats, such as EXE, DLL, SYS, COM, CPL, MSI, and OCX. This list can be configured using the reclaim_space_filter registry key on the source where the WCN software is installed.
Configuring the Global Space Reclaiming Policy
Click Wasabi Cloud NAS.
Click Add policy.
In the Policy type window, select Reclaim space.
Click OK.
In the right pane, configure the following parameters:
Offload files not accessed for more than—(required) File time interval
And if files are larger than—(optional) File size
When used space exceeds—(optional) Threshold for used space
Ignore above criteria if used space exceeds—(optional) Percentage
Used space thresholds reclaim space when the configured space threshold is reached. You can increase the used space threshold or specify the maximum used space threshold on your source. The maximum used space threshold specifies when all files subject to replication are queued for replacement with nearline files, regardless of their size and last access time. By default, the maximum used space value is set to 90% for all source volumes.
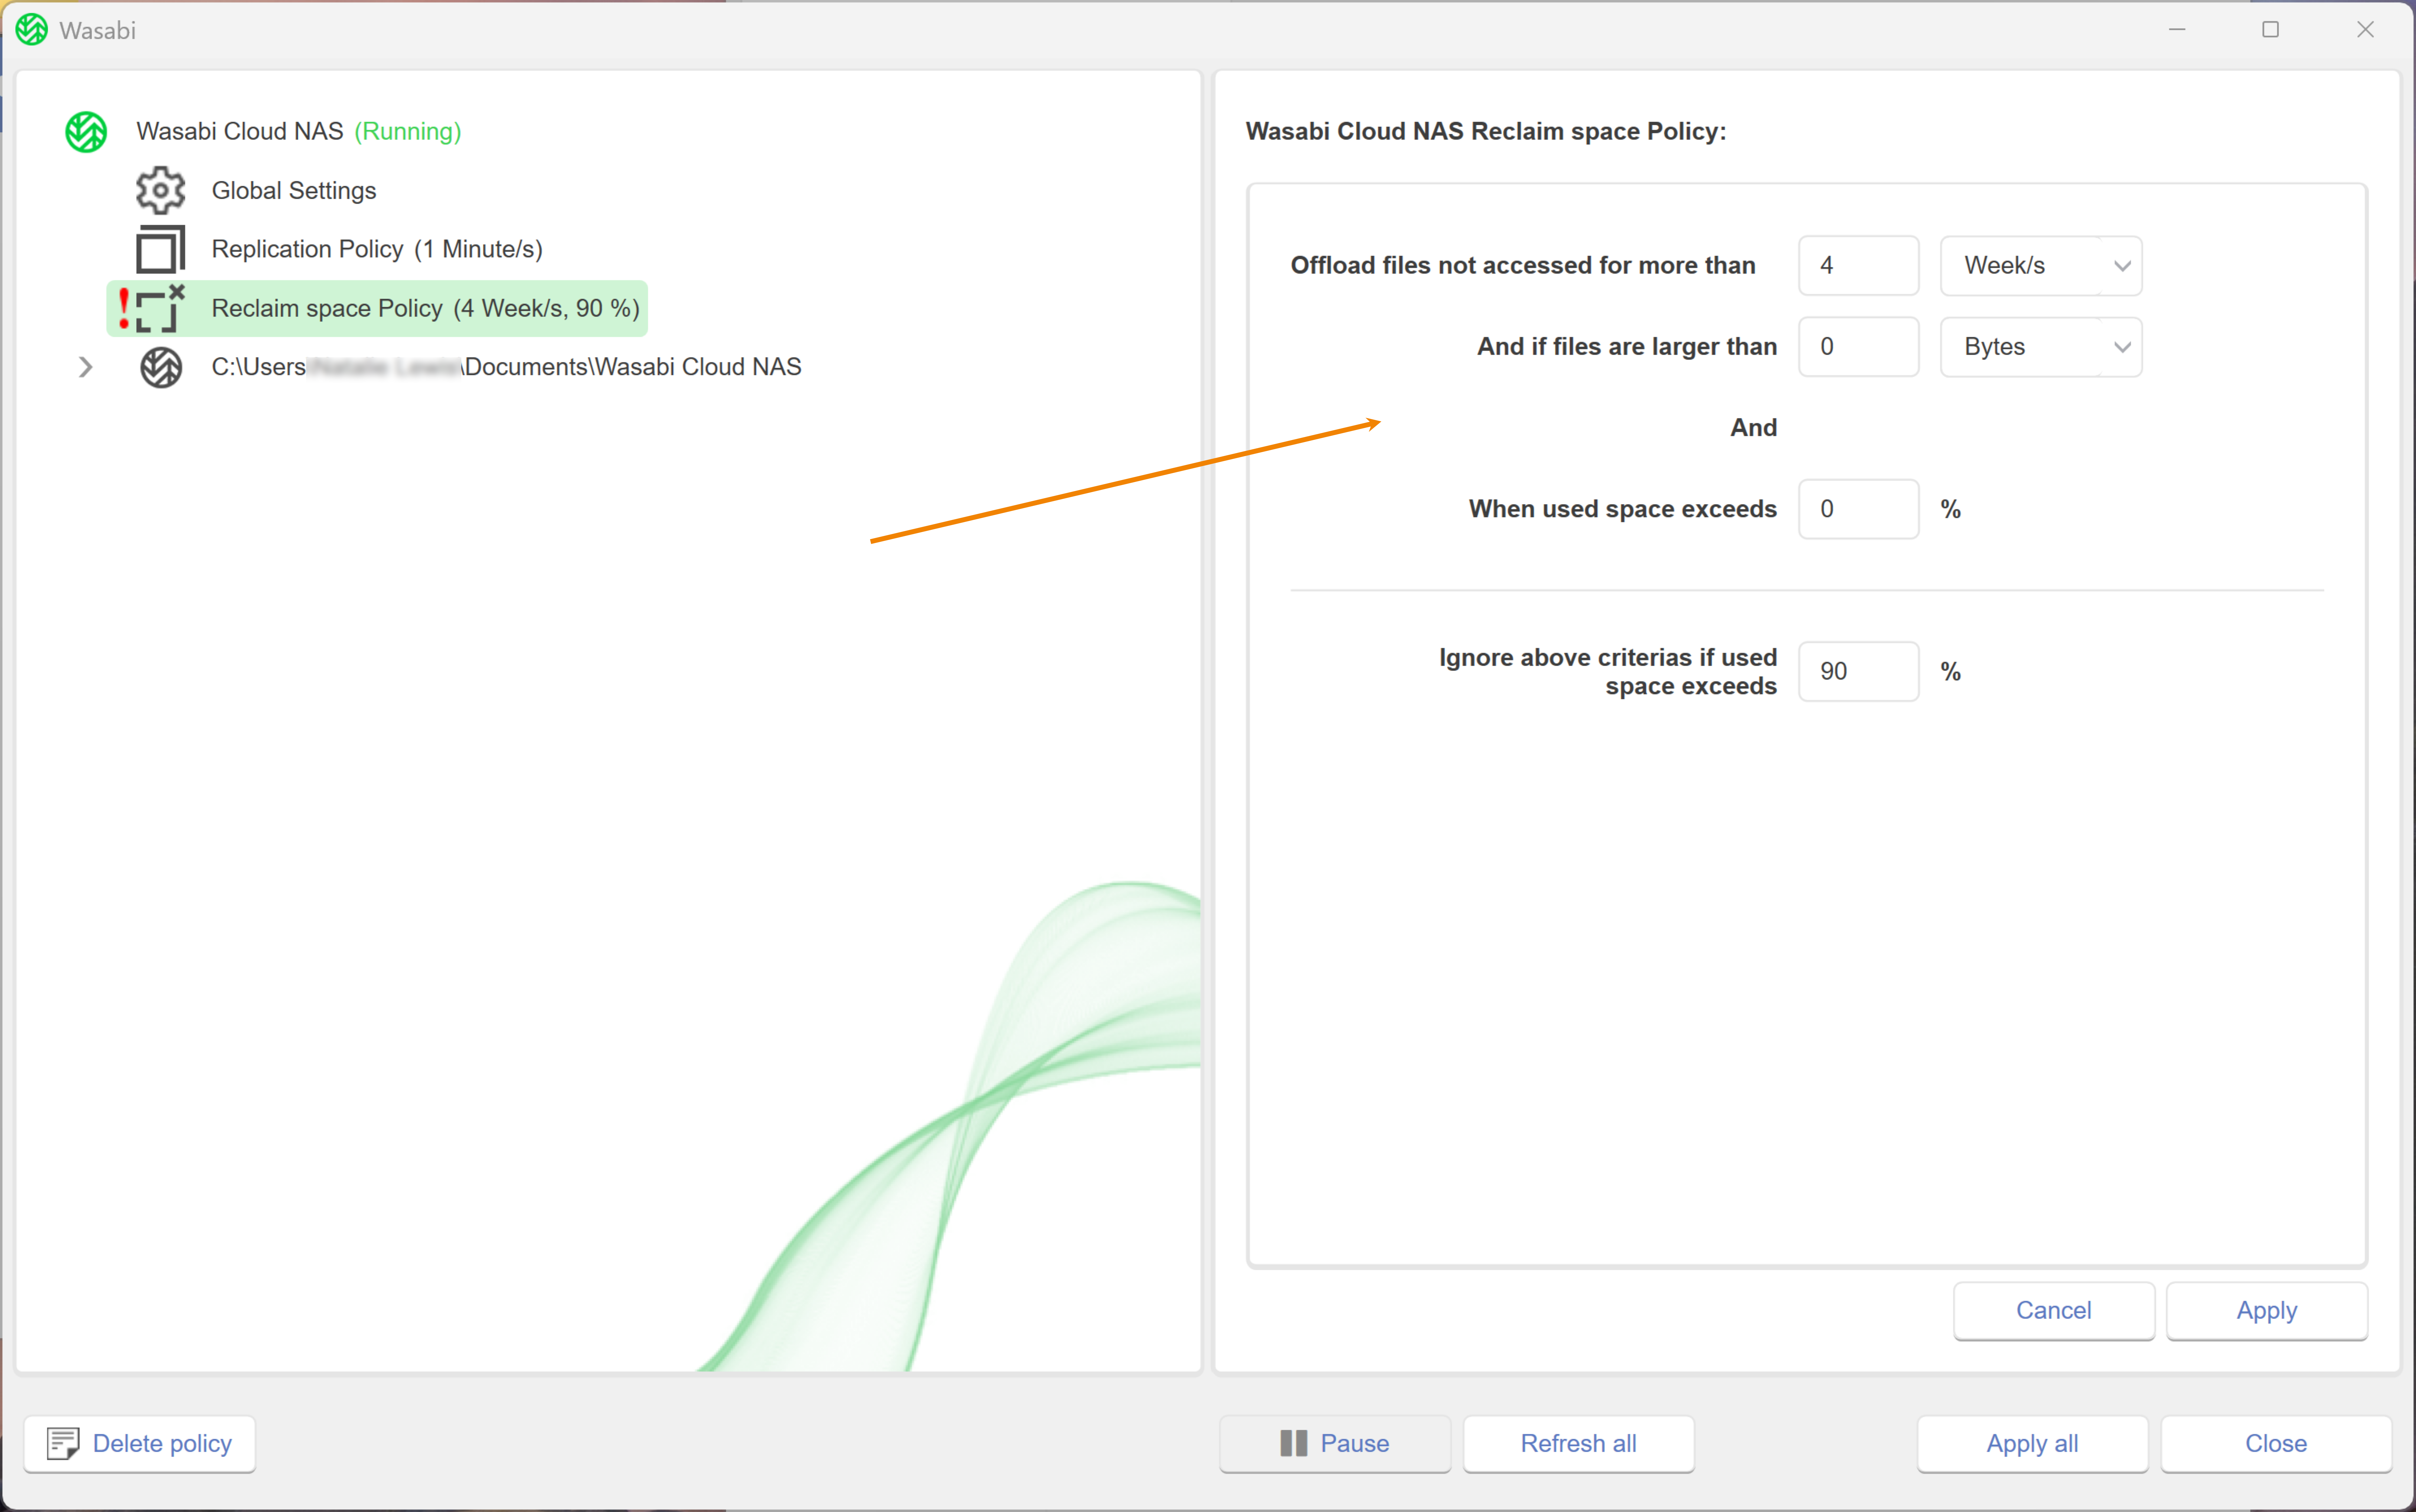
To specify the file access time, enter a number.
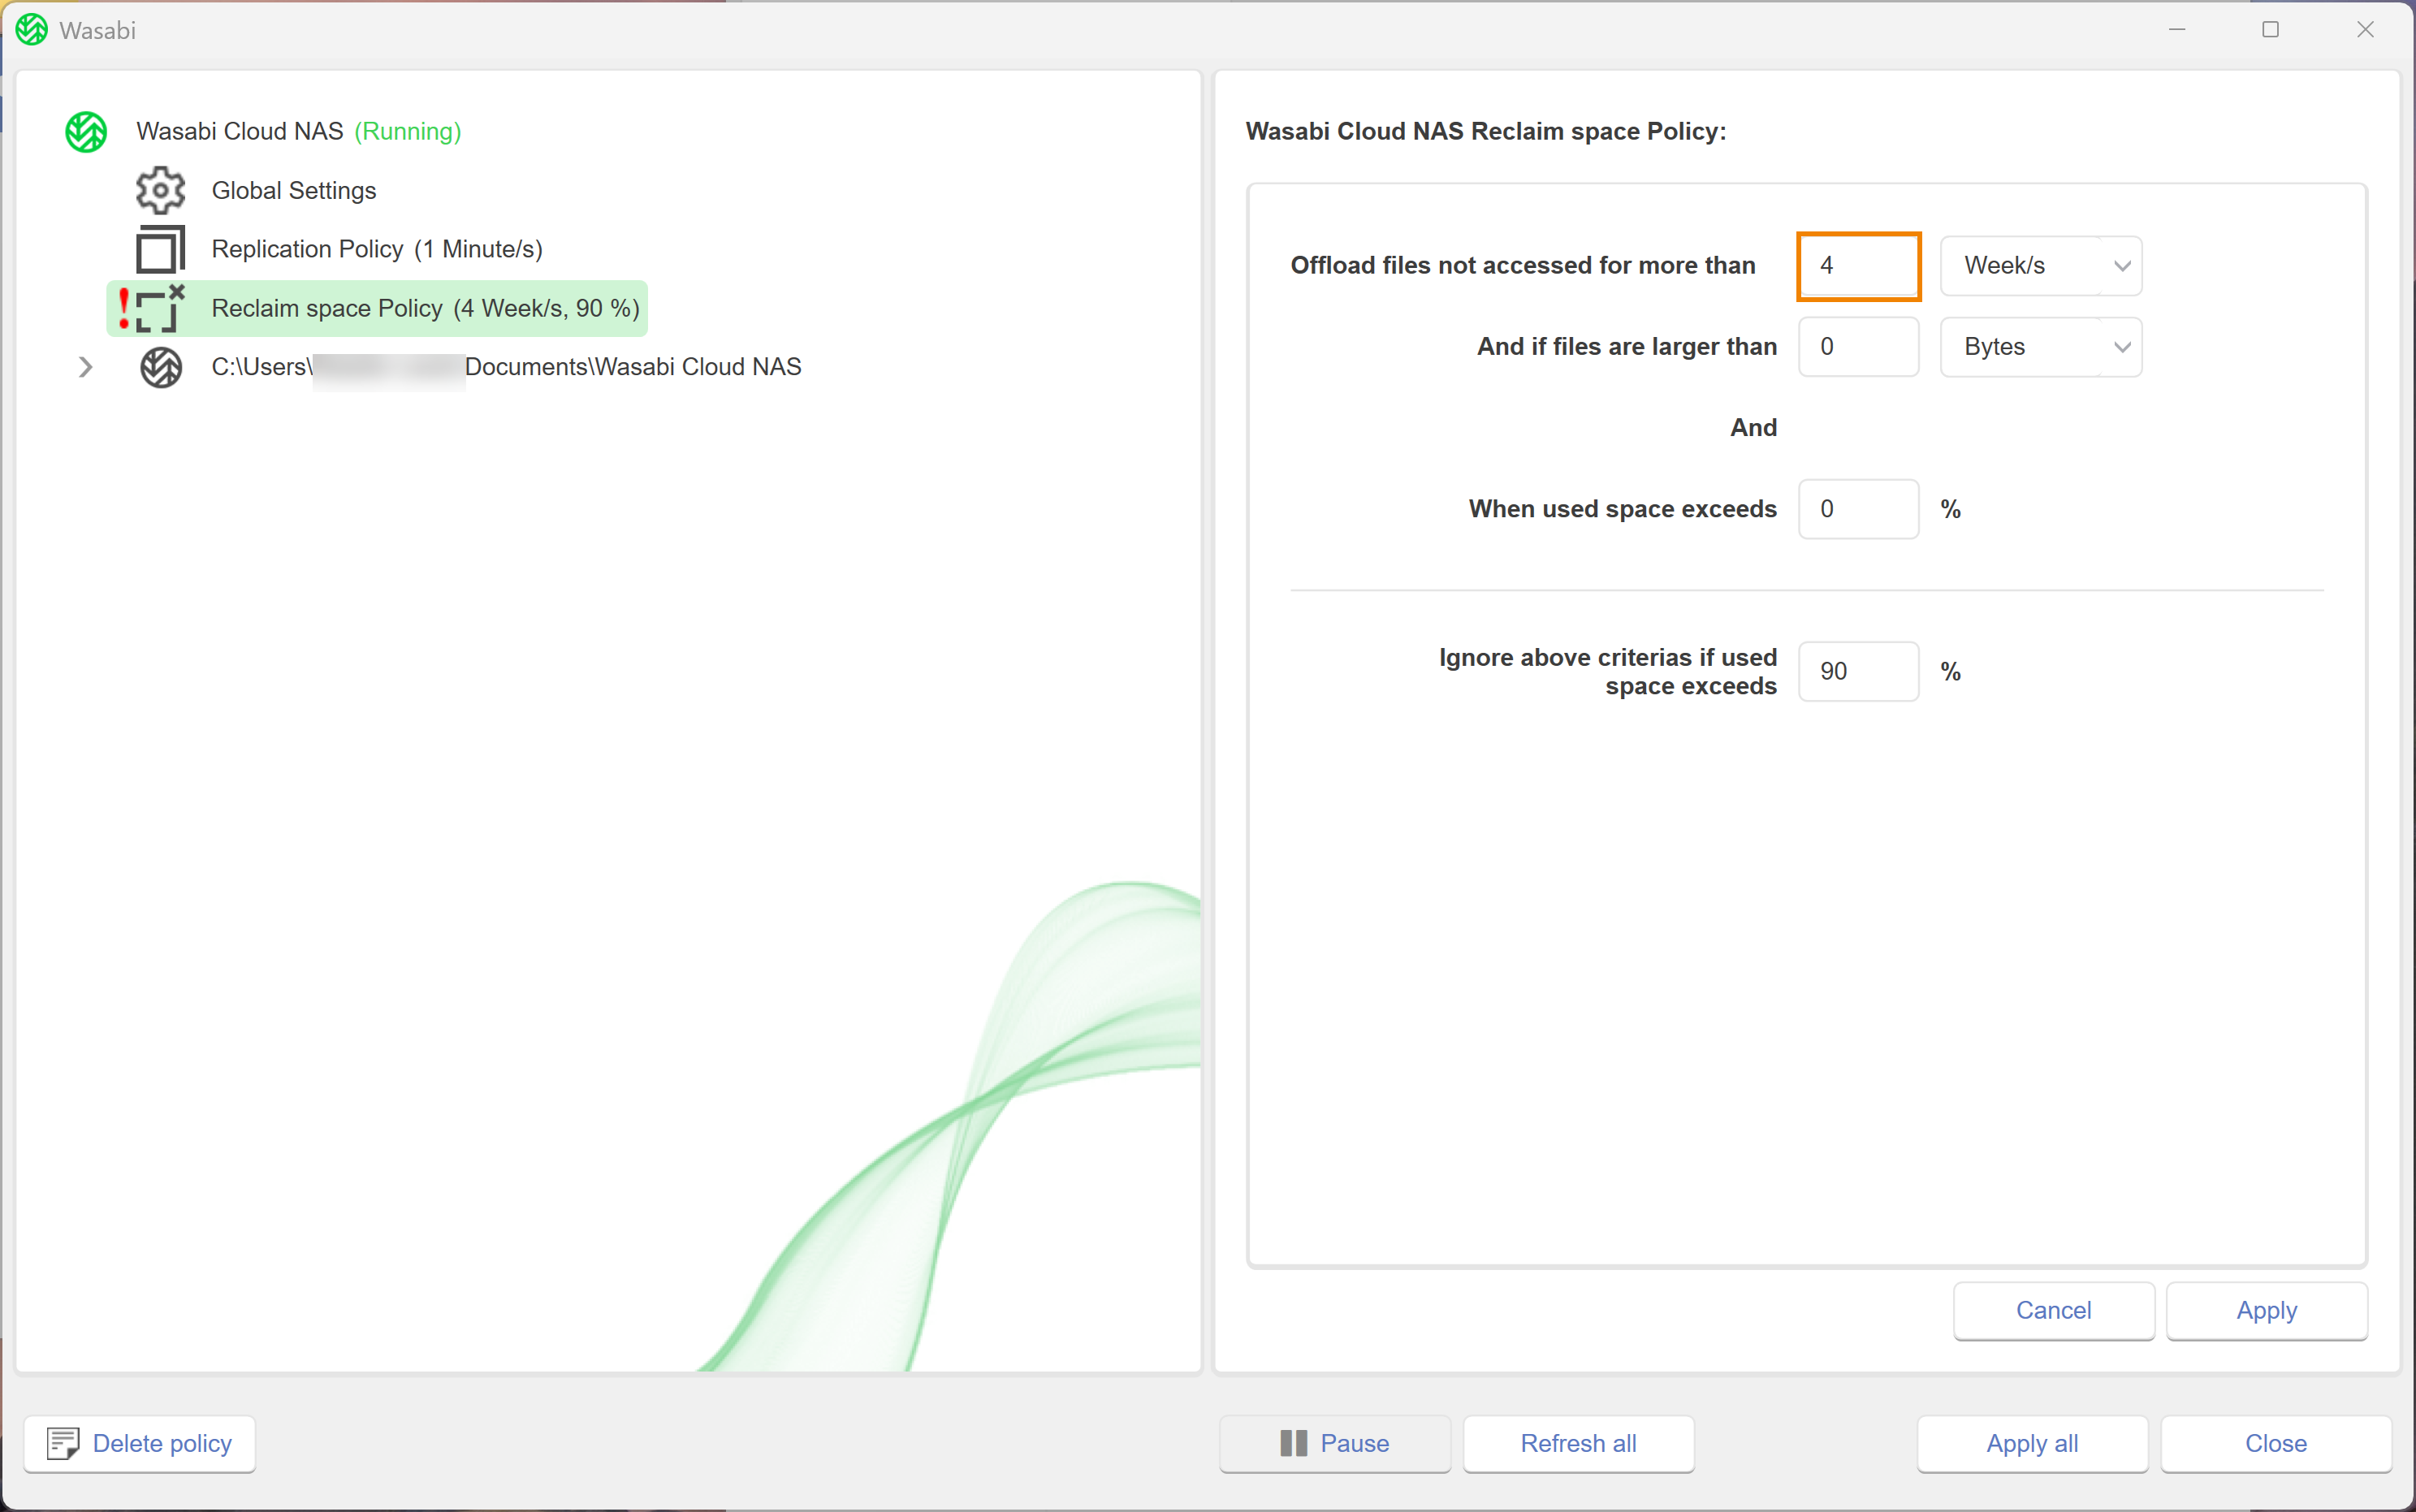
Click the drop-down to select a unit of the time.
Optionally, configure file size. Enter a number and select a file size unit.
Optionally, configure used space thresholds. Enter a percentage in the type field.
Optionally, configure Ignore above criterias if used space exceeds. Enter a percentage in the type field.
Click Apply All.
A message will notify you that the changes were applied and that WCN operations are paused. Click OK.
To resume WCN operations, click Wasabi Cloud NAS.
Click Resume.
Overwriting the Global Space Reclaiming Policy for a Specific Source
When you assign a Space Reclaiming policy to a specific source, you will overwrite the global Space Reclaiming policy for the selected source. To configure a Space Reclaiming policy for a specific source, follow the steps below.
You can only add one Space Reclaiming policy to a source. If the selected source already has a Space Reclaiming policy assigned, you can only edit the policy.
Select a source.
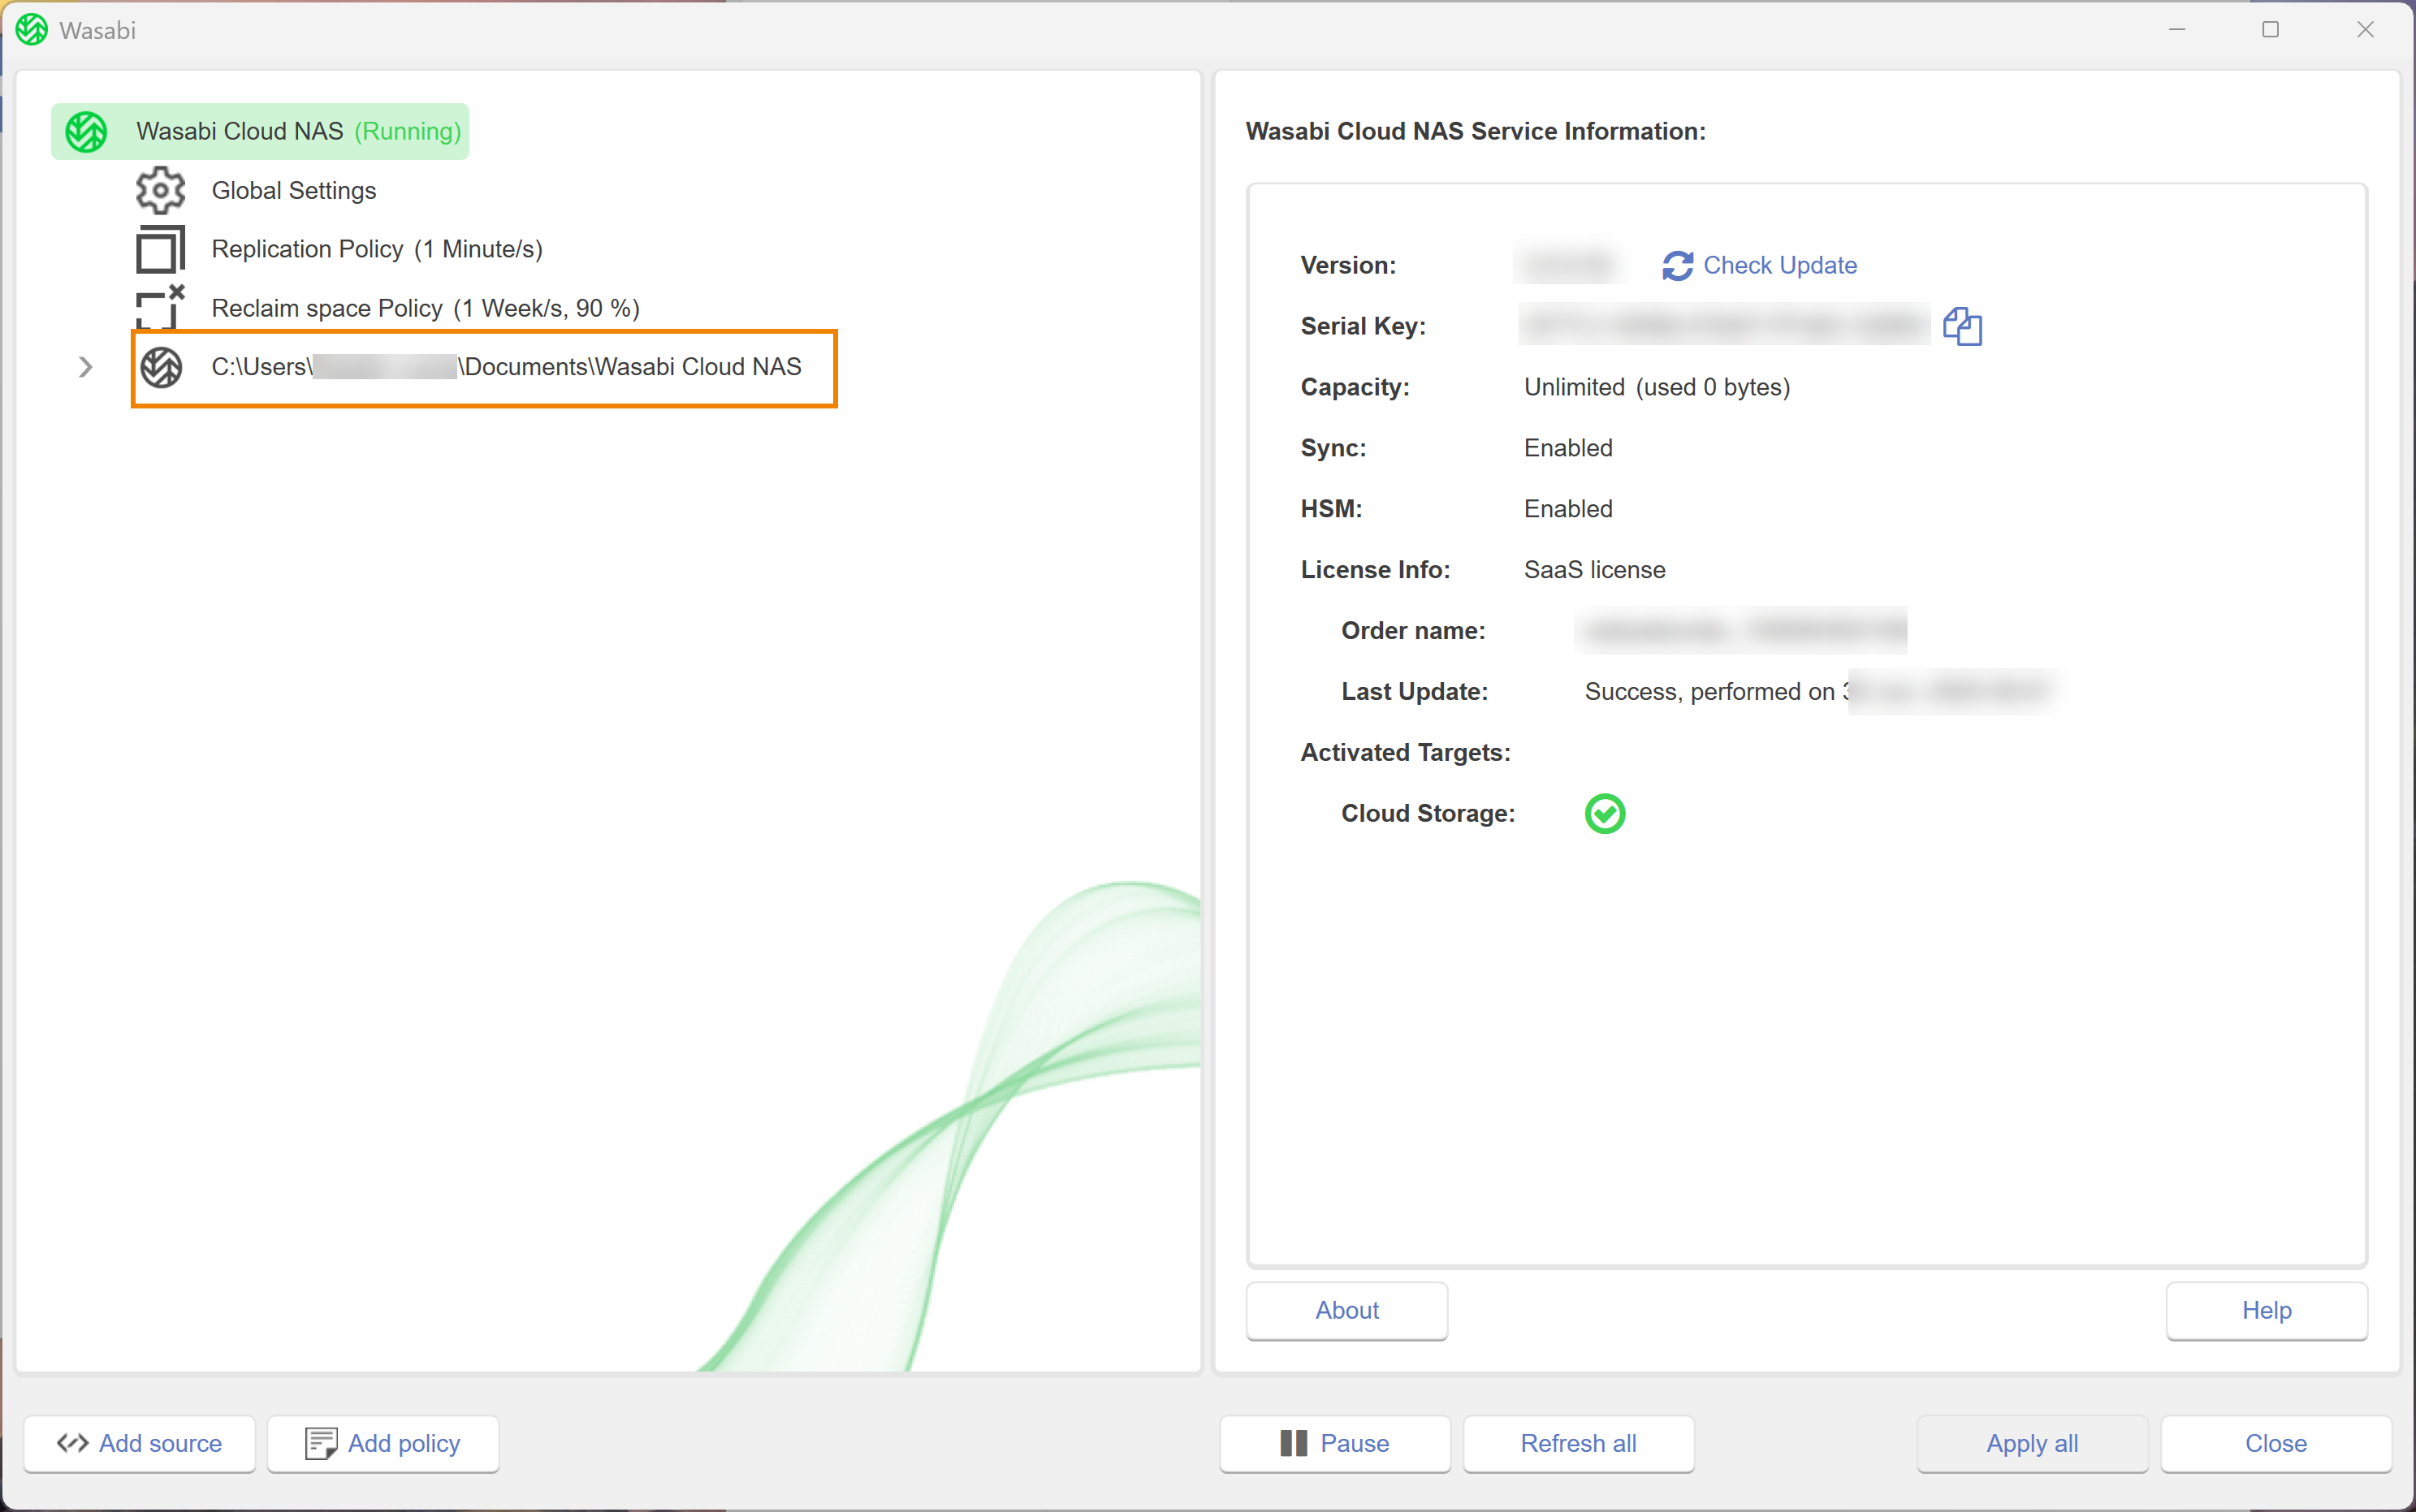
Click Add Policy.
In the Policy Type window, select Reclaim space.
Click OK.
In the right pane, configure the following parameters:
Offload files not accessed for more than—(required) File time interval
And if files are larger than—(optional) File size
When used space exceeds—(optional) Threshold for used space
Ignore above criterias if used space exceeds—(optional) Percentage
Click Apply All.
A message will notify you that the changes were applied and that WCN operations are paused. Click OK.
To resume operations, click Wasabi Cloud NAS.
Click Resume.
Editing a Policy
To edit a Space Reclaiming policy for a specific source, select the source.
Select Reclaim space Policy.
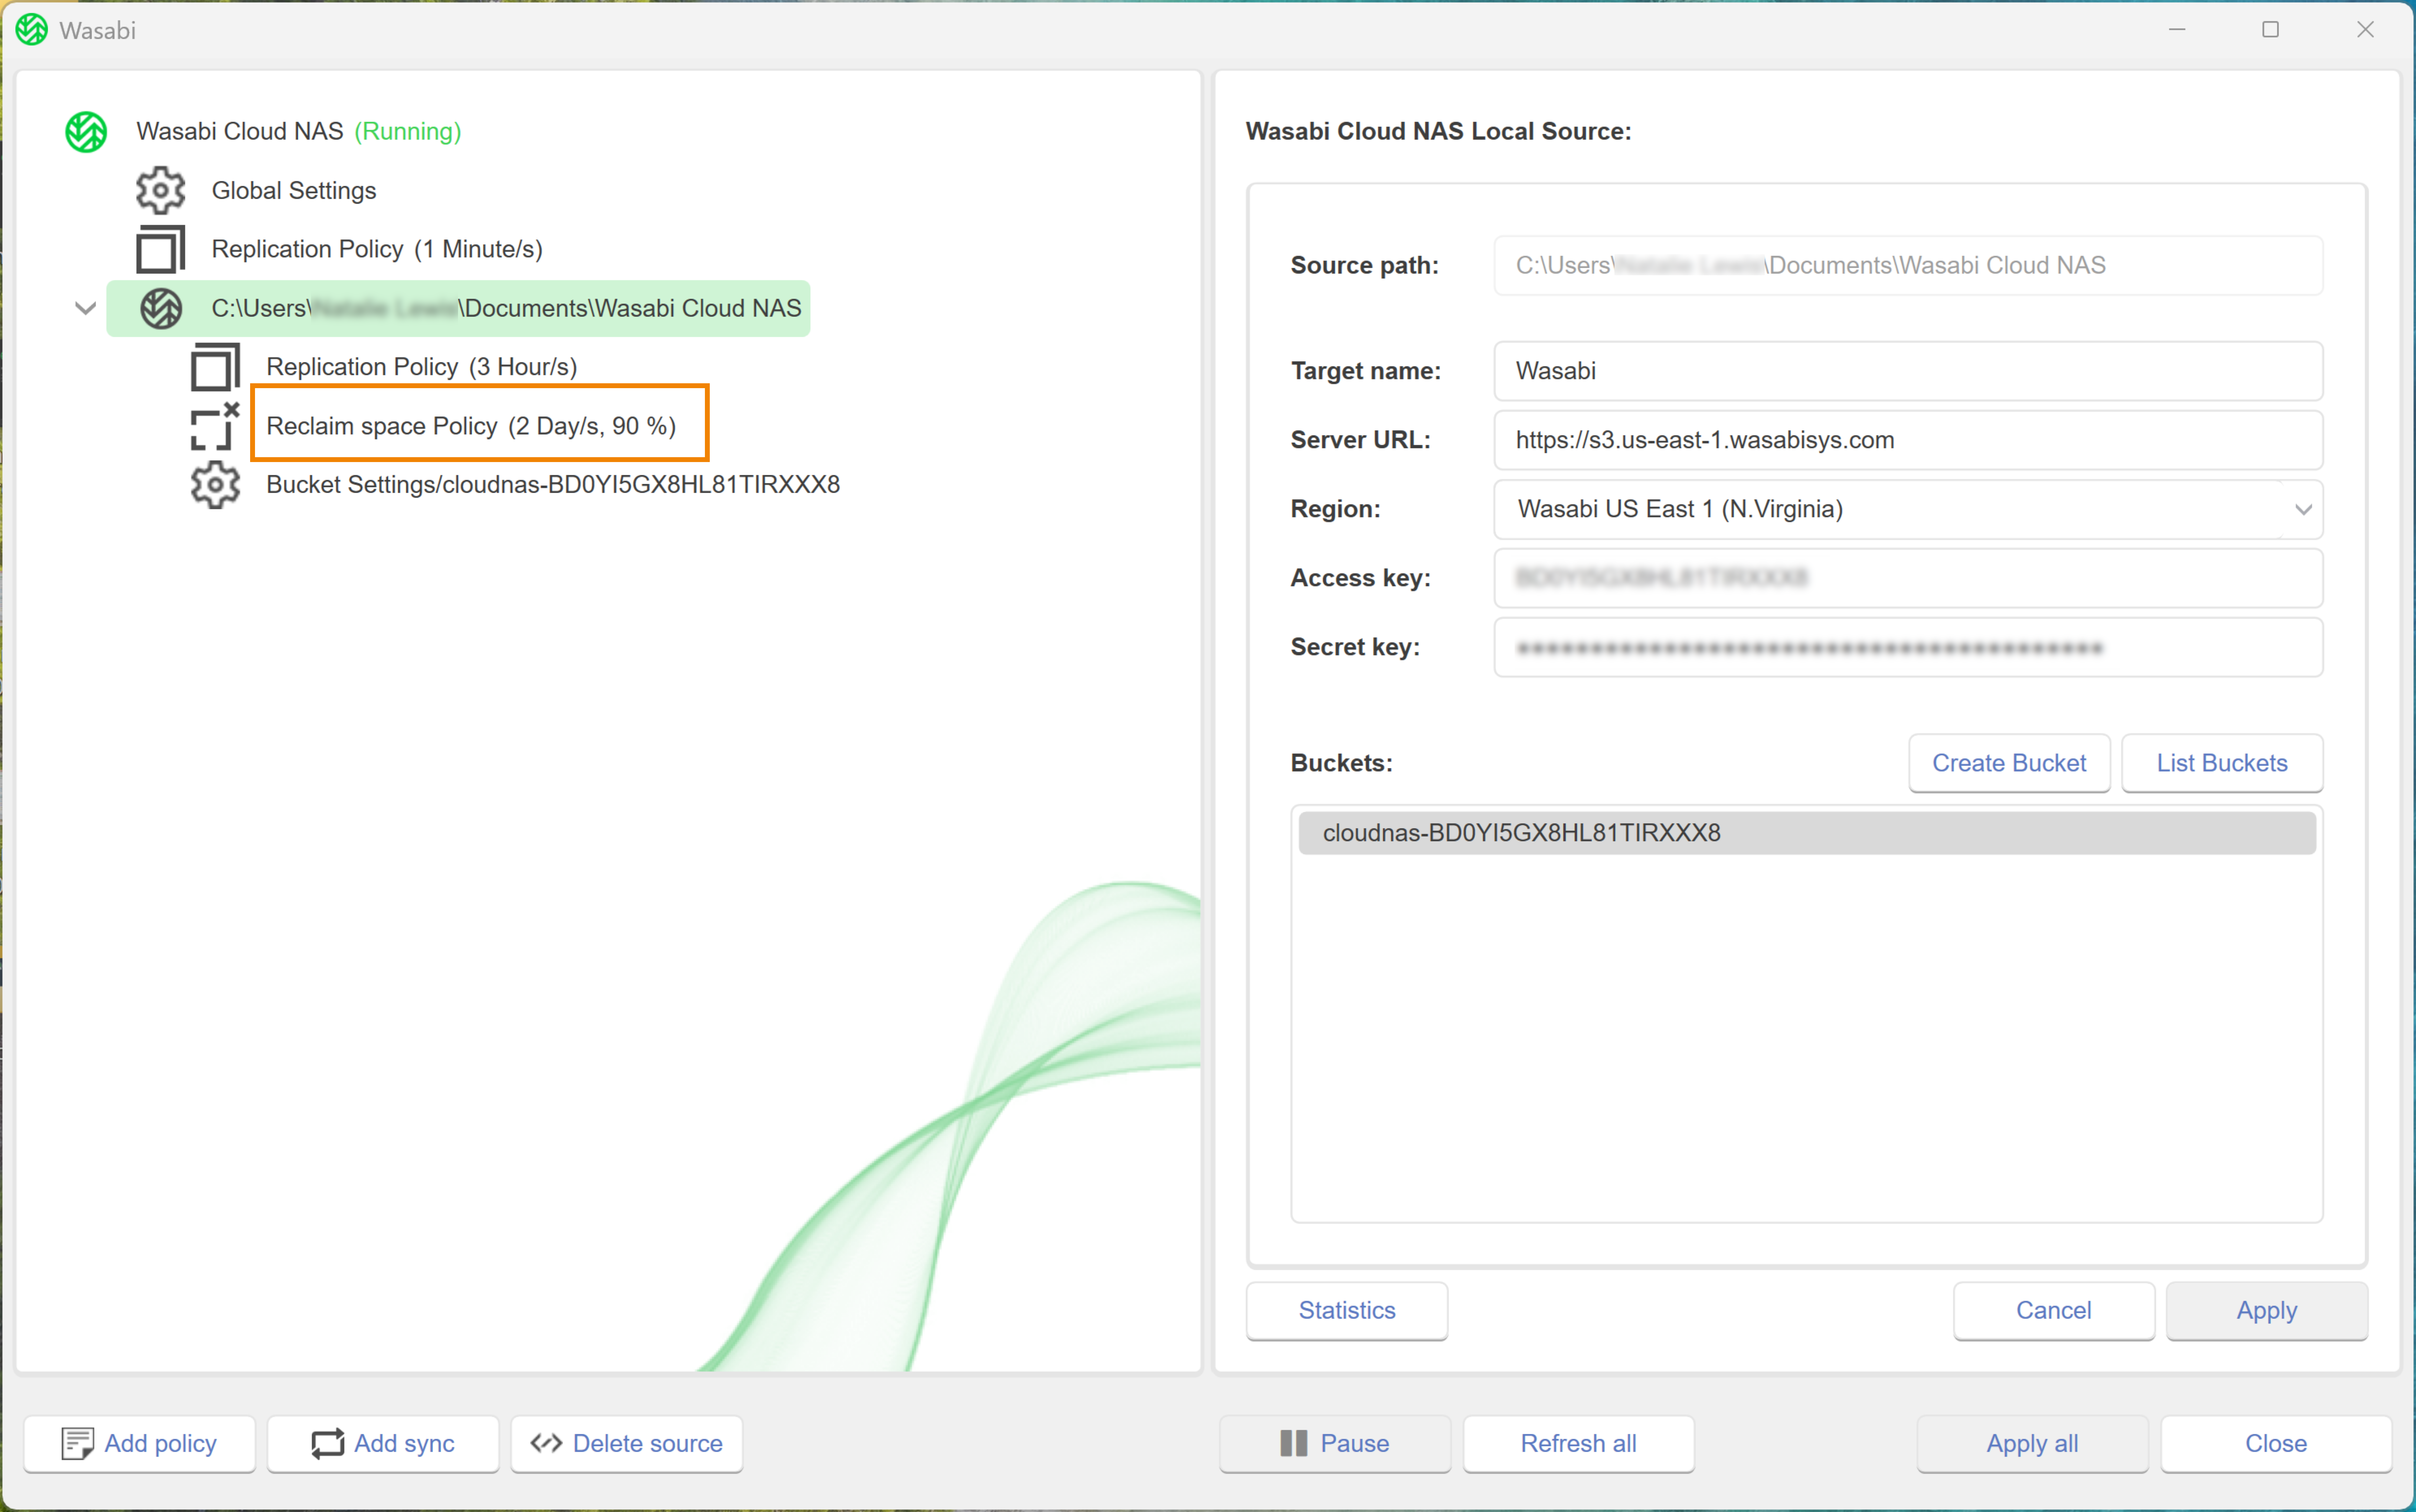
Optionally, to edit a global Space Reclaiming policy, click Reclaim space policy.
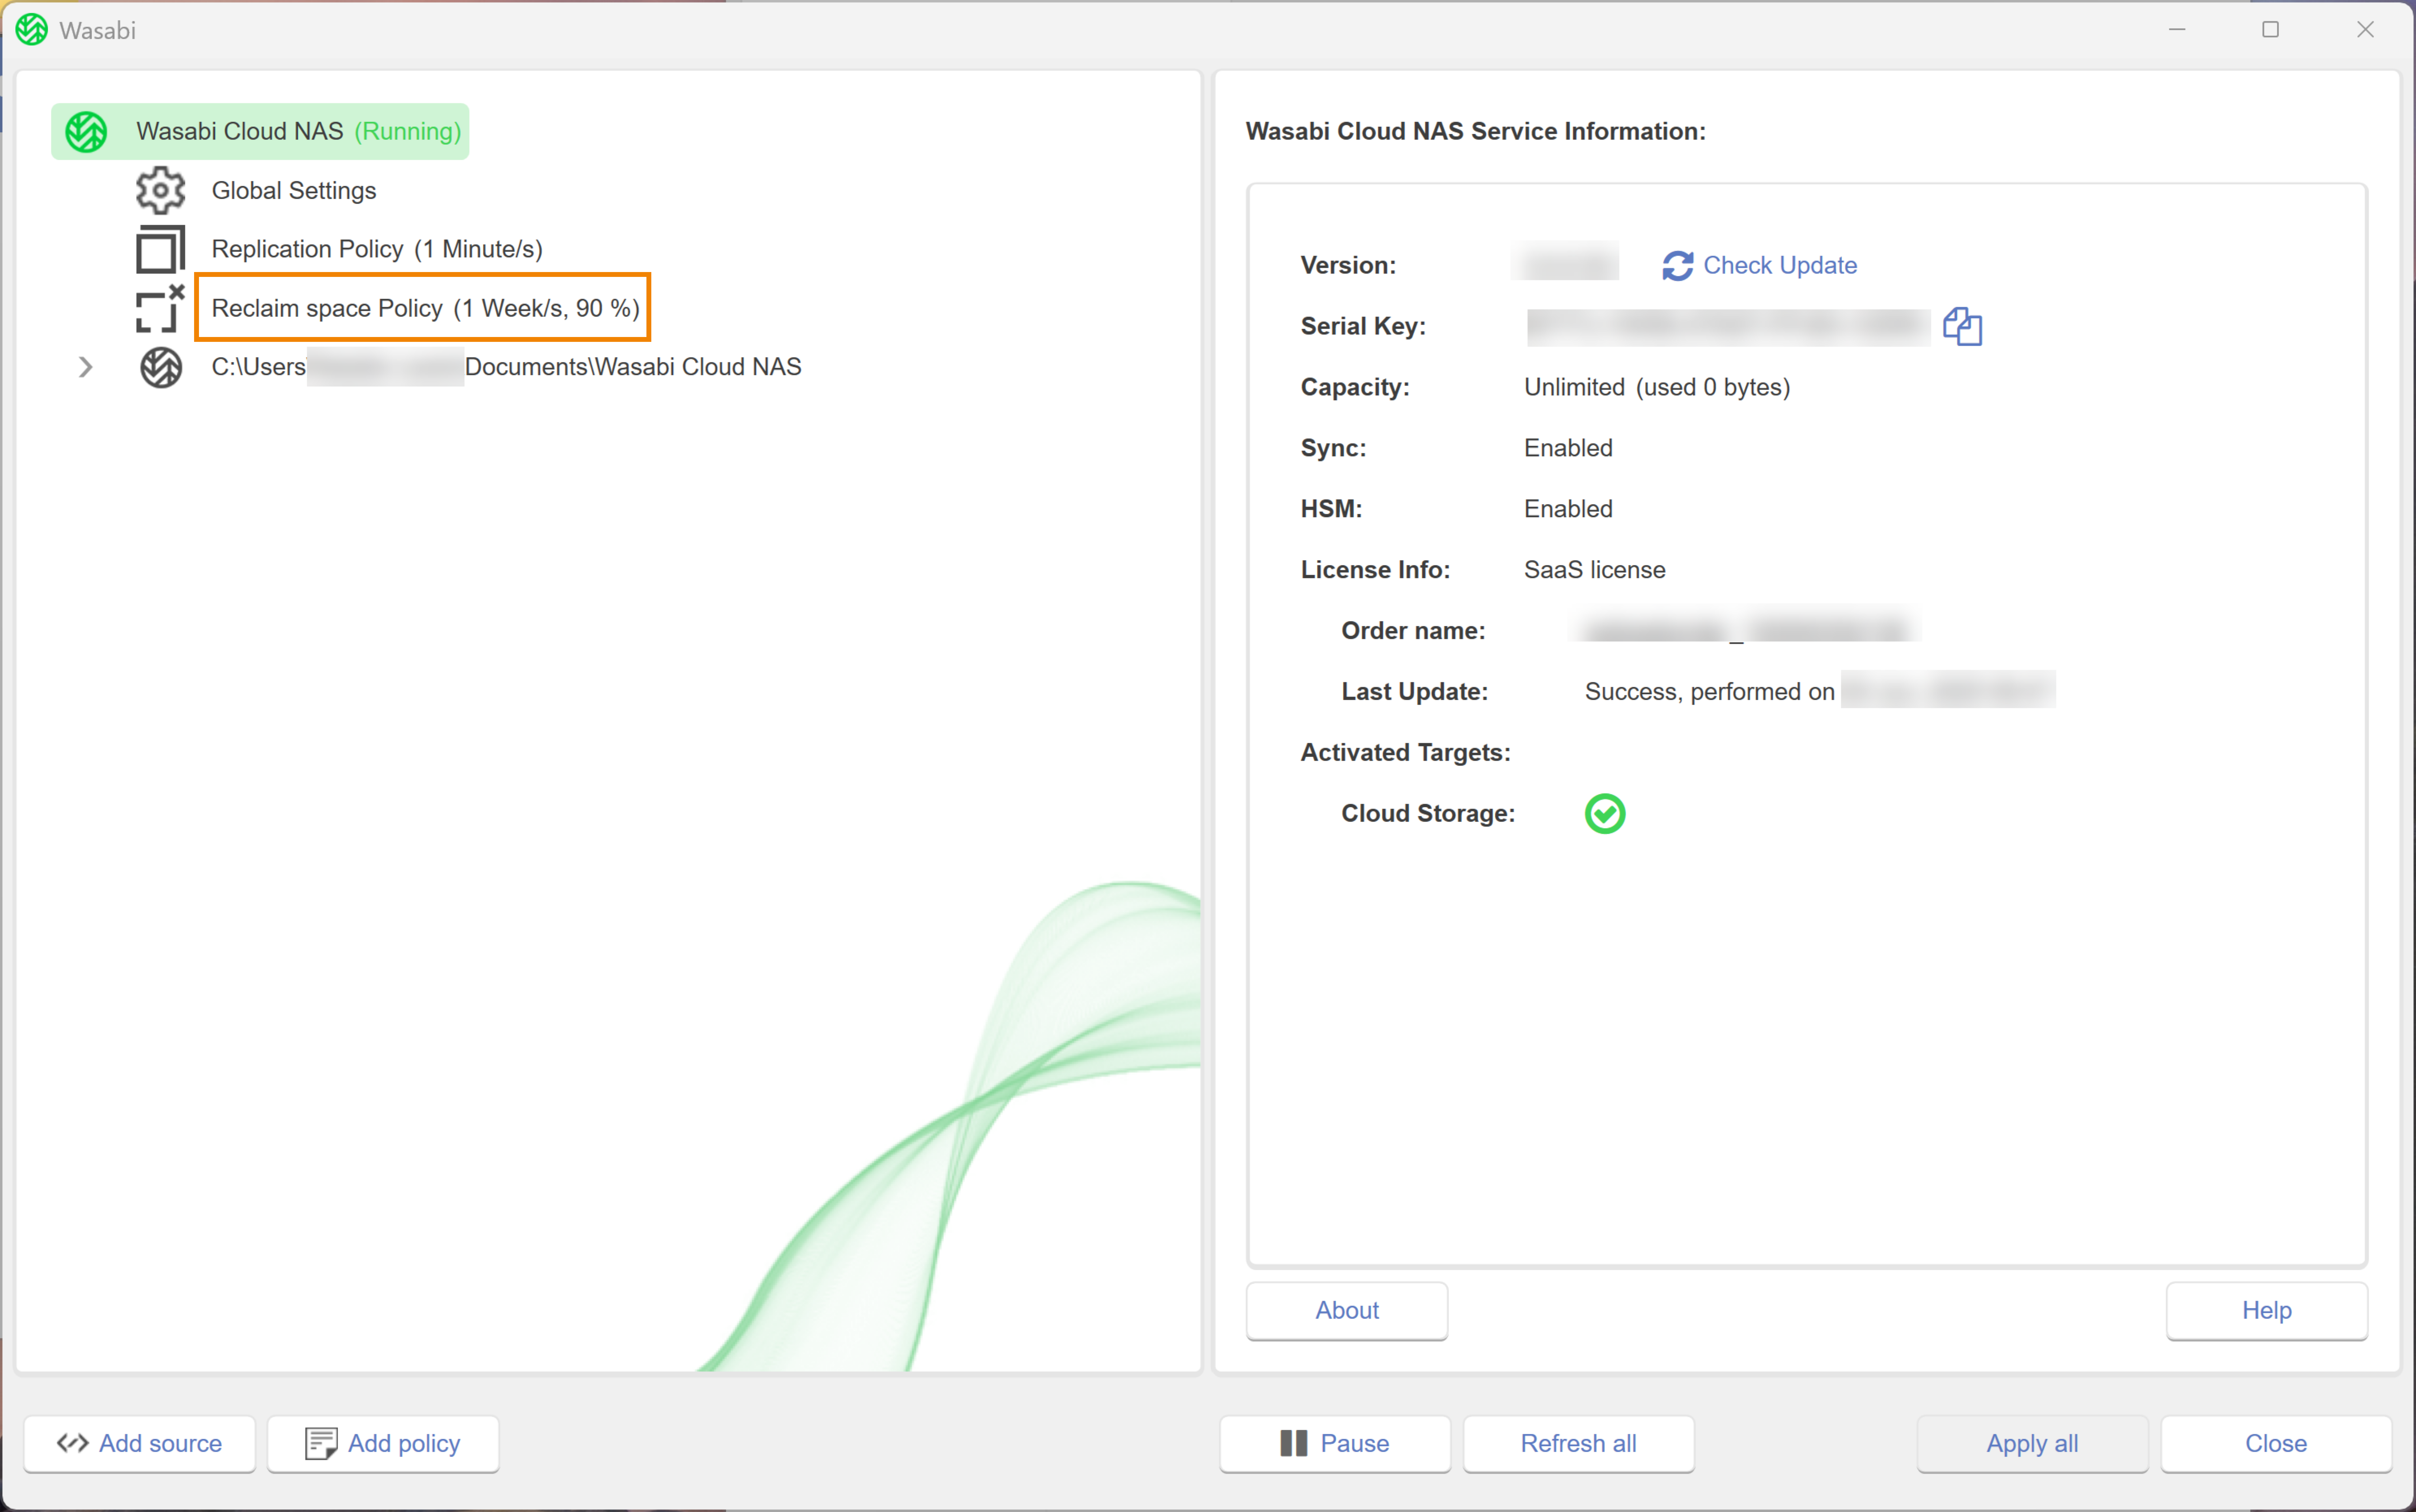
Modify the parameters, as needed.
Click Apply All.
A message will notify you that the changes were applied and that WCN operations are paused. Click OK.
To resume operations, click Wasabi Cloud NAS.
Click Resume.
Disabling Space Reclaiming
When a reclaim space policy is disabled for a source, WCN will not reclaim space for that source at all.
Select the source.
Click Reclaim space Policy.
Click the checkbox to disable the Space Reclaiming policy.
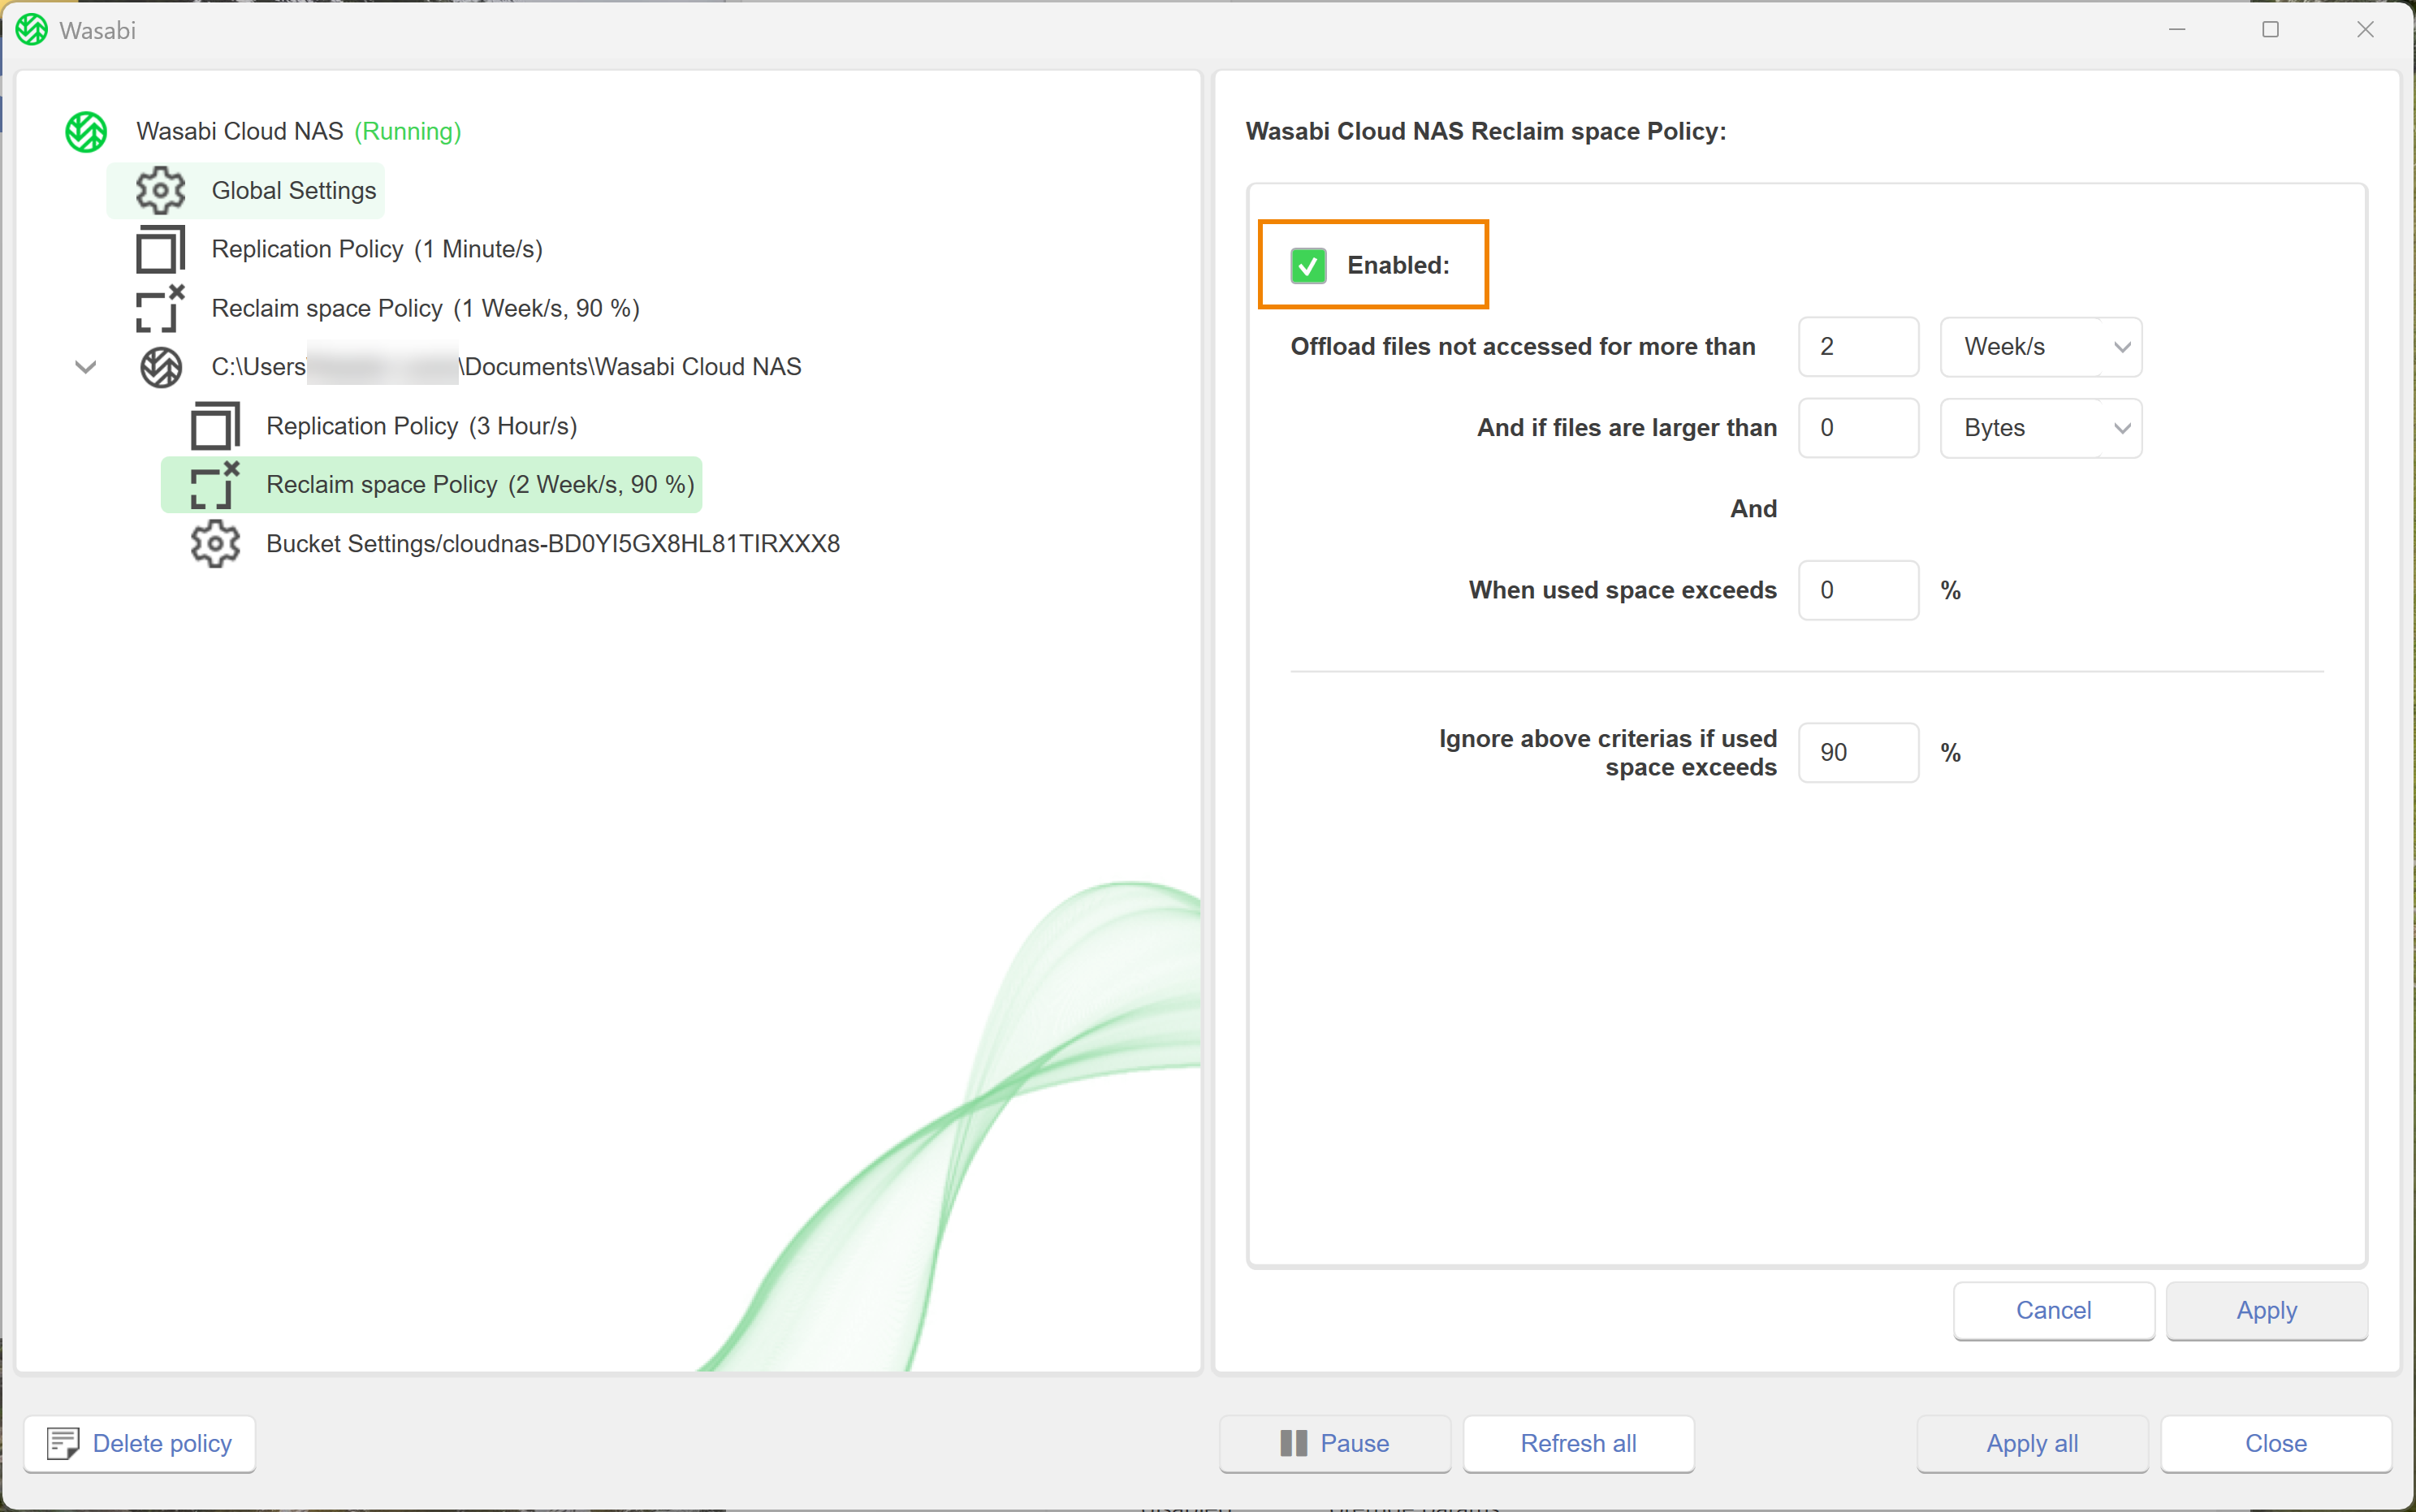
Click Apply All.
A message will notify you that the changes were applied and that WCN operations are paused. Click OK.
To resume operations, click Wasabi Cloud NAS.
Click Resume.
Deleting a Space Reclaiming Policy
When you delete the Space Reclaiming policy for a specific source, the source will use the global Space Reclaiming policy. Wasabi recommends that you do not delete the global policy. You can modify the policy parameters, if needed.
To delete a policy for a specific source, select the source.
Select Reclaim space Policy.
Optionally, to delete a global policy, click Replication Policy.
Click Delete policy.
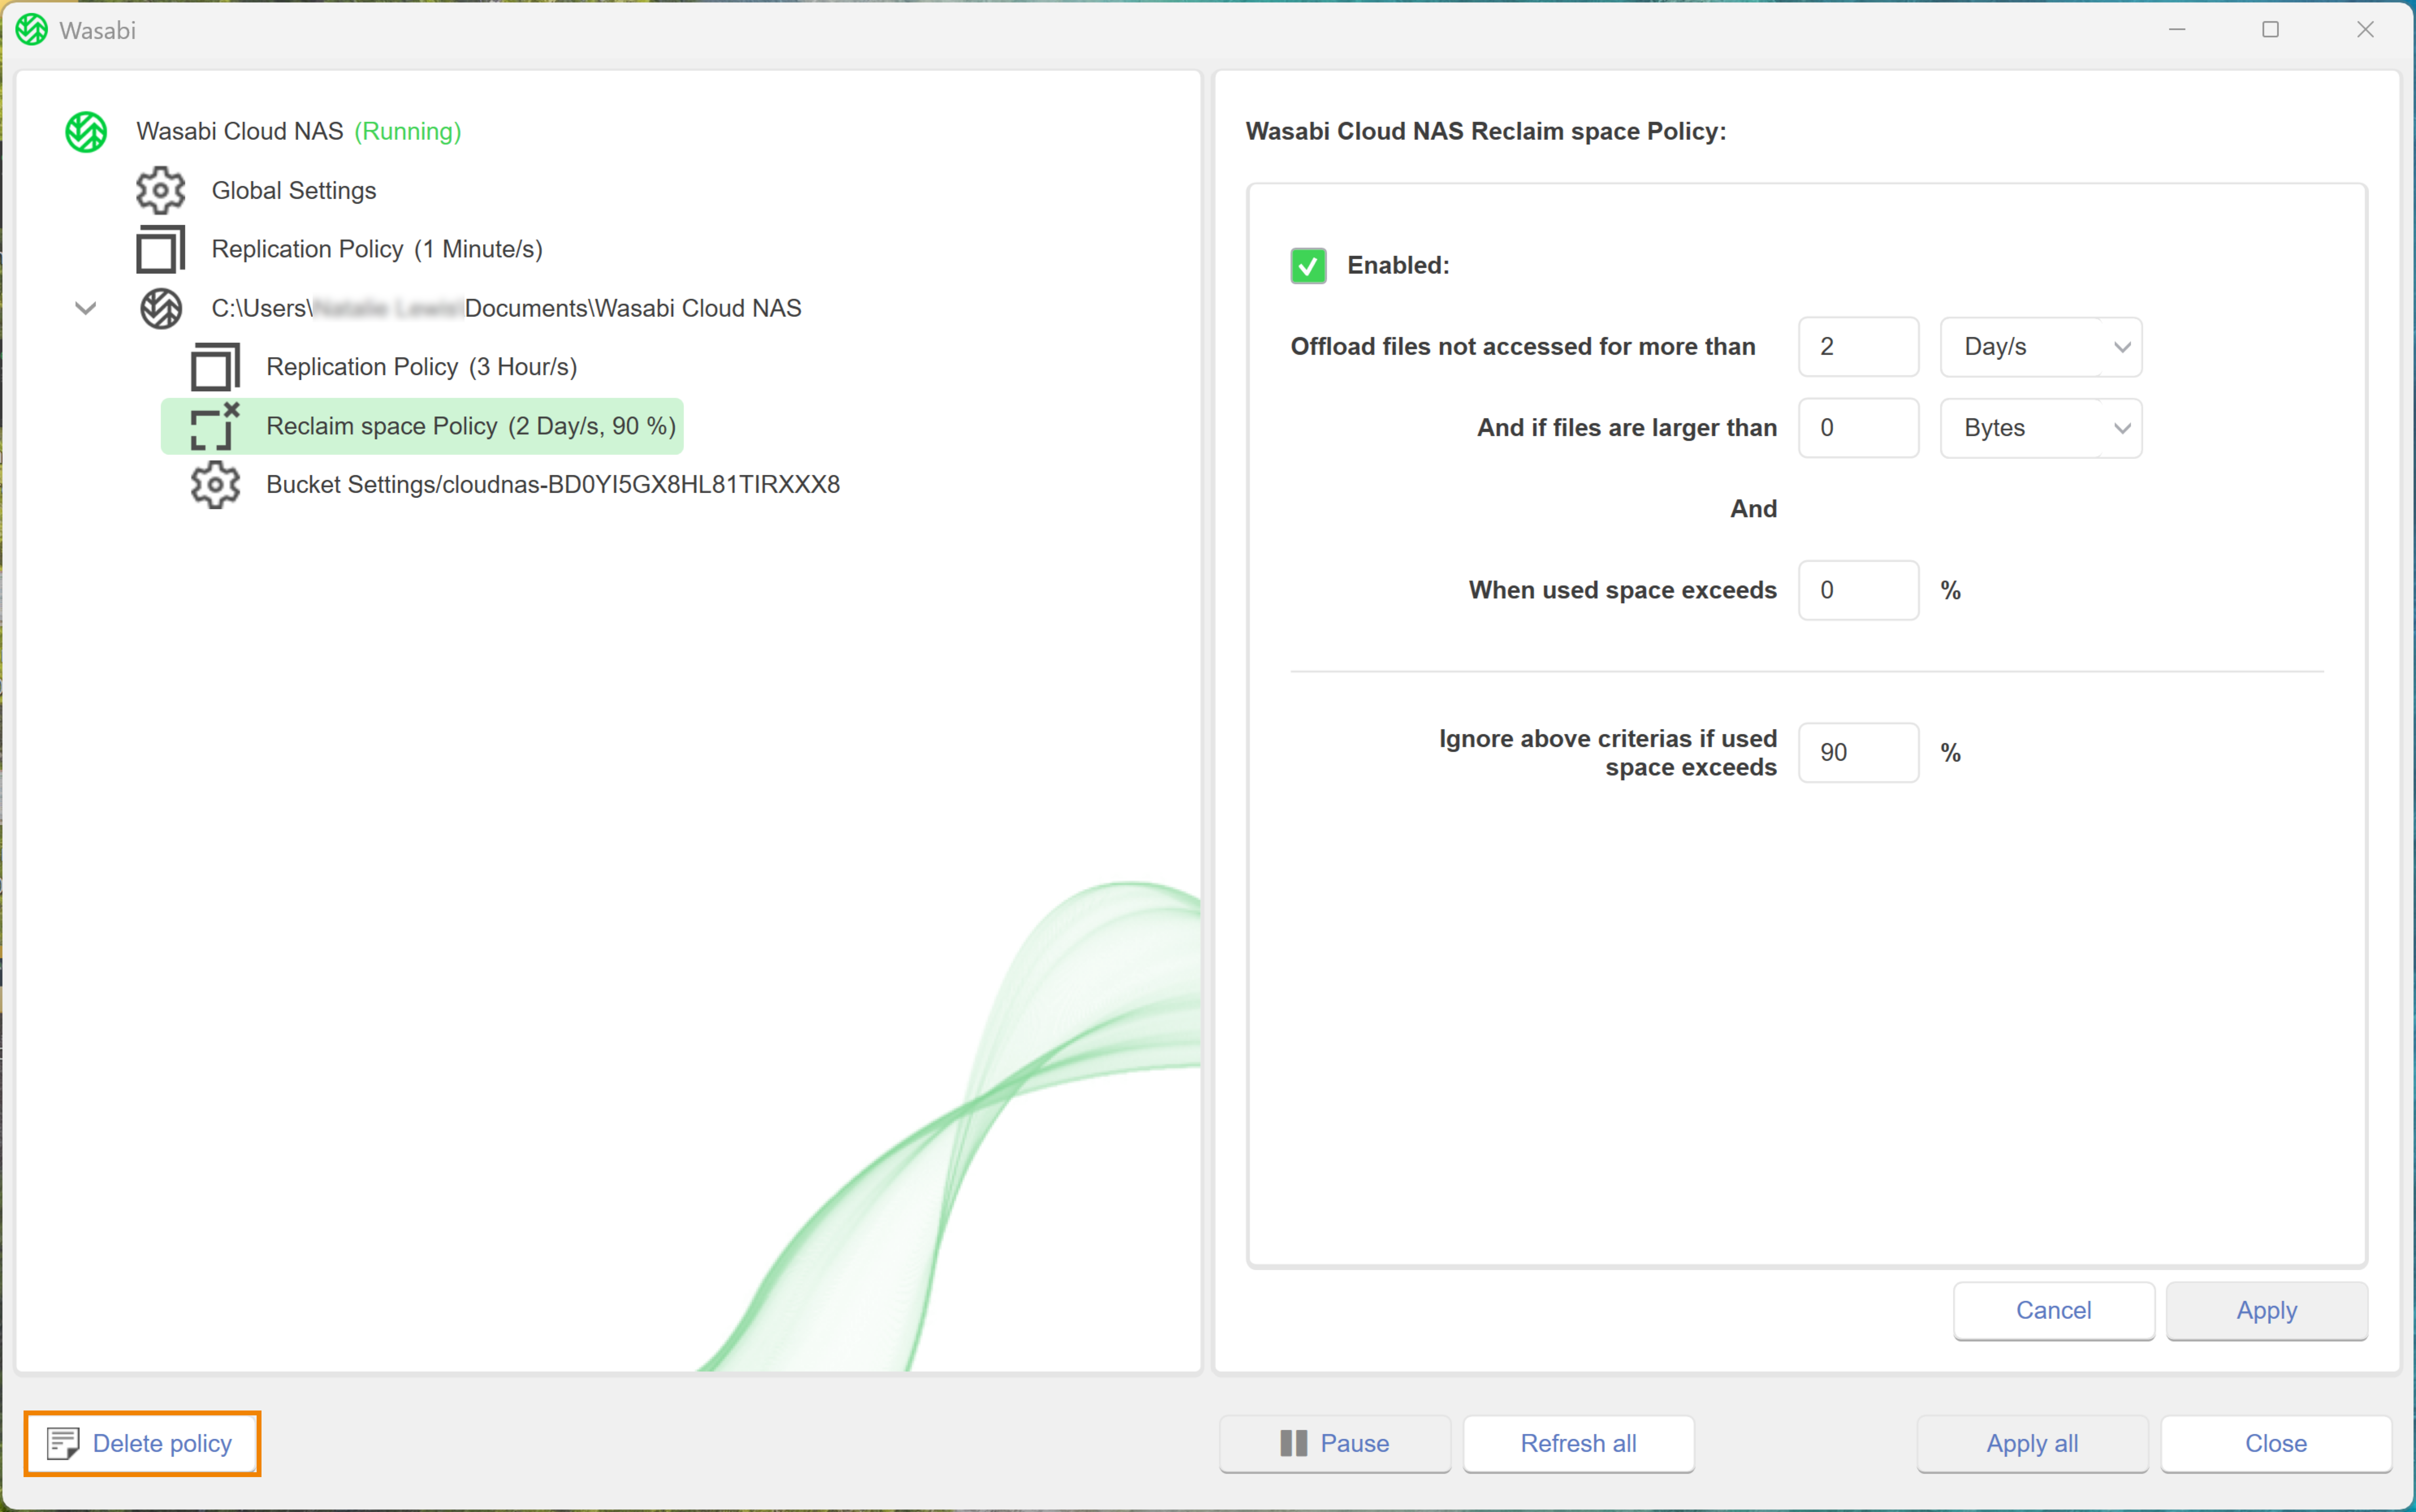
A message will request that you confirm the deletion. Click OK.
Notice that WCN is in a Paused state. To resume WCN operations, click Wasabi Cloud NAS.
Click Resume.
Configuring Process Filtering
Process Filtering determines when to trigger file retrieval from the bucket. By default, any process that attempts to open a nearline file on the source volume triggers the file retrieval from the bucket. To prevent unnecessary retrieval of nearline files by your antivirus software, specify which processes are:
Permitted to trigger retrieval
Prohibited from triggering the retrieval of nearline files
Click Global Settings.
Click Process filtering.
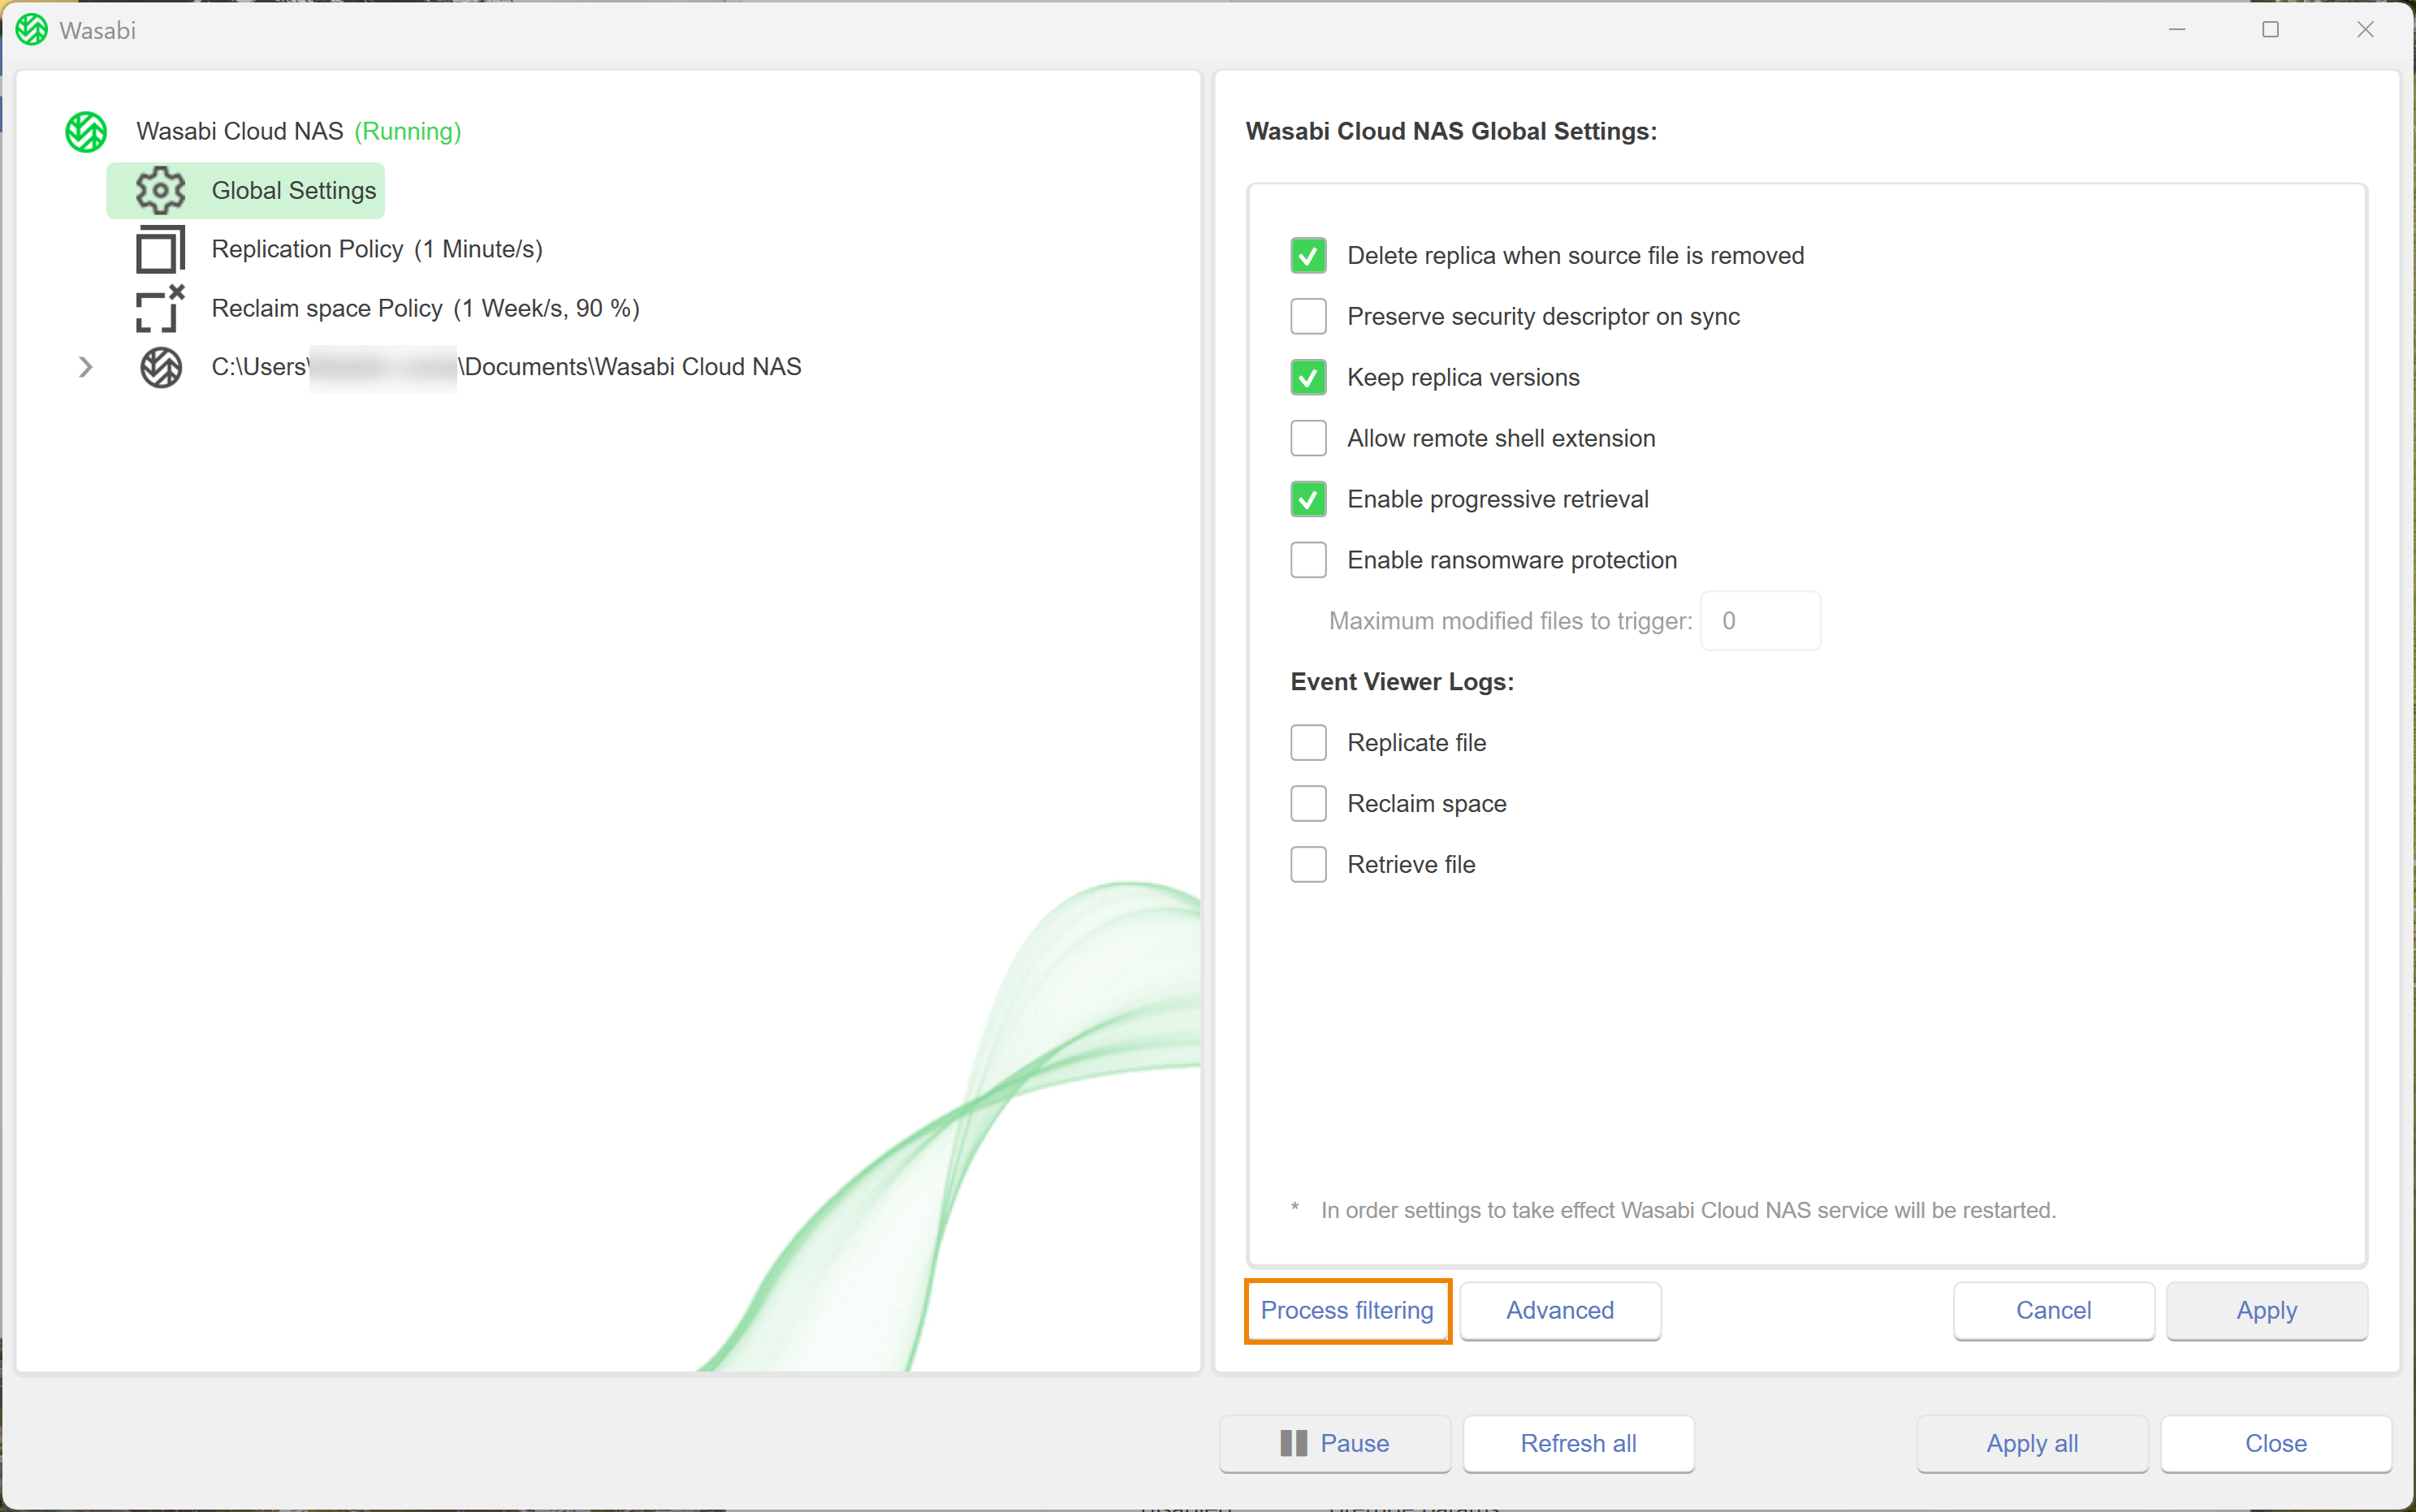
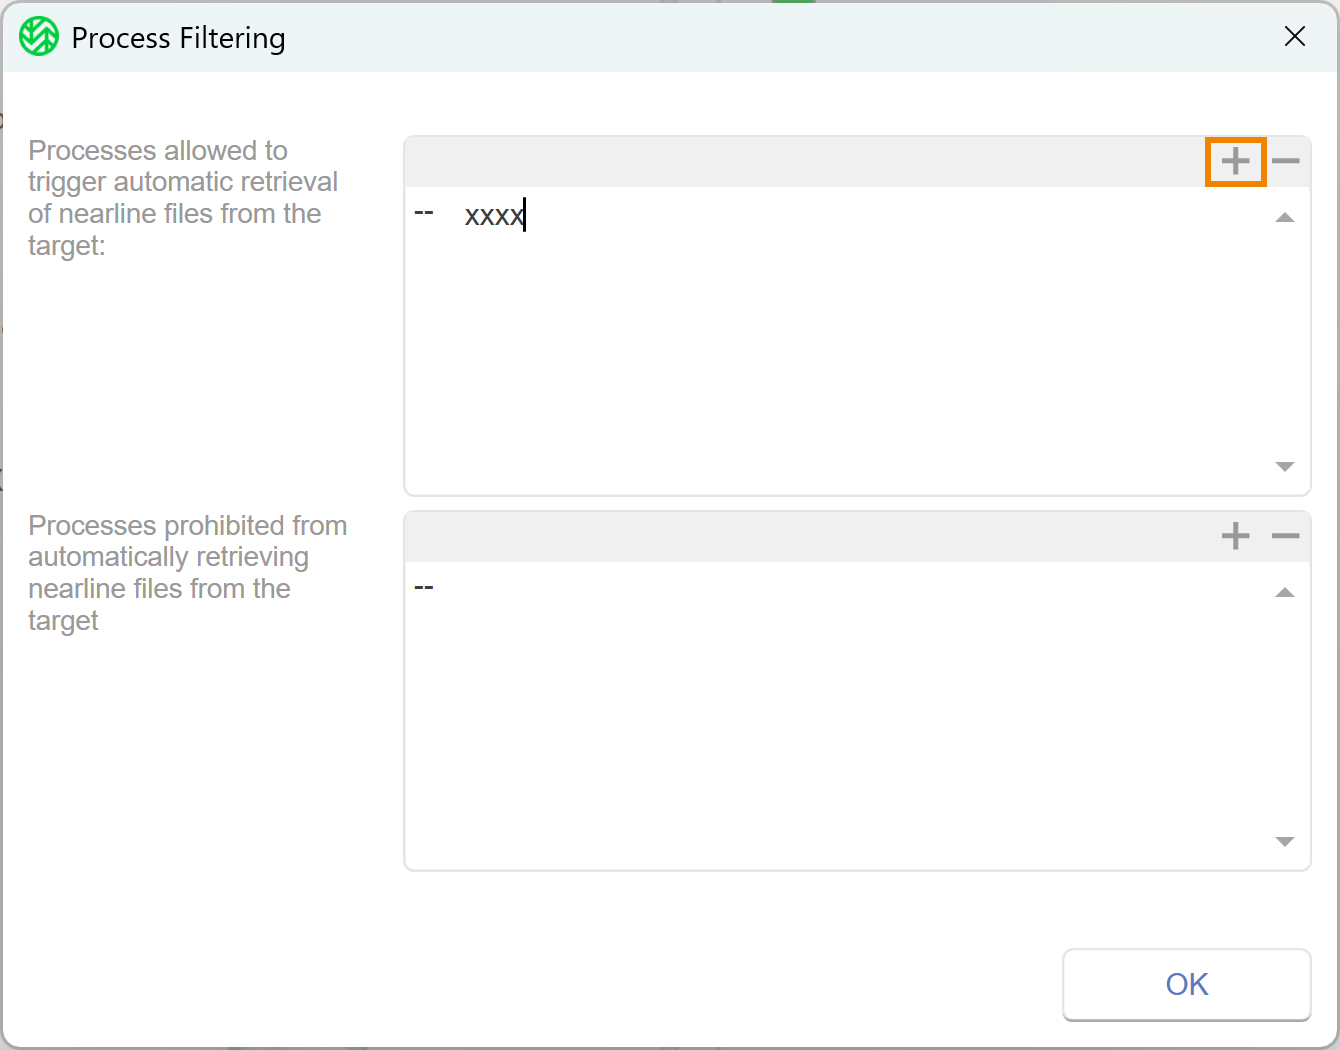
You will be presented with the Process Filtering dialog box, as shown below.
.png)
Define which processes are allowed to trigger automatic retrieval of nearline files from the target. To do so, enter a process in the type field.
If you create a list of processes that can trigger nearline file retrieval from the bucket, any process not included in the list will not trigger the operation when this process attempts to open the file.
Optionally, define which processes are prohibited from automatically triggering the retrieval of nearline files from the target. To do so, enter a process in the type field.
If you specify the processes that are not allowed to trigger file retrieval from the bucket, any process not mentioned in the list will trigger the nearline file retrieval when this process attempts to open that file.
To add an new line item, click +.
Optionally, to delete the last line item, click —.
Once complete, click OK.
Click Apply All.
A message will notify you that WCN must restart to apply the changes. Click Yes.
A message will notify you that the changes were applied and that WCN operations are paused. Click OK.
To resume WCN operations, click Wasabi Cloud NAS.
Click Resume.