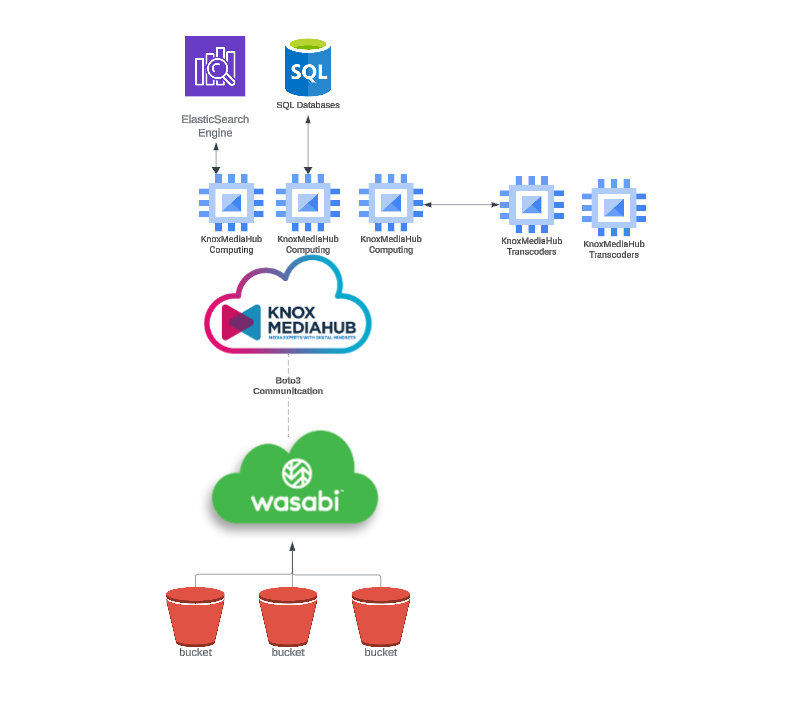
Wasabi has been validated to work with Knox Media Hub. Knox Media Hub seamlessly integrates its media asset management, distribution portals, and transcoding services with Wasabi S3 storage, enhancing efficiency and reliability in managing, distributing, and transcoding media assets.
Requirements
Active Wasabi Cloud Storage Account
Wasabi Bucket - See our Bucket Creation Guide
Access & Secret Key Pair - See our Access Keys Guide
Active KnoxMediaHub Account
Architecture Diagram
Configuration
1. Log in to the Wasabi Console and navigate to Users.
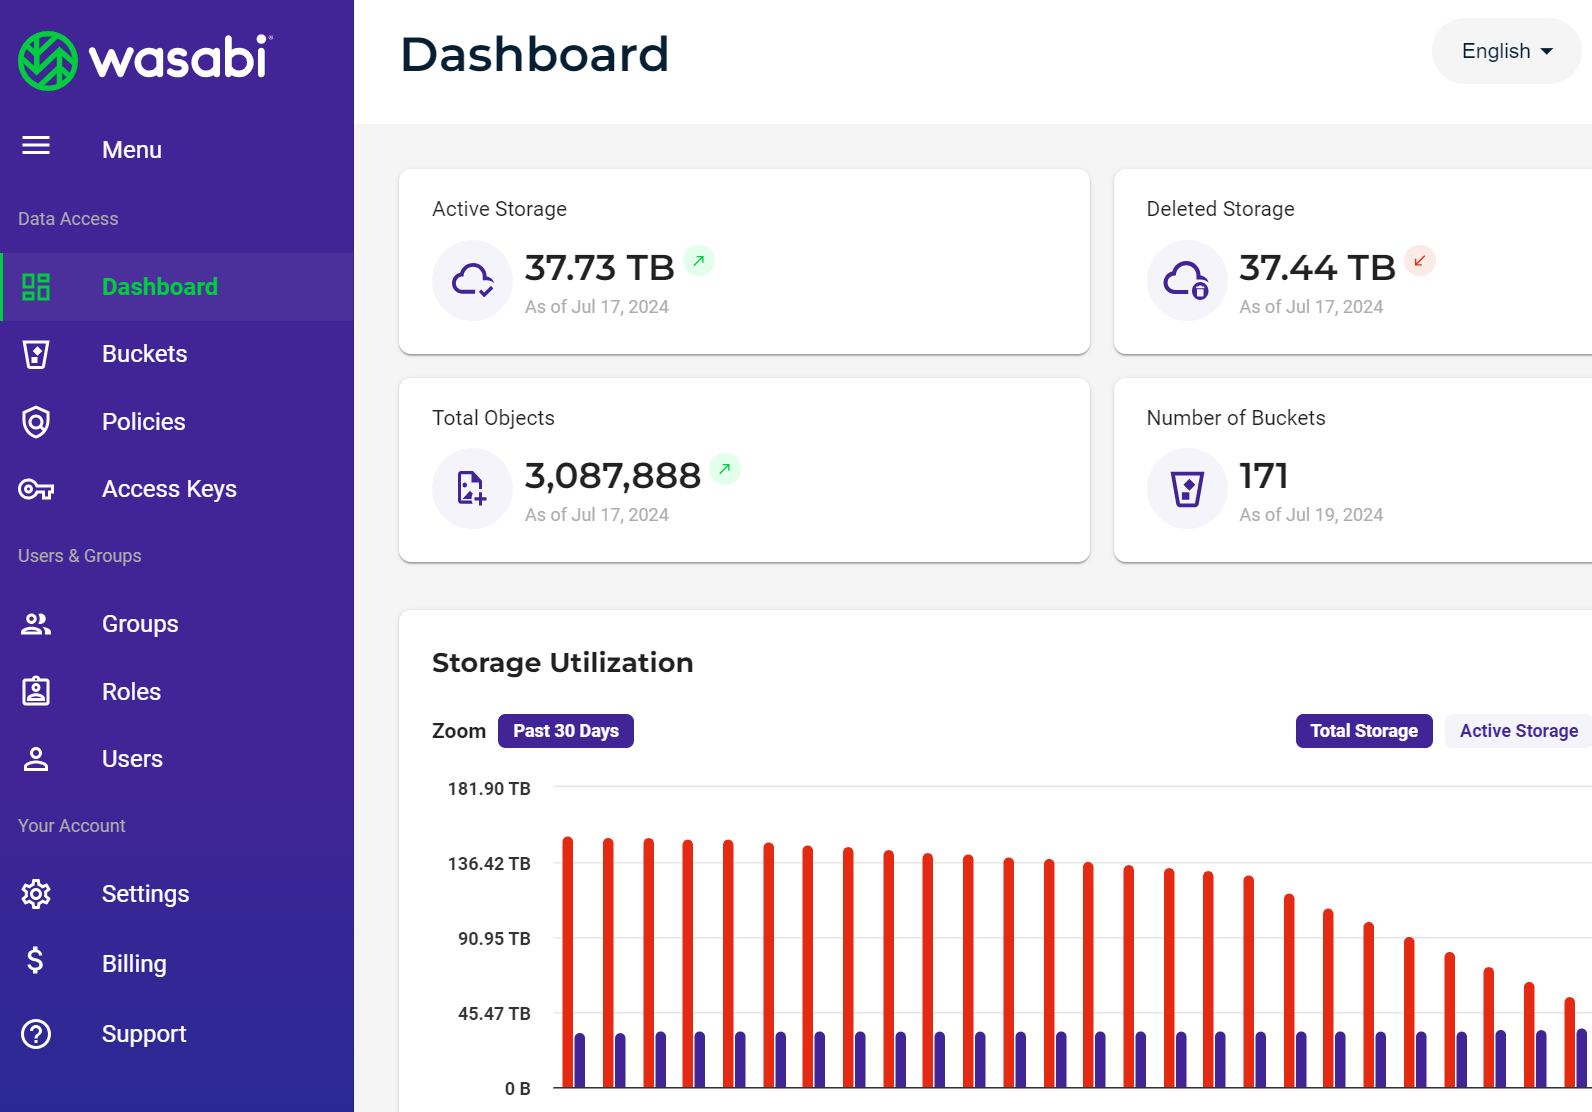
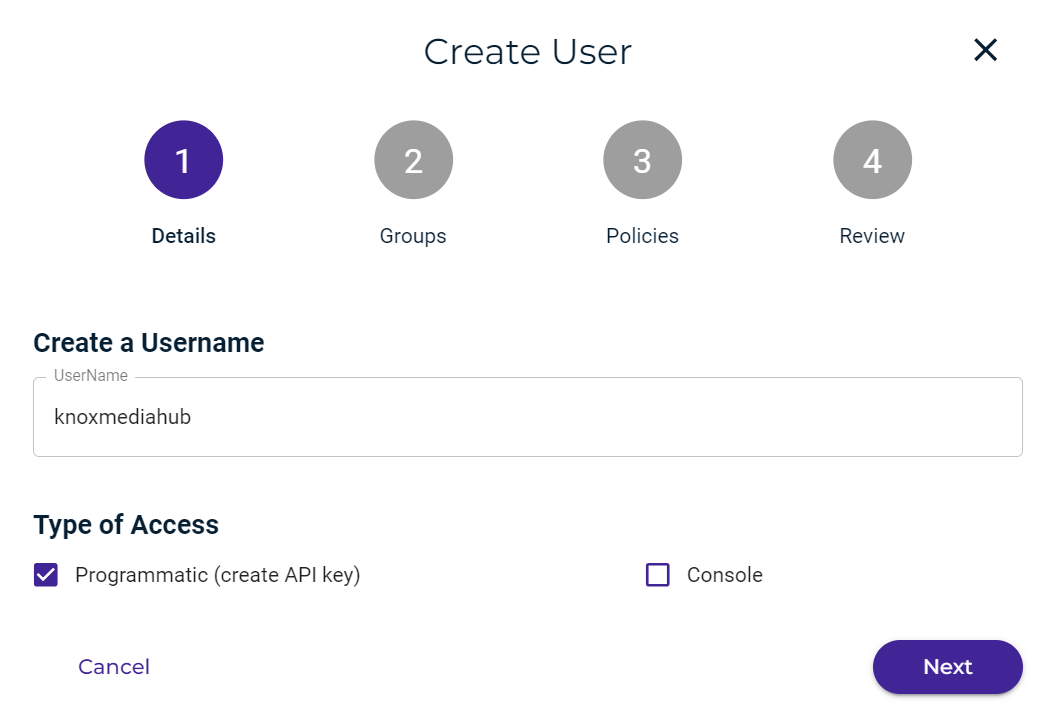
2. Click Create User to create an IAM user in the Wasabi console.

3. Select the Programmatic (create API key) and click Next.
4. Download the generated Wasabi Access & Secret Key and store it in a secure location.
5. Provide the Wasabi Keys to the KnoxMediaHub onboarding team using a secure channel.
6. In the Wasabi Console, navigate to Policies and create a new policy with the following permissions. Replace the "<INSERT-BUCKET-HERE>" tag with your bucket ARN:
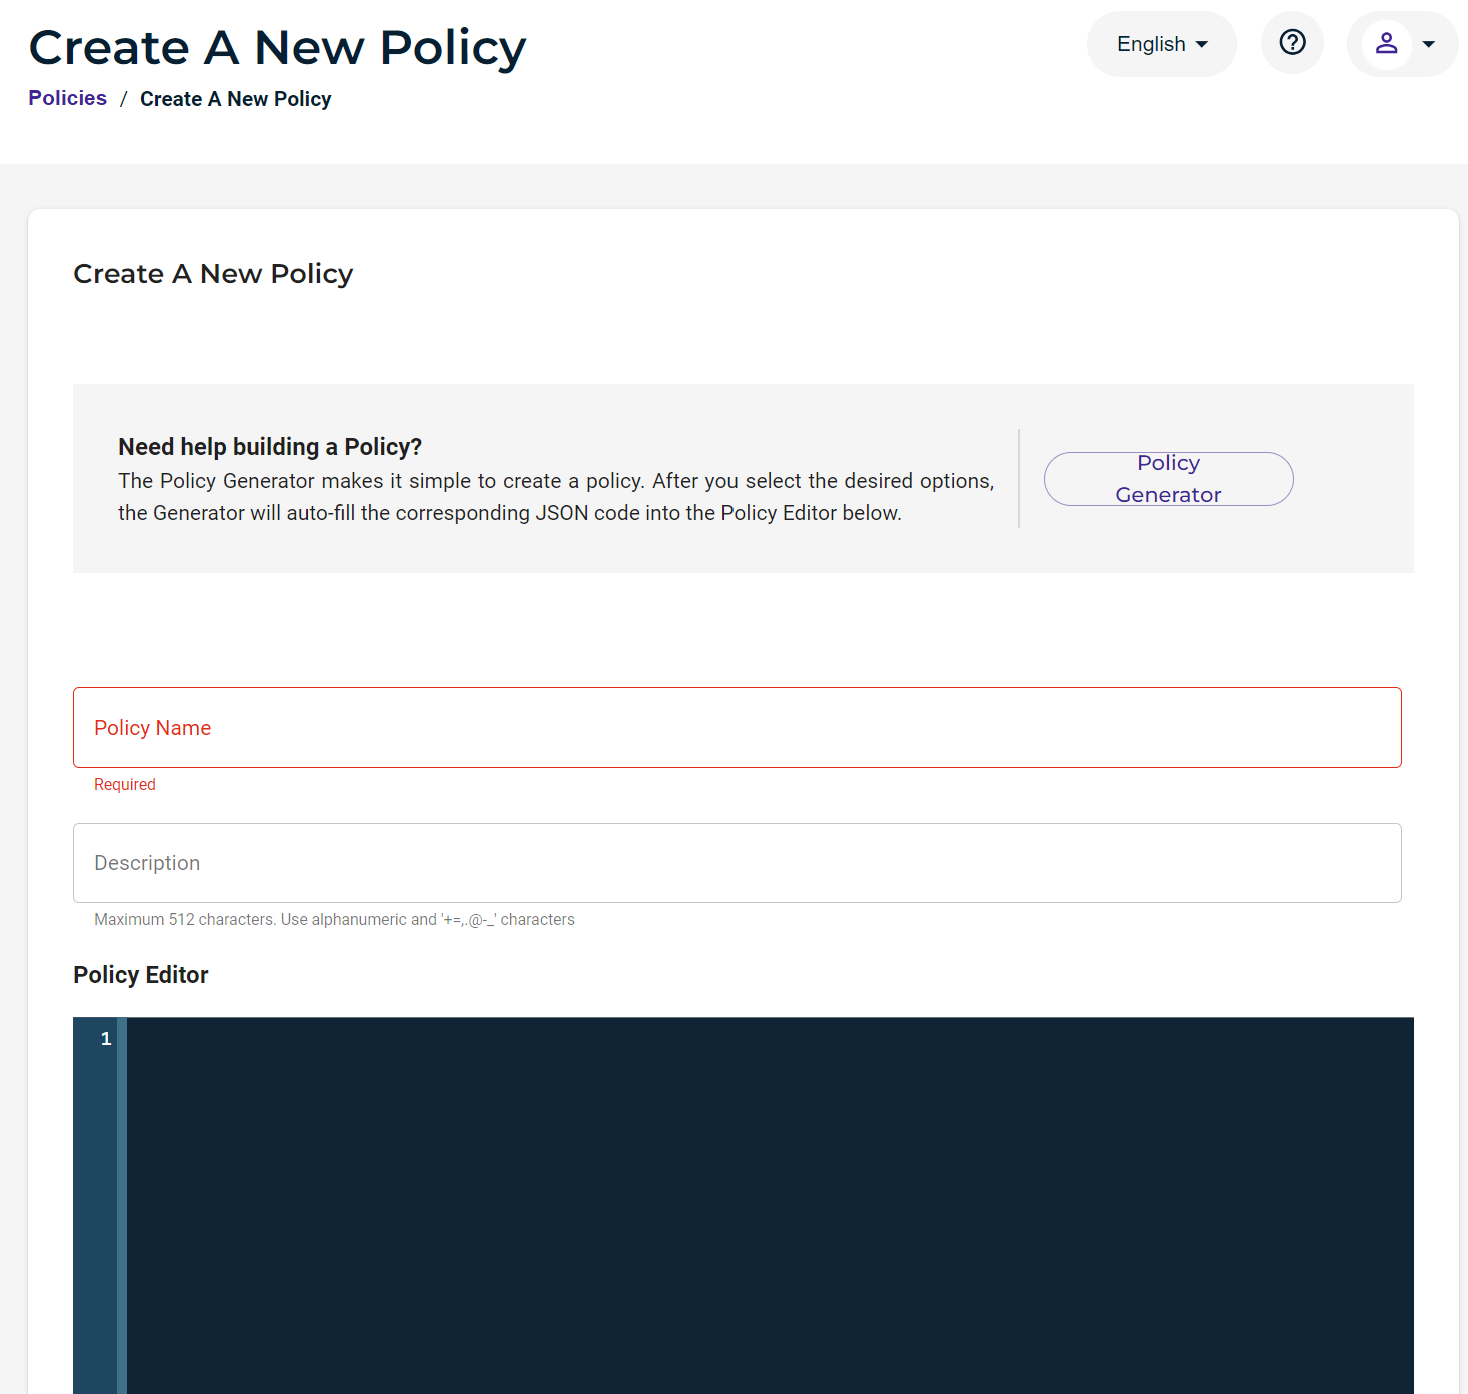
Unset
{
"Version": "2012-10-17",
"Statement": [
{
"Effect": "Allow",
"Action": "s3:*",
"Resource": "<INSERT-BUCKET-HERE>"
}
]
}
7. Attach the newly created policy to the user that was created earlier.
8. In the Wasabi Console, go to Buckets and either create a new bucket or open an existing bucket you want to connect with KnoxMediaHub.
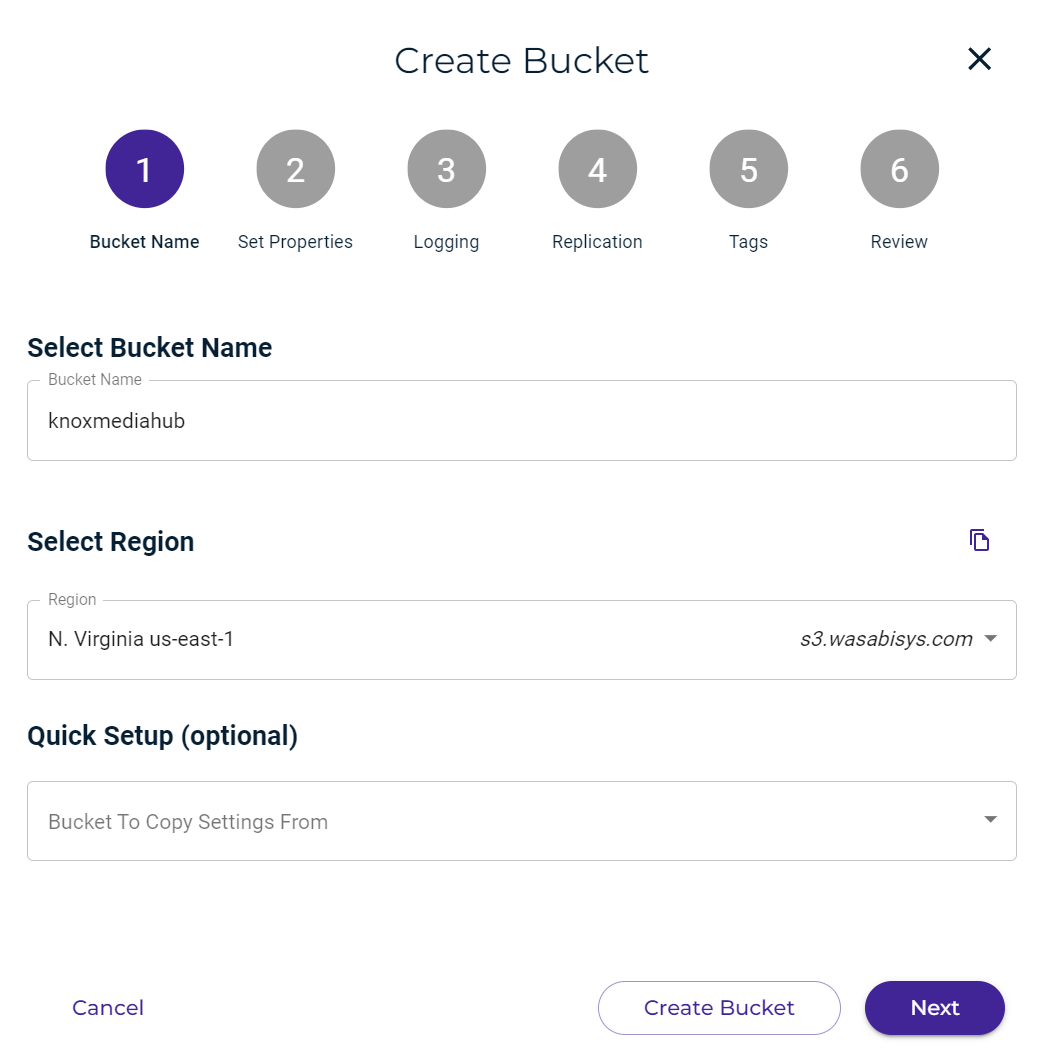
Note: This example discusses the use of Wasabi's us-east-1 storage region. To use other Wasabi storage regions, please use the appropriate Wasabi service URL as described in this article.
9. Go to Settings, then Permissions, and add the following permissions policy to your bucket.
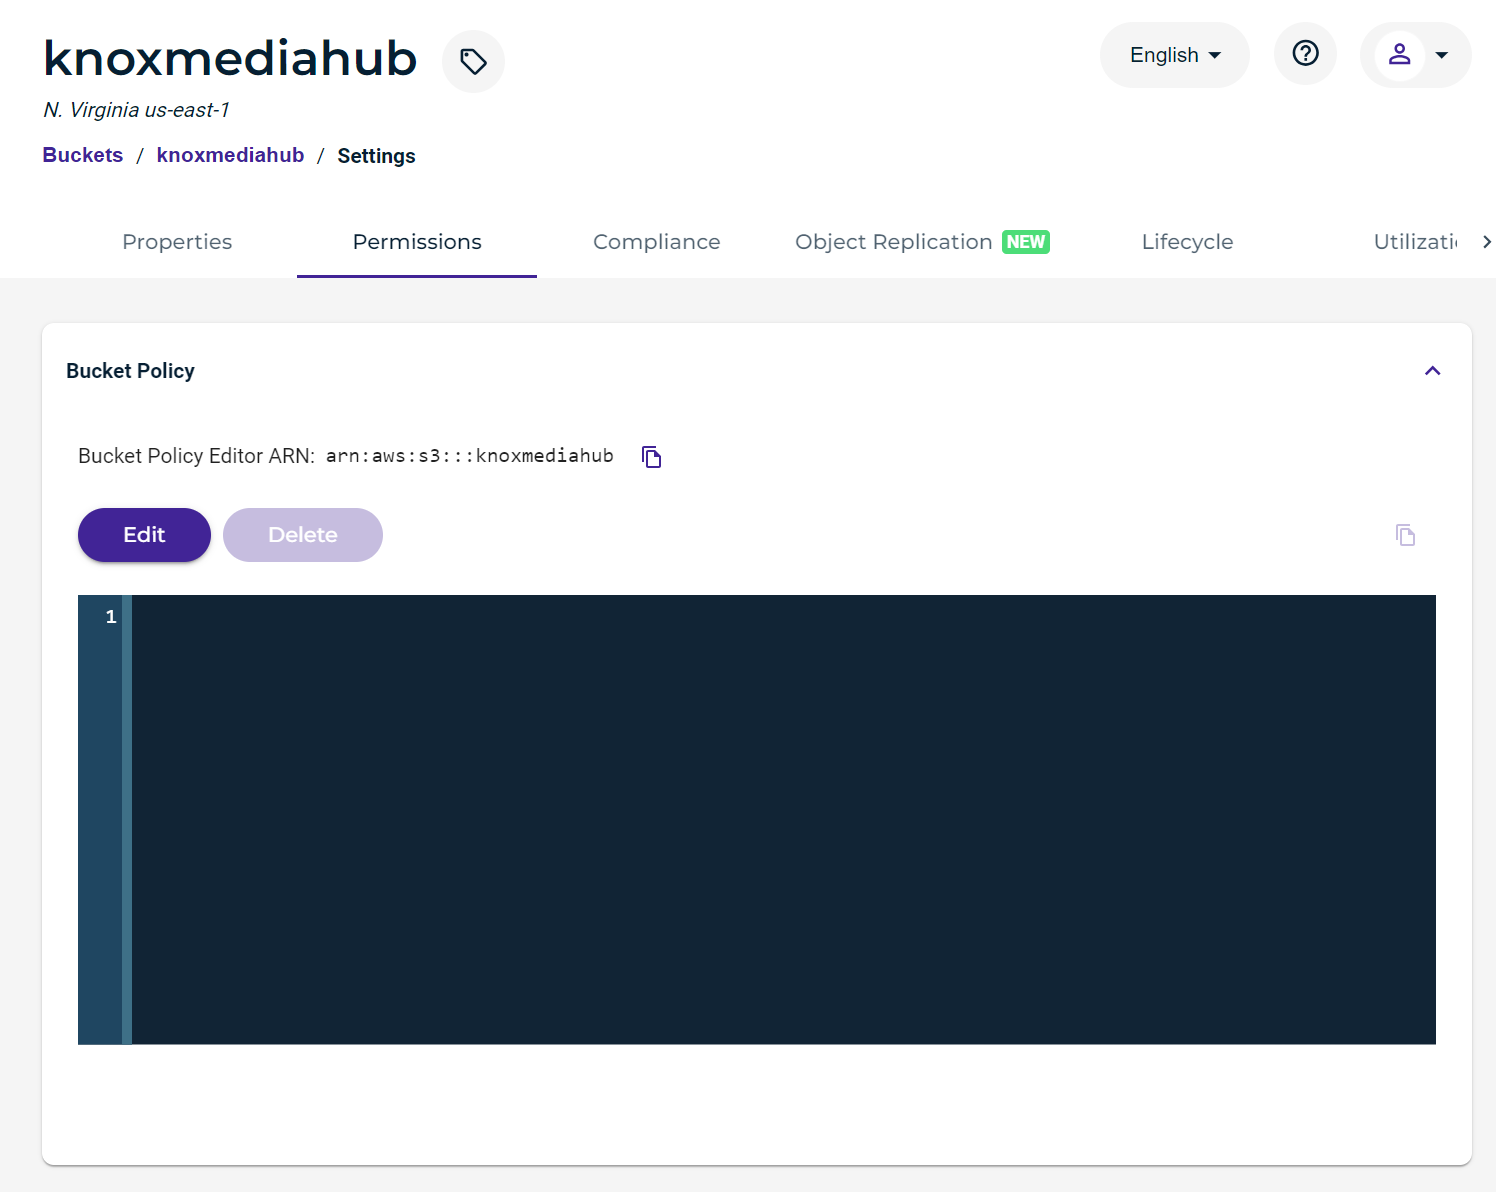
Replace <INSERT-BUCKET-HERE> with your bucket ARN and <INSERT-IAM-USER-ARN-HERE> with your IAM user ARN:
Unset
{
"Version": "2012-10-17",
"Statement": [
{
"Sid": "AllowAPIAccess",
"Effect": "Allow",
"Principal": {
"AWS": "<INSERT-IAM-USER-ARN-HERE>"
},
"Action": "s3:*",
"Resource": [
"<INSERT-BUCKET-HERE>/*",
"<INSERT-BUCKET-HERE>"
]
}
]
}
10. In the Wasabi Console, navigate to Settings, then Event Notifications, and click Configure New AWS Credentials.
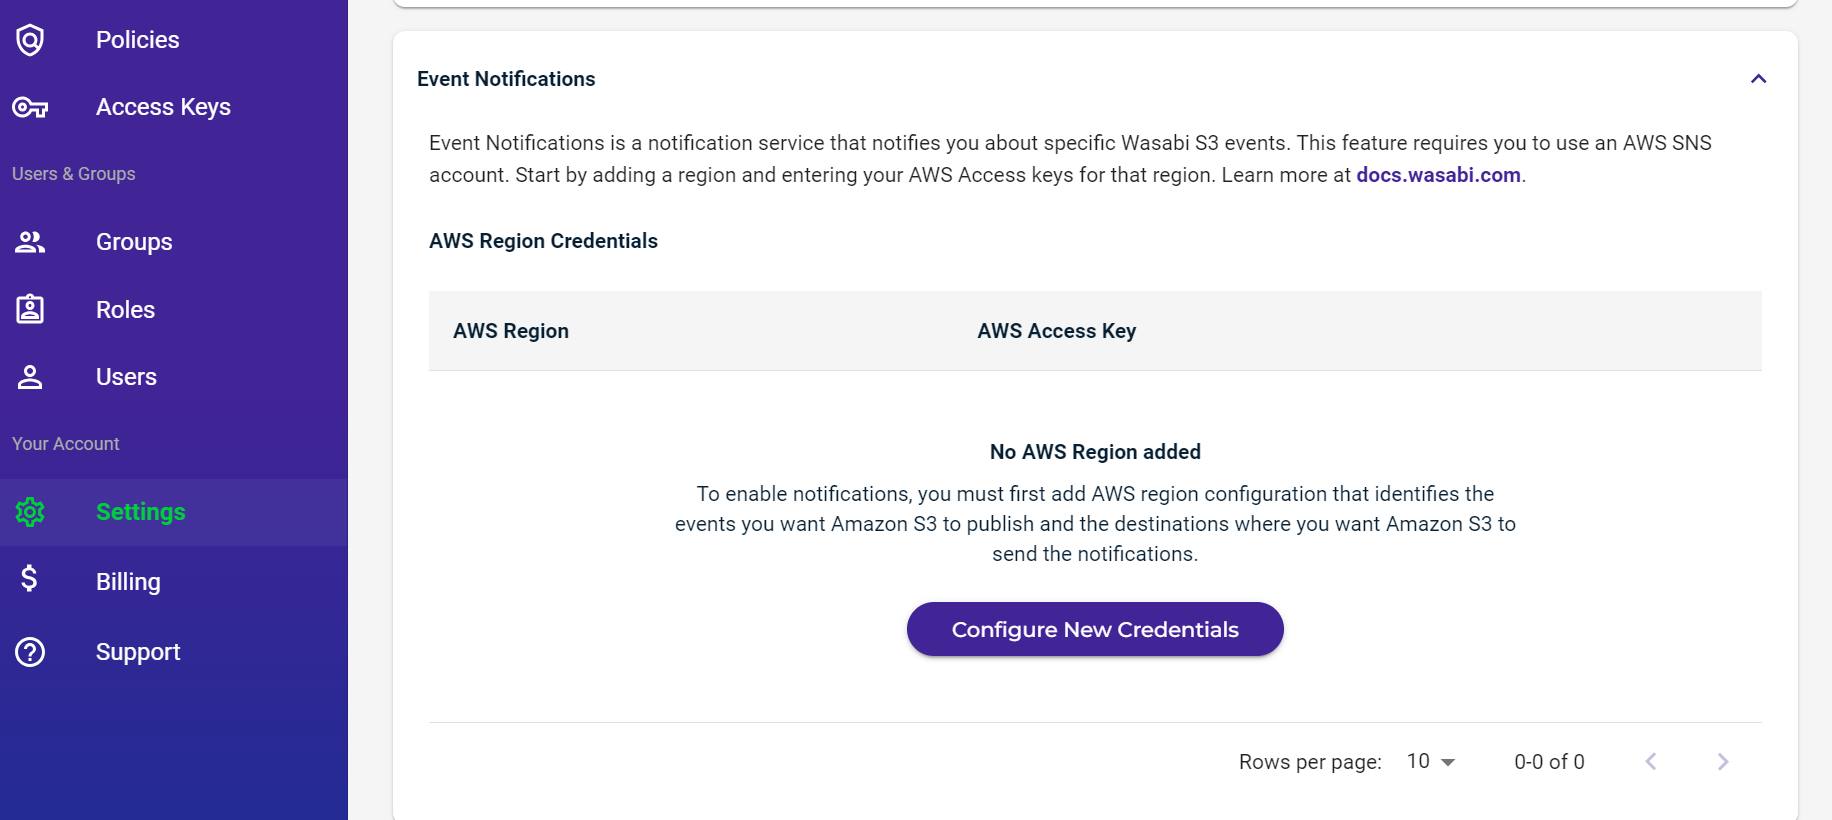
Note - The KnoxMediaHub team will provide you with the Region and Access Keys you need to register.
11. Return to Buckets then Your Bucket. Click Settings then Properties, then Event Notifications. Click Create Event Notification.
12. Leave the Prefix and Suffix fields empty. Click Next.
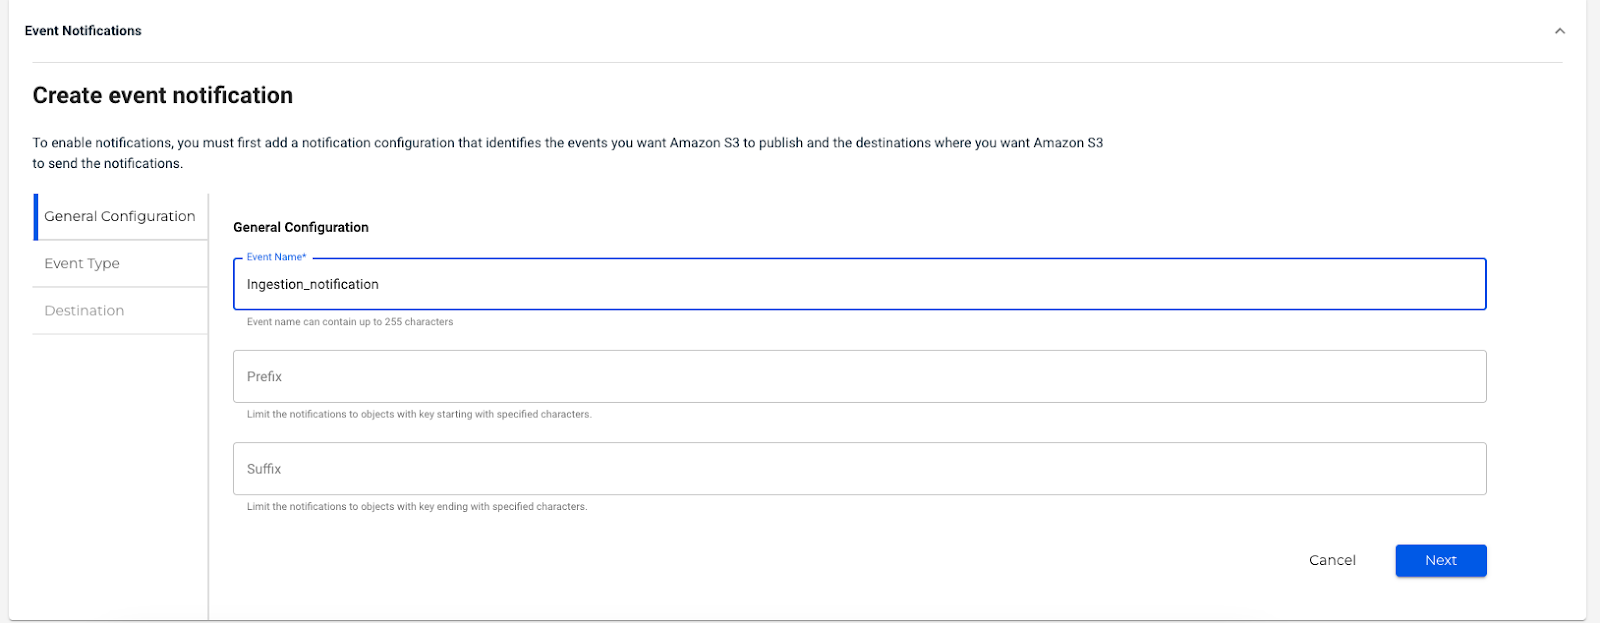
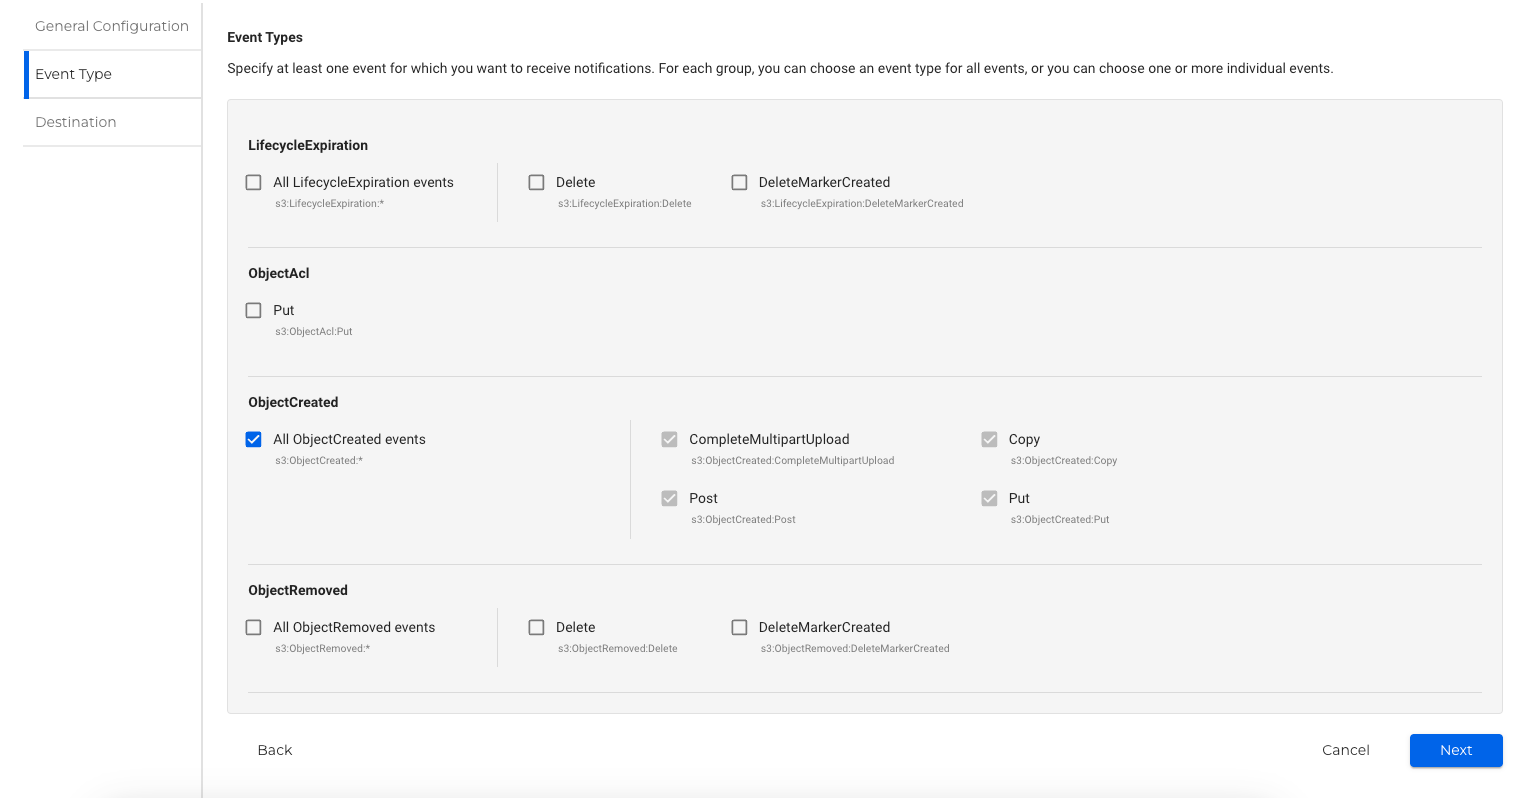
13. Enable ObjectCreated notifications:
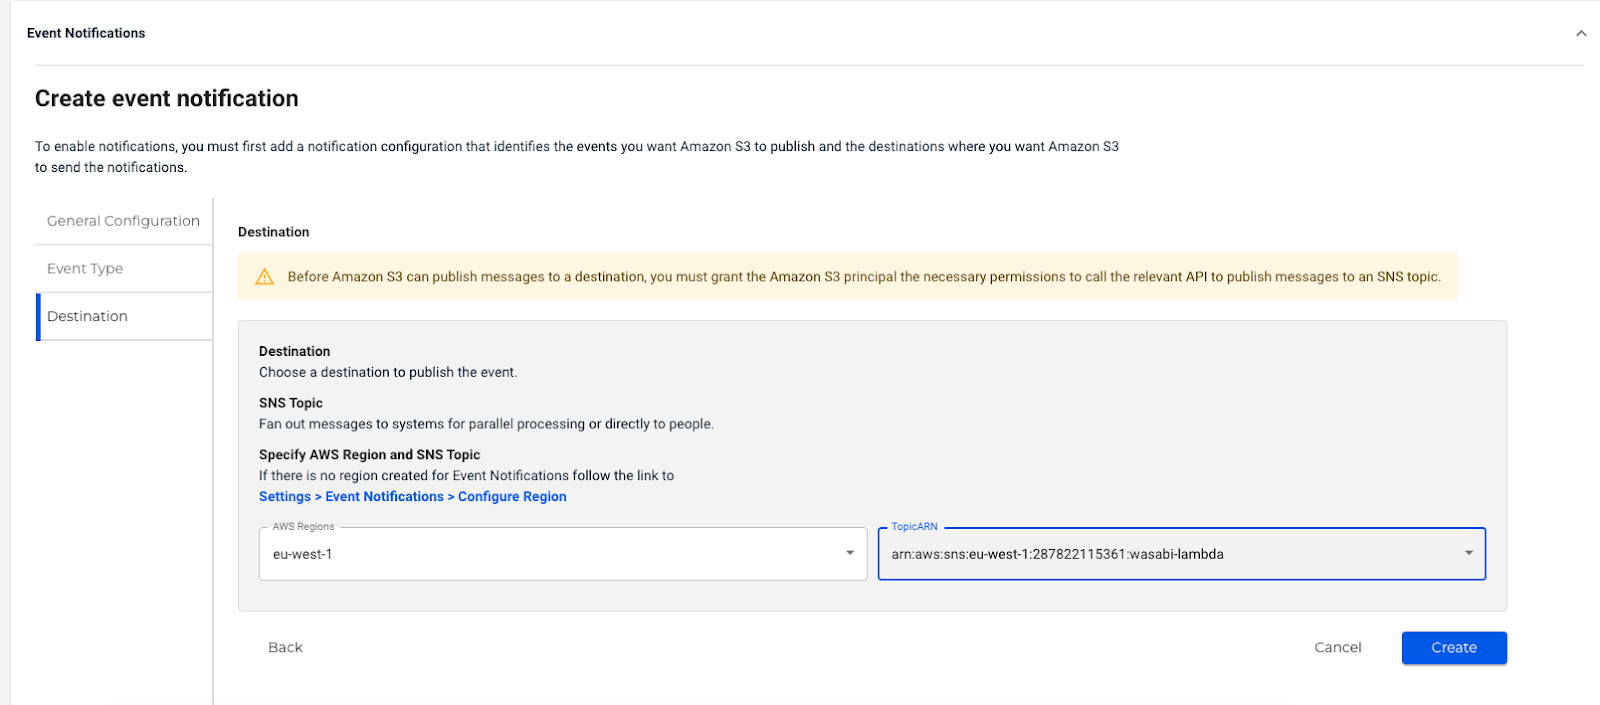
14. Enter the SNS topic that will receive the notifications. The KnoxMediaHub team will provide you with the details on the topic to use.
15. Once the setup is complete you can login into KnoxMediaHub dashboard with the provided URL given by the KnoxMediaHub team once your environment is ready.
16. Click the Library icon.
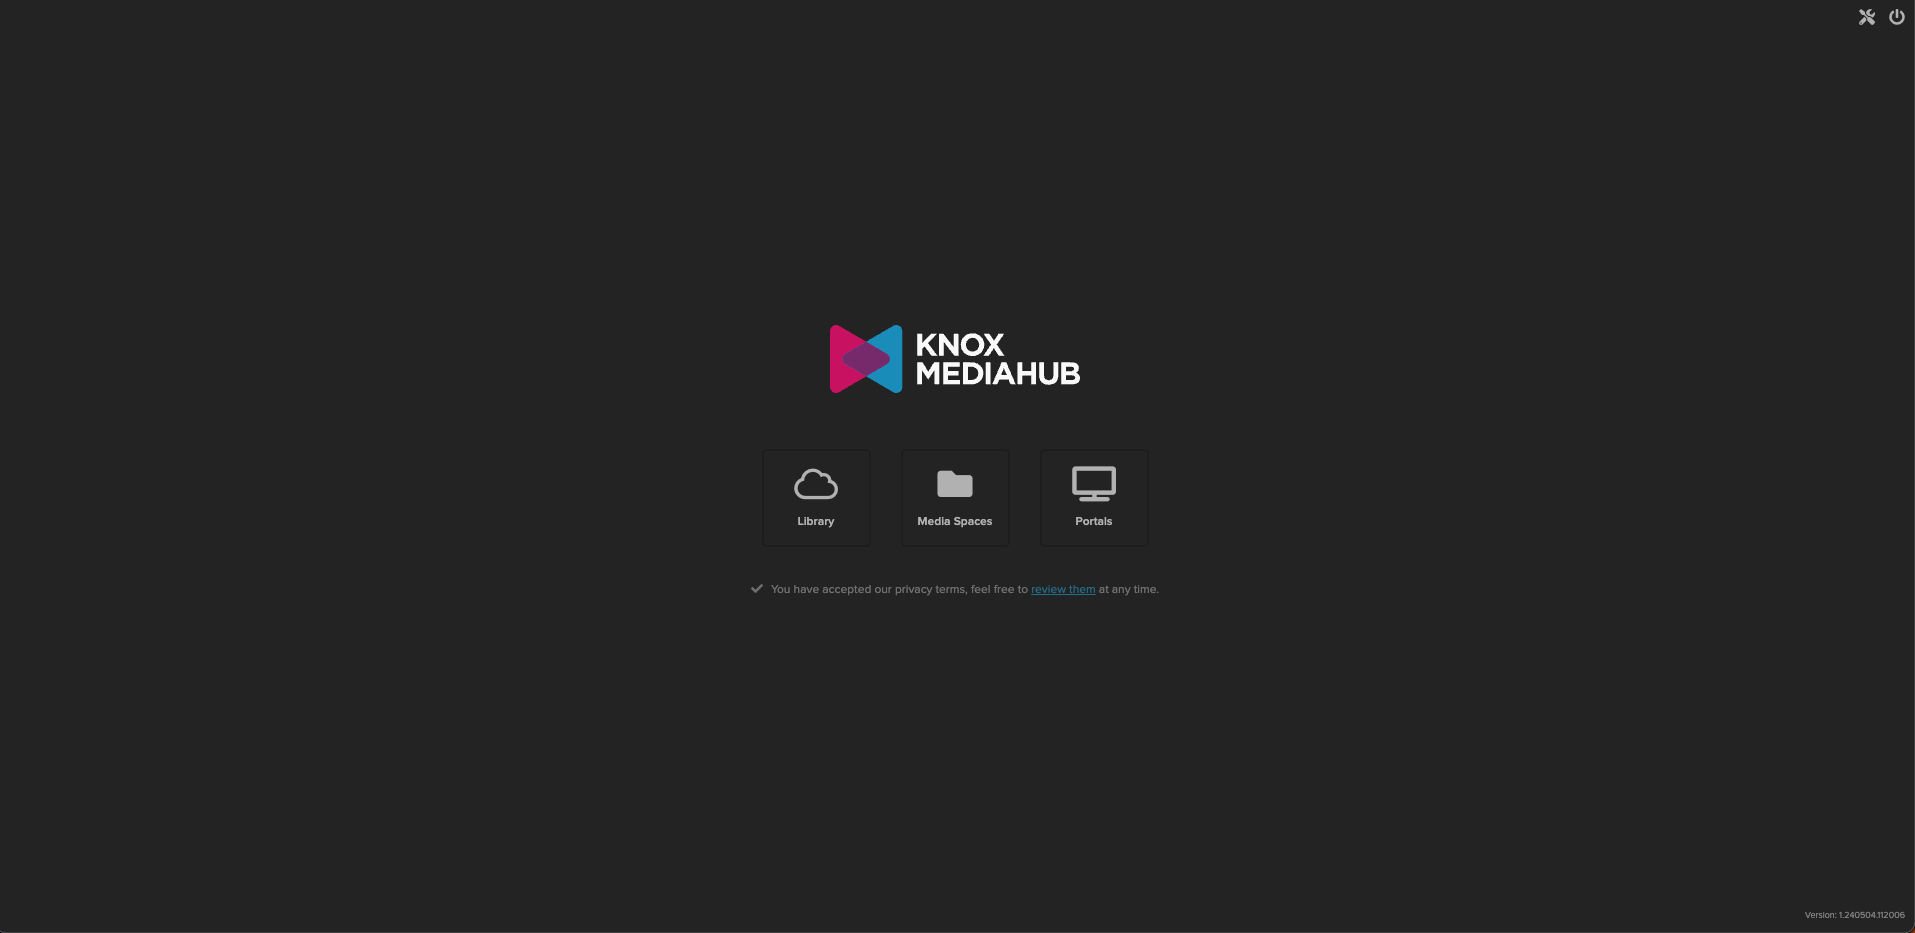
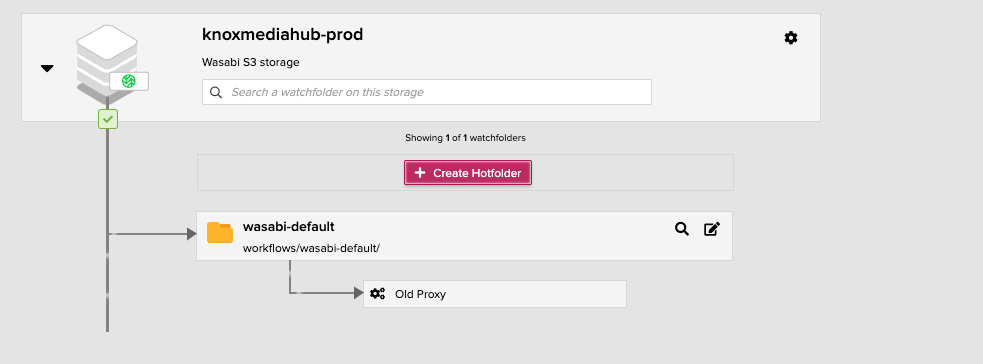
17. Once in the Library, go to Storage, and you will see the wasabi bucket.

18. In order to create a hot folder, expand the desired bucket and press on + Create Hotfolder.
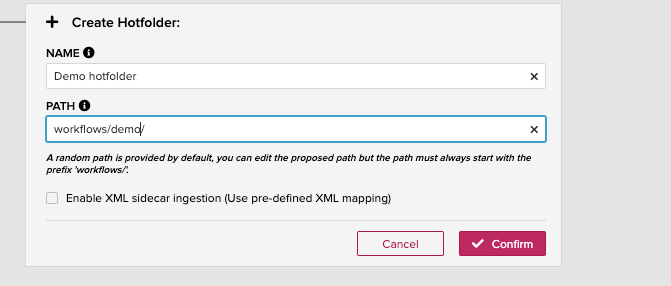
19. Fill in the hotfolder name and the path to monitor.
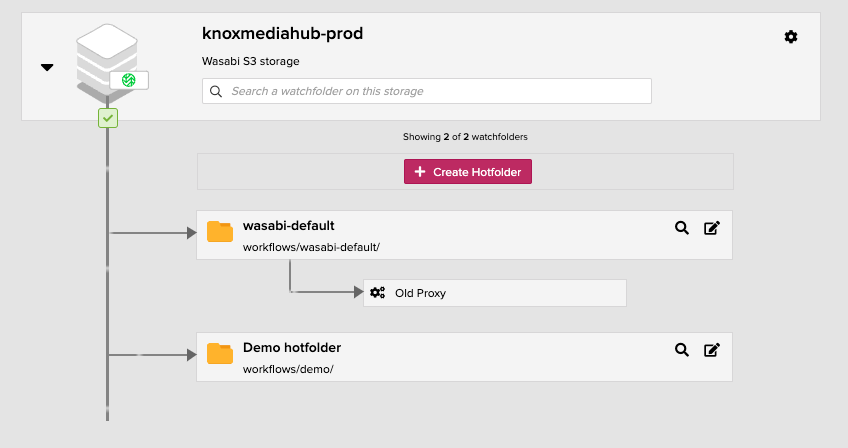
20. The new hotfolder will be created and you will be able to start ingesting content into KnoxMediaHub and Wasabi.
You can either place a file directly in the Wasabi bucket or upload it to KnoxMediaHub.
Replication of Buckets
Wasabi’s Object replication feature enables you to replicate or copy your data between Wasabi regions to protect against ransomware attacks, malicious data manipulation, natural disasters, or even accidental deletion. Object replication enables you to replicate/copy objects from an active storage bucket (source) to one or more different buckets (destination).
1. Create a new Wasabi bucket and connect it with KnoxMediahub and connect the ingestion lambda. See the Configuration section steps or refer to the KnoxMediaHub S3 Bucket Guide.
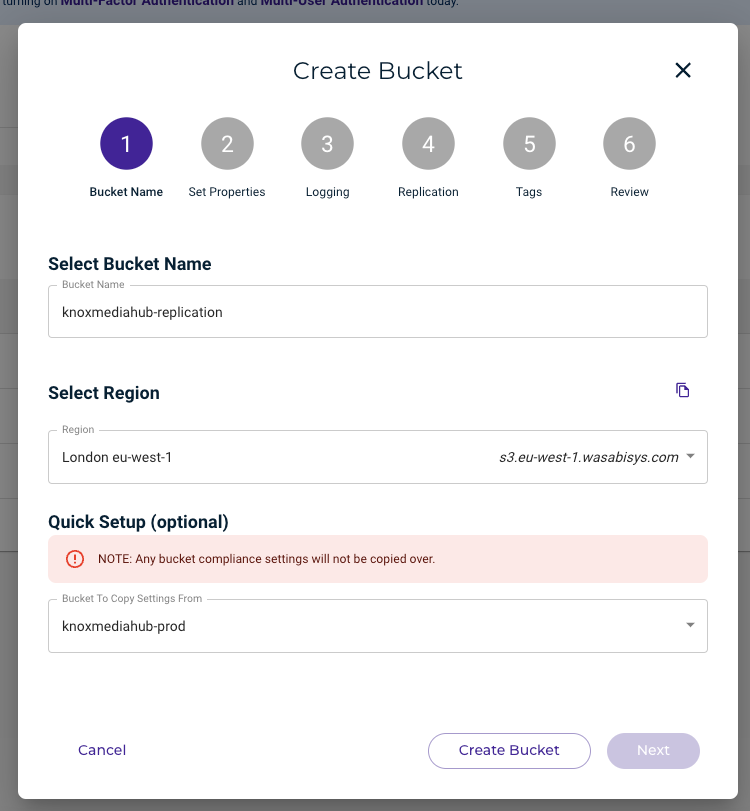
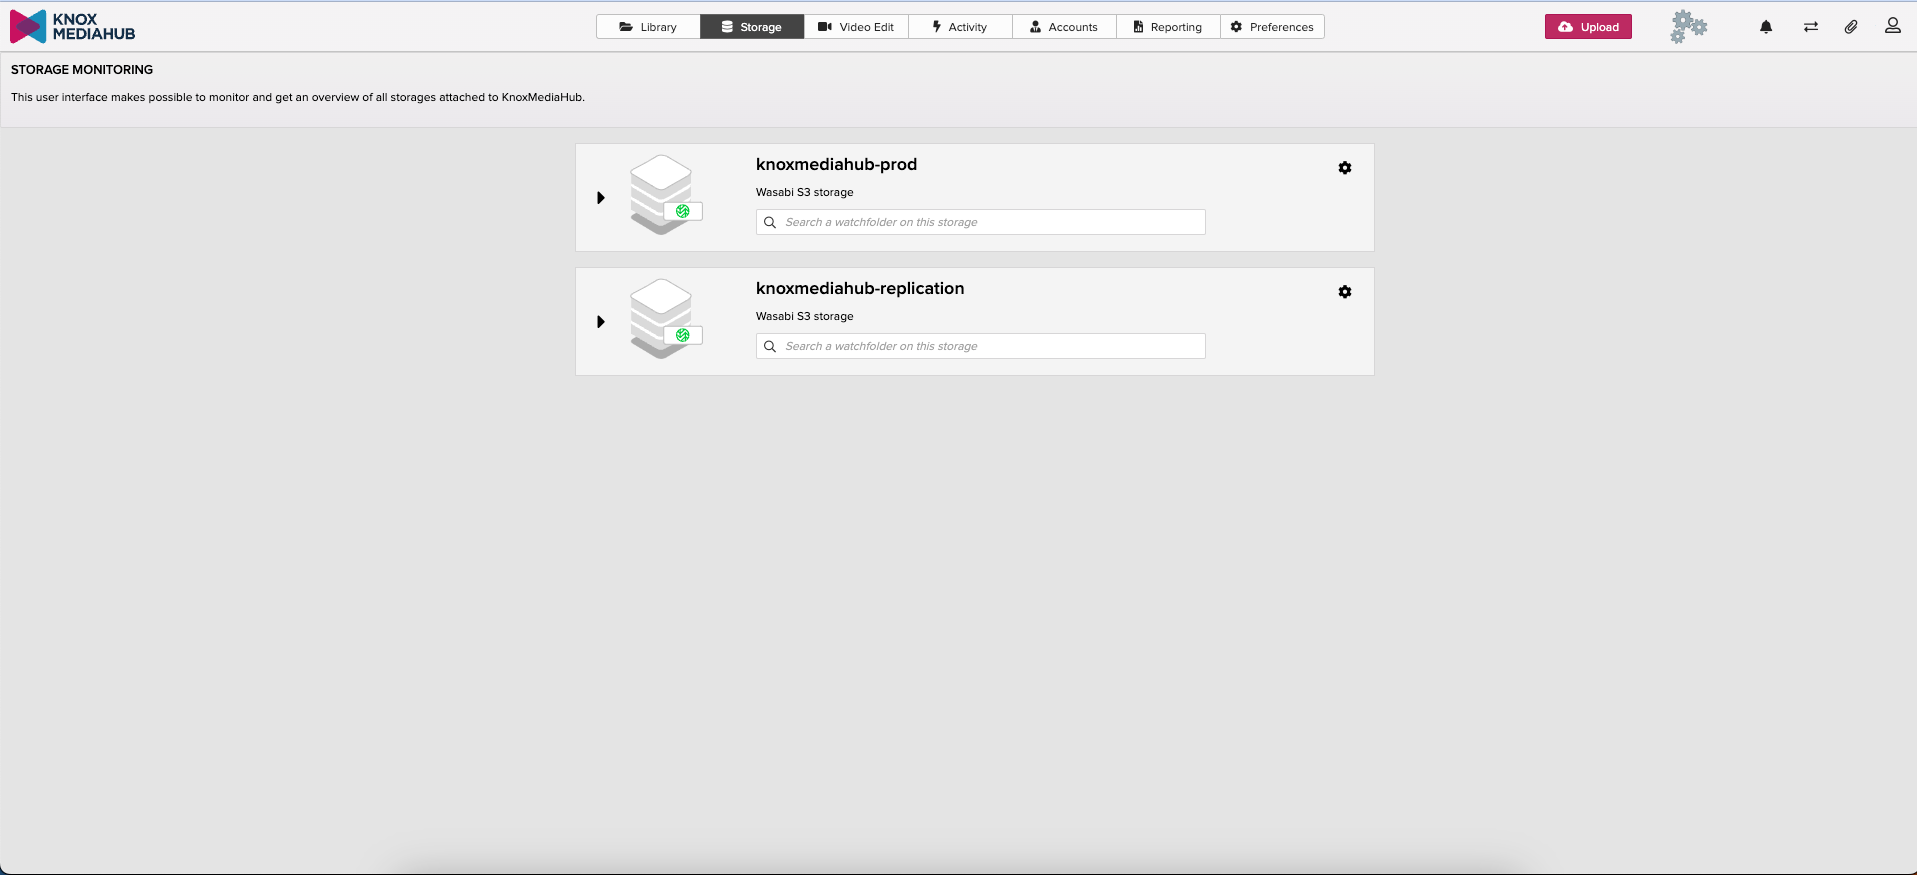
2. Notify KnoxMediaHub and provide the access keys to connect the bucket. KnoxMediaHub team will create the bucket and will be available in storages UI.
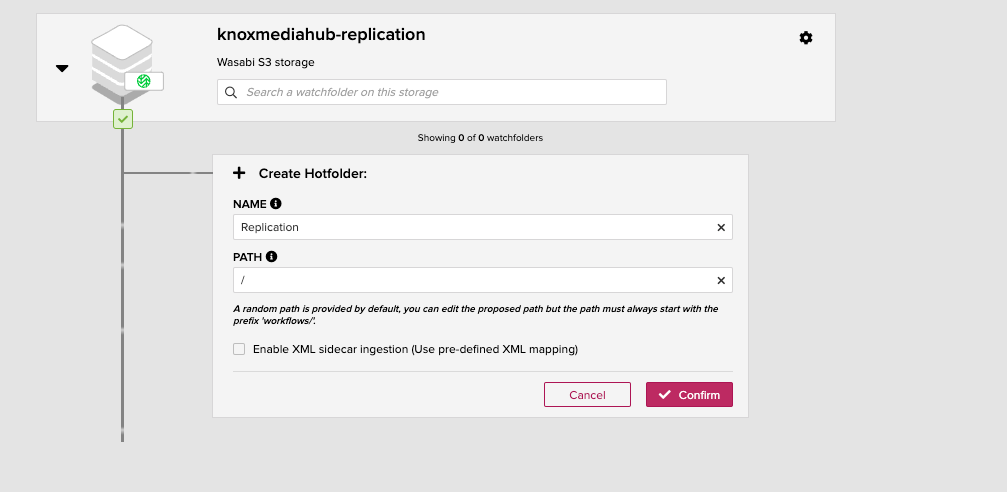
3. Create a hot folder in the replicated bucket with the prefix of the path to monitor. If you need to detect replicated files in the whole bucket, the path will be “/”.
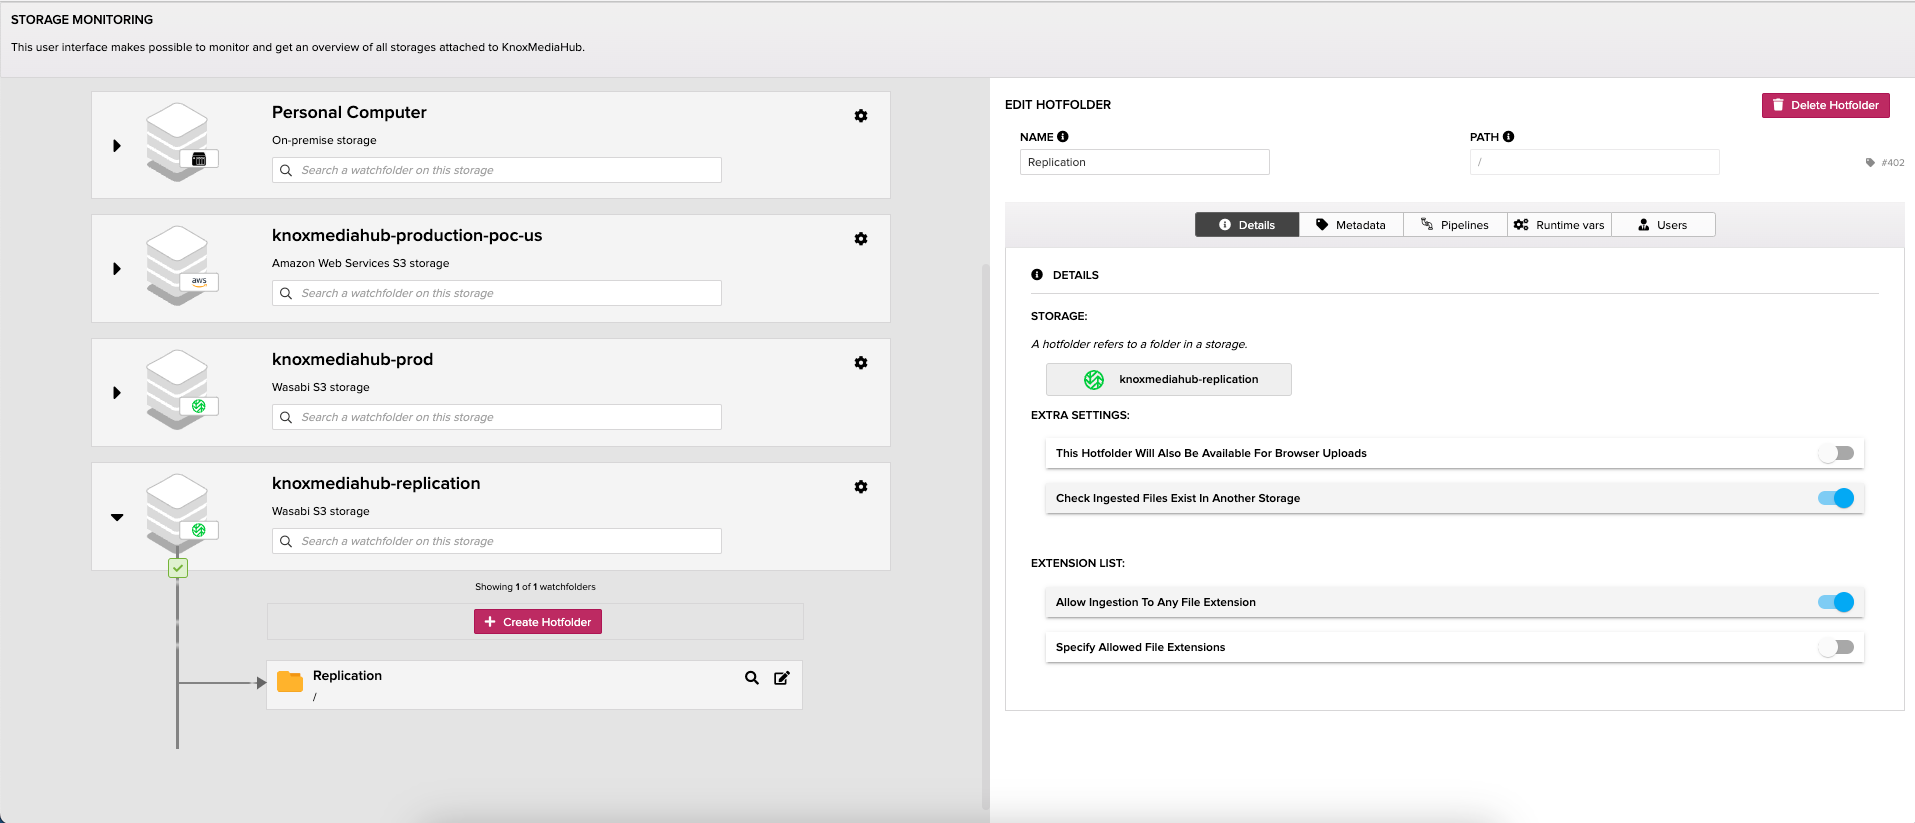
4. If you want that replicated objects are attached as Versions instead of new objects, go to the created hotfolder and mark Check Ingested Files Exists in Another Storage.
5. In the Wasabi console. Go to Bucket, then Configuration, then Object Replication, and create a new replication rule.
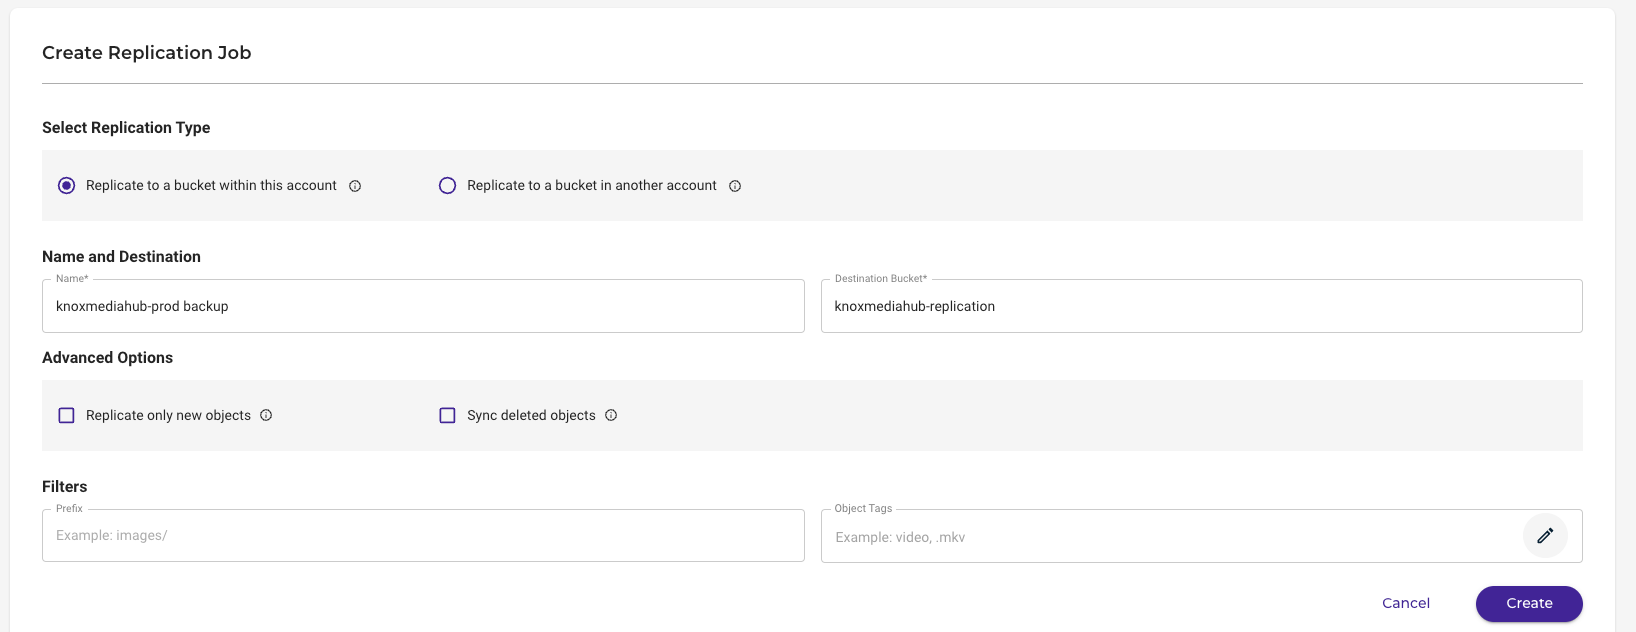
6. Files will start being replicated.
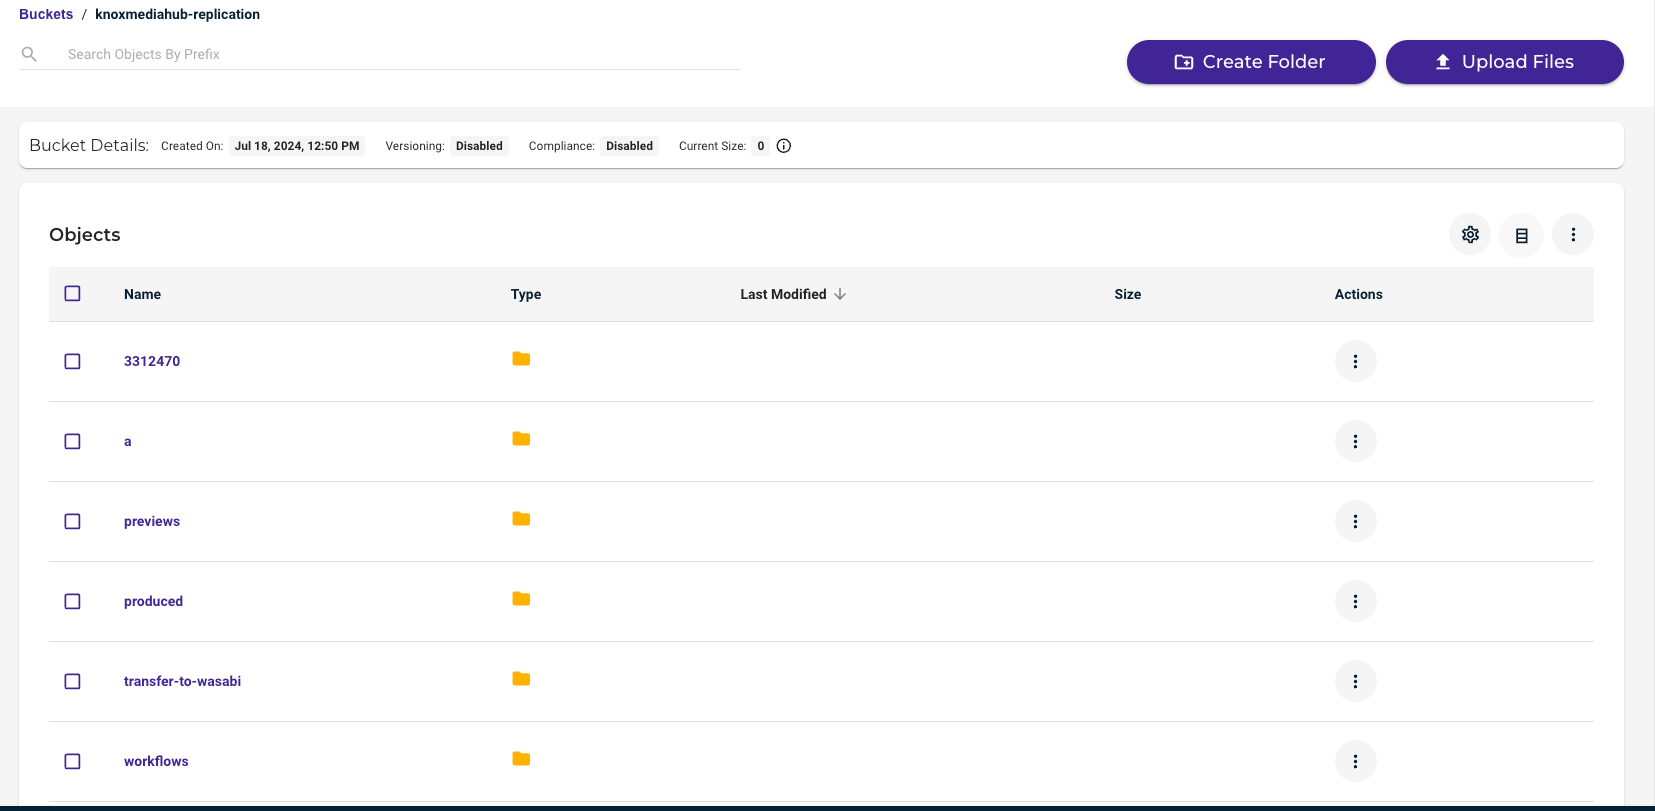
7. When uploading a new file it will be replicated by Wasabi. You can check the ingestion of both copies in the ingestion panel.

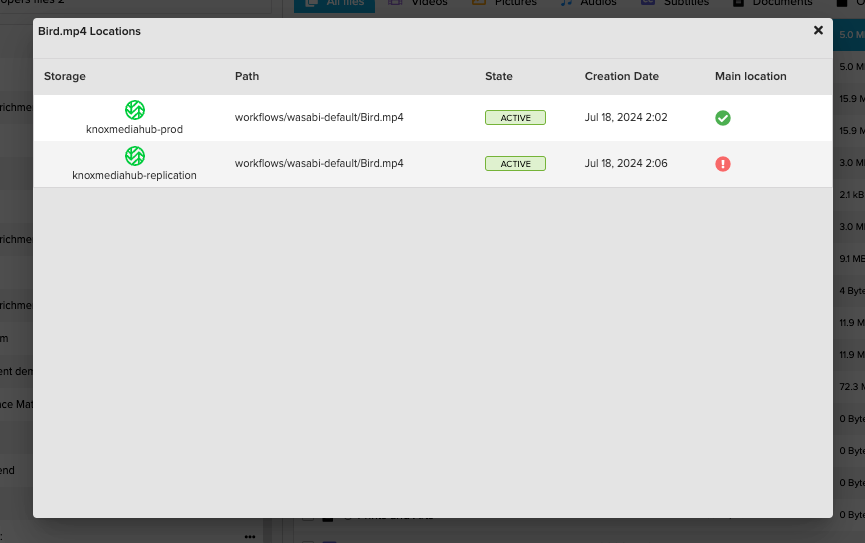
8. The file will be available in the library. If you checked Check Ingested Files Exists in Another Storage, the new version will be created as a location for the file in the main bucket.