How do I use Ava Cloud Cameras with Wasabi?
Ava Cloud cameras have been validated for use with Wasabi Cloud storage. Ava video security systems feature innovative hybrid cloud and on-premise components to create a flexible video solution for the areas you want to protect.
Ava Cloud Cameras and the cameras attached to Ava Cloud Connectors™ can be configured to store recordings in Wasabi's cloud storage using Ava Storage Connect. This knowledge base article details the steps to add Wasabi cloud storage as a backup destination to store backups.
Prerequisites
A current release of Ava Aware that has been deployed.
An Ava Aware camera license.
Ava Storage Connect license.
An active Wasabi cloud storage account.
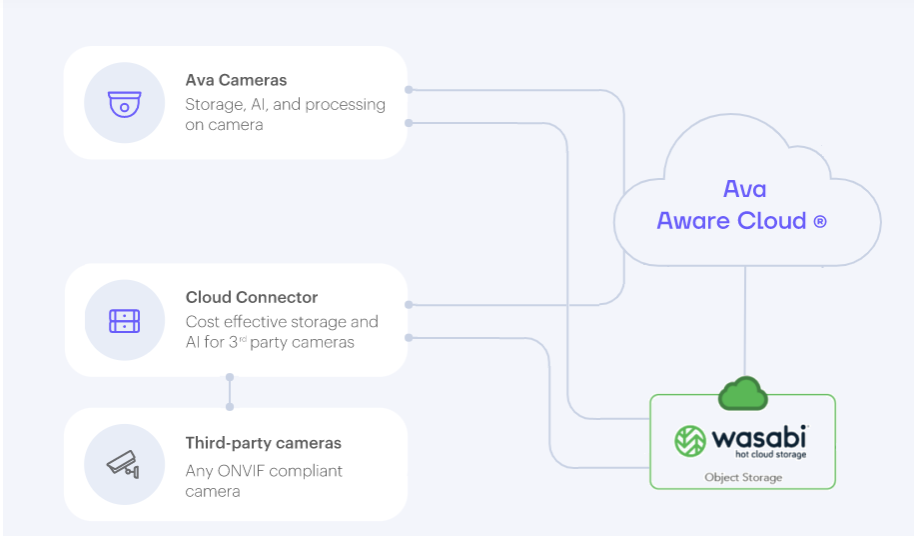
Reference Architecture
The following architecture diagram depicts how Ava cameras and third-party cameras can store recordings in Wasabi cloud storage.
Adding Wasabi as a New Backup Destination
To use Wasabi as a cloud storage destination, add a new storage destination to the Ava Aware Cloud configuration profile. Follow the steps in this section to add Wasabi as an S3-compatible backup destination.
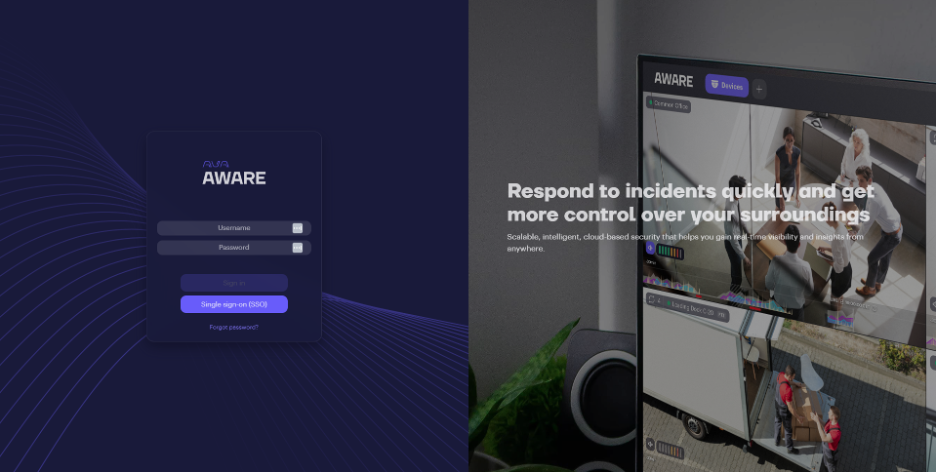
Log in to your Ava Aware Cloud deployment.
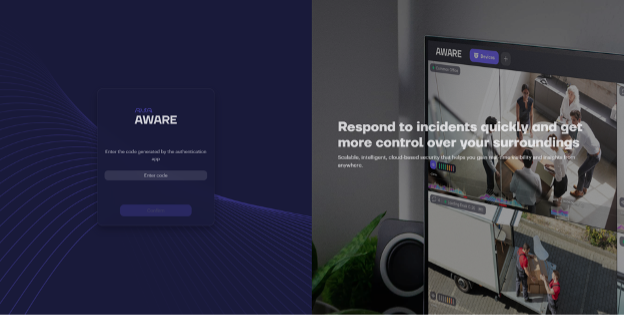
If required, enter your 2-factor authentication code.
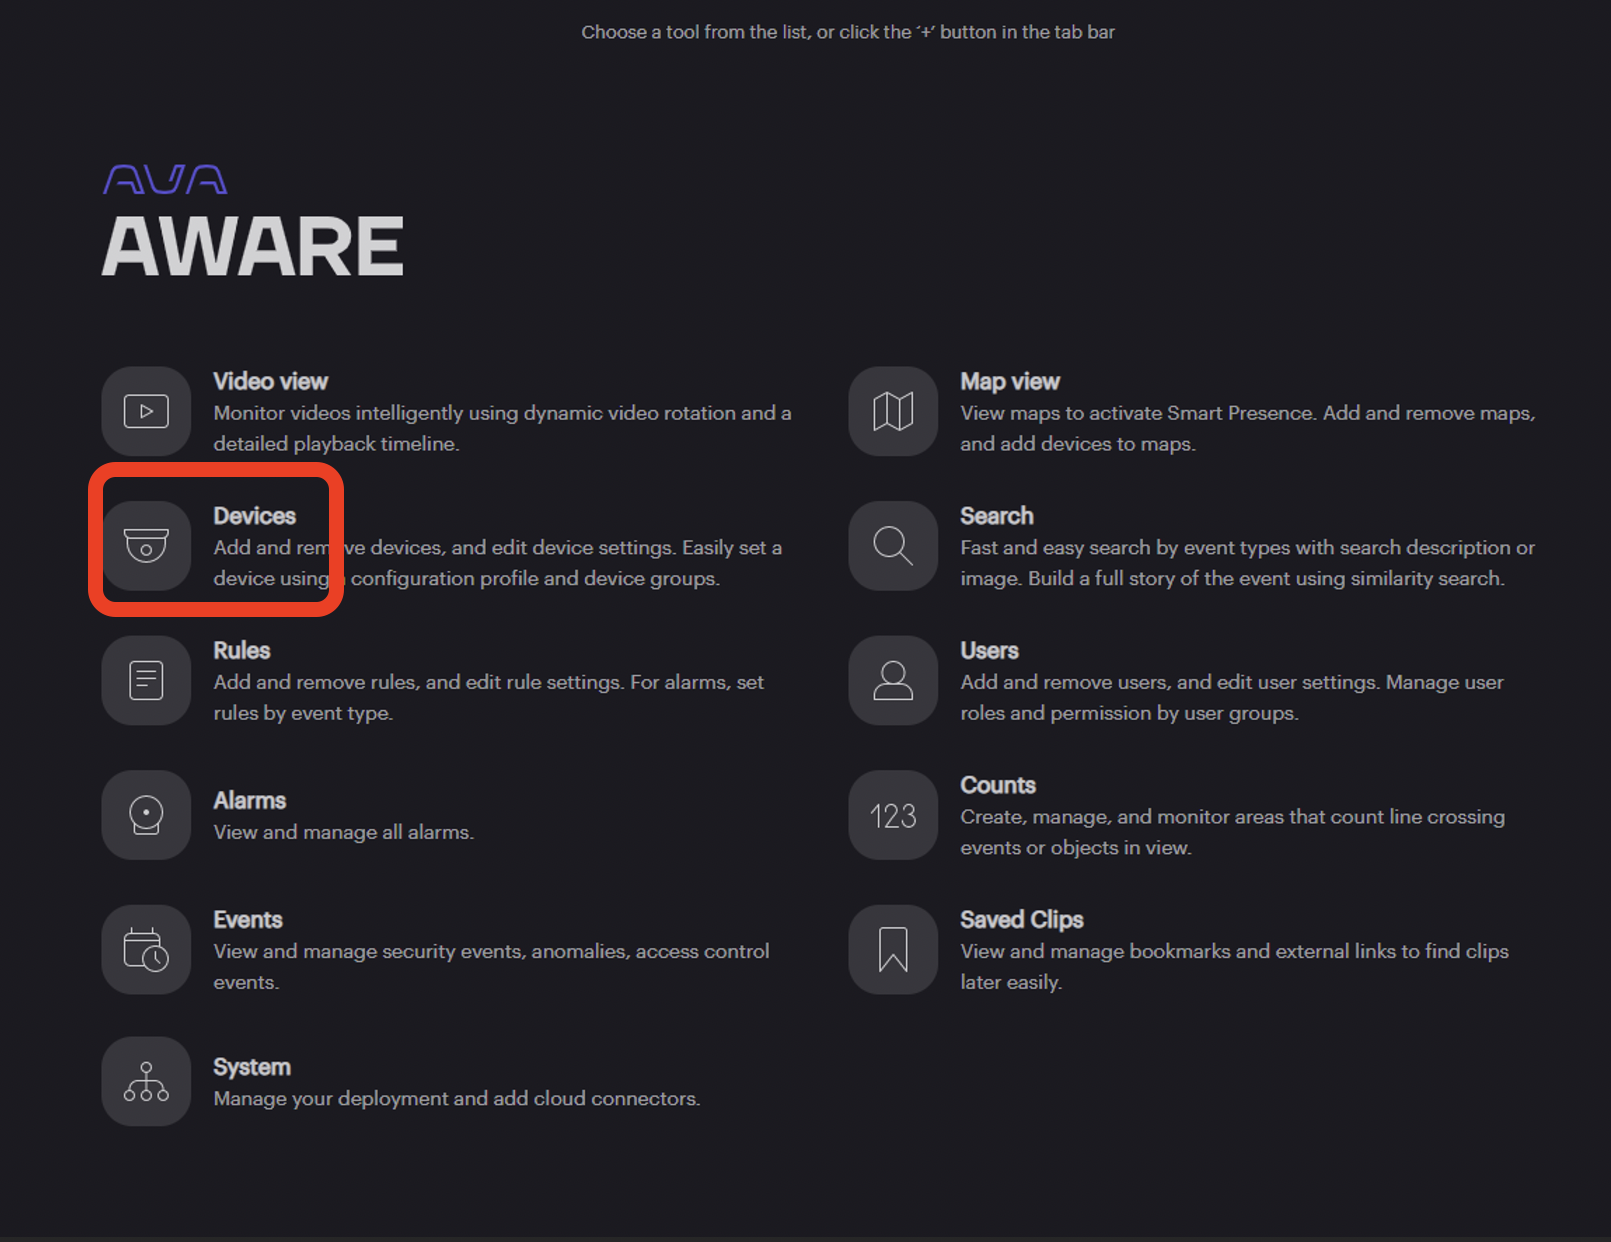
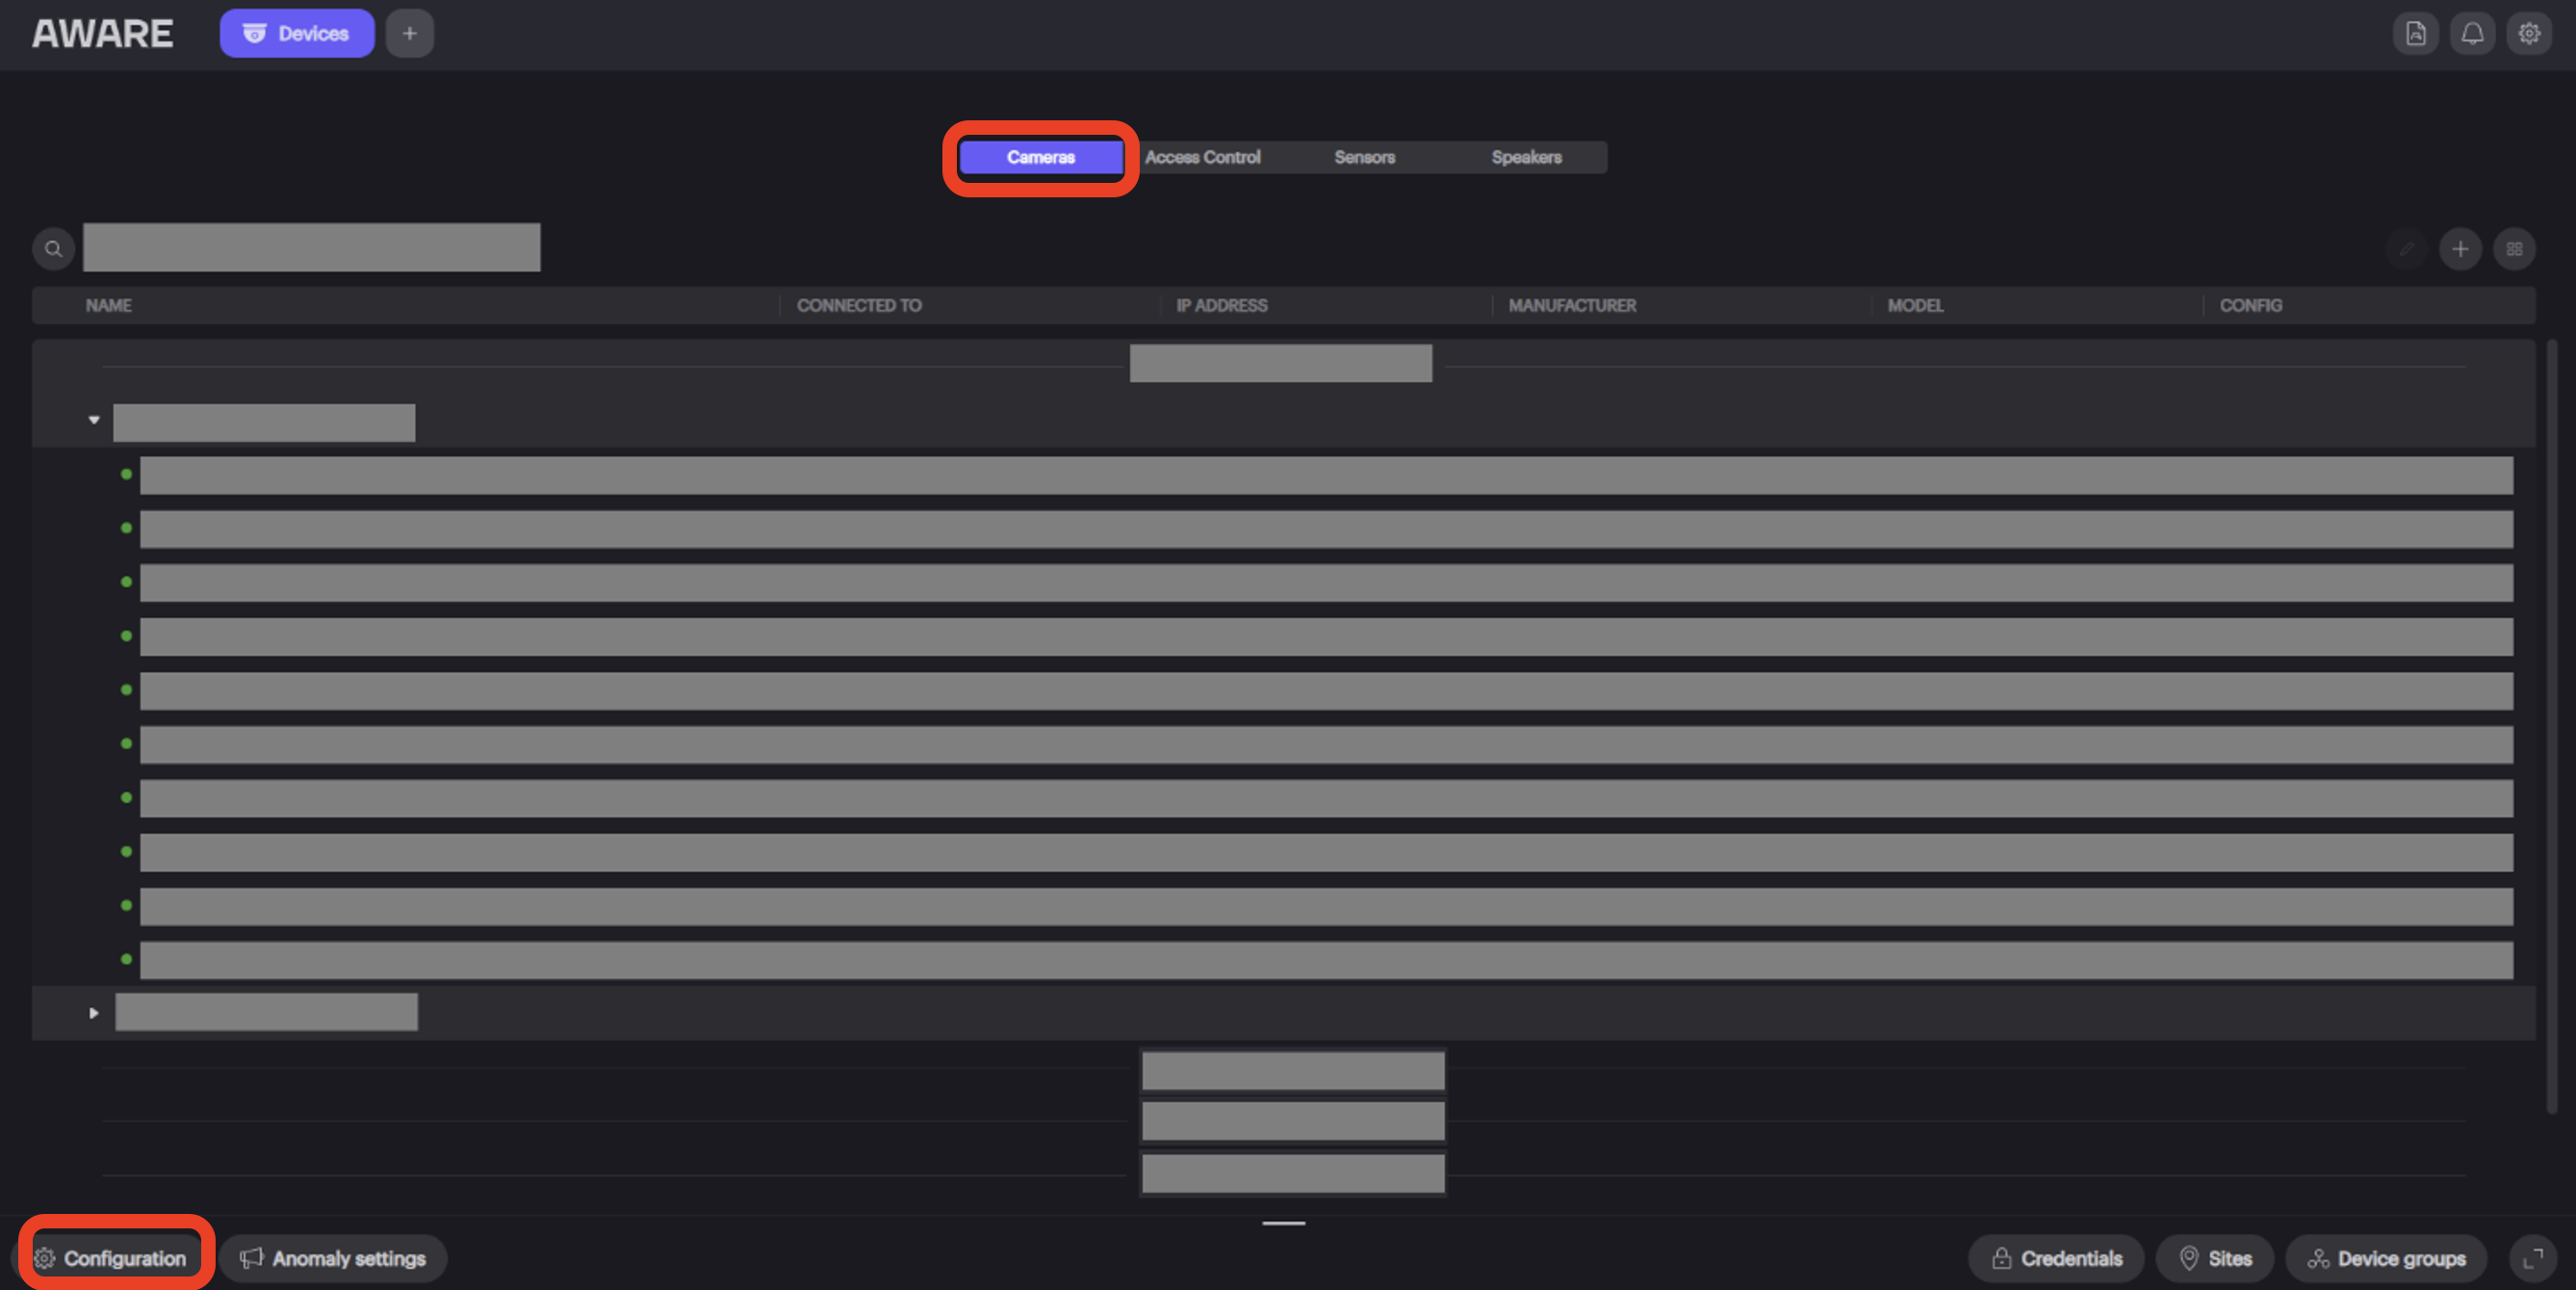
Select the Devices tool within Aware.
Click the Camera tab and then click Configuration. The Configuration Profile dialog is displayed.
Create a new profile or modify an existing profile for backups. From the Backup Important tab, enable Backup camera recordings, then select Recordings to back up and choose the recordings. Click OK to save the settings.

Change a backup location or schedule. Reopen the Configuration Profile dialog and select Manage Backup Schedules. The Deployment Settings dialog is displayed.
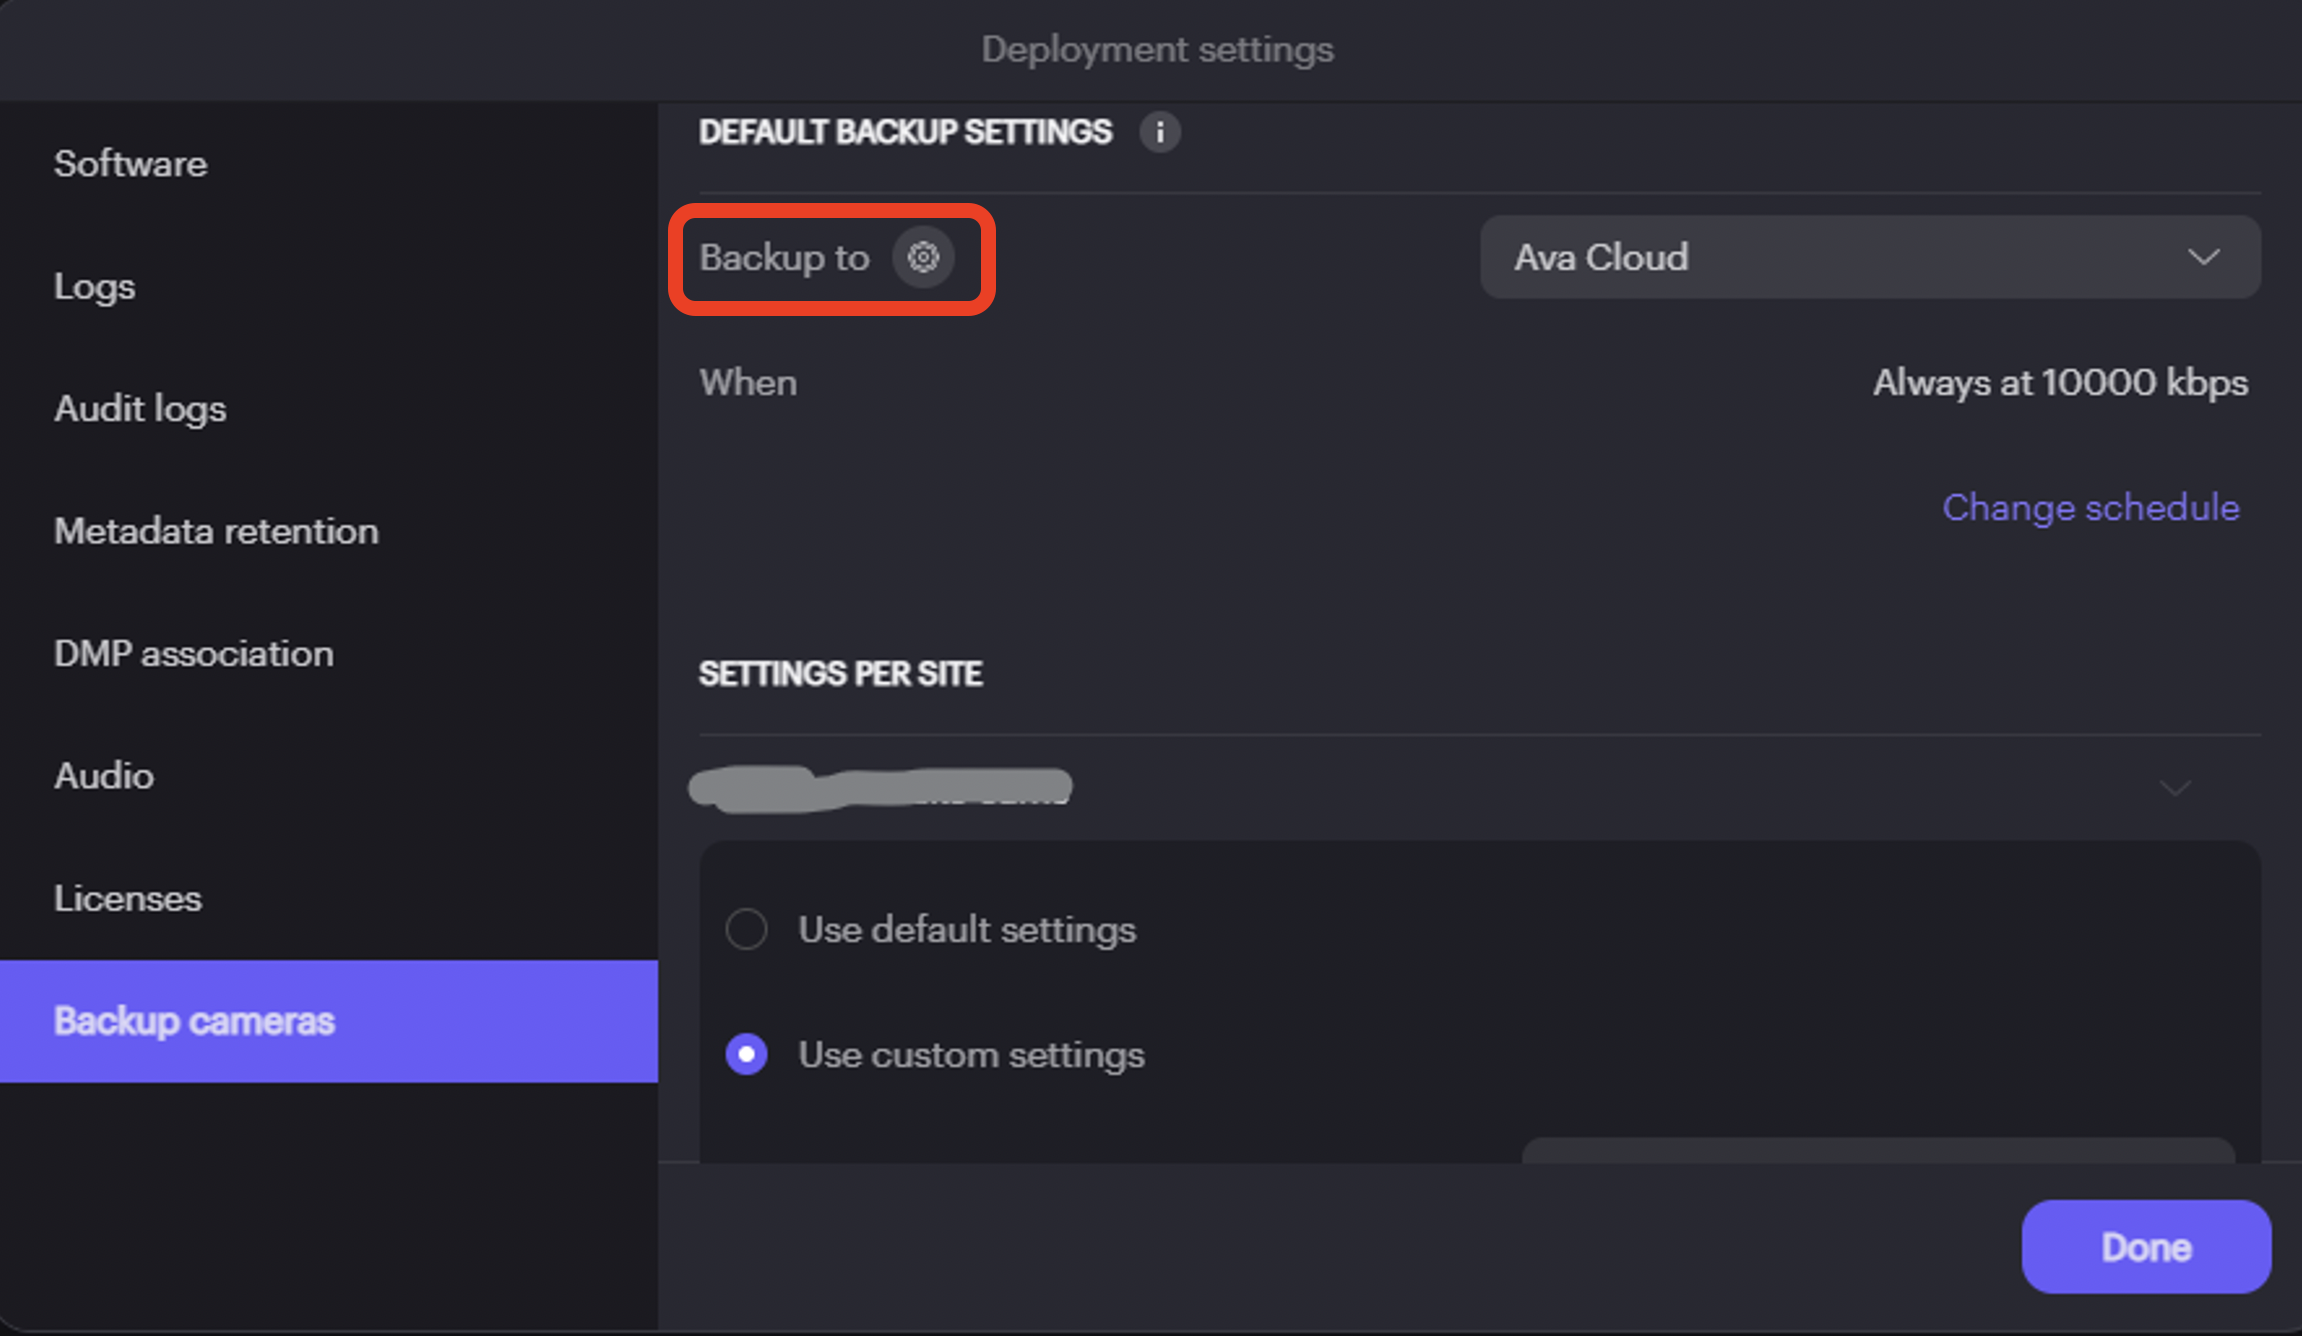
From the Backup Cameras tab, click the Backup to cogwheel icon to create a new destination for using your Wasabi storage. The Backup Locations dialog is displayed.
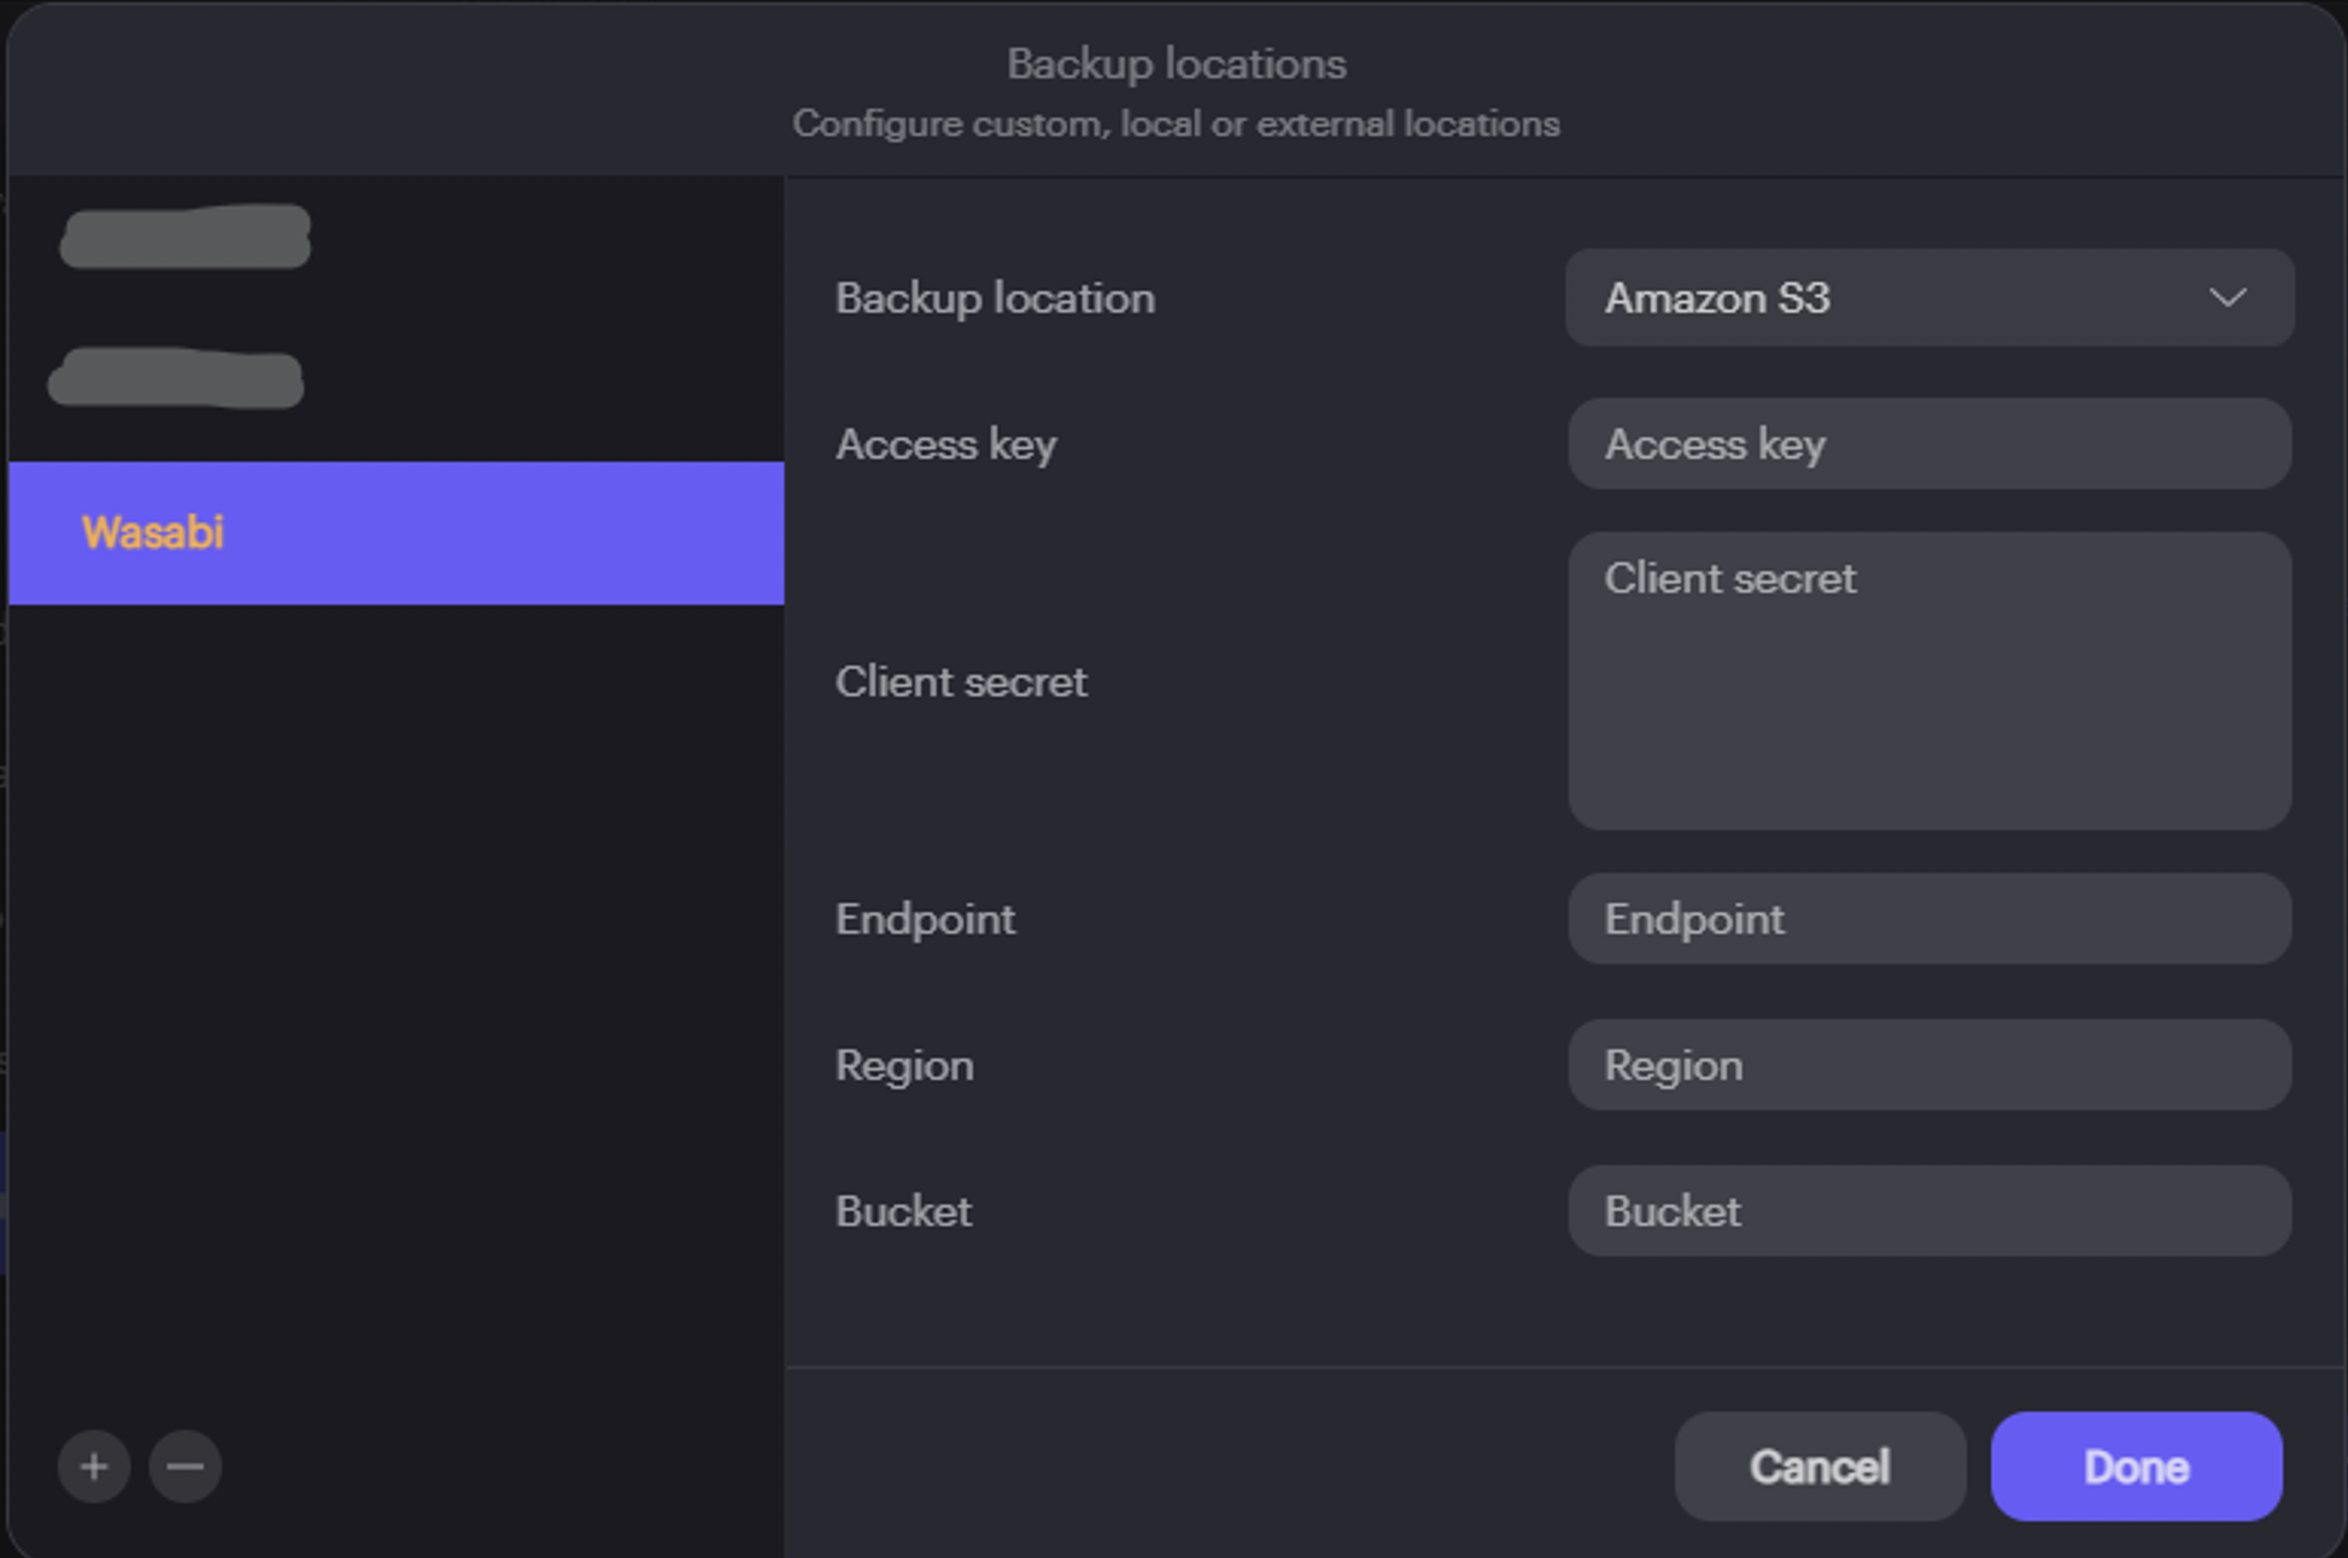
Enter the following details to configure a backup location:
Backup Location- Select “Amazon S3” as the backup location.
Access Key- Enter the access key for your Wasabi account. Refer to creating a sub-user and access and secret keys.
Client Secret-Enter the Secret for your Wasabi user. Refer to creating a sub-user and access and secret keys.
Endpoint- Enter the service URL of the Wasabi region as the endpoint as described in this Wasabi service URLs article.
Region- Enter the name of the Wasabi region. Refer to Wasabi service URLs and regions article.
Bucket- Enter the name of the Wasabi bucket you wish to use for the backups.
Click Done. You are returned to the Deployment Settings dialog.
From the Backup Cameras tab, click the Change Schedule link under Default Backup Settings. The Schedule dialog is displayed.
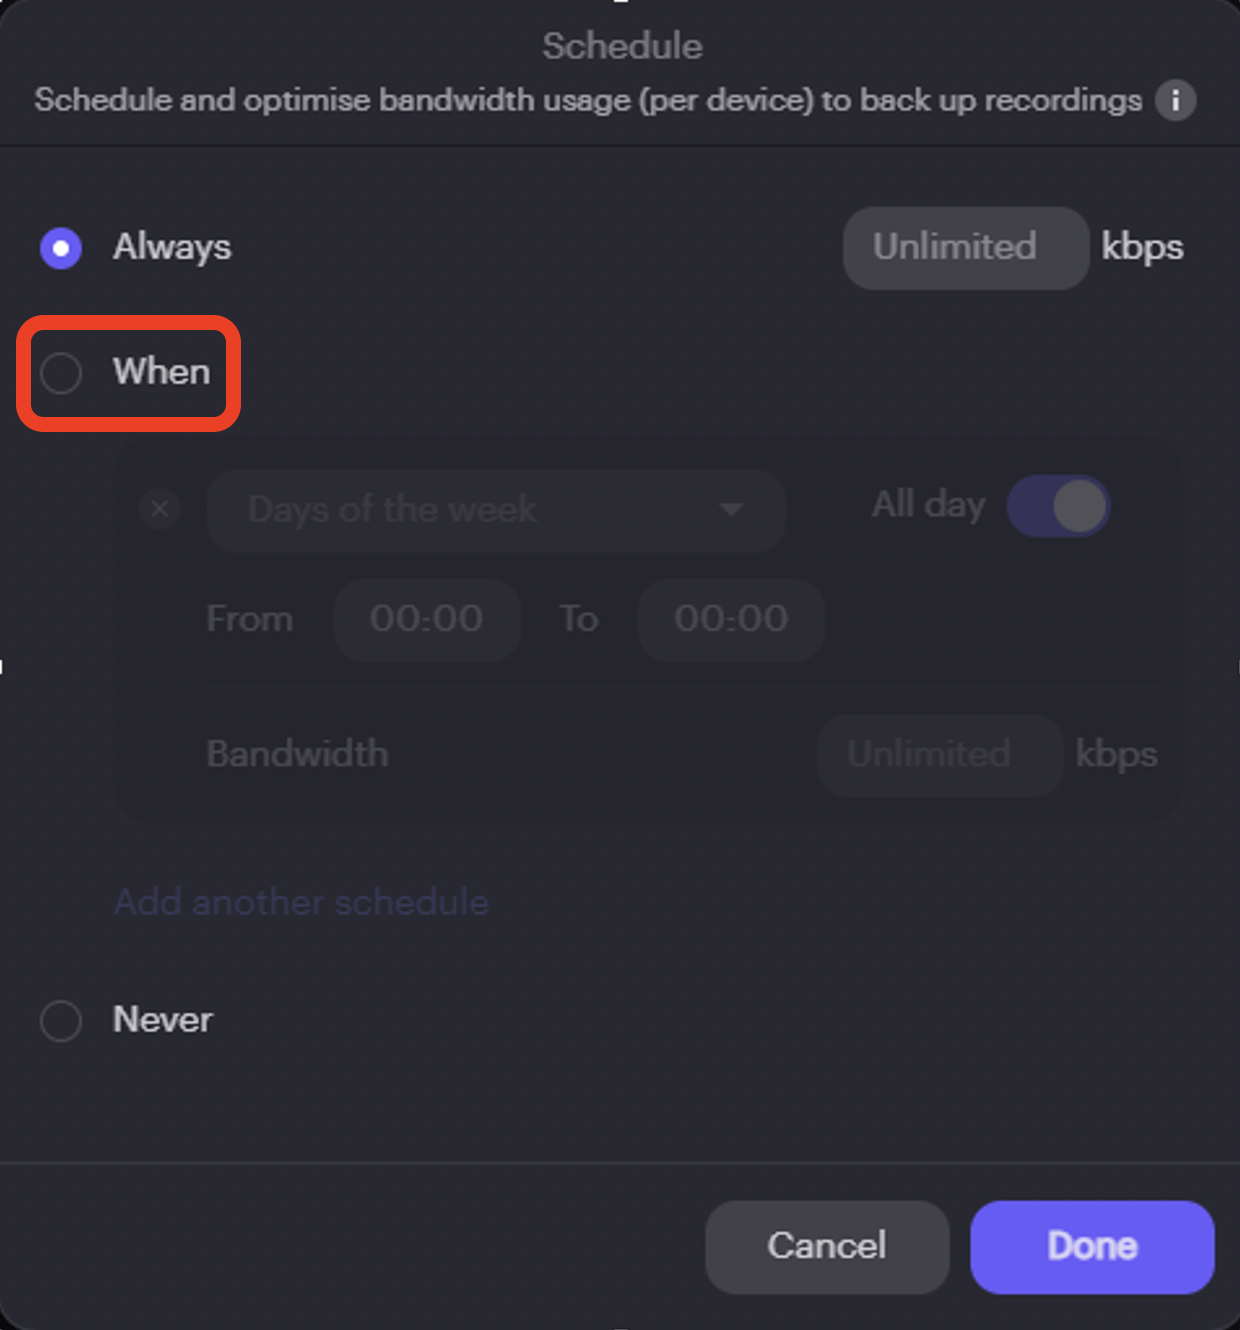
Select When to display settings, then set the From and To time period and the maximum bitrate to use per device during that time period.
NOTE: These settings apply to all configuration profiles, not only the one you opened for this dialog. If needed, you can set different schedules for different sites within Aware. For more details on how to do this, consult the Aware documentation.
Applying a Configuration Profile to a Camera
Once Wasabi is added as a backup destination in the Configuration Profile dialog, follow the steps below to apply the configuration profile to a camera(s). Skip this section if you have already applied a configuration profile to the camera(s).
Log in to your Ava Aware Cloud deployment.
If required, enter your 2-factor authentication code.
Select Devices.
Use the tick boxes to select each camera for which you want to apply the configuration.
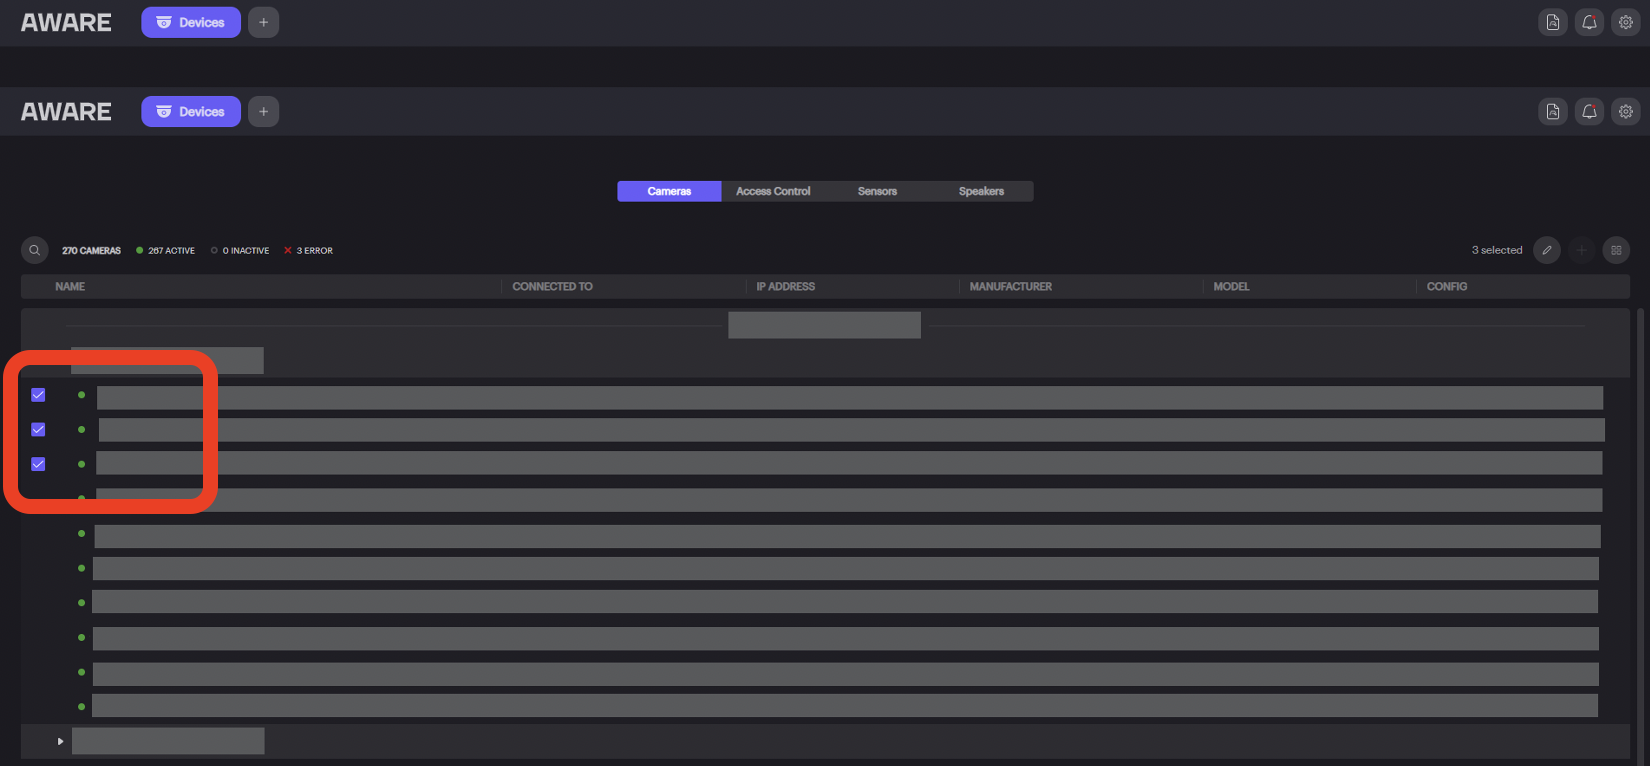
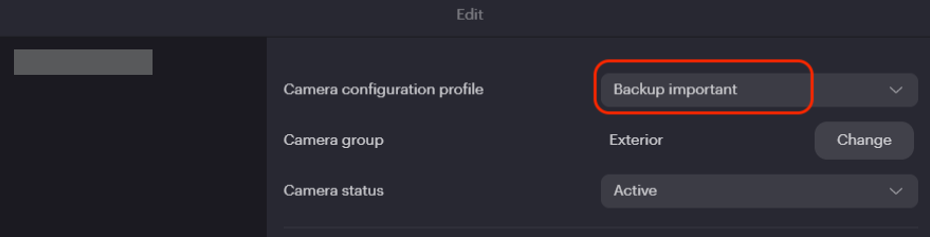
Click the Edit icon on the right, The Edit dialog is displayed. to select the configuration profile to apply.
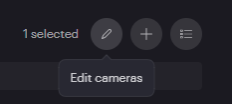
Select the camera configuration profile to apply to the camera(s) from the drop-down.
Click Done.
Downloading Logs and Recordings
Downloading Logs
To download camera logs from your Ava Cloud Aware deployment, follow the steps in the Download Logs from Aware article.
Downloading Recordings
This section provides steps to download recordings backed up to Wasabi. Recordings backed up using Ava Storage Connect can be accessed and downloaded by signing in to the Wasabi Console. The recordings are stored as mp4 files.
You can also use the Wasabi Explorer to download recording files from Wasabi. To do so, refer to Wasabi Explorer for Mac or Wasabi Explorer for Windows articles for more information.
To download the recording files using the Wasabi Console, follow the steps below.
Sign in to the Wasabi Console to view the buckets. To do so, refer to Signing into Wasabi Console.
Once you have signed in, select the bucket where the recordings are stored to display the object files within it.
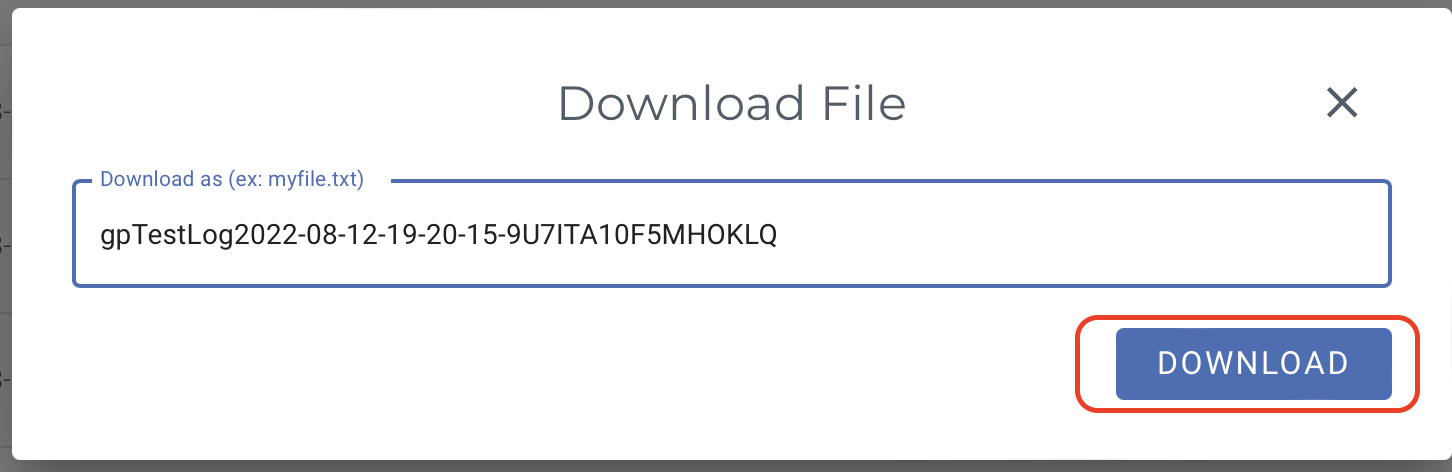
From the More Options icon, select Download As. The Download File dialog displays the selected file.
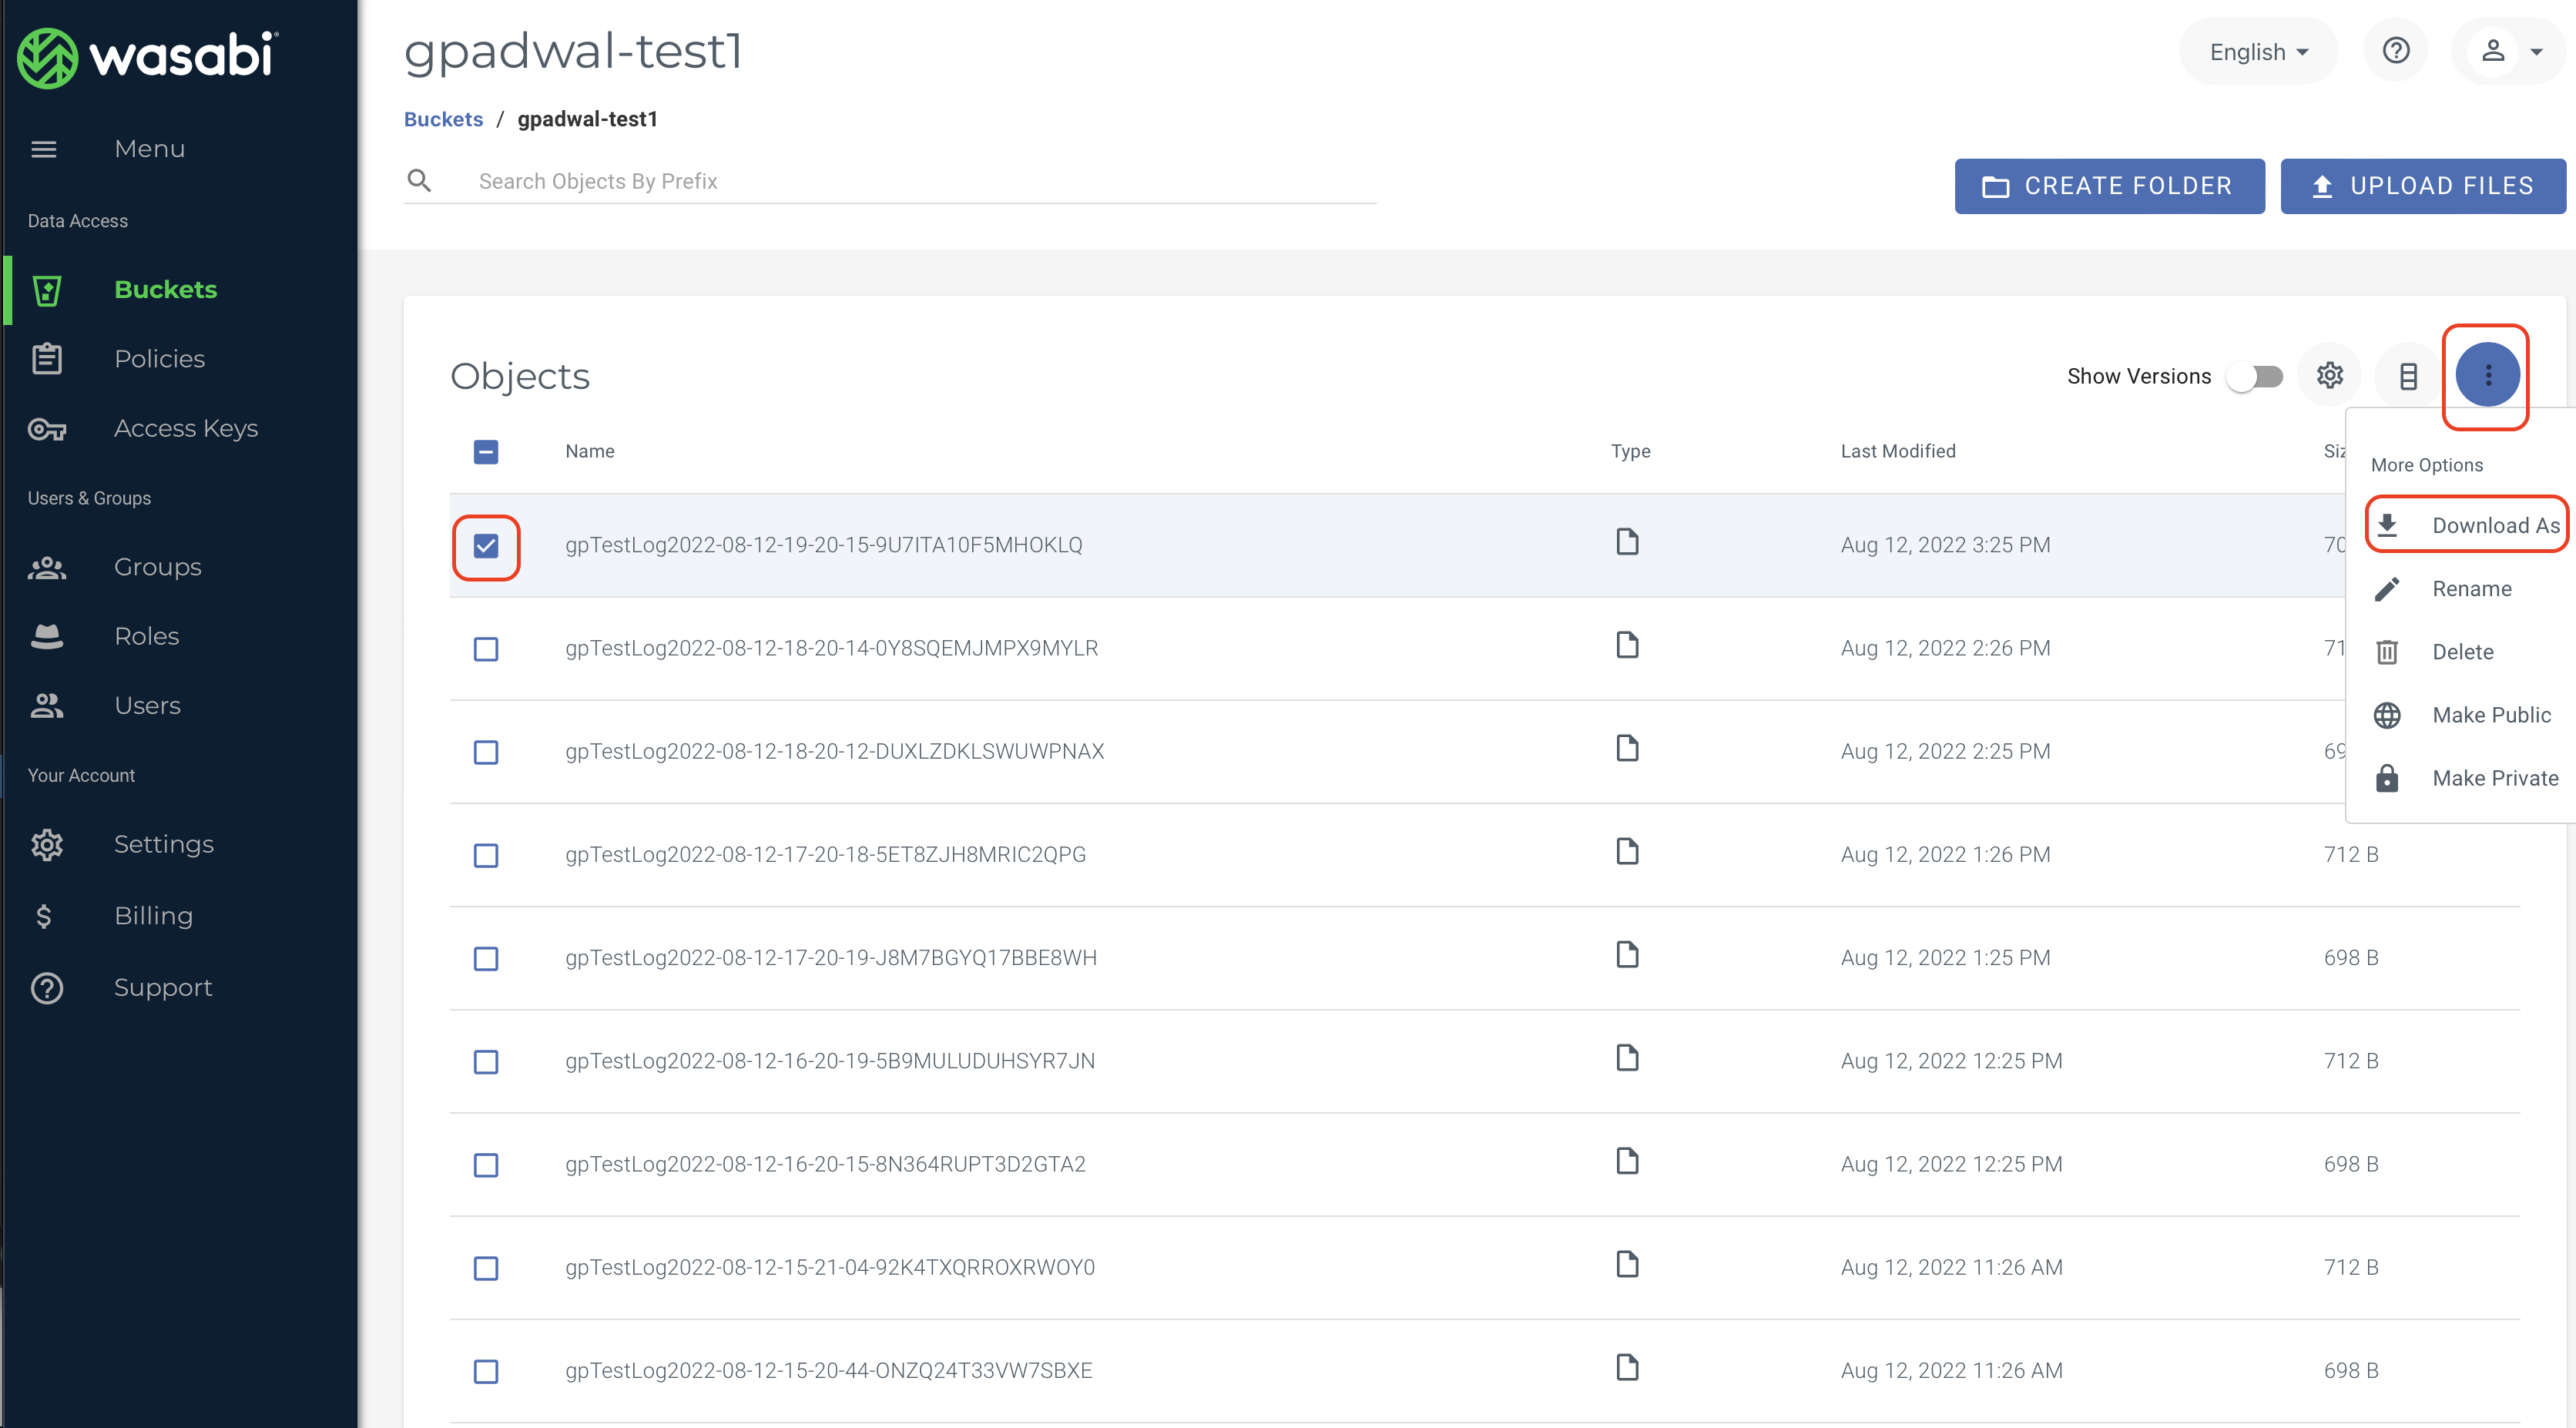
Click Download.
For more information on Ava Cloud Cameras, refer to their documentation.