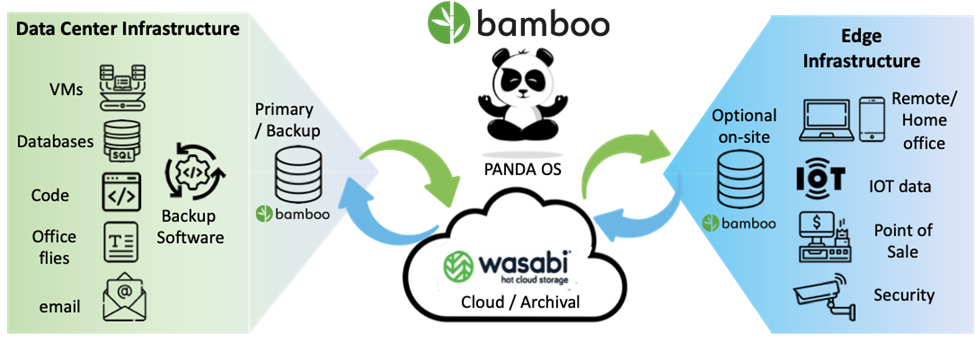
Bamboo Storage builds unified, sale up and scale out storage systems offering all modern enterprise storage protocols. Bamboo Storage has been validated to work with Wasabi.
Requirements
Active Wasabi Cloud Storage Account.
Wasabi bucket. For more information, review Working With Buckets and Objects.
Access & Secret Key Pair. For more information, review Creating a User Account and Access Key.
Bamboo Storage Appliance.
Bamboo Unified Software Manager version 6.X or later.
Reference Architecture
Creating a Wasabi Access Key
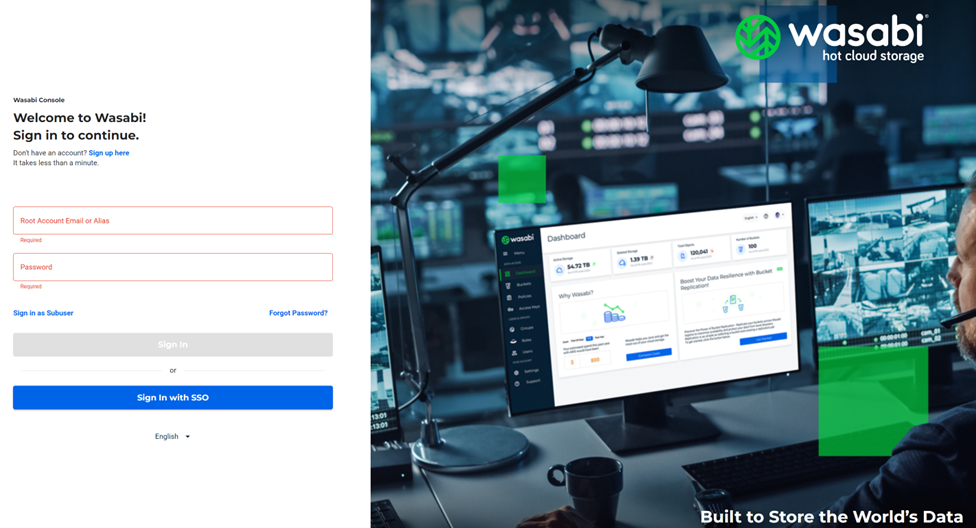
Log in to the Wasabi Console.
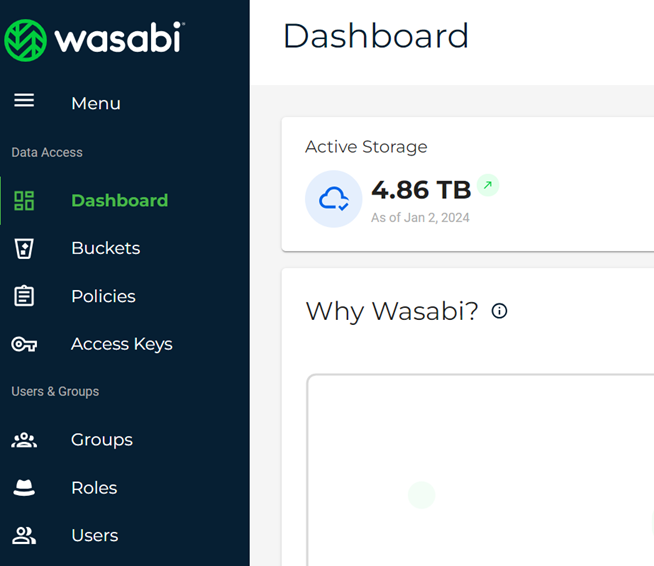
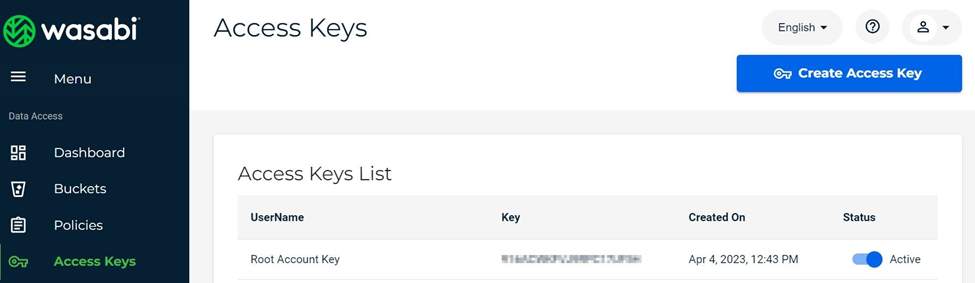
Click Access Keys in the navigation panel.
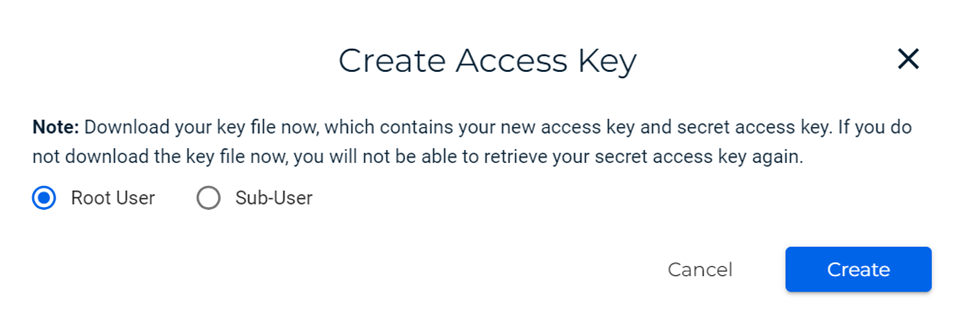
Click Create Access Key.
Click Root User. Click Create.
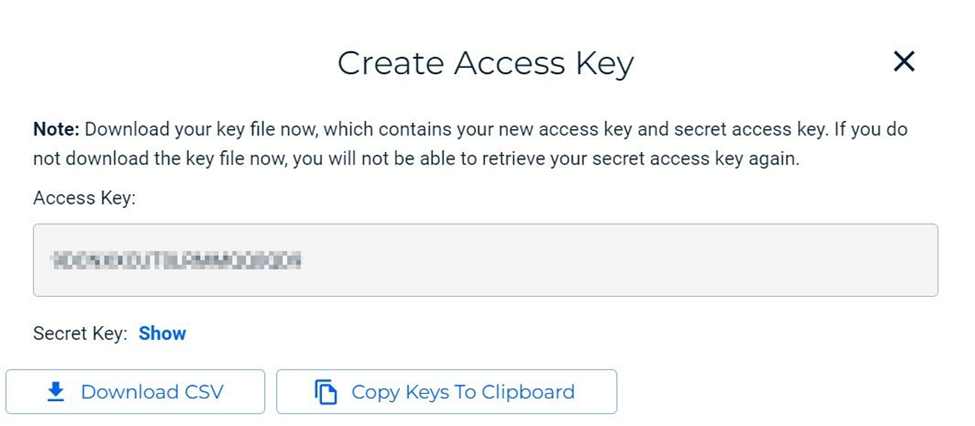
Be sure to either copy or download your Root keys and save them in a proper location for future use.
Adding Wasabi as a Storage Provider
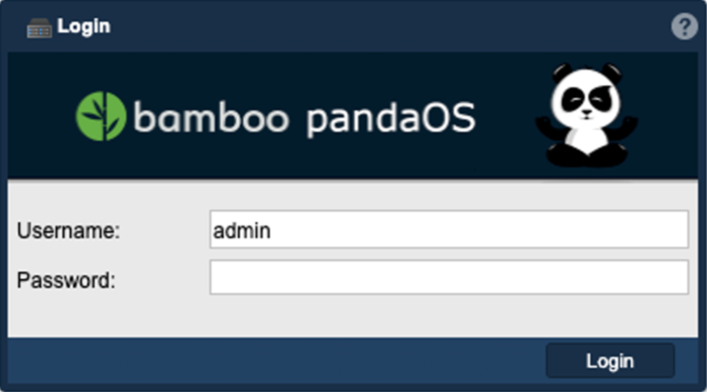
Open your Bamboo Unified Storage Manager software.
You will be prompted to log in to the software.
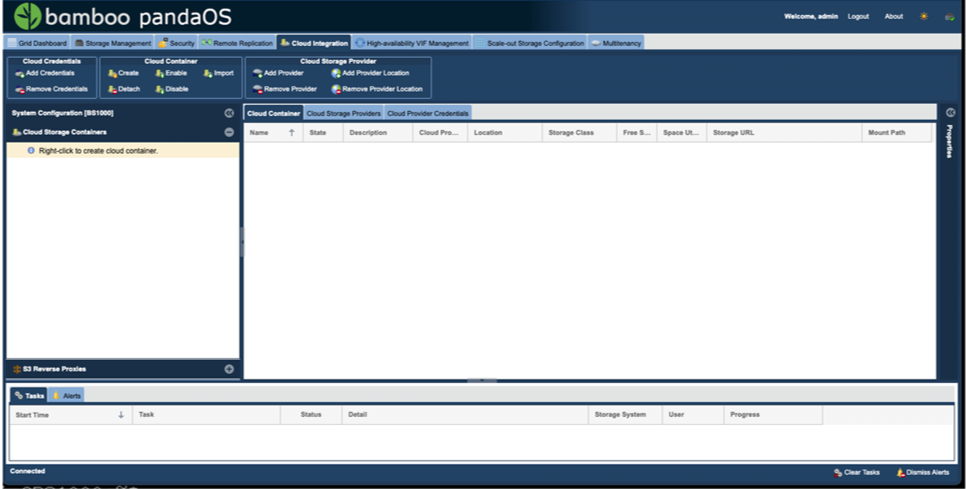
After logging in, you will be on the default Bamboo Unified Storage Manager screen, as shown below.
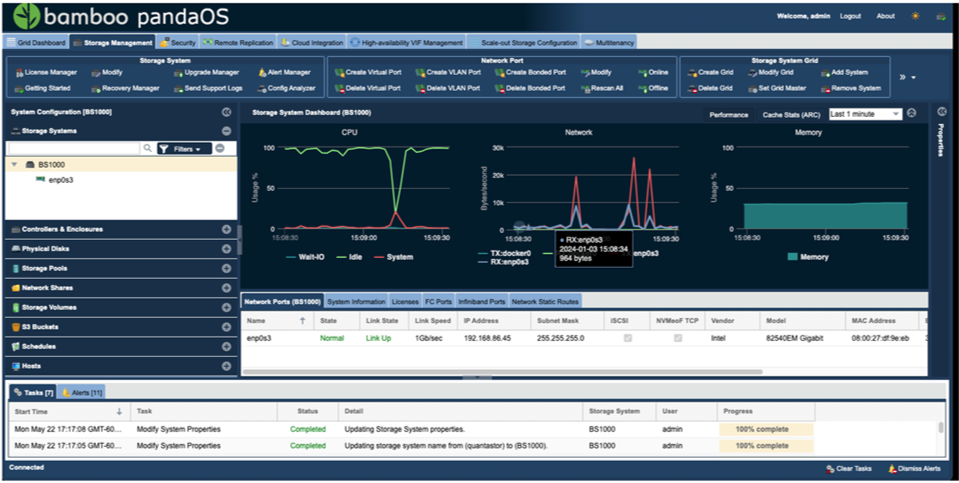
To connect your Bamboo Storage system to Wasabi, select the Cloud Integration tab.
Under Cloud Credentials, click Add Credentials.
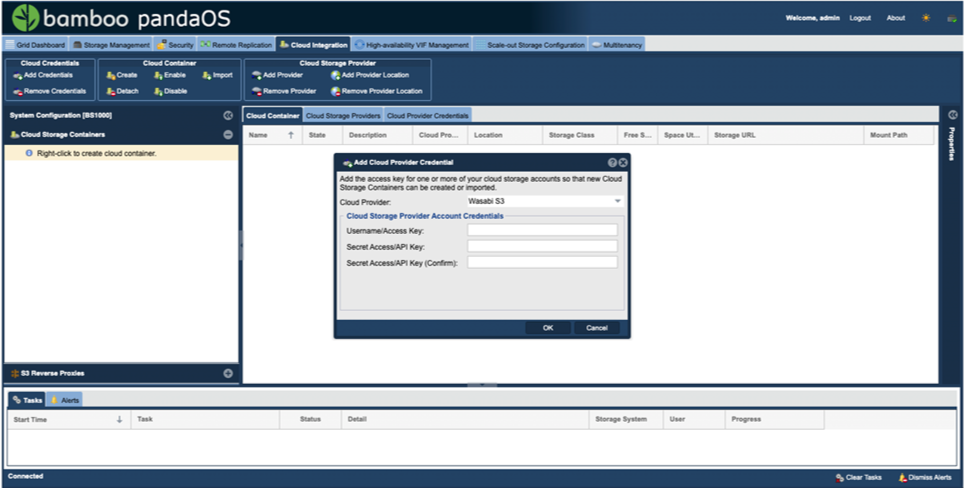
Enter the following information:
Cloud Provider — Select Wasabi S3 from the drop-down menu.
Username/Access Key — Input your Wasabi Access Key.
Secret Access/API Key — Input your Wasabi Secret Key.
Secret Access/API Key (Confirm) — Input your Wasabi Secret Key again.
Click OK.
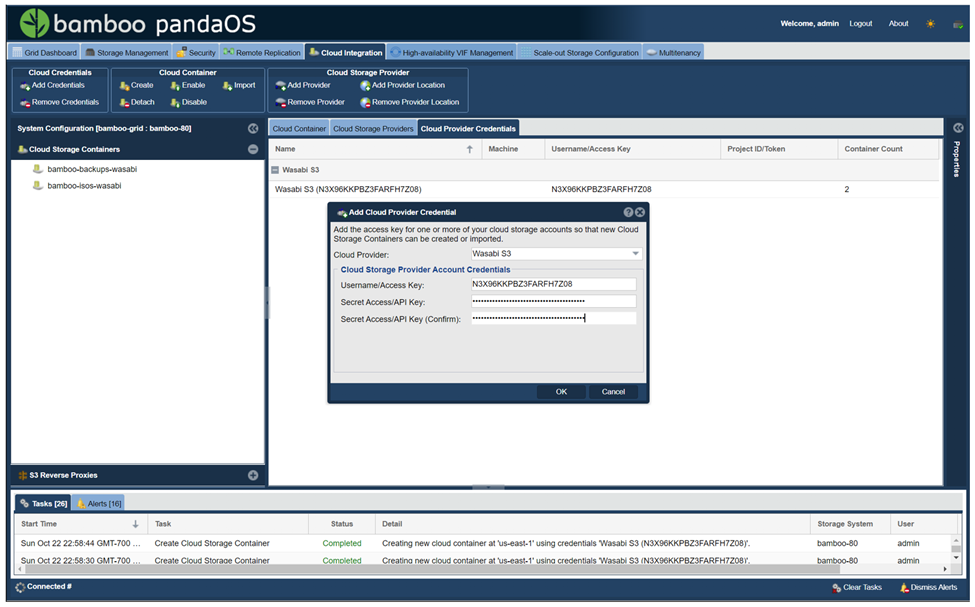
You will see your Wasabi Storage account listed as a provider.
Creating a NAS Gateway Mapping
The NAS Gateway will map the appliance to your Wasabi bucket as an internal FUSE mounted filesystem which can be configured to enable user access via SMB or NFS protocols.
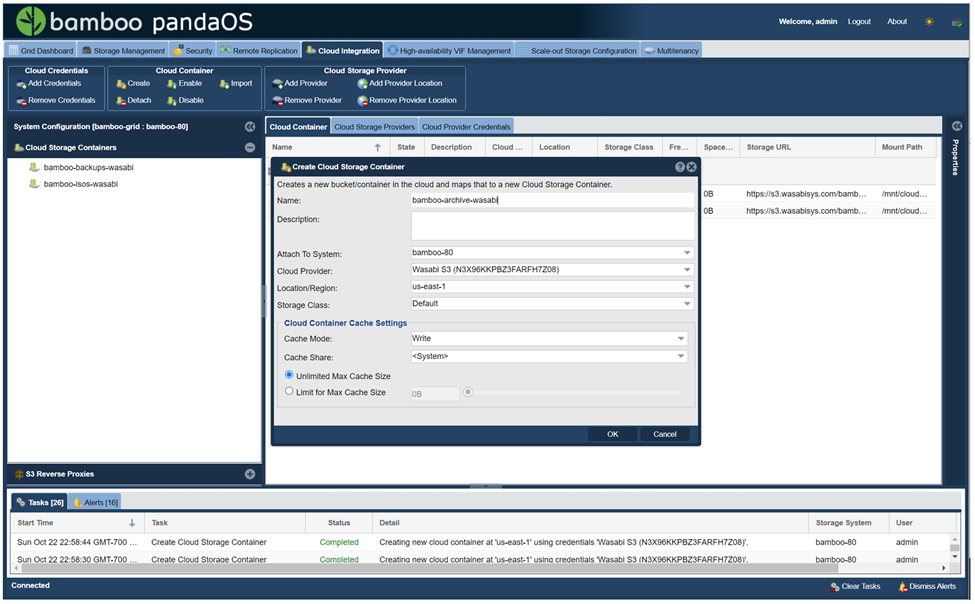
On the Cloud Integration tab under Cloud Container, click Create.
Enter the following information:
Name – Enter a desired name for the bucket/container.
Attach to System – Select a site on the Bamboo Storage to locate the bucket/container.
Cloud Provider – Select your Wasabi Storage.
Location/Region – Select the region in which your bucket is located.
Cache Mode – Select the access type (Read, Write, or Read & Write).
Cache Size – Select either Unlimited or a specific cache size.
Click OK.
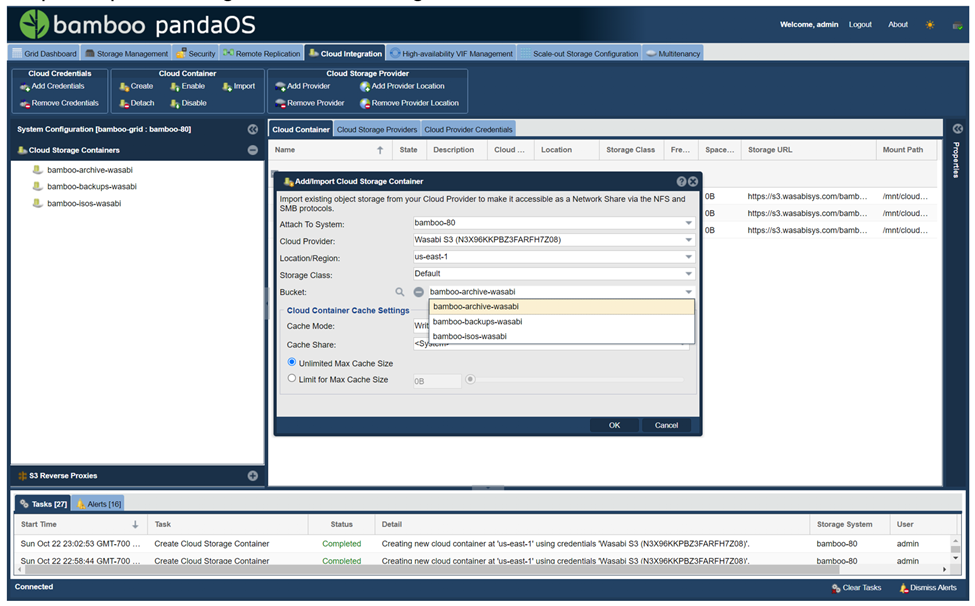
After creating the initial NAS Gateway Mapping, you can also Import Existing Buckets as Containers.
On the Cloud Integration tab, click Import under the Cloud Container section.
In the Bucket drop-down, select a storage bucket to add to your storage container list.
Click OK.
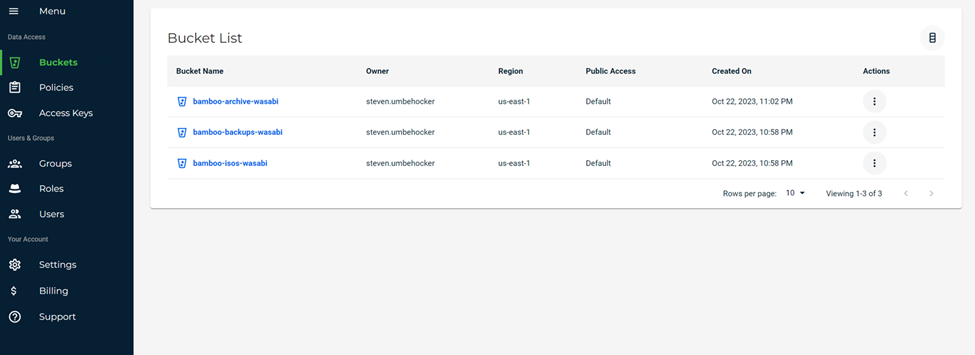
Verify that your storage buckets have been created in your Wasabi Console.
Creating a Backup Policy
Backup policies can be configured to copy or move files based on age and to auto-tier.
Copy Mode — Files are copied to/from a network share to a Wasabi bucket based on the specified schedule, and allows for a secondary copy of your data in the cloud.
Move Mode — Older files can be moved to the cloud to free up local storage. Combined with auto-tiering, this allows the creation of local stub files so that files moved to Wasabi remain visible within the network share, as if they were local.
When using file stubs, once the file is accessed, the file will load just as it would, as if it were local, but it can take longer to download the data from your Wasabi bucket.
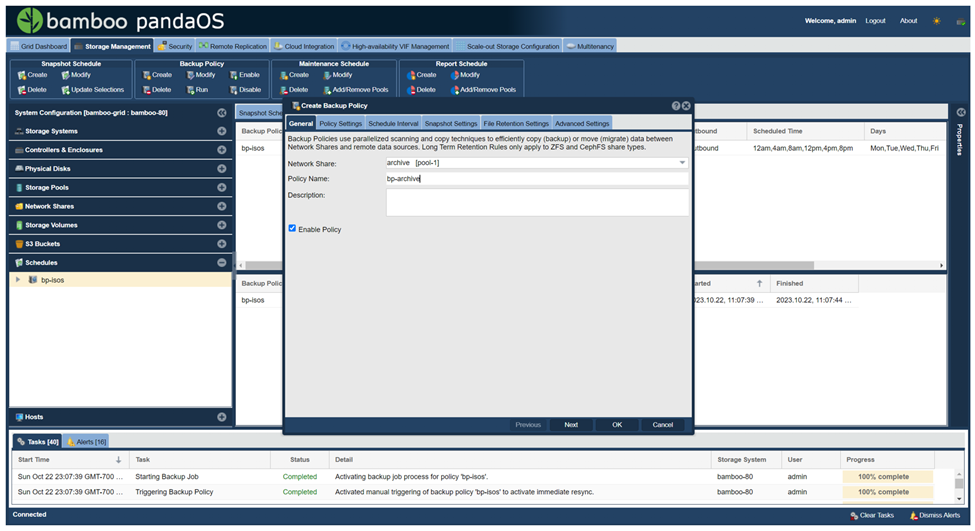
On the Bamboo Dashboard, select the Storage Management tab. Click Create under the Backup Policy section.
Enter the following:
Network Share — Click the drop-down menu and select the share you want to copy, move, or tier data from.
Policy Name — Give the policy a specific name that matches the workflow you intend to select.
Click Next.
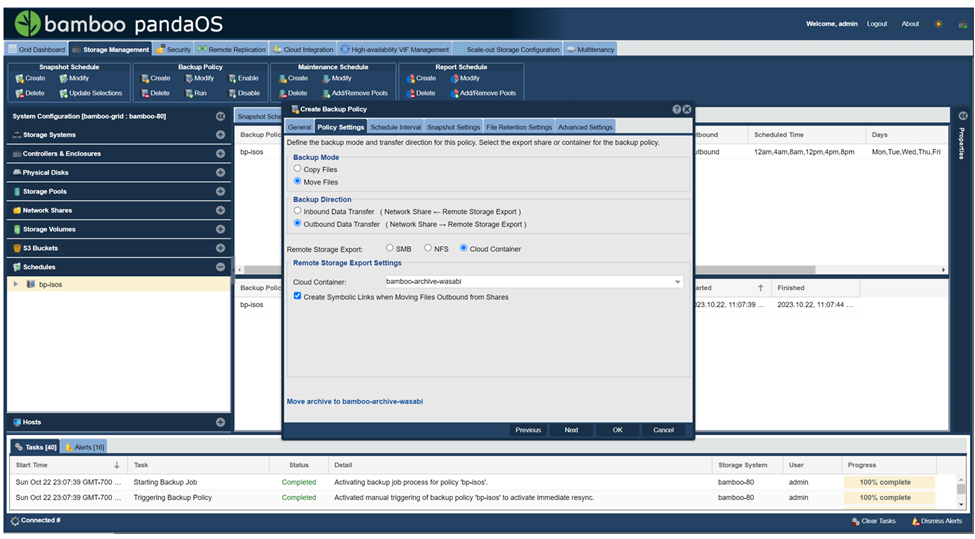
Complete the following:
Backup Mode — Select either Copy or Move Files.
Backup Direction — Select either Inbound or Outbound Transfer.
Remote Storage Export — Select Cloud Container.
Cloud Container — Click the drop-down and select your Wasabi Container.
Check the box to leave a symbolic link when moving the files from Bamboo to Wasabi.
Click OK.
Migrating Data From a Third-Party Cloud to Bamboo to Wasabi
Follow the steps above to create a NAS gateway between the third-party cloud and Bamboo.
Create a policy to move files from the third-party cloud to Bamboo.
Optionally, drag and drop files from the third-party cloud to Bamboo.
Migrate the files to Wasabi either by the policy created or by dragging and dropping the folders/containers from Bamboo to Wasabi.
Object Lock/Immutability Support
Wasabi's object lock feature set is supported, but it must be configured on the Wasabi Console side to write data to it. To do so, follow the steps below:
Log in to your Wasabi Console and create your Object Lock-enabled bucket. For more information, follow the steps in Object Lock: Enabling.
Once created, import your OL Cloud Storage Container. To do so, follow Steps 4-7 in Creating a NAS Gateway Mapping.