Objectives
| 1 | Download and install Wasabi Surveillance Cloud. |
| 2 | Activate the Wasabi Surveillance Cloud software. |
| 3 | Configure Wasabi Surveillance Cloud. |
As a new or existing Wasabi customer, you must create a 30-day free trial account to sign up for Wasabi Surveillance Cloud (WSC), as described below. Once you have created an account, continue to download and install the WSC software.
Signing Up
- Navigate to https://billing-service.wasabisys.com/CommunitiesSelfReg?pid=WSCurveillance Account.
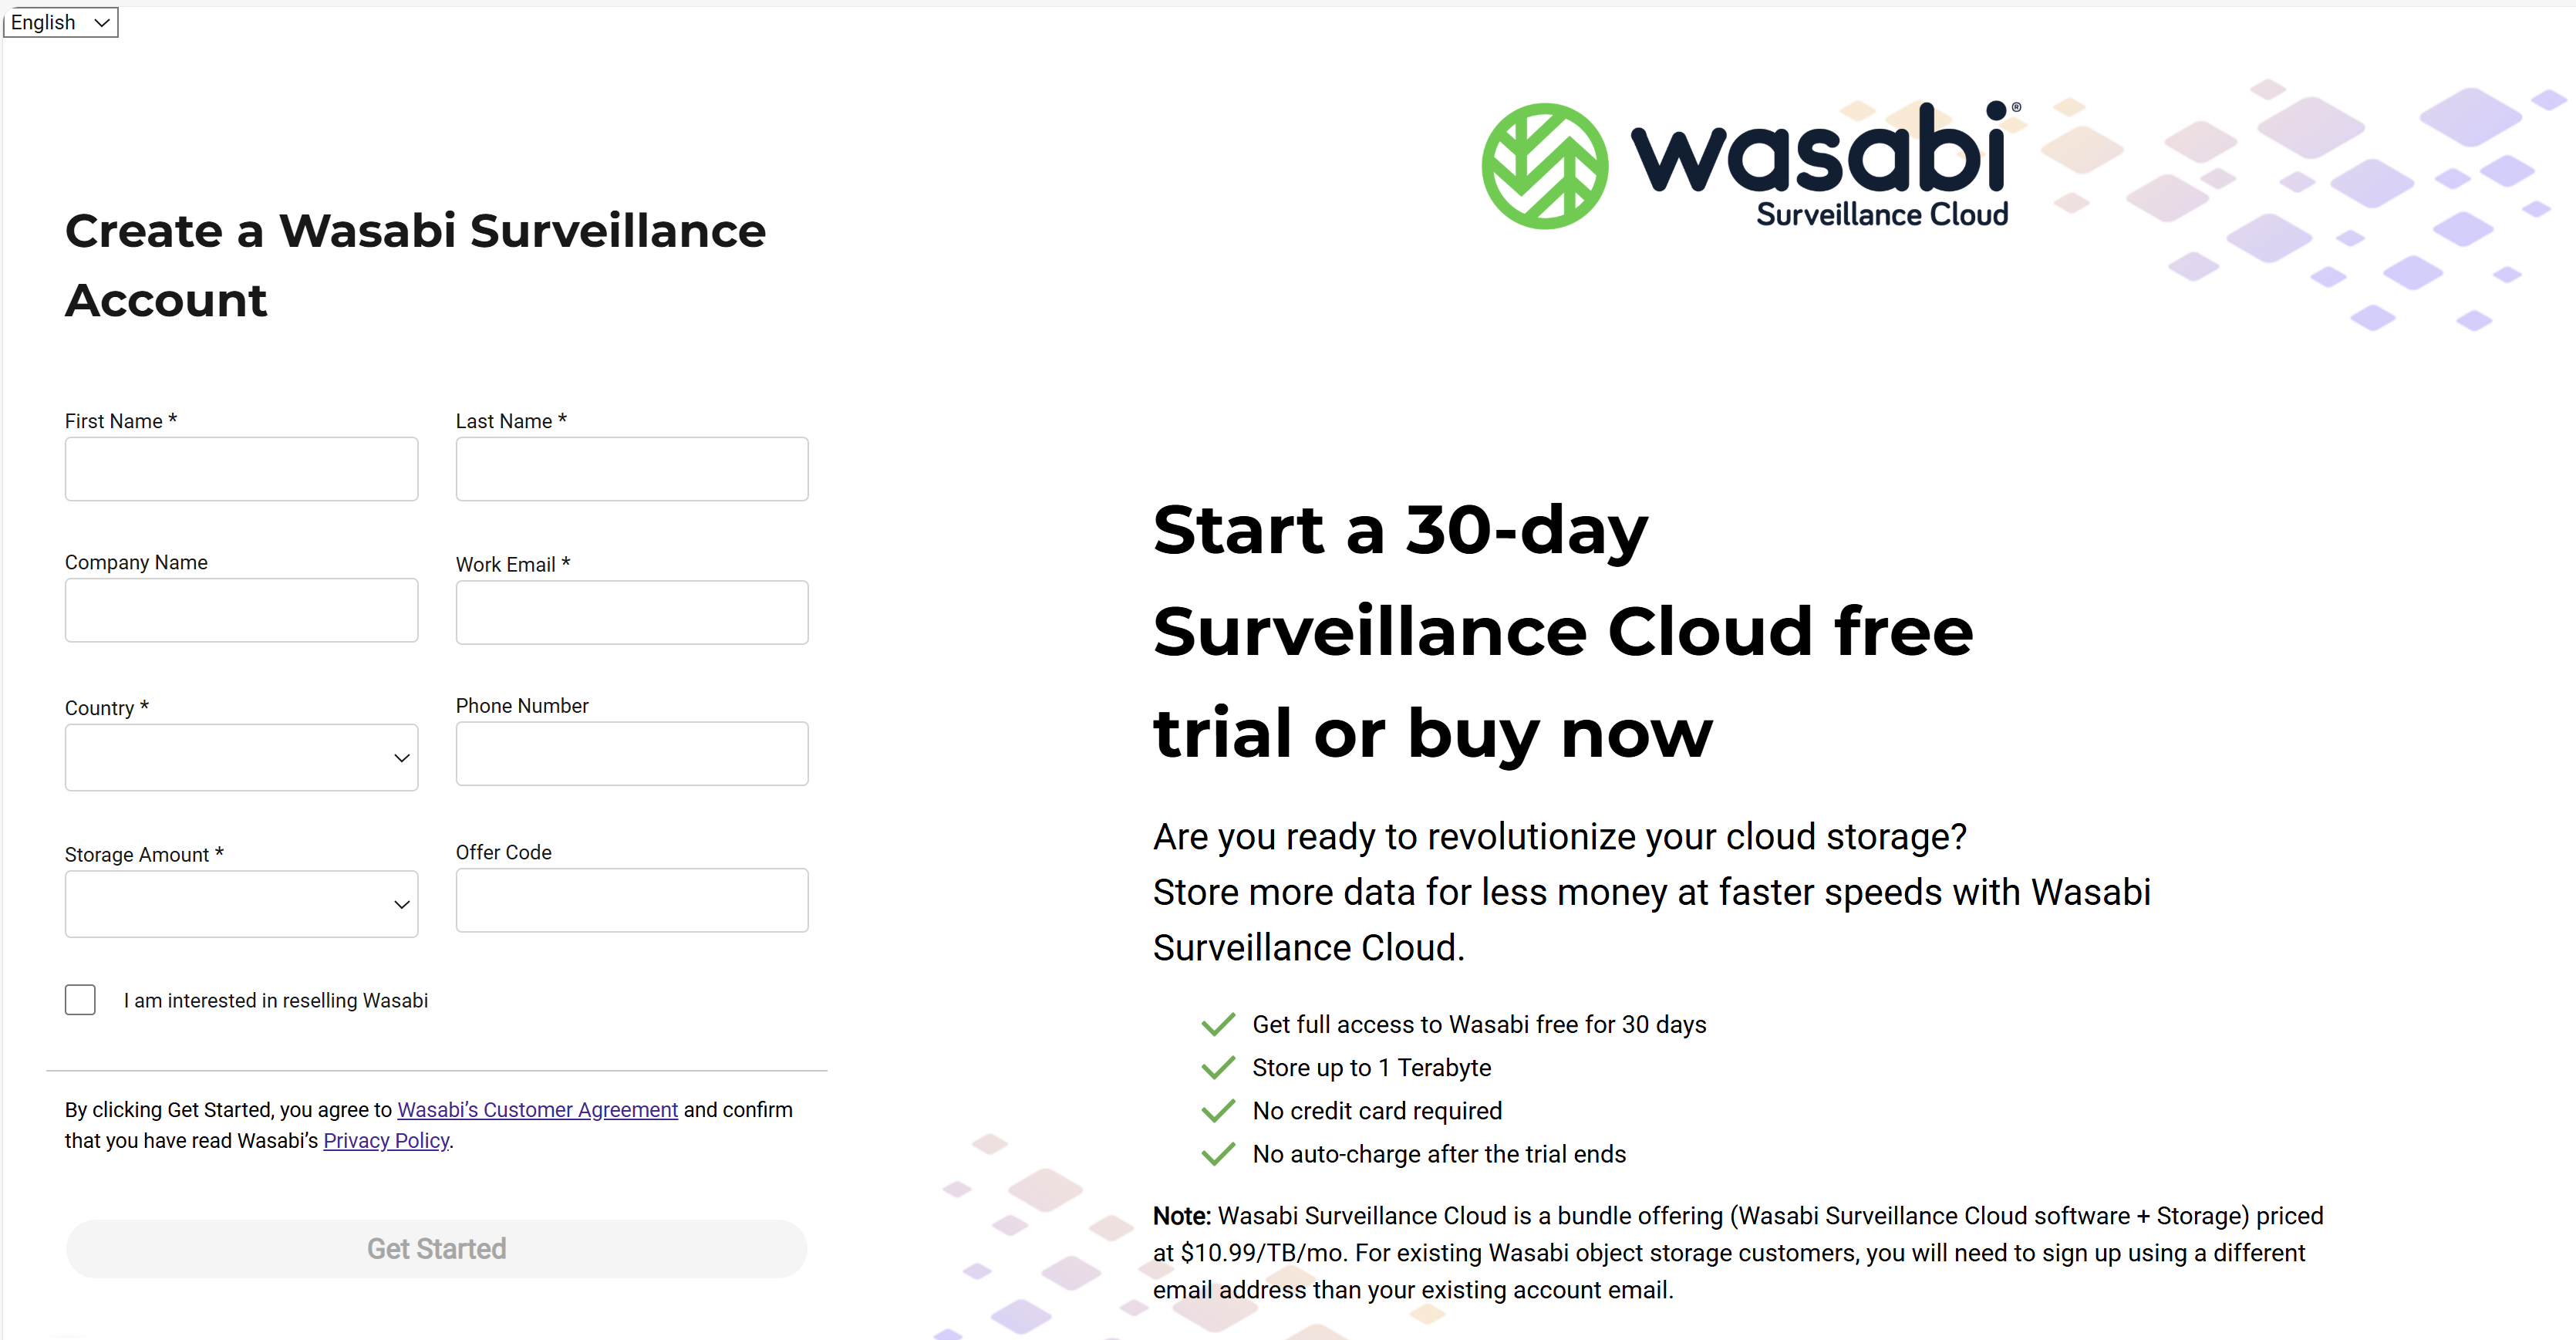
- Follow the steps in Signing Up to create a trial Wasabi account. Once complete, return to this page.
- Continue to Setting up Your New WSC Instance, below.
Setting Up Your New Wasabi Surveillance Cloud Instance
Once you have created your Wasabi Surveillance Cloud storage account, you will set up your WSC instance in three steps. Begin by downloading and installing the Wasabi Surveillance Cloud software. Be sure to download and install the software on the the local Windows machine that hosts your recording server.
- Click Wasabi Surveillance Cloud software.
.png)
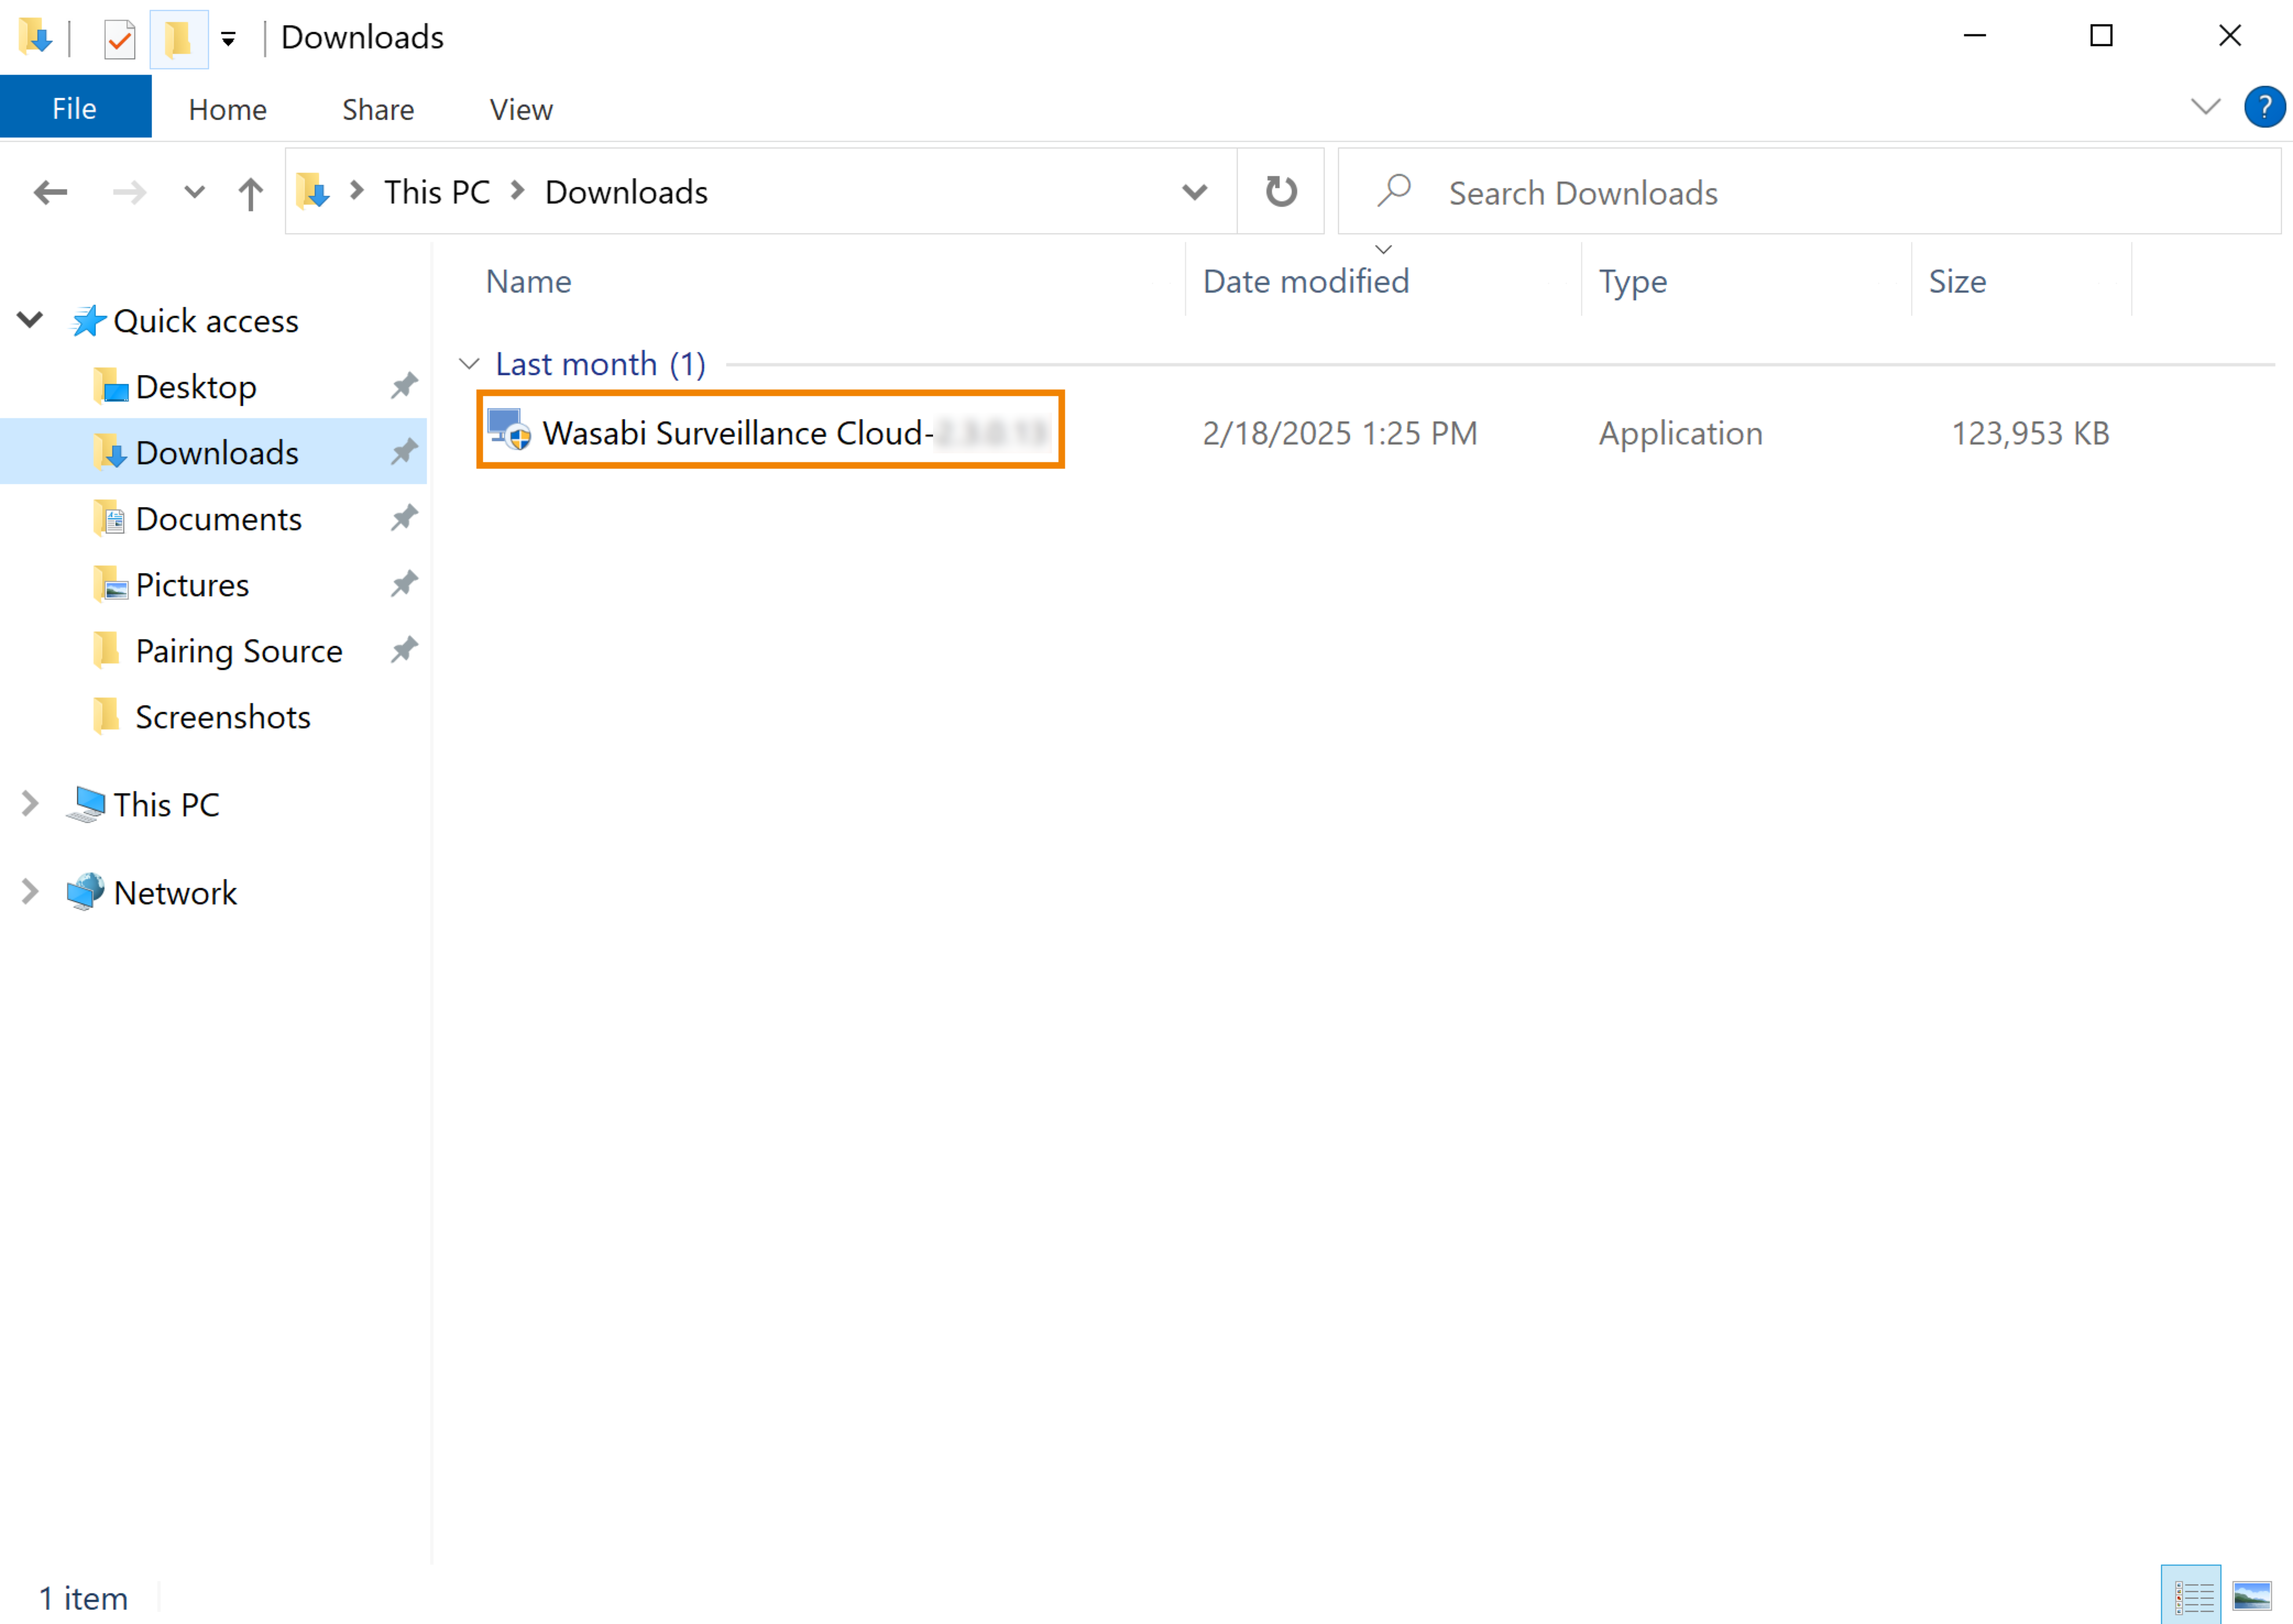
- Navigate to the Downloads folder on your machine.
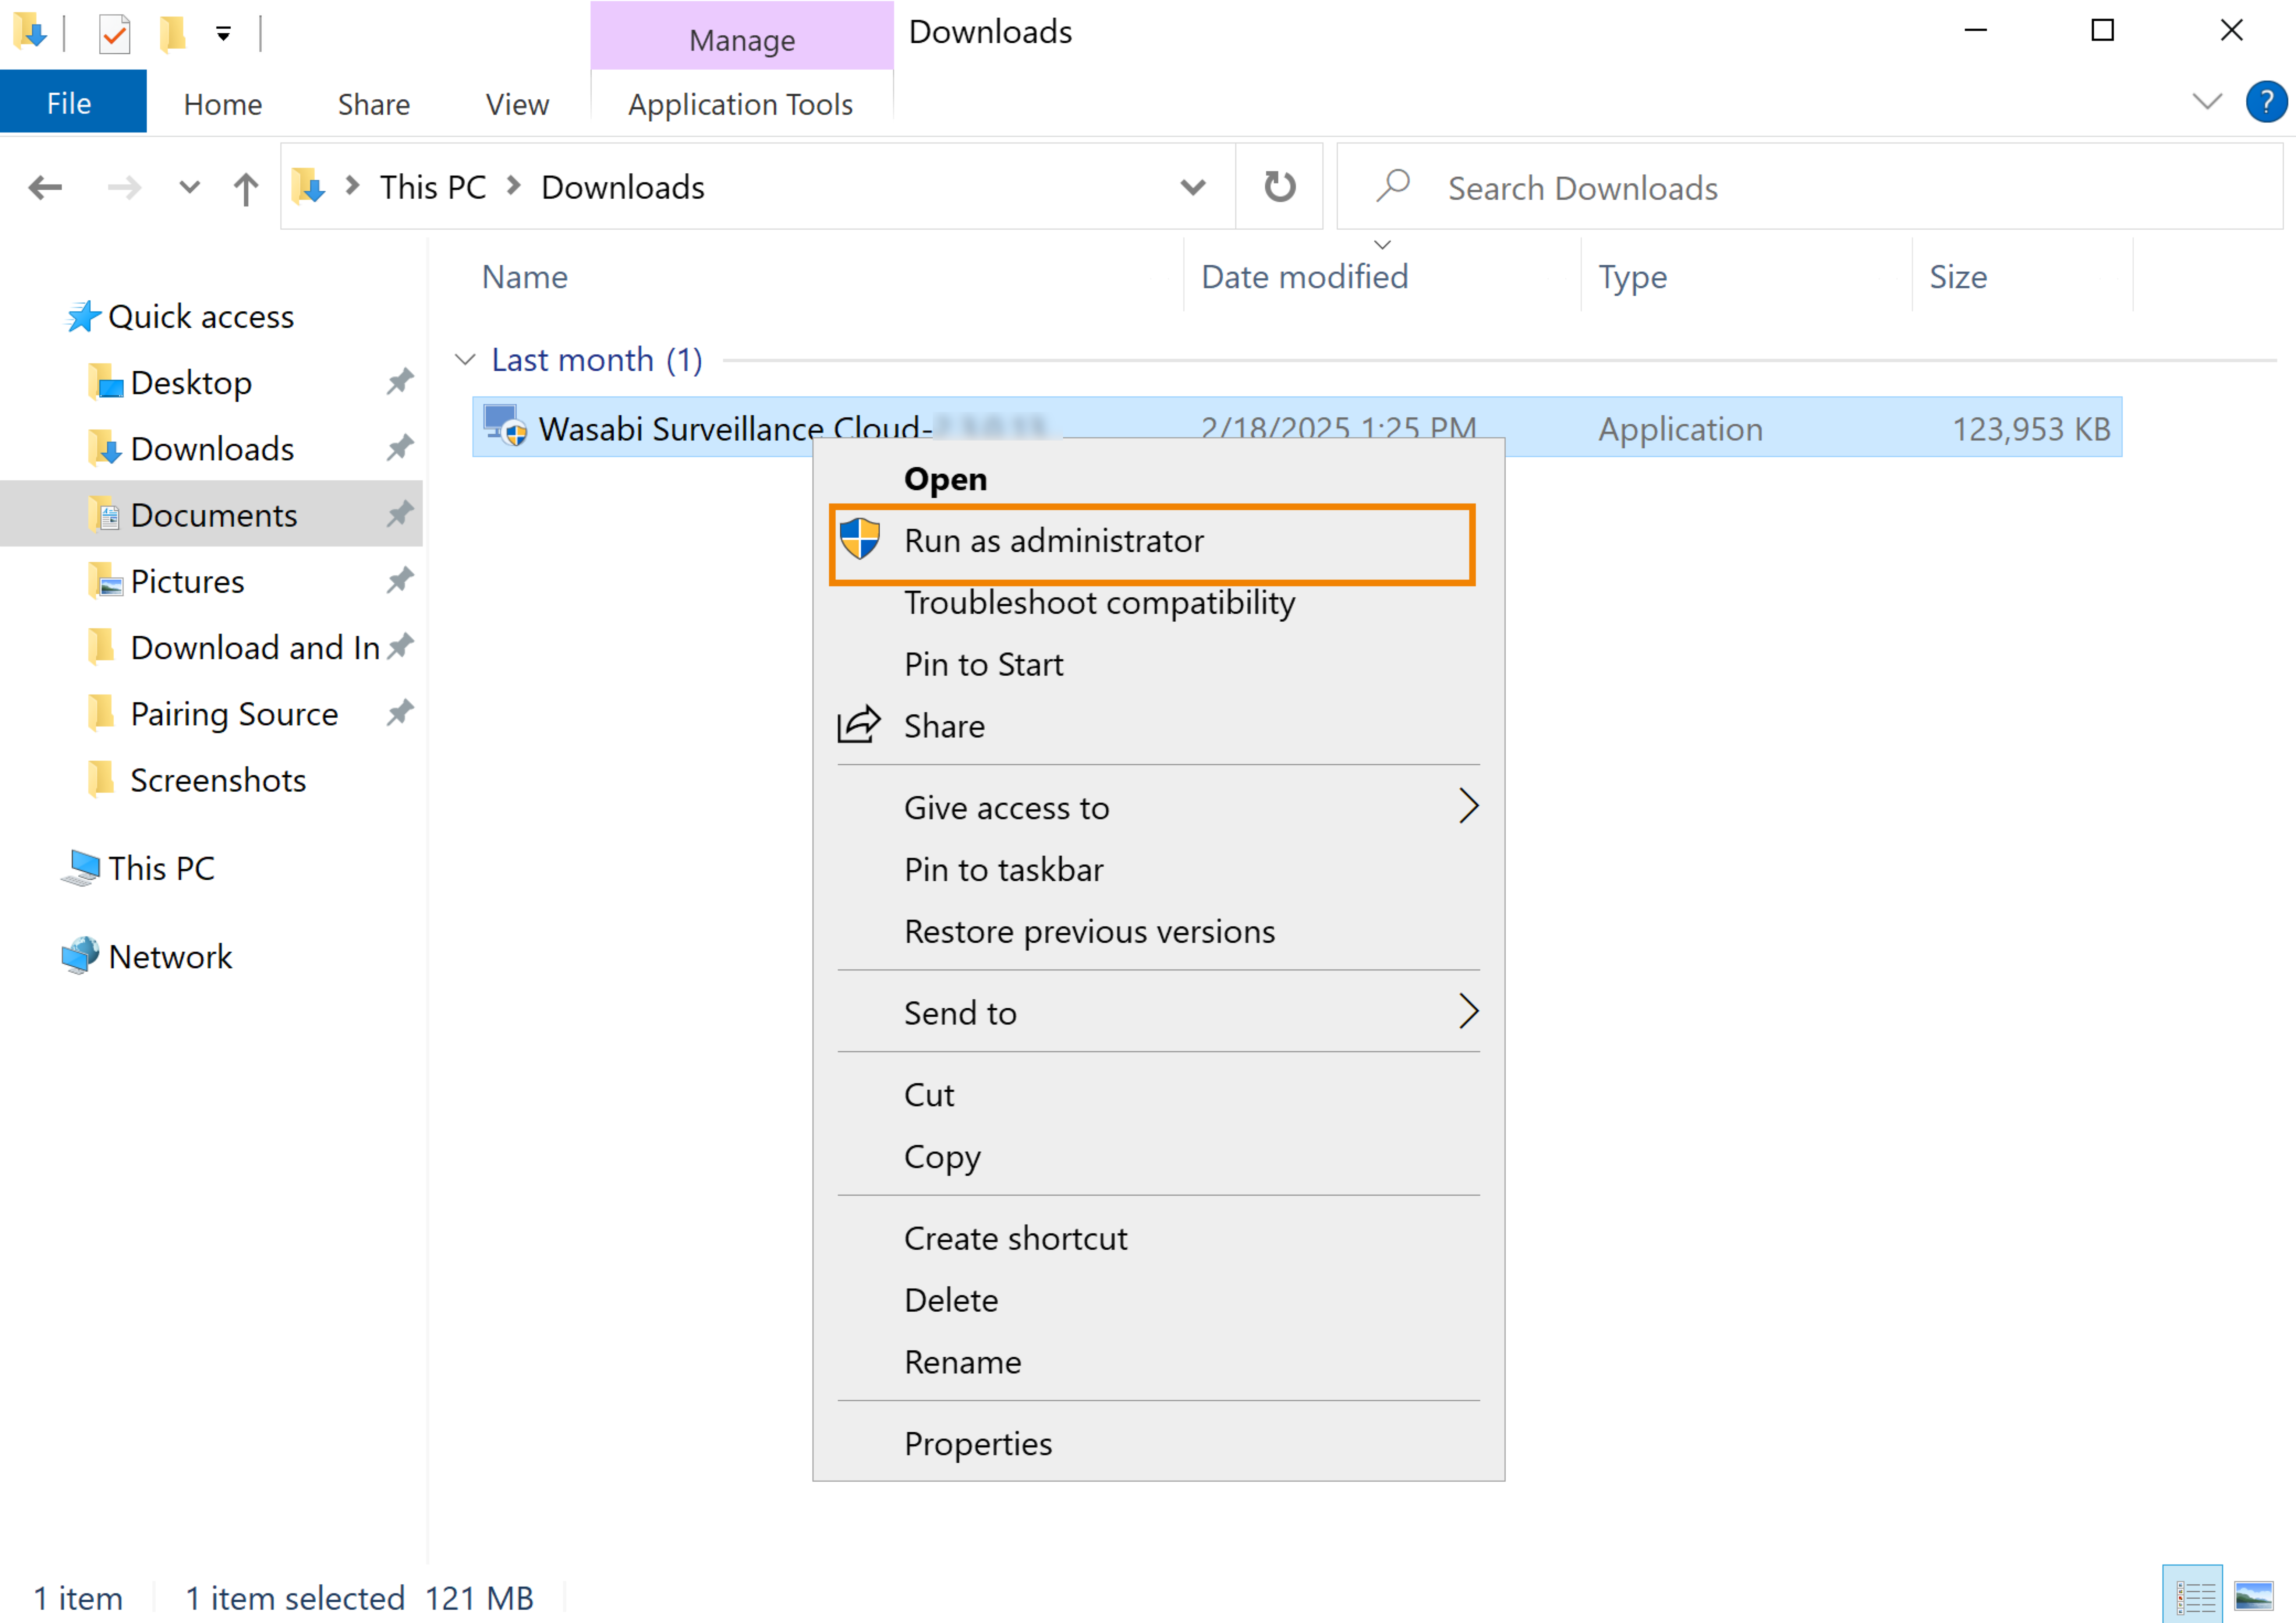
- Right-click Wasabi Surveillance Cloud.
- Click Run as administrator.
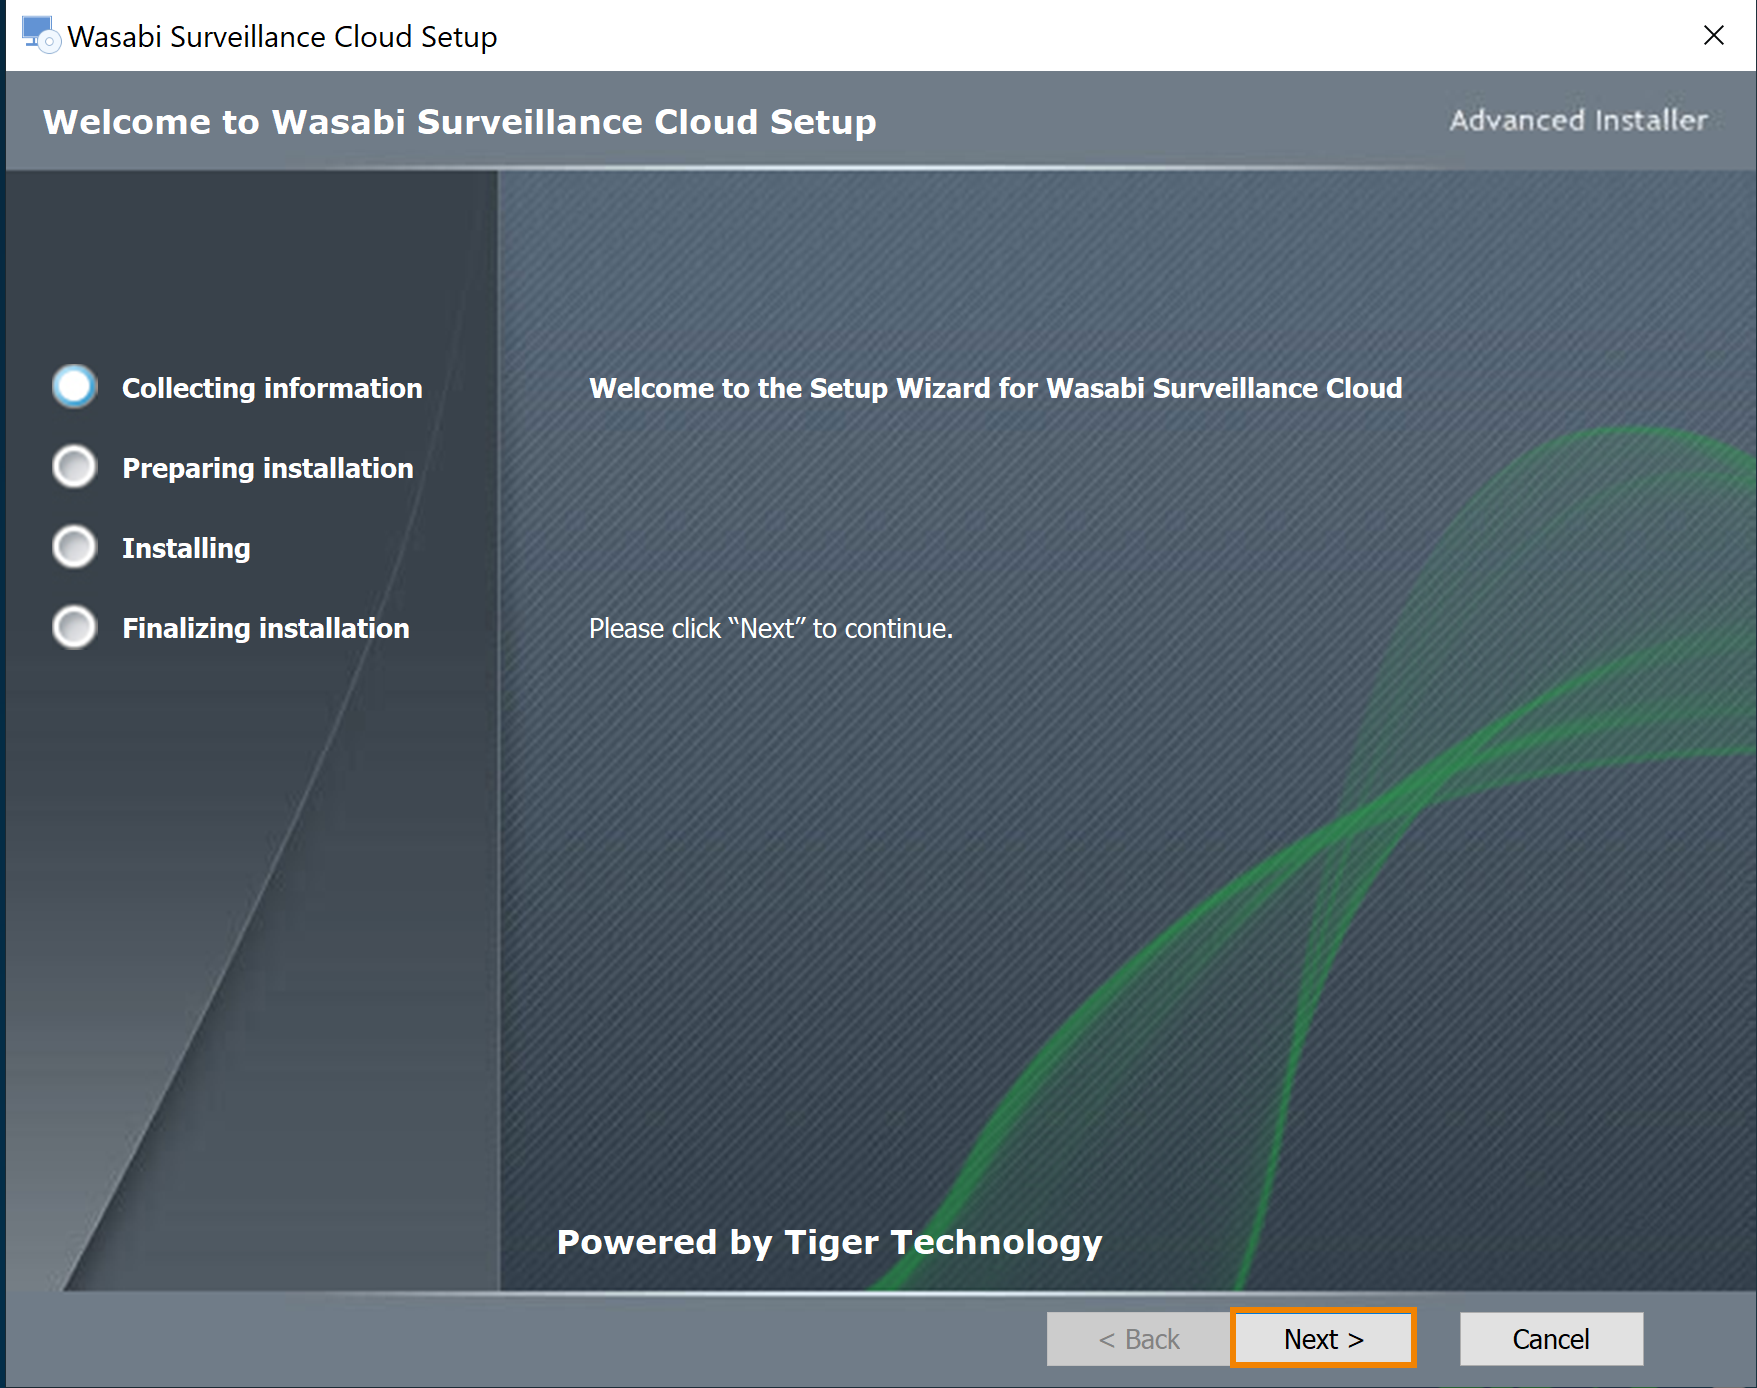
- When the software launches, you will be presented with the Wasabi Surveillance Cloud Setup screen. Click Next.
Review the Software License Agreement. Check the box to accept the terms and conditions.
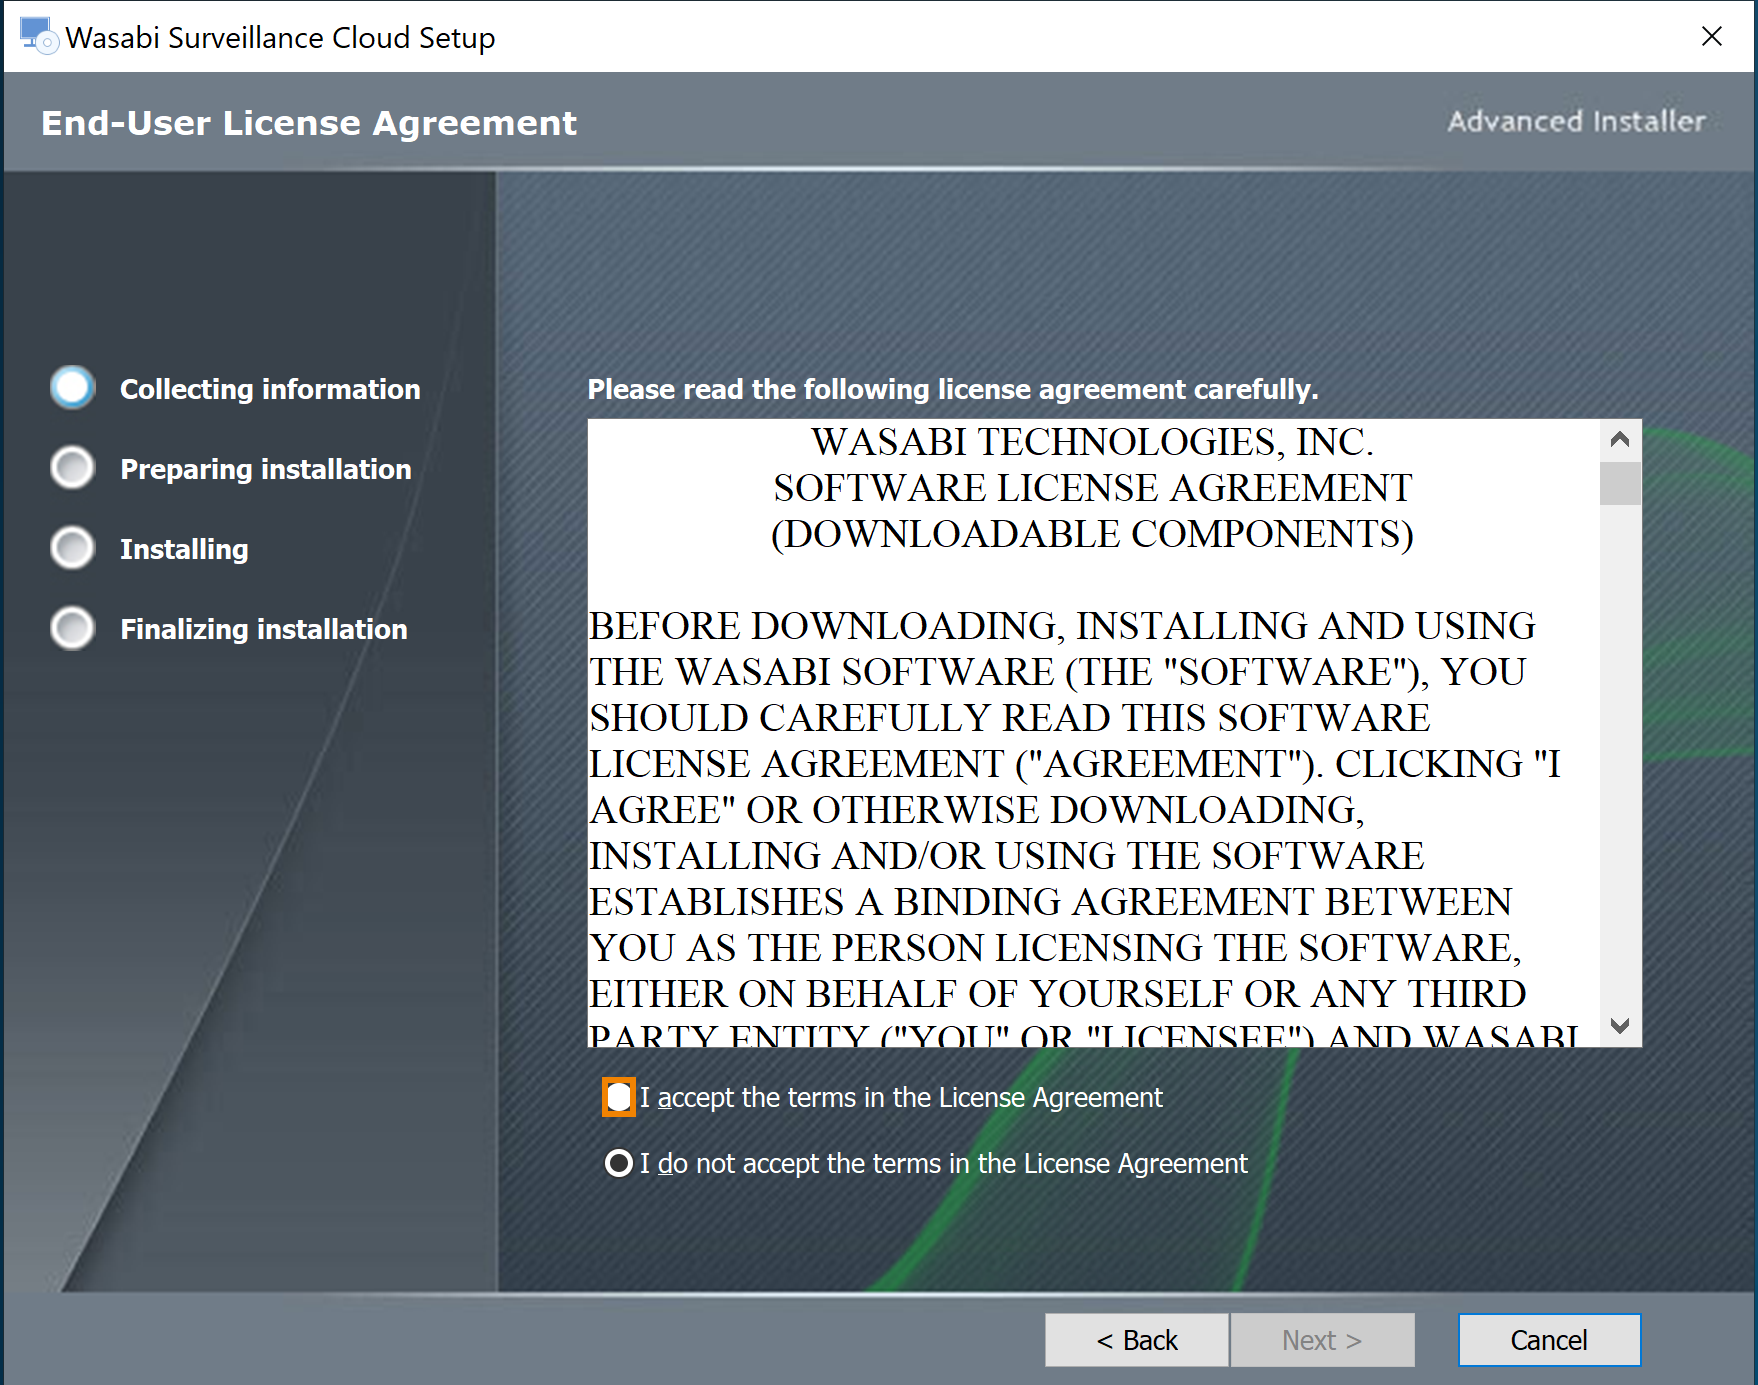
Click Next.

To ensure that WSC optimizes to work with your VMS application, select the appropriate VMS that you are using (or intend to use) from the drop-down list.
Selecting a VMS does not add, modify, or delete any configuration on your VMS.- If you are a Milestone XProtect user, select Milestone - XProtect. This will install the WSC plugin that integrates with Milestone.
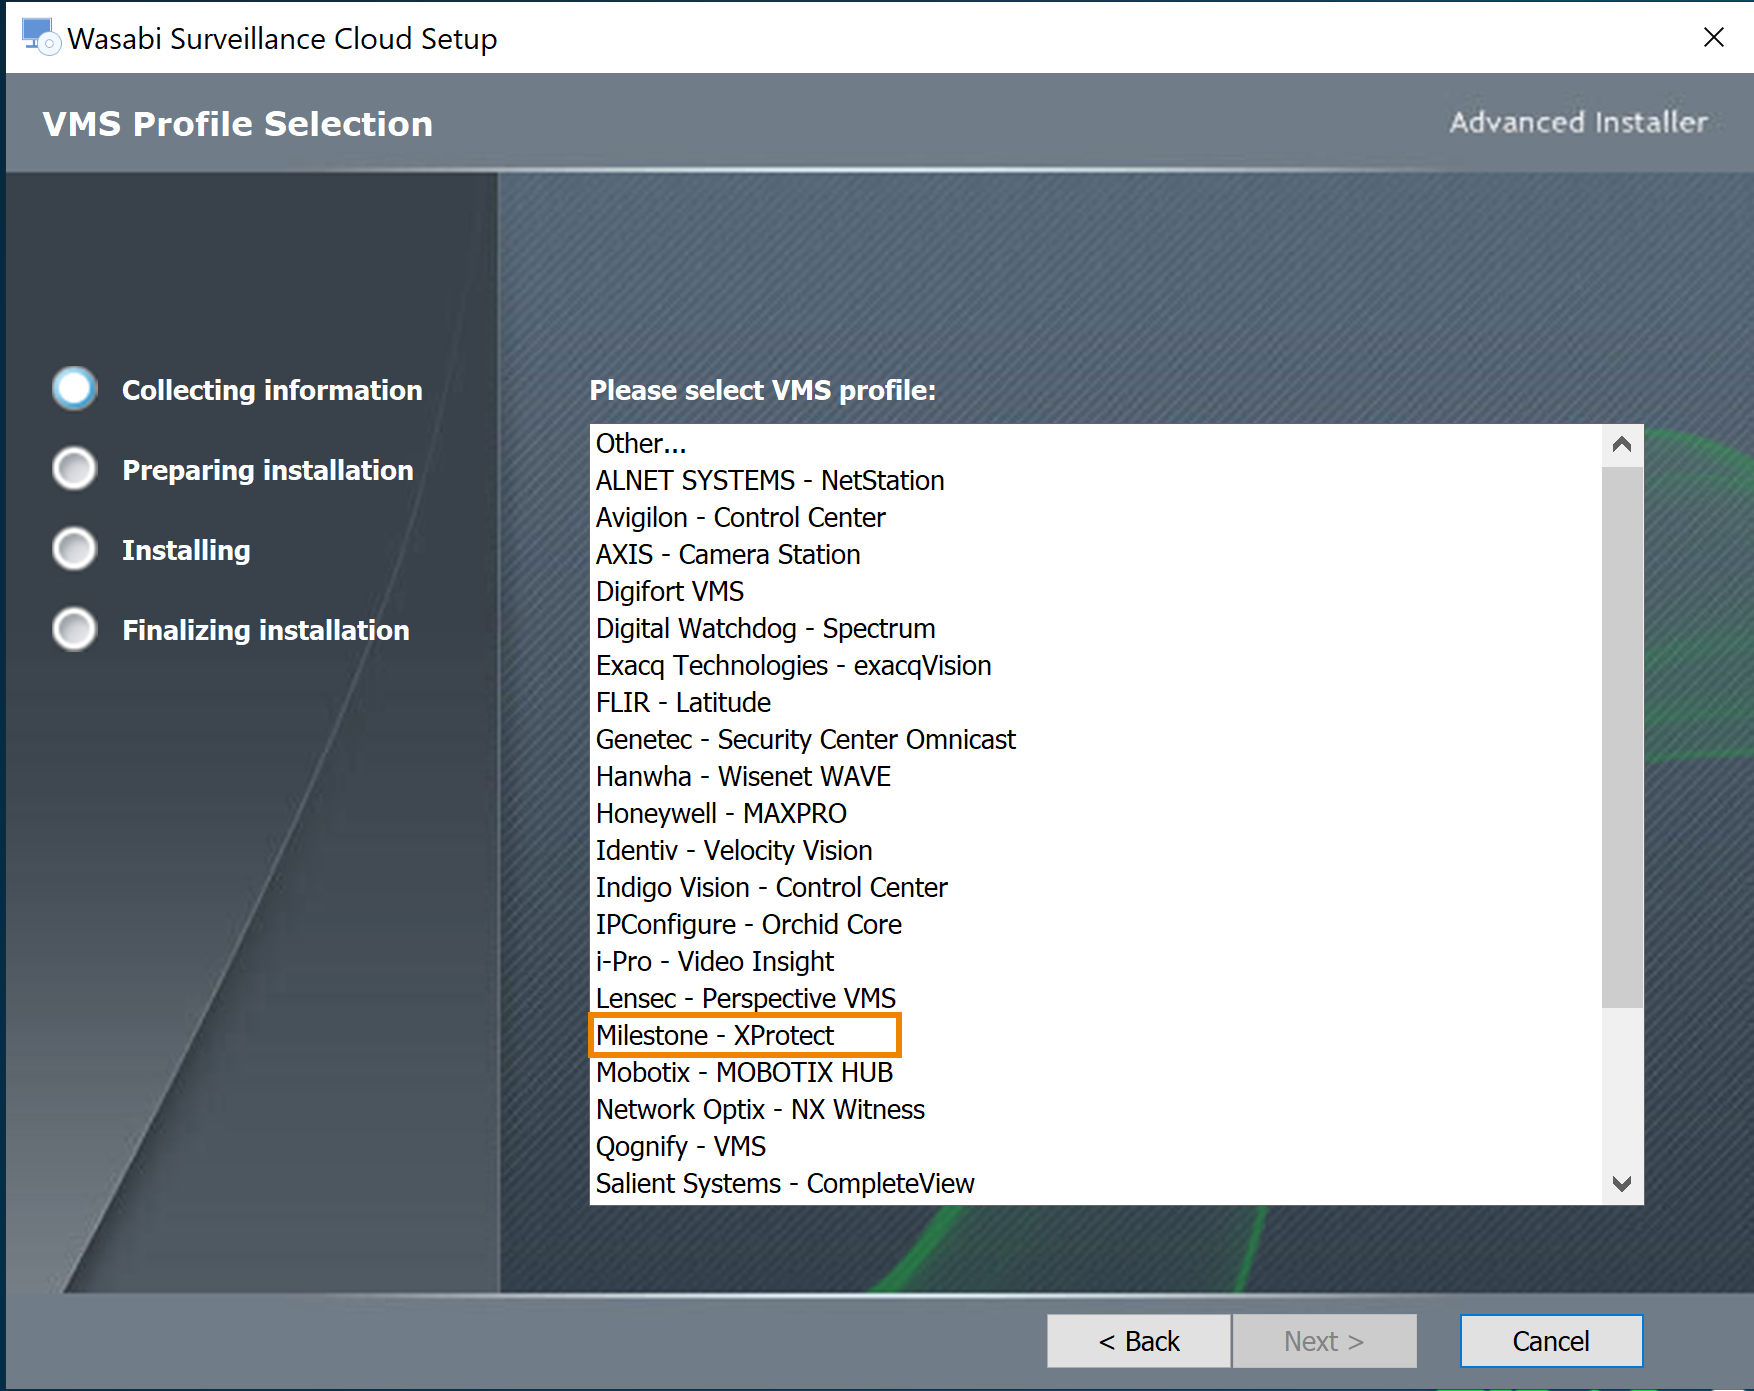
Optionally, if your VMS application is not listed, select Other.
 If you are are a Milestone XProtect user, Wasabi Surveillance Cloud offers five software components to install with the WSC software:
— Management Client module
— Recording Server module
— Shell Extension
— Smart Client module
— Event Server module
You can install these components on either one or separate machines. However, if your XProtect elements are installed on different machines, you must install the WSC software on the appropriate server and select the appropriate application, as shown below.- Click the checkbox(es) to select the appropriate component(s) in which to install.
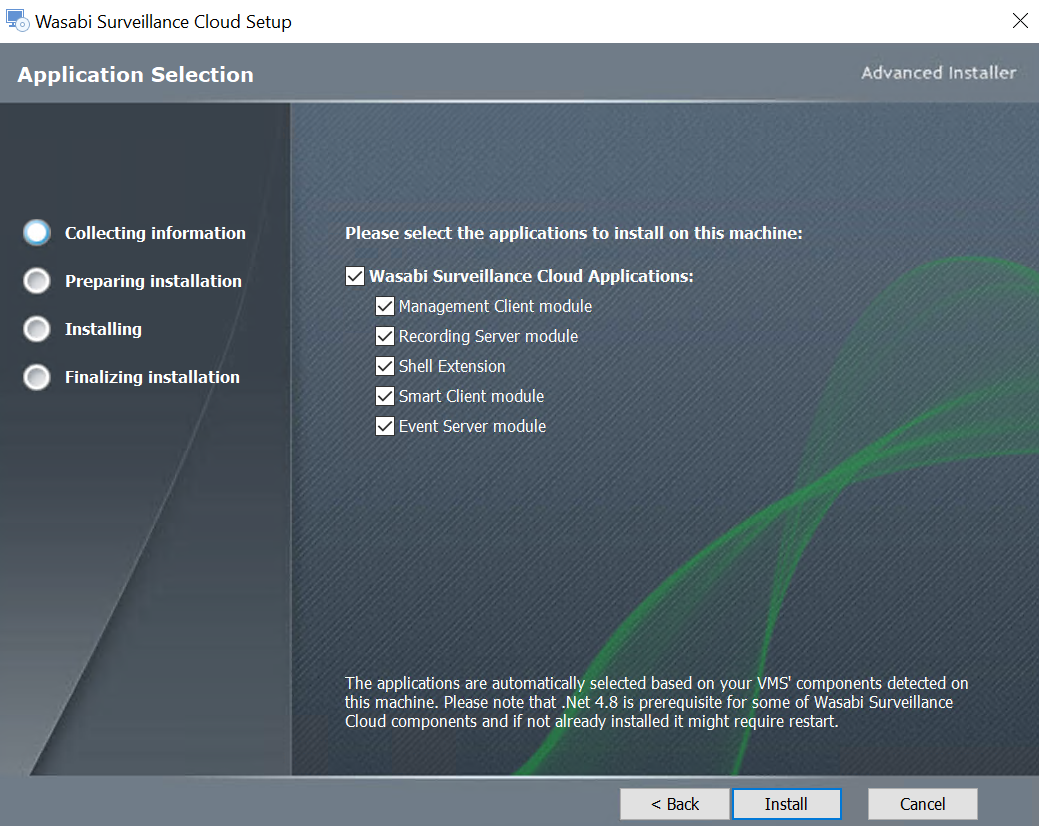
Optionally, click the checkbox to deselect a component(s).
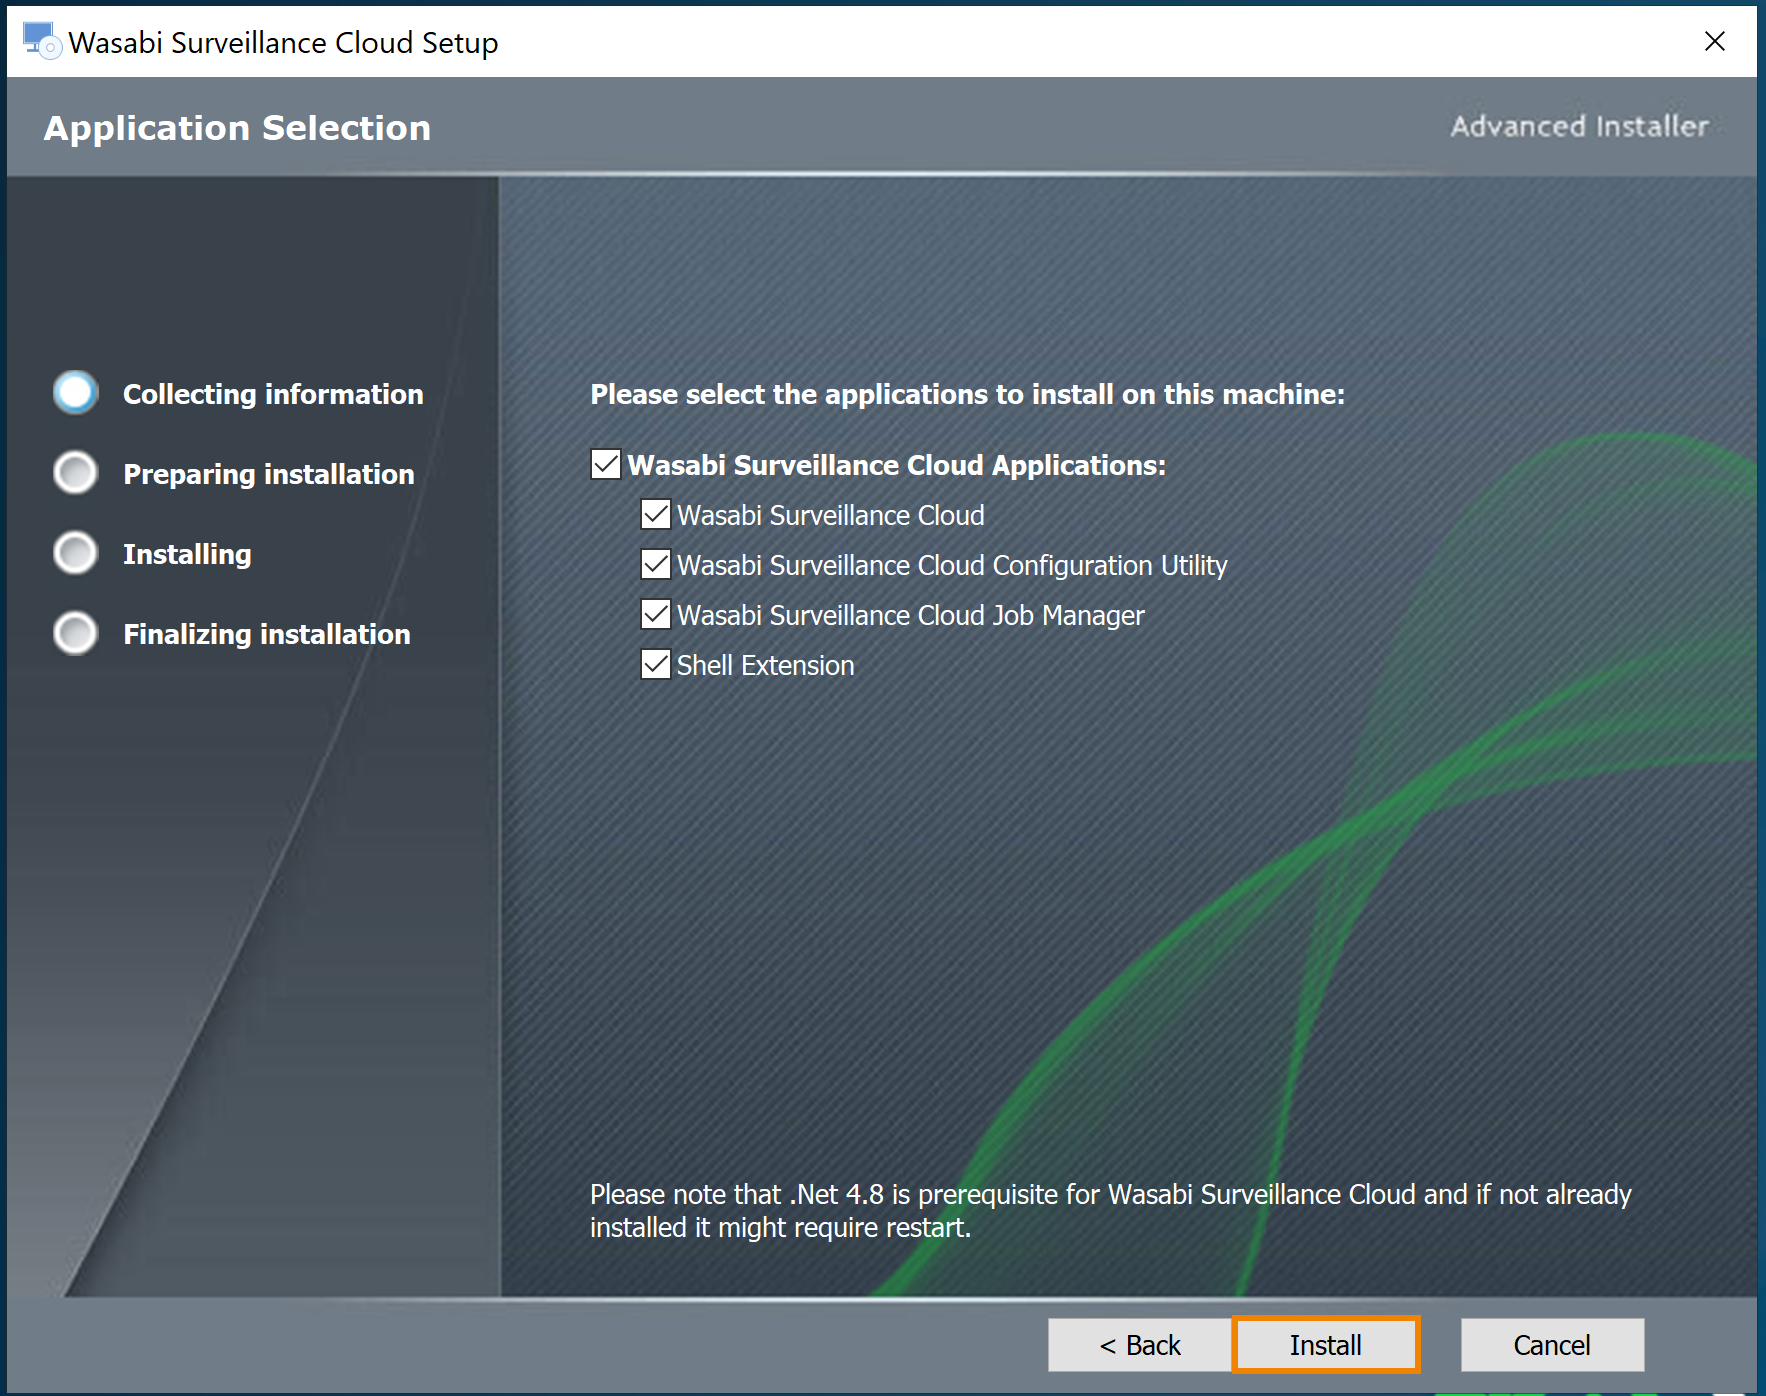
For all other VMS (except Milestone XProtect), the following standard components are available to install with WSC:
— Wasabi Surveillance Cloud
— Wasabi Surveillance Cloud Configuration Utility
— Wasabi Surveillance Cloud Job Manager (Optional. Available for specific VMS.)
— Shell ExtensionClick the checkbox(es) to select the appropriate component(s) in which to install.
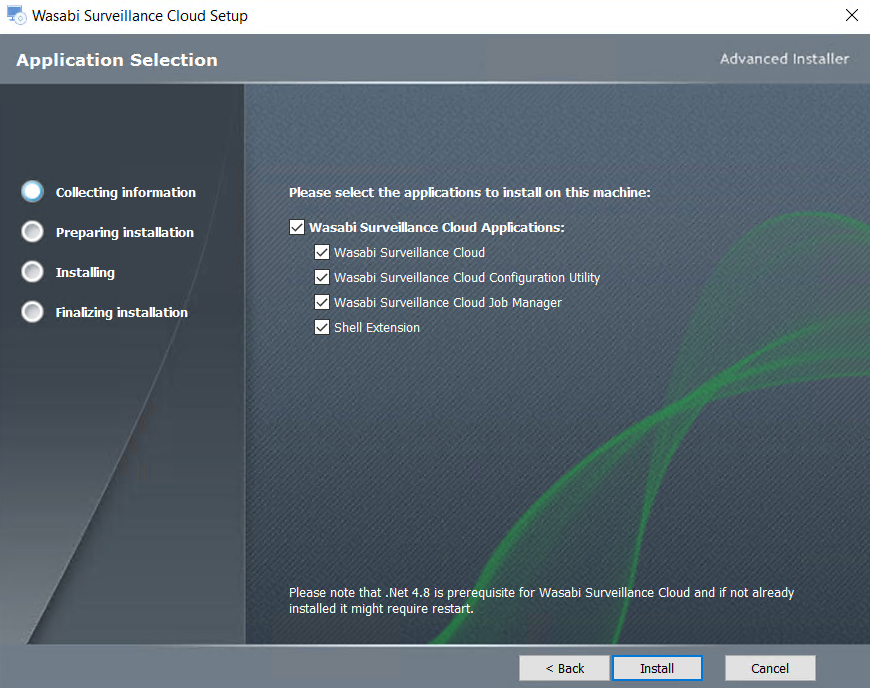
Click Install.
 The installation may take several minutes and does not require a system reboot.
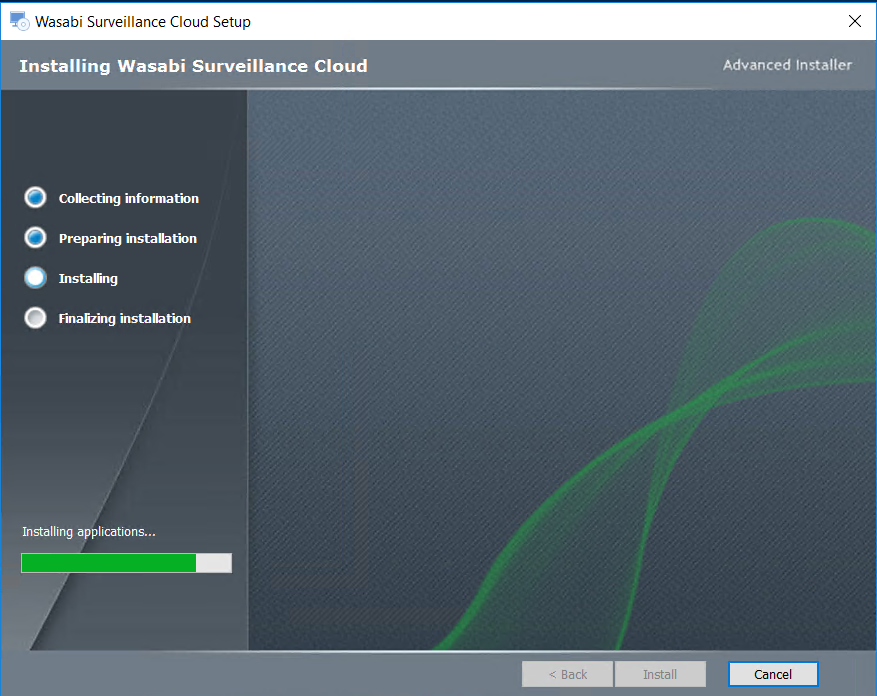
Once the installation completes, click Finish.
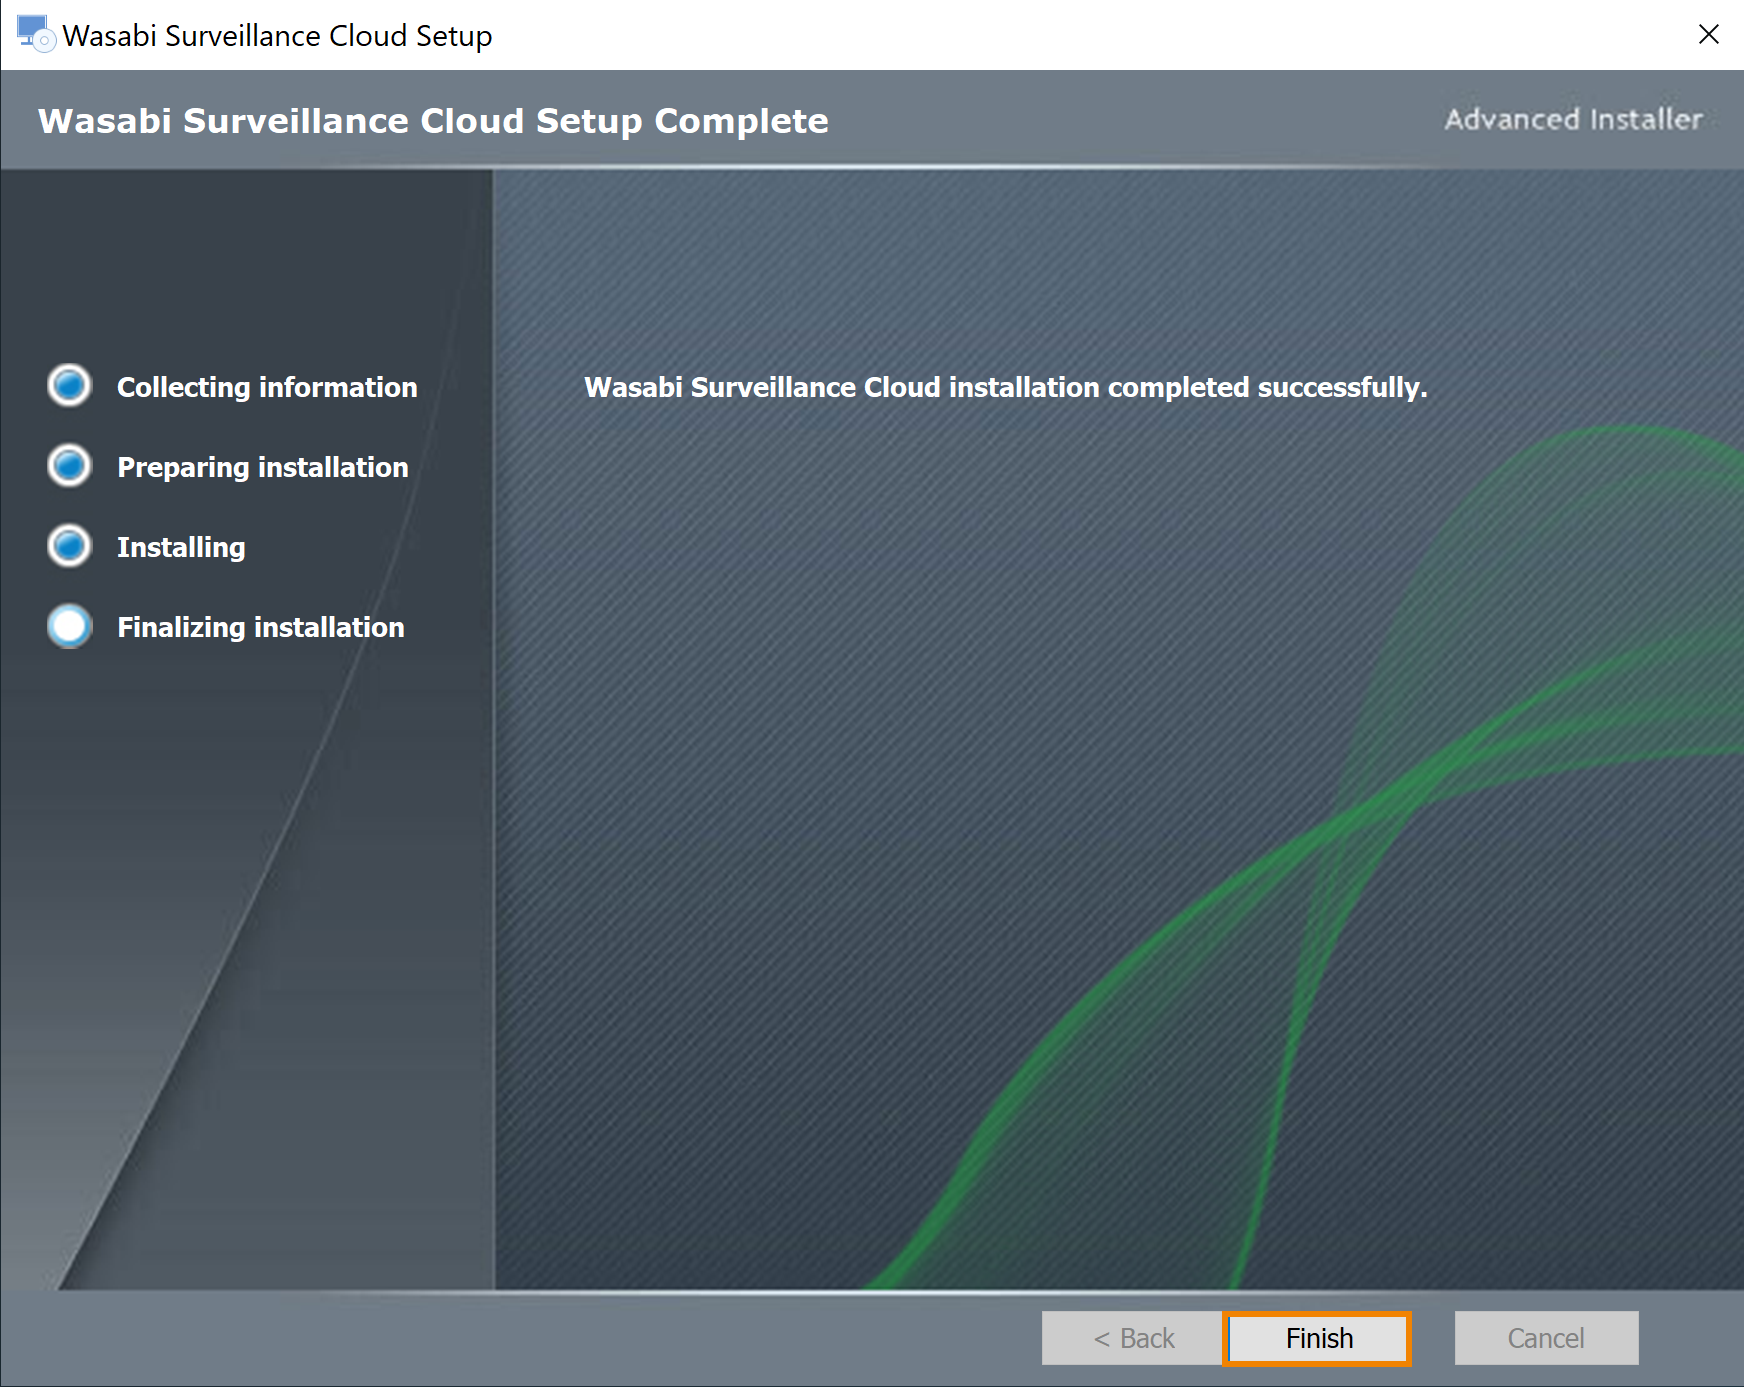
Continue to 2—Activating the Wasabi Surveillance Cloud software.
Objectives Met!
Before proceeding to Step 2, you may want to learn more about the Wasabi Surveillance Cloud - Source Dashboard or Uninstalling Wasabi Surveillance Cloud.
| 1 | Download and install Wasabi Surveillance Cloud. |
| 2 | Activate the Wasabi Surveillance Cloud software. |
| 3 | Configure Wasabi Surveillance Cloud. |