VIVOTEK’s VAST Security Station (VSS) is validated for use with Wasabi Surveillance Cloud (WSC). VSS is an easy-to-use, all-around, AI-powered IP video surveillance software designed to help you manage tens of thousands of cameras and focus on only what matters to you, through VIVOTEK AI solutions.
Prerequisites
- VSS Software (Lite, Standard, or Pro)
- Wasabi Surveillance Cloud storage account
- Wasabi bucket
- Access and secret keys
Configuring VAST Security Station
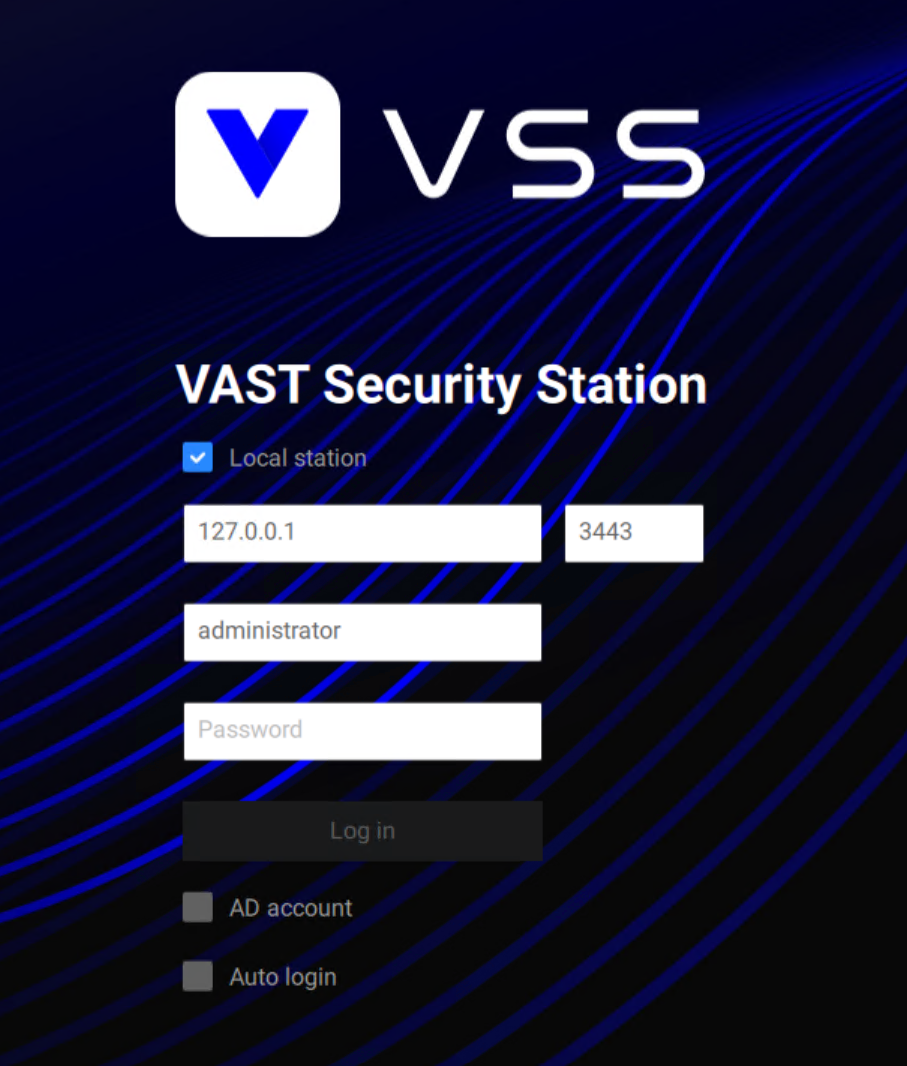
- Install the VAST Security Station software and log in to VSS.
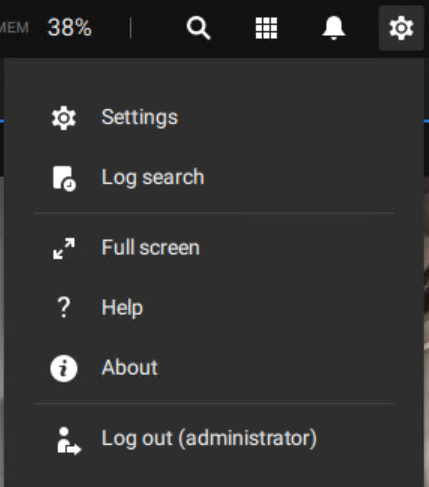
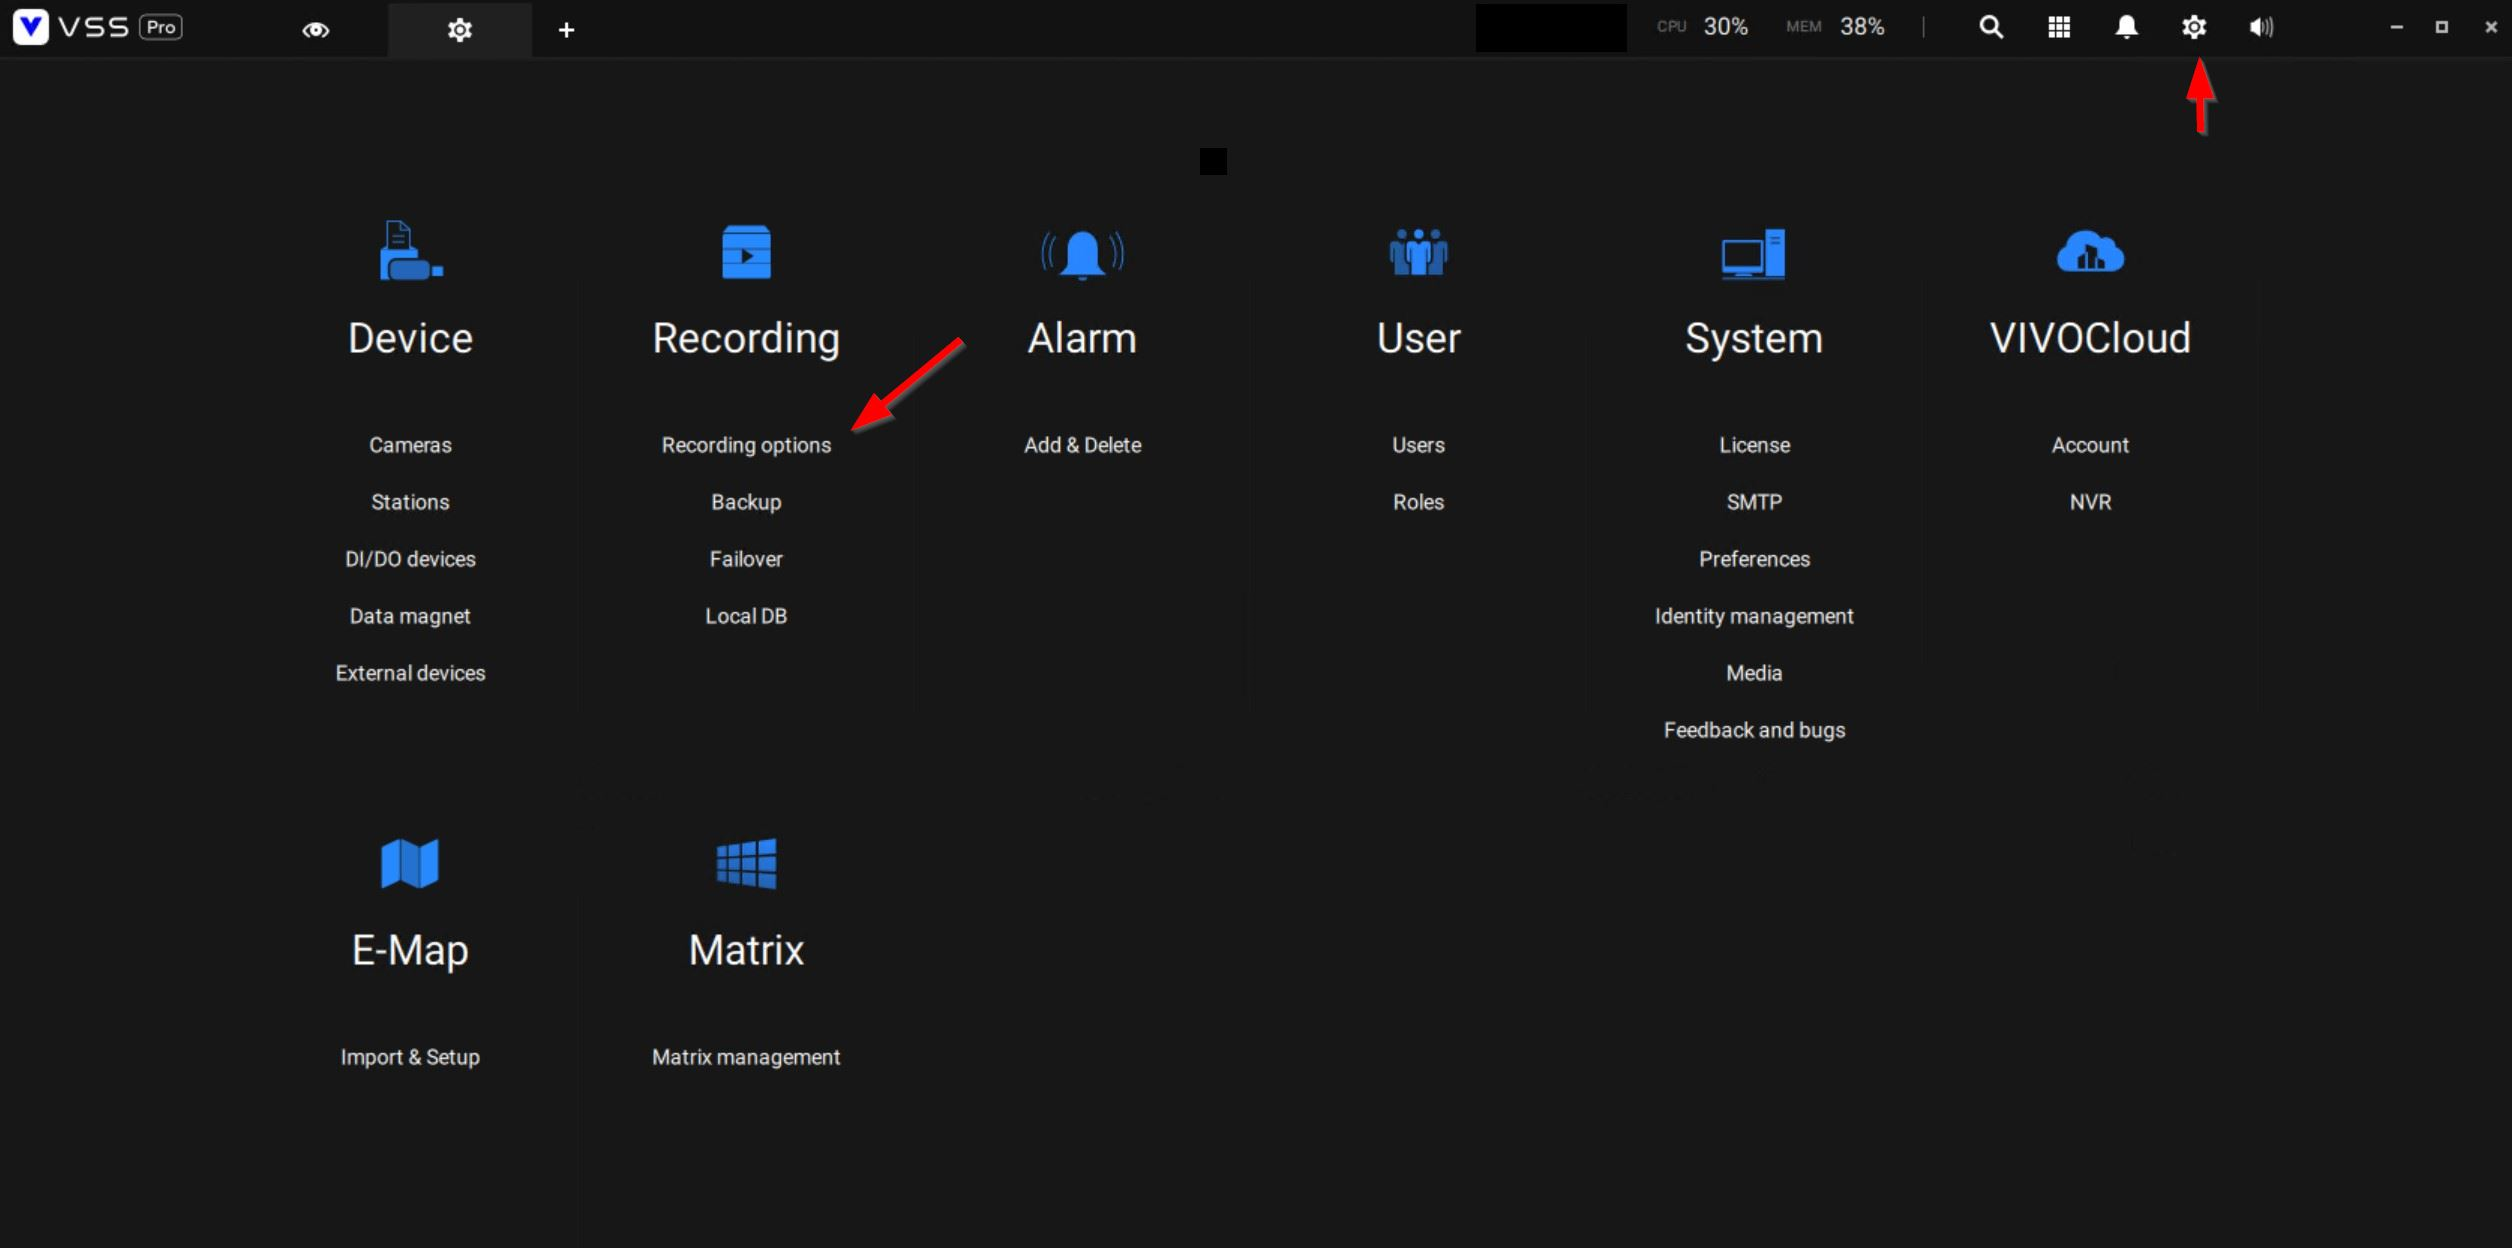
- Click the "gear" icon in the upper right.
- Click Settings.
- Select Recording Options.
- From the Recording Management screen, specify the default recording location in which to archive your video.
- Specify the recording schedule and retention period for your cameras.

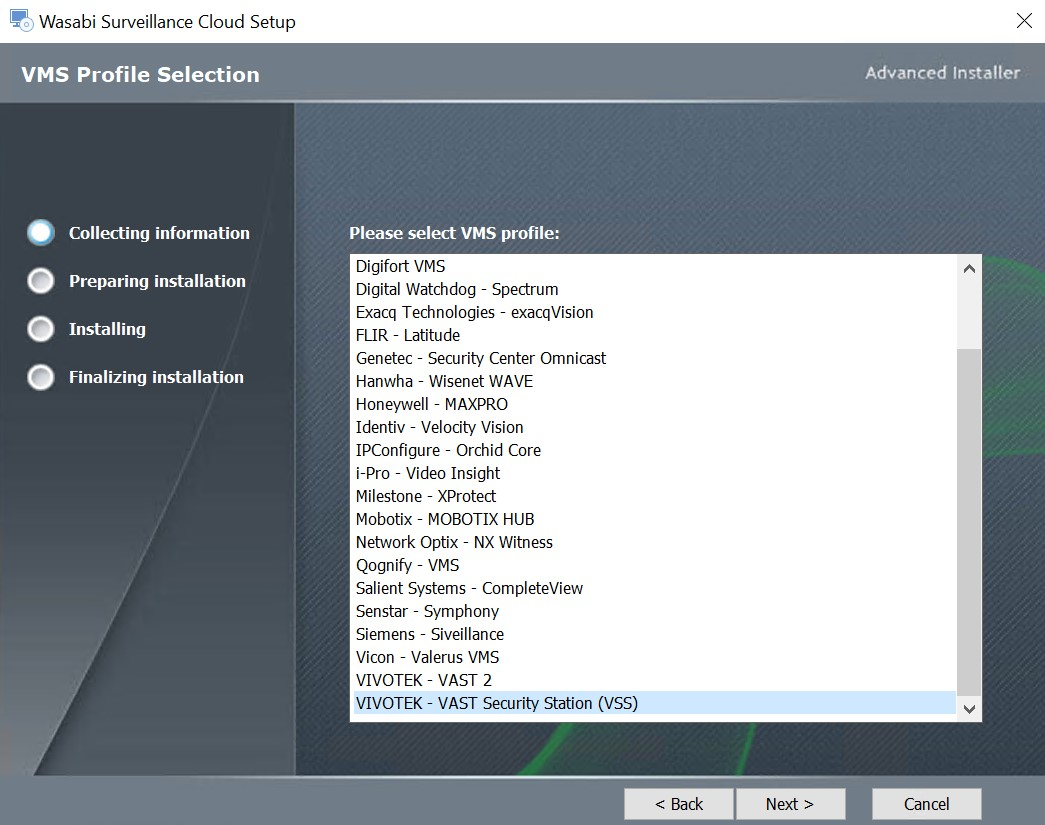
- Install and activate the WSC software. Follow the instructions in 1—Downloading and Installing Wasabi Surveillance Cloud to install and WSC. Be sure to select VAST Security Station from the VMS Profiles list. Once complete, return to this page.
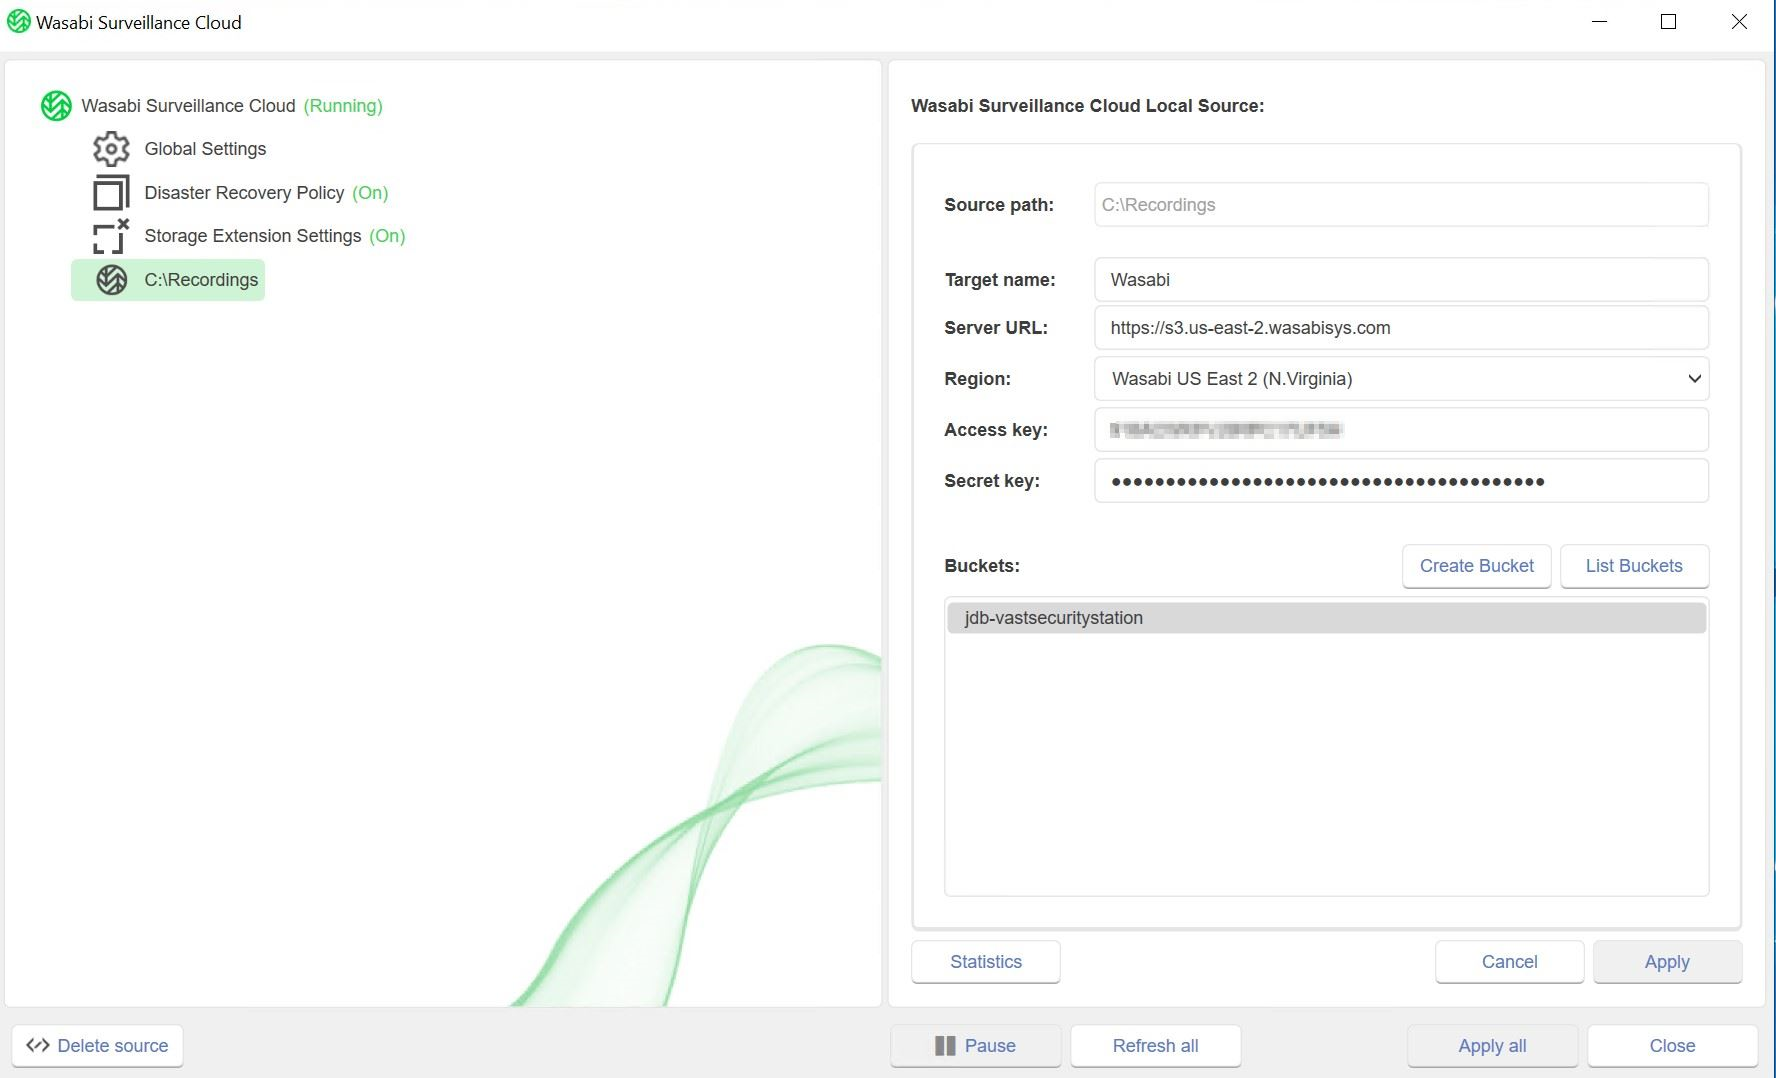
- Follow the instructions in Pairing a VMS With a Targetto establish a source and target pair. Be sure to set the Source path as the recording location from Step 6, above.
- Optionally, enable a disaster recovery (DR) policy. For more detail, refer to 3—Configuring Wasabi Surveillance Cloud. For configuration instructions, refer to Policies for Wasabi Surveillance Cloud.
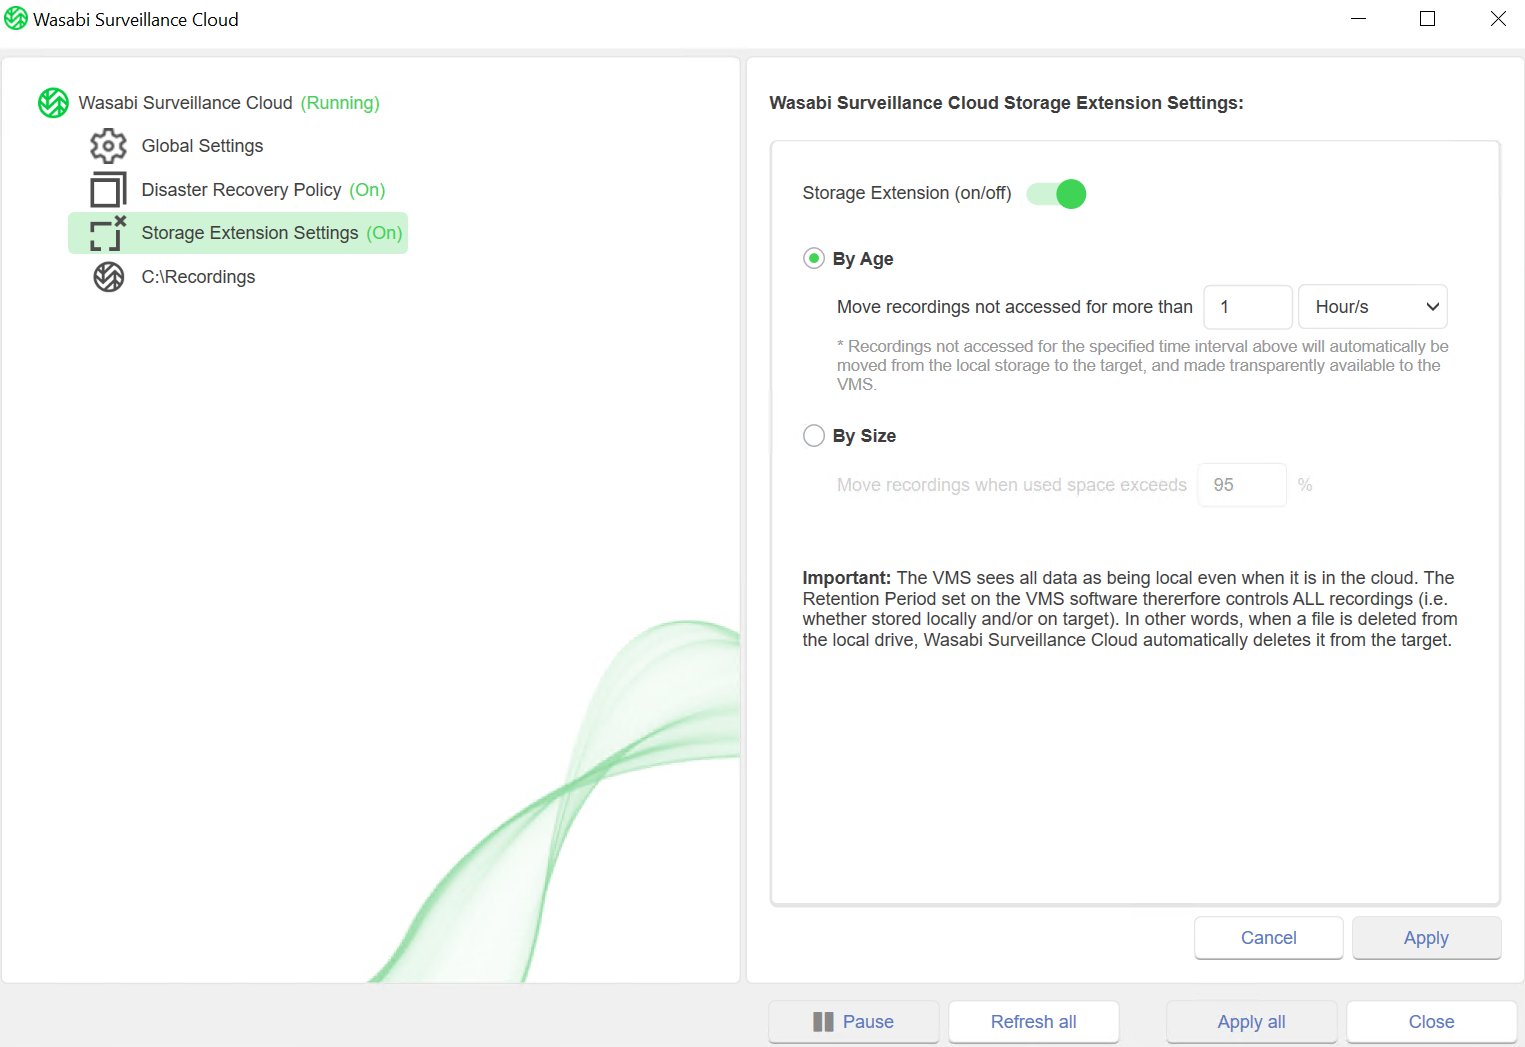
- Optionally, configure storage extension. For more detail, refer to 3—Configuring Wasabi Surveillance Cloud. For configuration instructions, refer to Policies for Wasabi Surveillance Cloud.
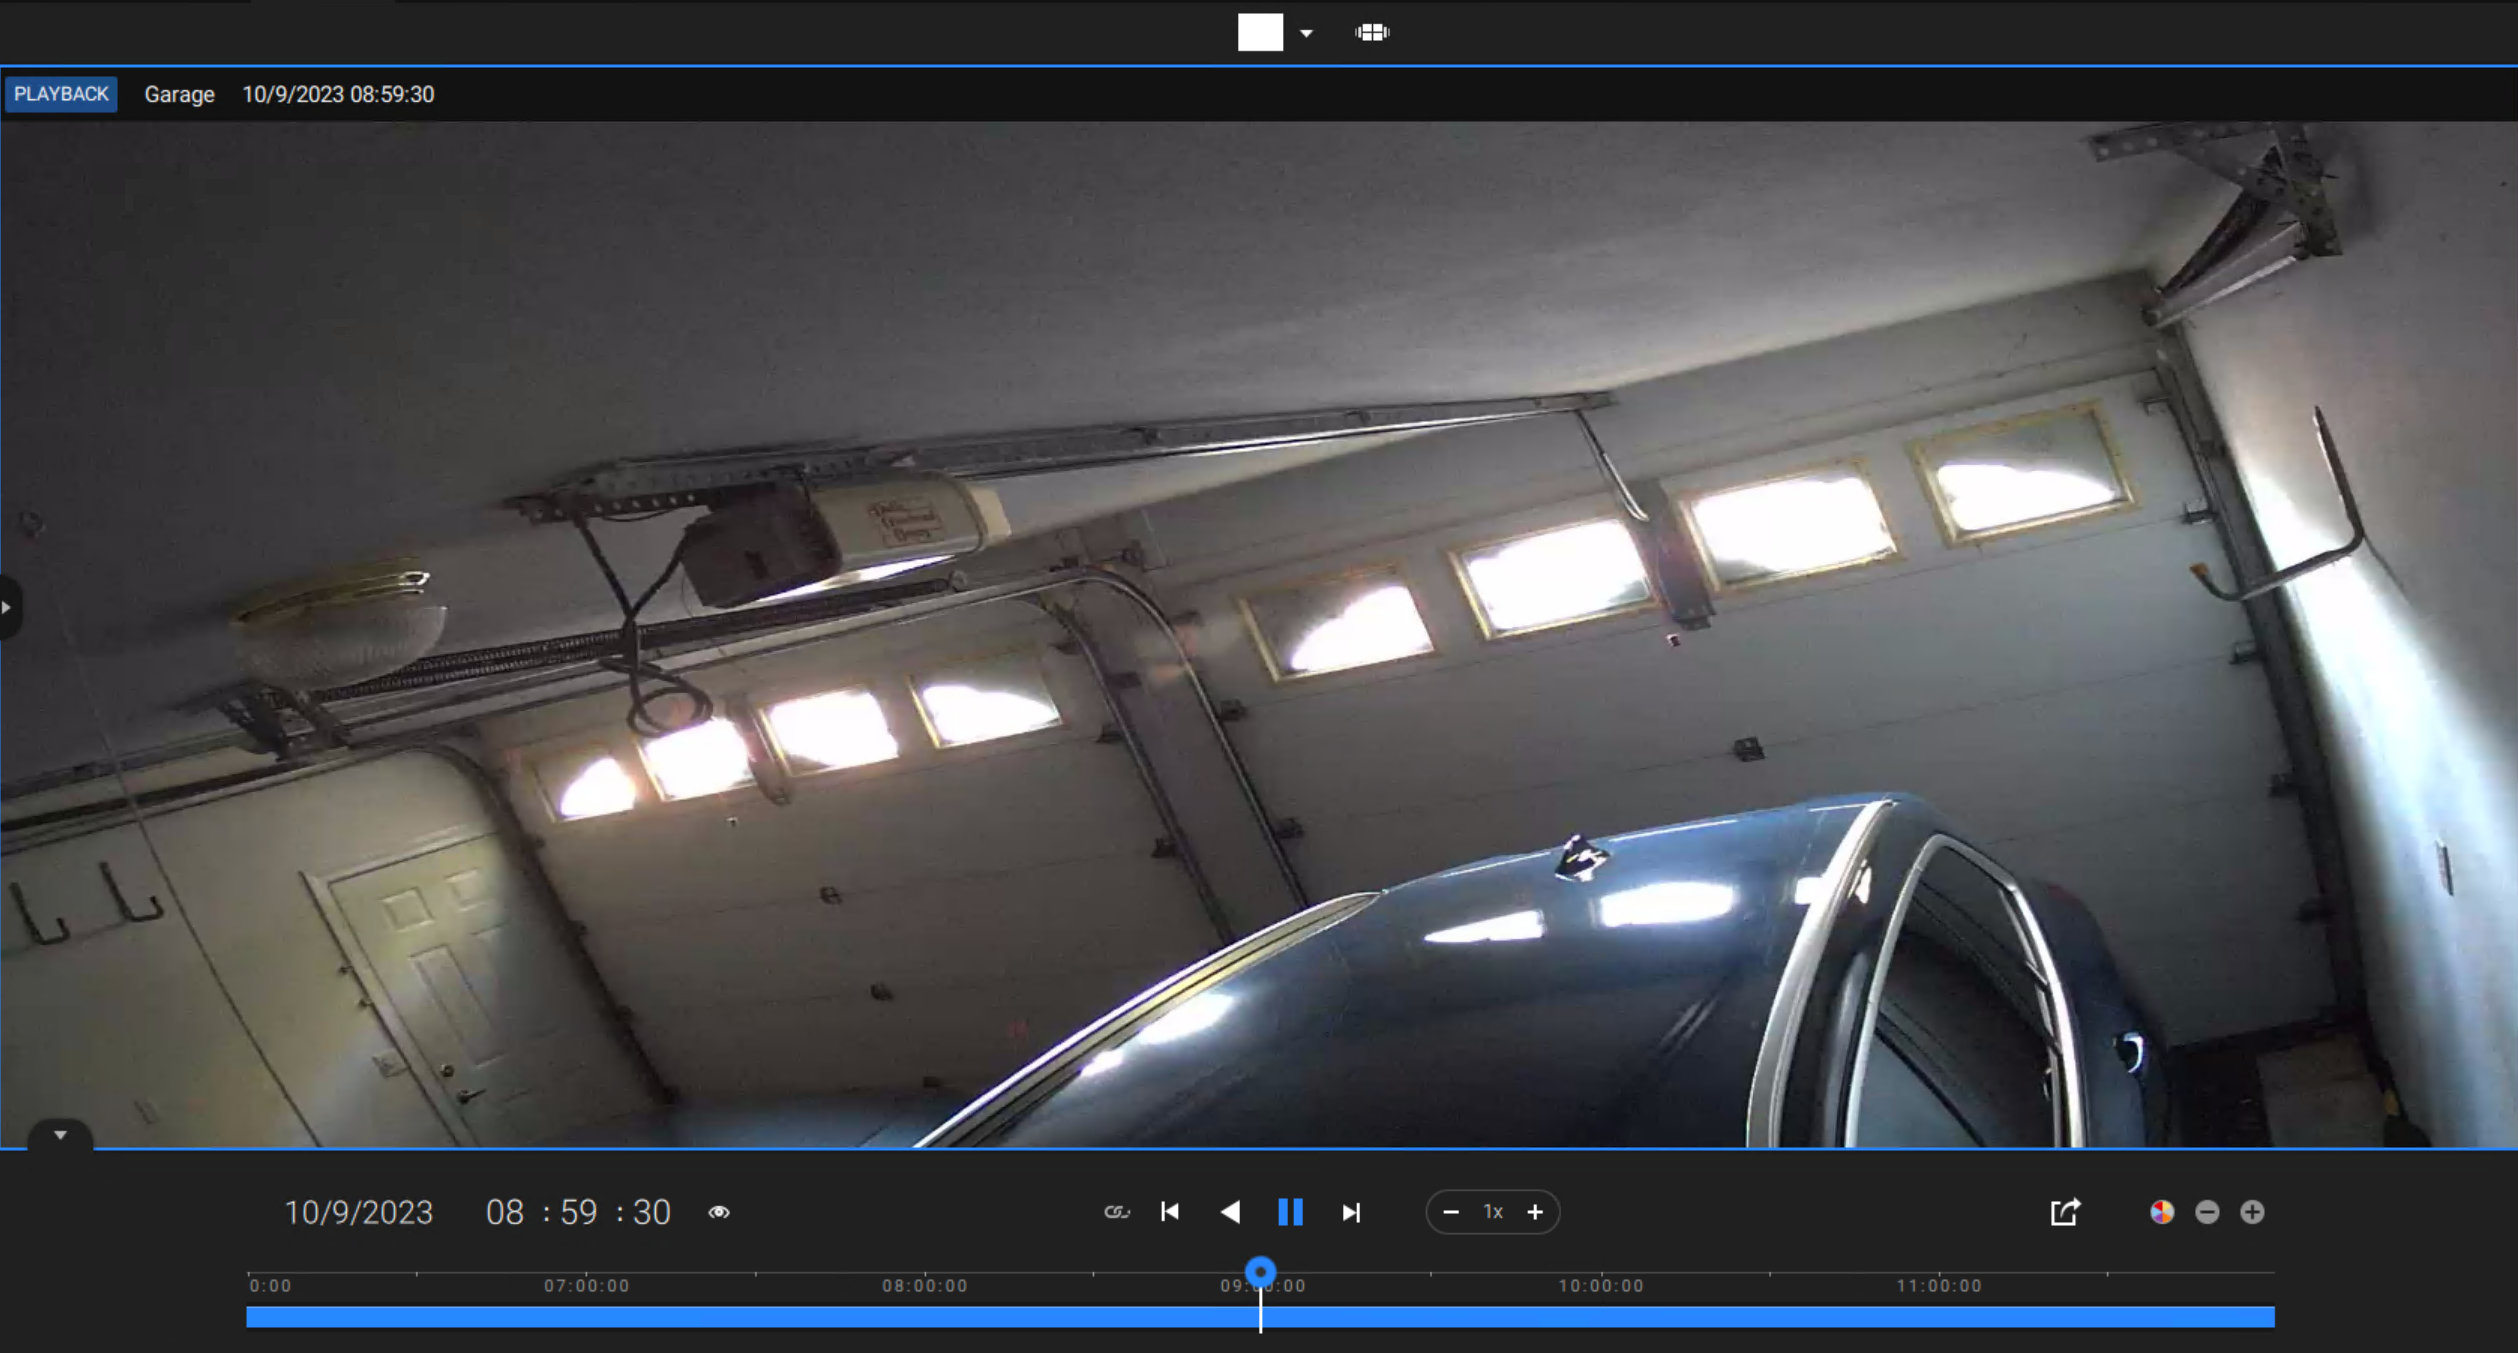
- To playback a video, you can review all videos through the Playback settings on the VSS Client. You can natively scrub through the timeline and seamlessly play the video.
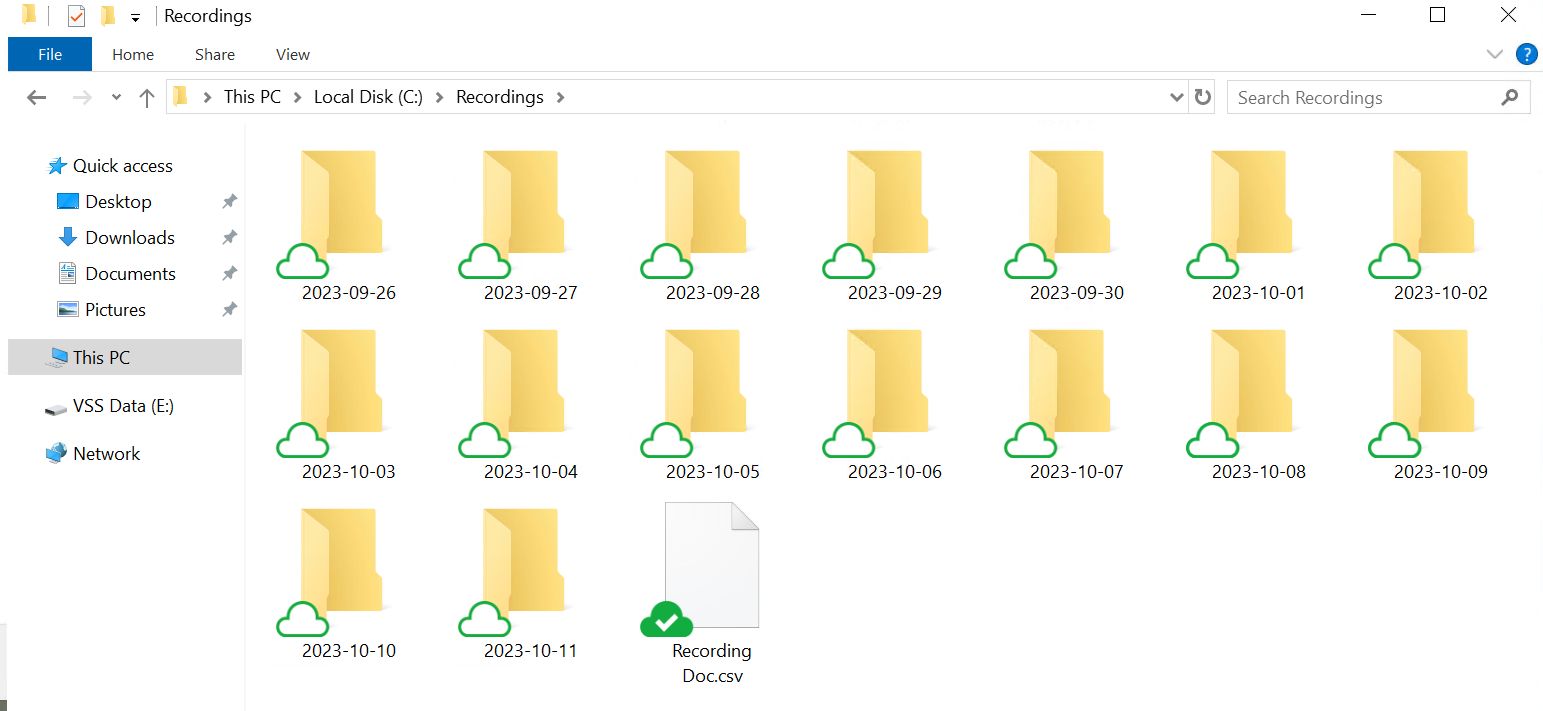
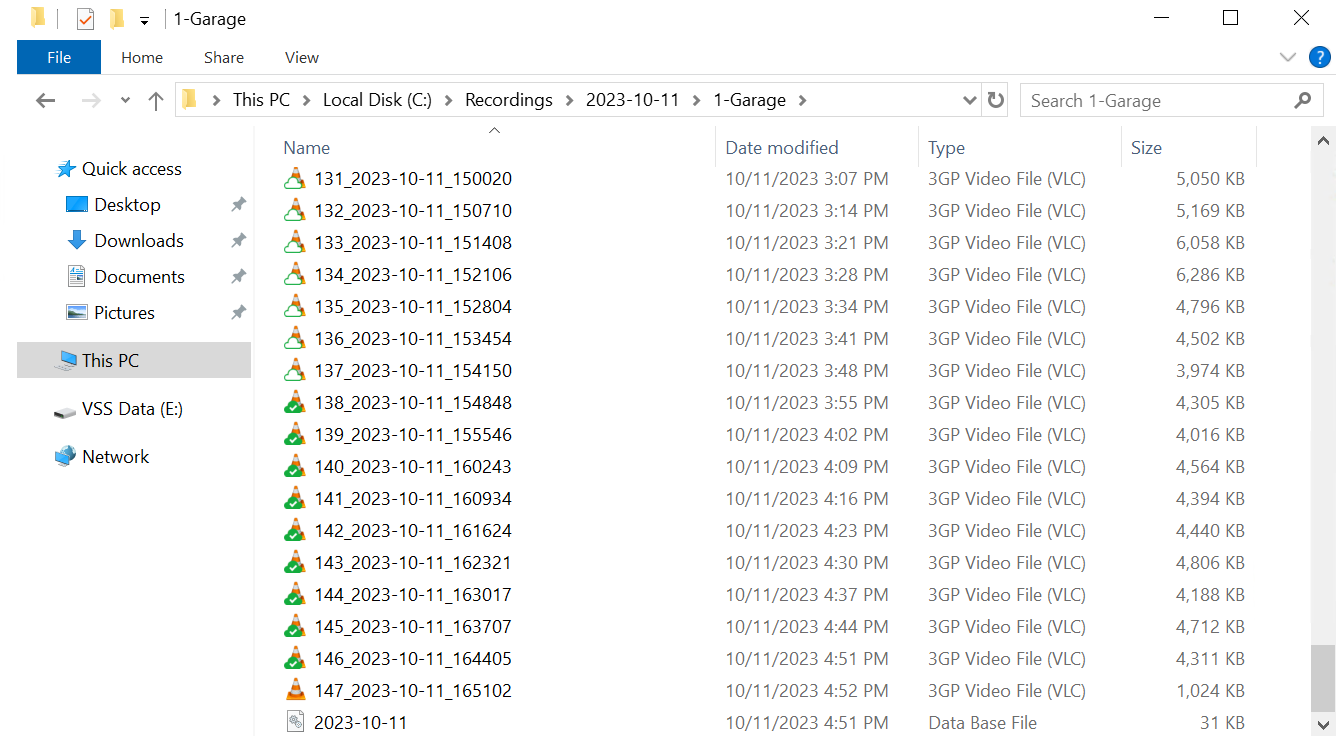
- To verify that data is being replicated/reclaimed, navigate to your recording folder on your machine. The White Cloud icons indicate the data within that folder has been offloaded to Wasabi and the on-premise storage has been reclaimed. The "Green Cloud with the white check mark" indicates that the data has been replicated to Wasabi and is available both on-premise and in the Wasabi cloud.