This article covers configuring Strapi's Upload plugin to use Wasabi as an S3-compatible storage provider, resolving the Content Security Policy restrictions that block media previews in the Strapi admin panel, and locking down Wasabi access using scoped IAM policies and bucket policies.
Be aware of and follow Wasabi's FreeEgressPolicy when storing and downloading objects.
Requirements
Node.js — version used during testing: v26.4.0
npm — version used during testing: 11.17.0
Strapi — version used during testing: 5.50.0
@strapi/provider-upload-aws-s3 — version used during testing: 5.50.0
An active Wasabi account. See Signing Up for Wasabi for instructions on how to sign up.
A Wasabi bucket. See Creating a Bucket for details.
Wasabi Console access.
Creating a Wasabi Policy
Before creating the Wasabi user, Strapi will authenticate as, create a scoped policy limiting access to only the actions and bucket Strapi actually needs: reading, writing, listing, and deleting objects in a single named bucket.
To create the policy in the Wasabi Console, see Creating a Policy for details.
Log in to the Wasabi Console.
In the left-hand menu, click Policies, then click Create Policy.
Enter a policy name (for example, StrapiPolicy). Paste the JSON policy below into the policy editor. Adjust the S3 actions as needed for your organization. Replace YOUR_WASABI_BUCKET with the name of your Wasabi bucket. Click Create Policy to save it.
{
  "Version": "2012-10-17",
  "Statement": [
    {
      "Effect": "Allow",
      "Action": [
        "s3:GetObject",
        "s3:PutObject",
        "s3:ListBucket",
        "s3:DeleteObject"
      ],
      "Resource": [
        "arn:aws:s3:::YOUR_WASABI_BUCKET",
        "arn:aws:s3:::YOUR_WASABI_BUCKET/*"
      ]
    }
  ]
}
Creating a Wasabi User
Rather than using Wasabi root account keys in .env, a dedicated Wasabi user with programmatic-only access should be created and restricted using the policy created above. The resulting access key and secret key are placed in .env in the Configuration Changes section below.
To create a user in the Wasabi console, see “Creating a User Account and Access Key."ey.
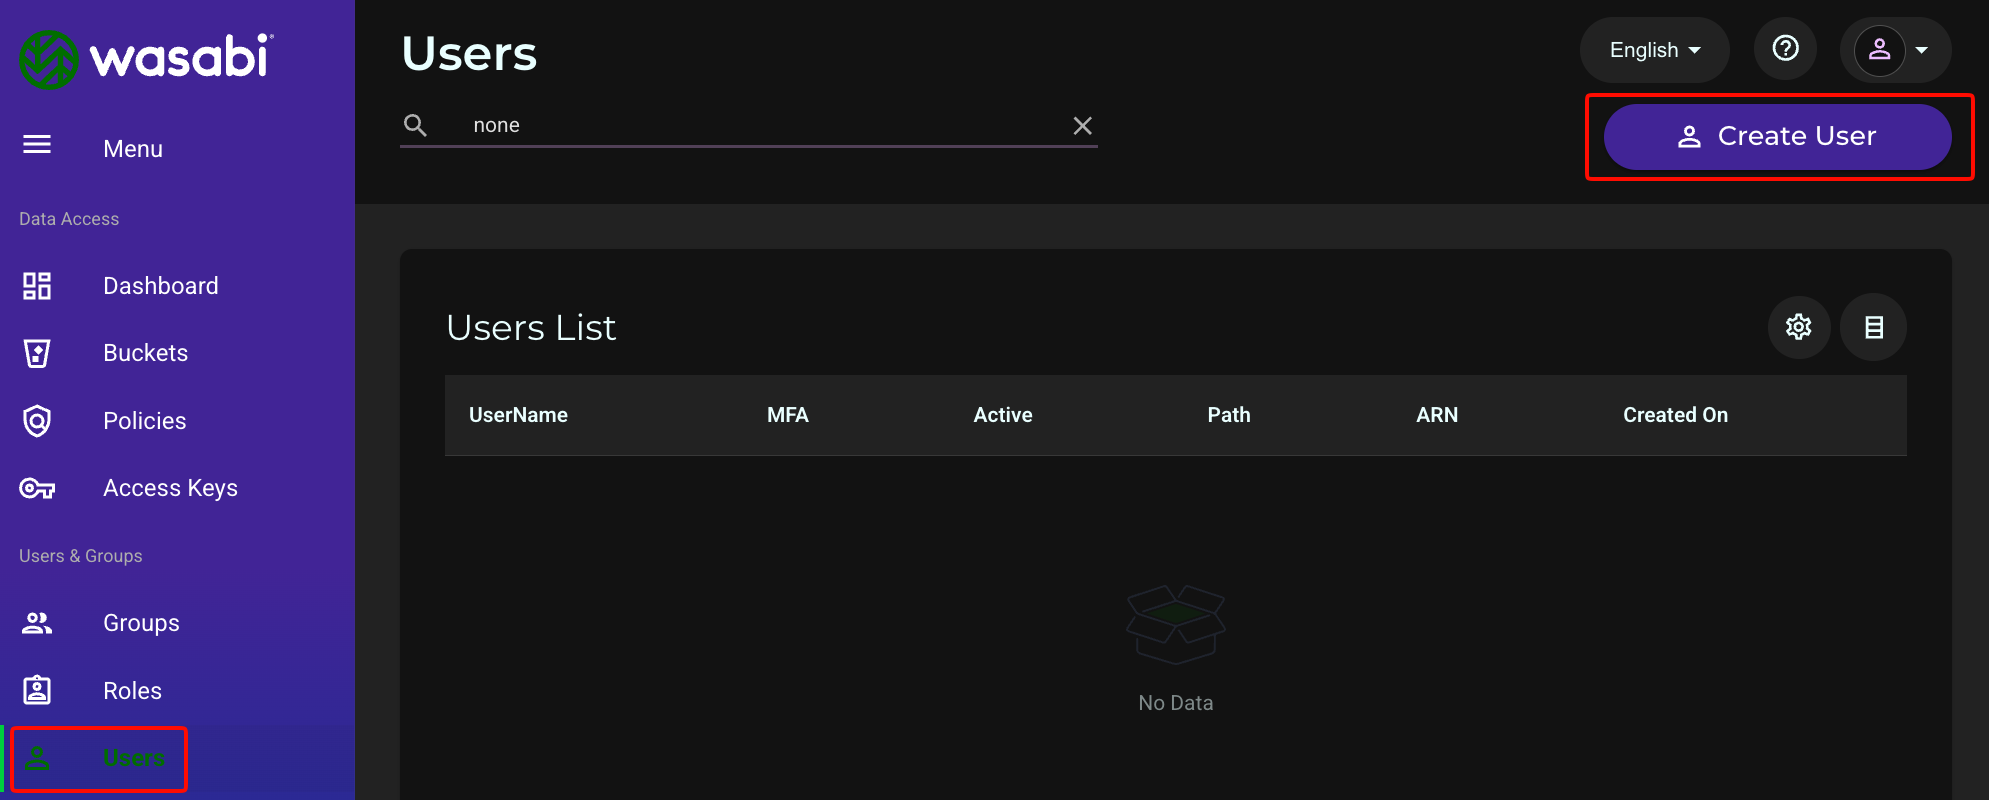
Click Users, then click Create User.
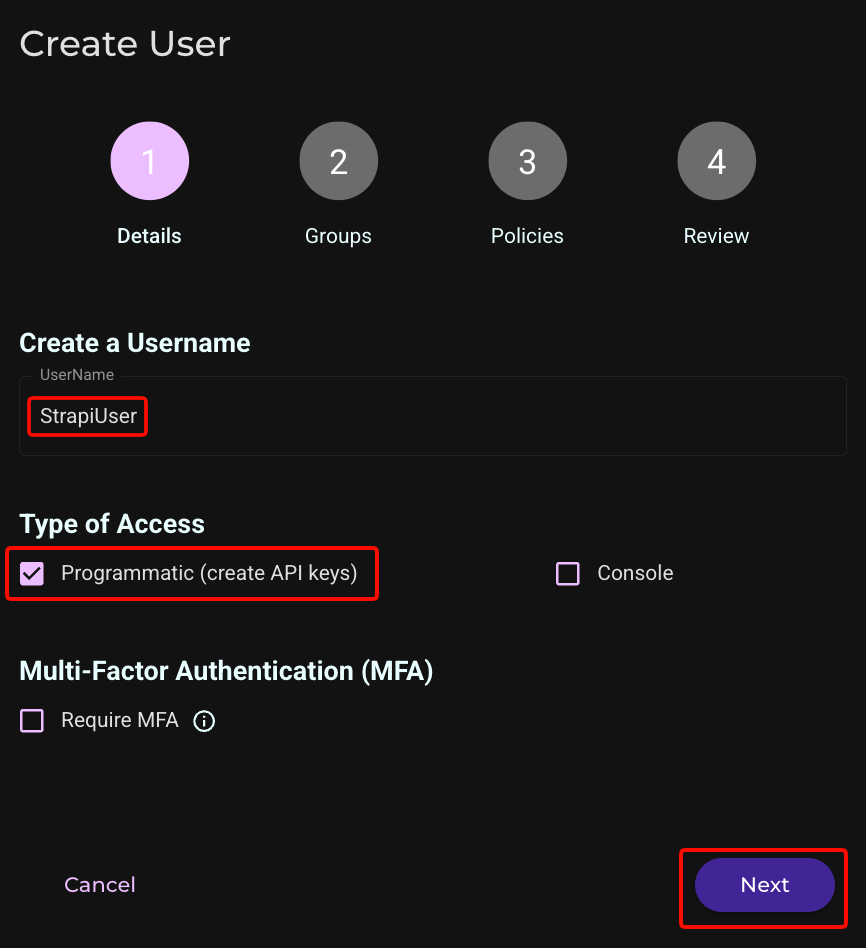
Enter a username, then select Programmatic access only (to create API keys). Click Next.
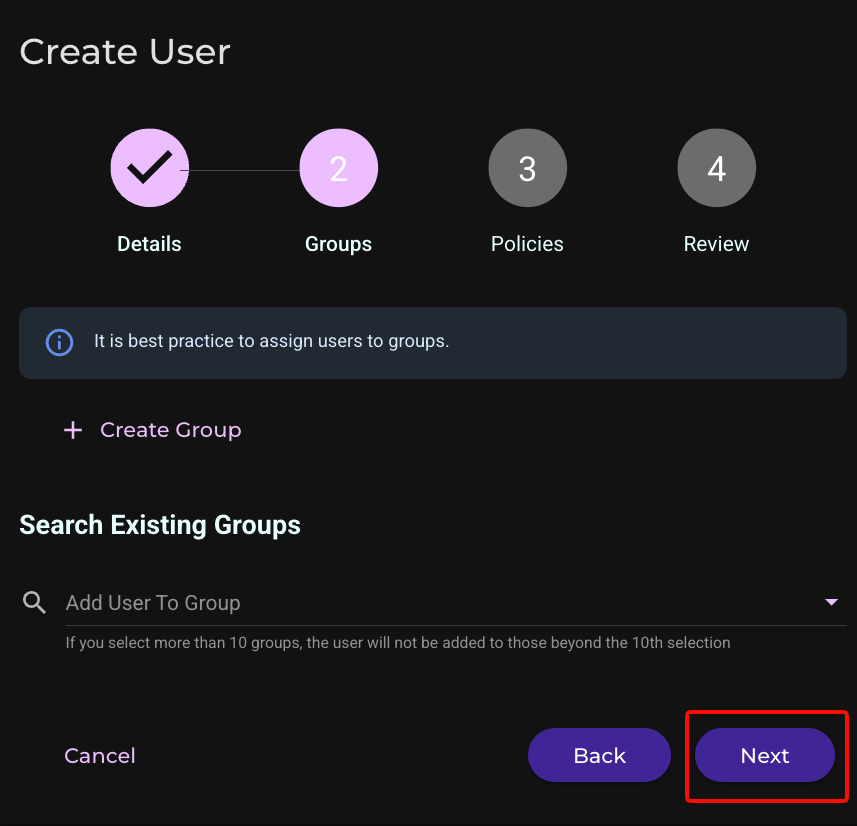
Adding the user to a group is not required. Click Next.
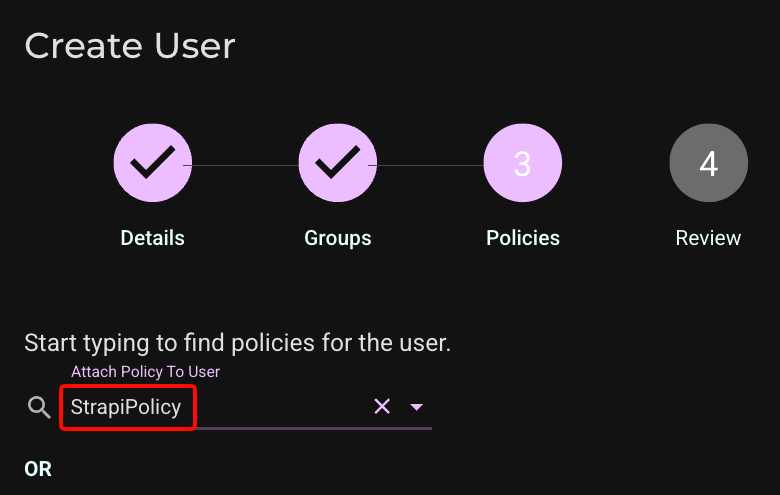
Under the attached policies, search for and select the policy created above, scroll down, then click Next.
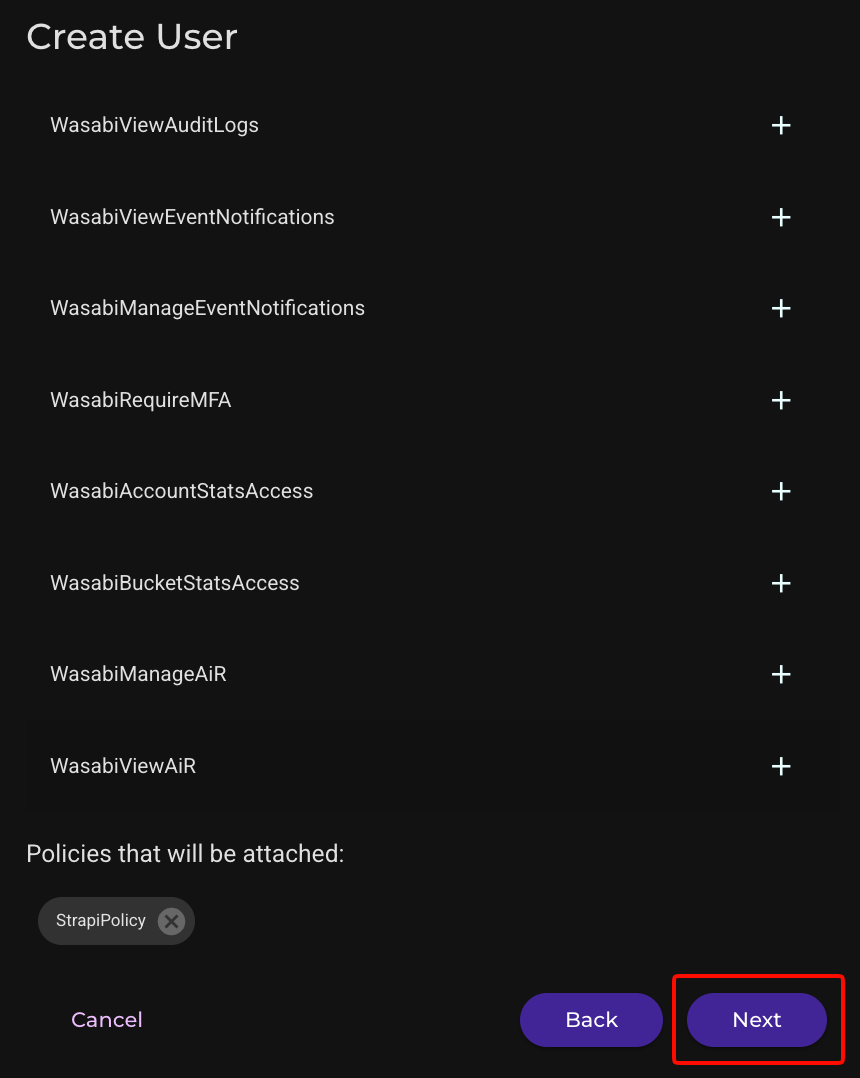
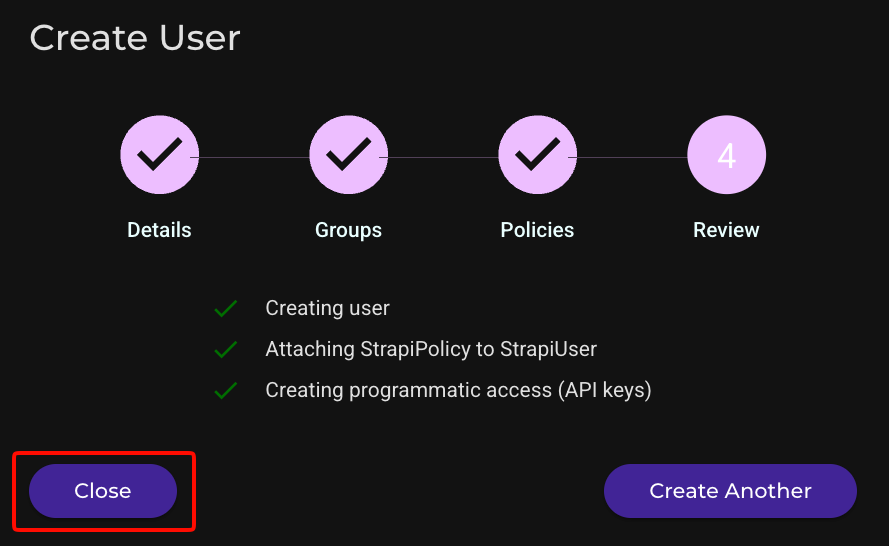
Review the summary and click Create User.
.png)
On the confirmation screen, copy or download the Access Key and Secret Key immediately — the secret key is only displayed once. These become the WASABI_ACCESS_KEY and WASABI_SECRET_KEY values in .env, used in the next section. Store the keys in a secure location.
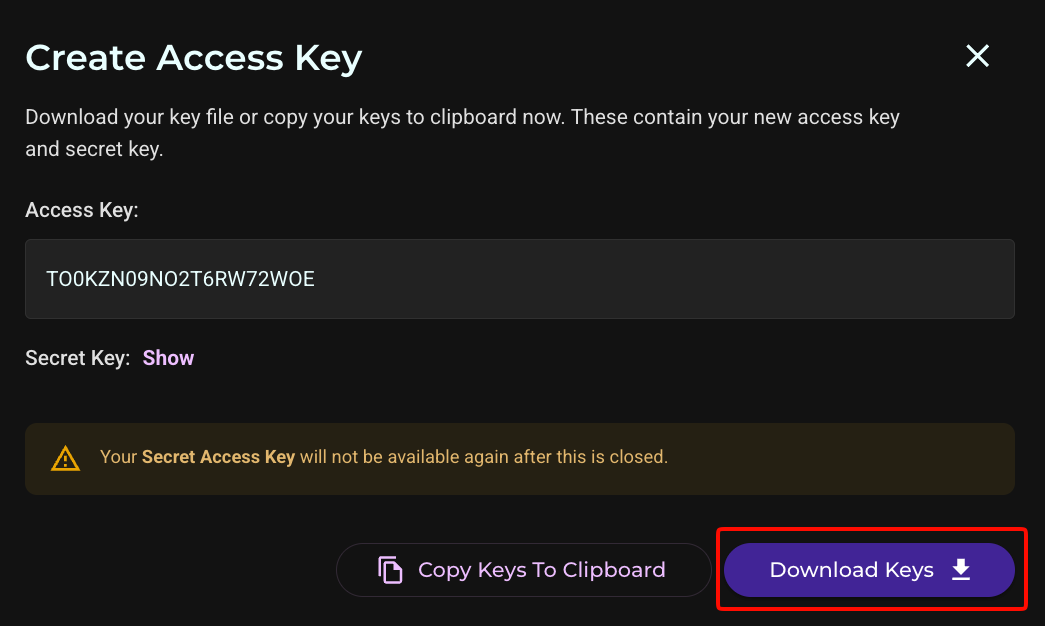
After downloading the keys, click the X to exit.
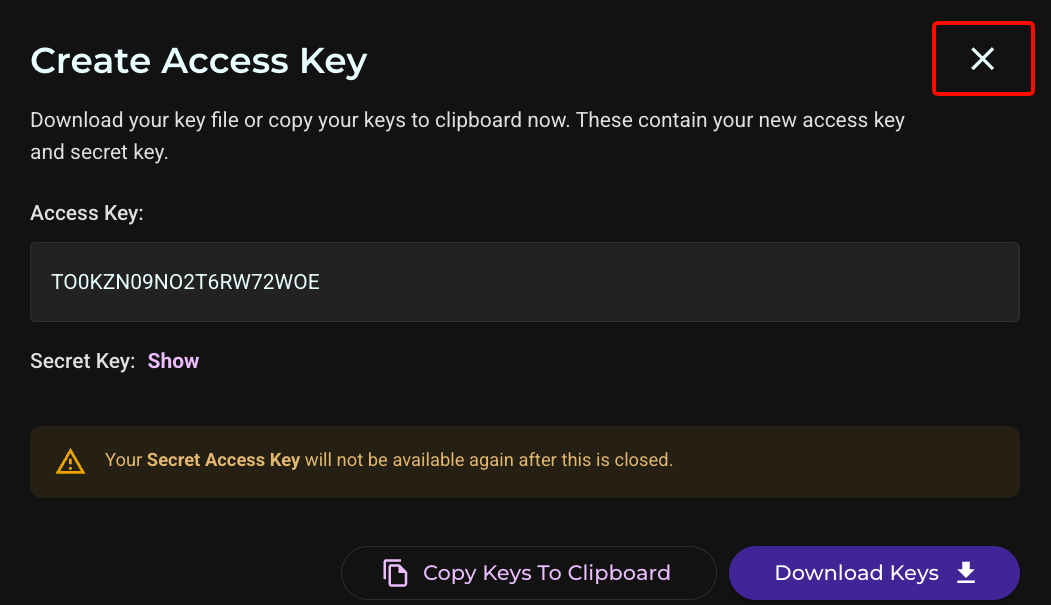
Click Close.
Configuration Changes
Three files in the Strapi project were modified to connect the Upload plugin to Wasabi and allow the admin panel to render images stored there.
config/plugins.ts
The upload plugin's provider was set to the AWS S3 provider (Wasabi is S3-compatible), pointed at the Wasabi endpoint and bucket instead of AWS. Credentials, endpoint, region, and bucket name are pulled from environment variables rather than hard-coded.
This configuration example discusses the use of Wasabi's us-east-2 storage region. To use another Wasabi storage region, use the appropriate URL in Service URLs for Wasabi's Storage Regions. Use the URL for the region your bucket is located in.
upload: {
  config: {
    provider: '@strapi/provider-upload-aws-s3',
    providerOptions: {
      s3Options: {
        credentials: {
          accessKeyId: env('WASABI_ACCESS_KEY'),
          secretAccessKey: env('WASABI_SECRET_KEY'),
        },
        endpoint: env('WASABI_ENDPOINT', 'https://s3.us-east-2.wasabisys.com'),
        region: env('WASABI_REGION', 'us-east-2'),
        params: {
          Bucket: env('WASABI_BUCKET'),
        },
      },
    },
    security: {
      allowedTypes: allowedMediaTypes,
      deniedTypes: deniedExecutableTypes,
    },
  },
},
.env
The access key and secret key for the scoped Wasabi user created in the previous section are added here, along with the endpoint, region, and bucket name, so credentials are never hard-coded into source files. Replace your_access_key and your_secret_key with the previously created access and secret keys. Use the appropriate endpoint URL and region for your bucket. Replace your_bucket_name with the name of your Wasabi bucket.
WASABI_ACCESS_KEY=your_access_key
WASABI_SECRET_KEY=your_secret_key
WASABI_ENDPOINT=https://s3.us-east-2.wasabisys.com
WASABI_REGION=us-east-2
WASABI_BUCKET=your_bucket_name
config/middlewares.ts
Strapi's default Content Security Policy only allows images to load from strapi.io's marketplace domain, so uploaded thumbnails fail to render in the admin Media Library even though the upload itself succeeded. The strapi::security middleware was converted from a plain string into a configured object so the img-src and media-src directives could be extended to include the Wasabi host. The host is prefixed with https:// so only secure requests are permitted. Replace “us-east-2” with the region for your bucket.
export default ({ env }) => {
  const wasabiHost = `https://${env('WASABI_BUCKET')}.s3.${env('WASABI_REGION', 'us-east-2')}.wasabisys.com`;

  return [
    'strapi::logger',
    'strapi::errors',
    {
      name: 'strapi::security',
      config: {
        contentSecurityPolicy: {
          useDefaults: true,
          directives: {
            'img-src': ["'self'", 'data:', 'blob:', wasabiHost, 'market-assets.strapi.io'],
            'media-src': ["'self'", 'data:', 'blob:', wasabiHost, 'market-assets.strapi.io'],
            upgradeInsecureRequests: null,
          },
        },
      },
    },
    'strapi::cors',
    'strapi::poweredBy',
    'strapi::query',
    'strapi::body',
    'strapi::session',
    'strapi::favicon',
    'strapi::public',
  ];
};
Restricting Access by IP Address
Where enabling full public access is undesirable or unavailable, a bucket policy can instead deny anonymous access to everyone except a specific IP address or range. This keeps the bucket private to the public at large while still allowing direct object reads from a known, trusted location (such as an office or a developer’s current IP).
Refer to Defining a Bucket Policy for Public Access — Restricted Access for Specific IP Addresses for more information.
Alternatively, full public access can be allowed - see the next section, Enabling Public Read Access to the Bucket.
To apply this policy in the Wasabi console:
Log in to the Wasabi Console.
From the Buckets list, click the bucket name.
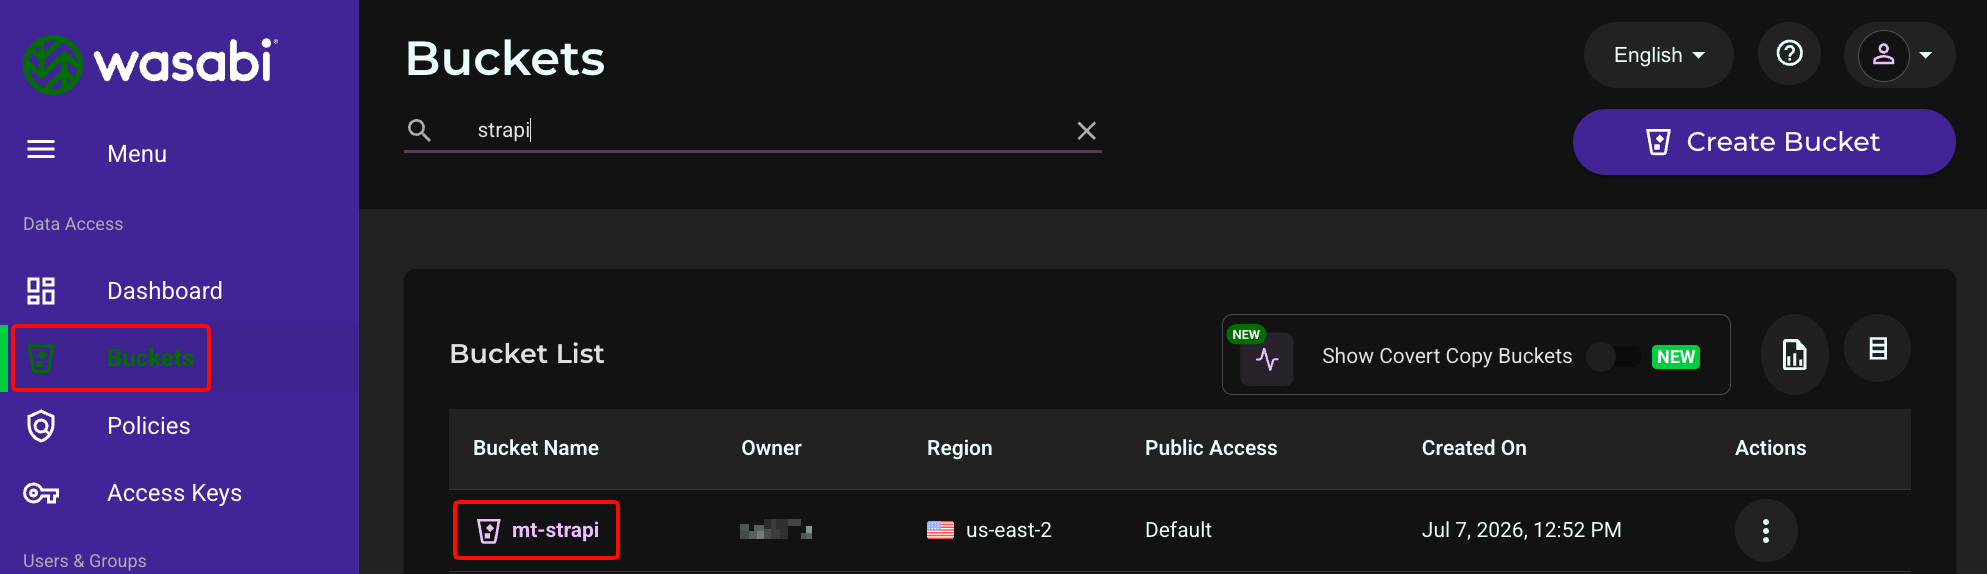
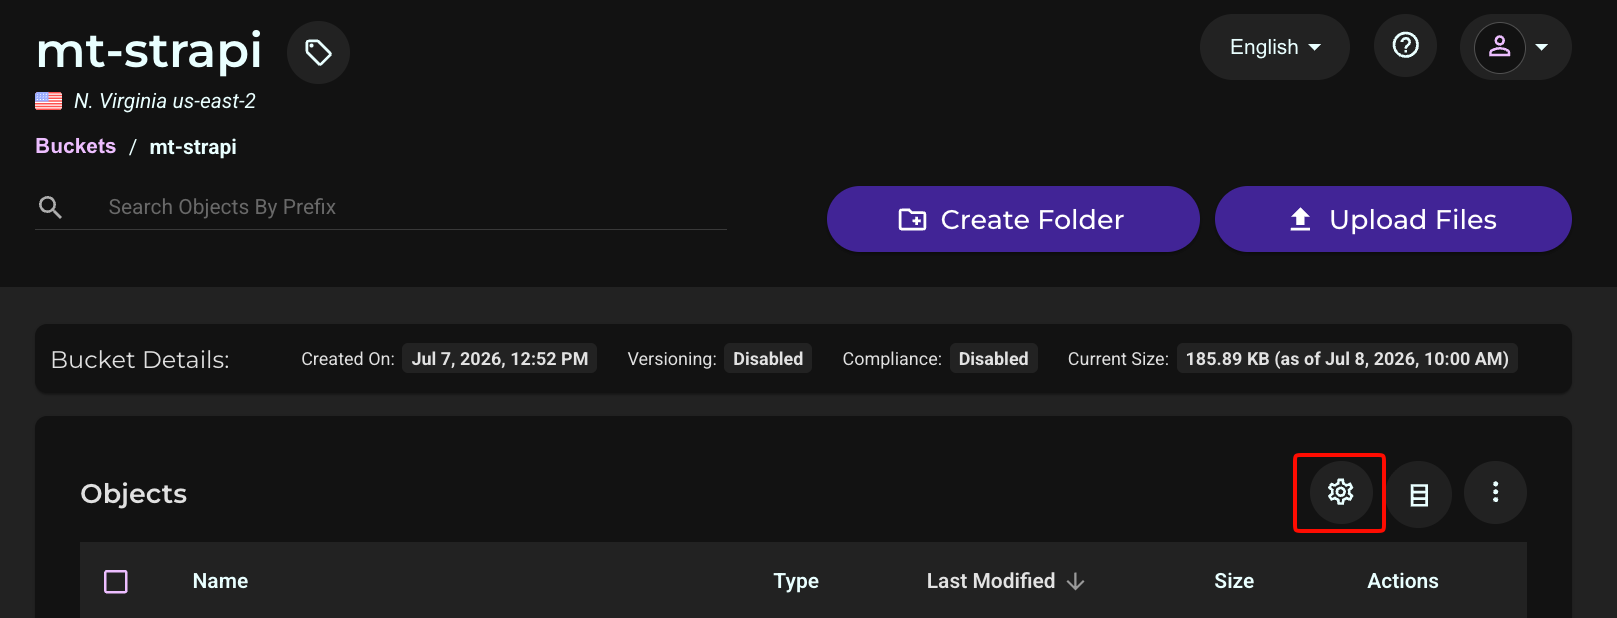
Click the Settings gearwheel.
Click the Permissions tab. Click Edit next to Bucket Policy.
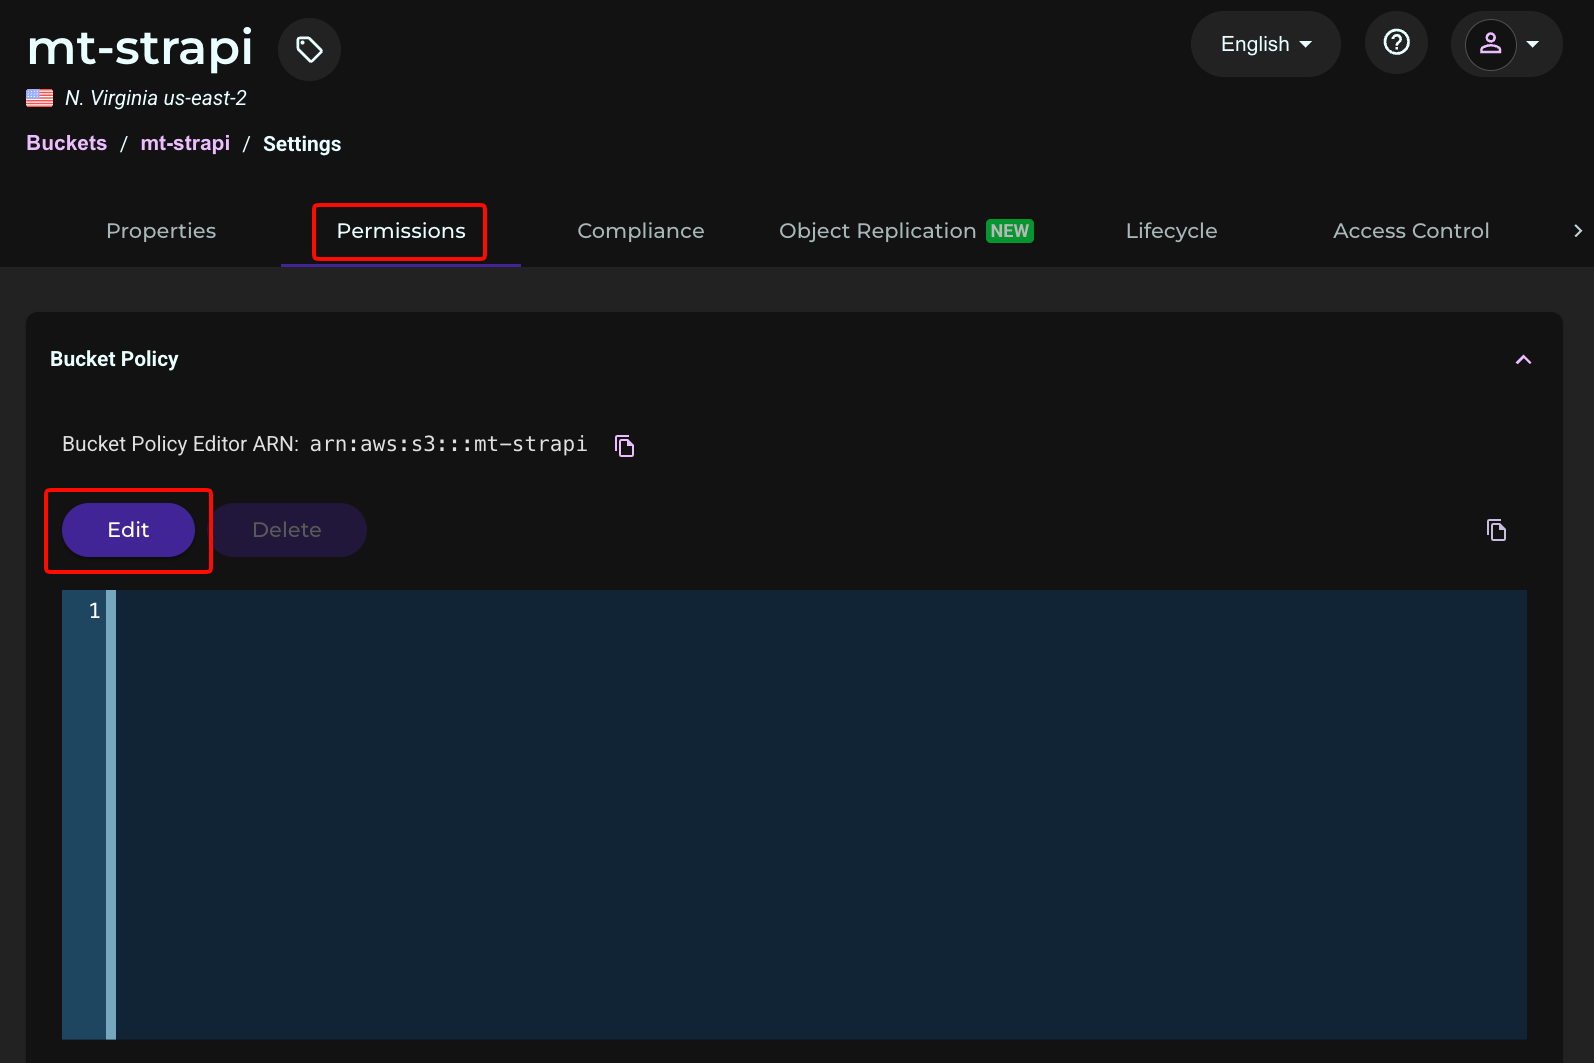
Paste the policy below into the editor. Replace YOUR_IP_ADDRESS with your own public IP address and YOUR_WASABI_BUCKET with the name of your bucket before saving this policy. This policy denies s3:GetObject to all principals except for requests originating from that address. A CIDR range (such as /24) can be substituted for a /32 single address to allow a broader block of addresses.
{
  "Version": "2012-10-17",
  "Statement": [
    {
      "Effect": "Deny",
      "Principal": {
        "AWS": "*"
      },
      "Action": "s3:GetObject",
      "Resource": "arn:aws:s3:::YOUR_WASABI_BUCKET/*",
      "Condition": {
        "NotIpAddress": {
          "aws:SourceIp": "YOUR_IP_ADDRESS/32"
        }
      }
    }
  ]
}
Click Save.
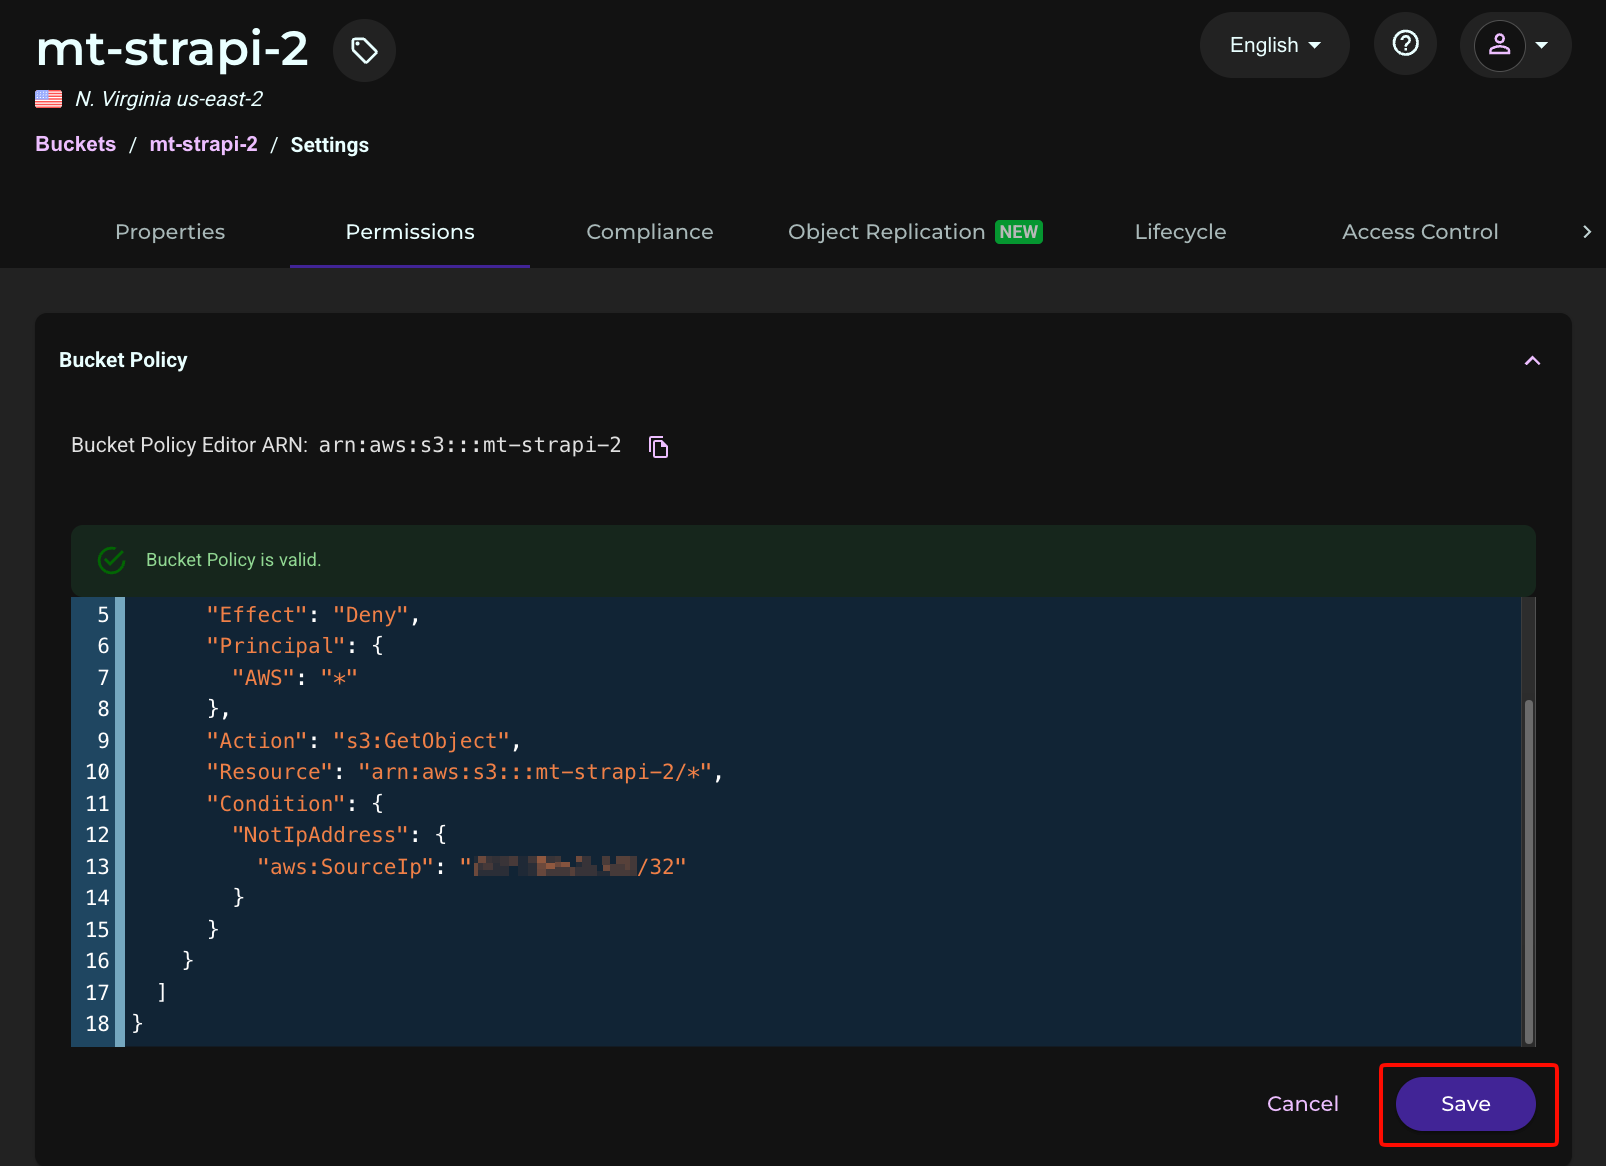
Enabling Public Read Access to the Bucket
This section is an alternative to the previous Restricting Access by IP Address section. It is not required if the previous section was implemented.
Note: Public Access is not available by default on Wasabi trial accounts. If you have a trial account, it must be requested from Wasabi Support at support@wasabi.com before a public-read bucket policy will take effect.
Uploading an object to Wasabi with valid credentials does not make that object readable by anonymous requests, such as a browser loading an image URL directly. By default, buckets are private, which causes image and thumbnail requests to fail with a 403 Forbidden error even though the upload itself succeeded. To allow the Strapi admin panel (and any public-facing site using the same media) to load images, the bucket needs a policy granting public s3:GetObject access, or Public Access needs to be enabled on the bucket.
Log in to the Wasabi Console.
Click Buckets, then click the name of your bucket.
Click the Settings gearwheel.
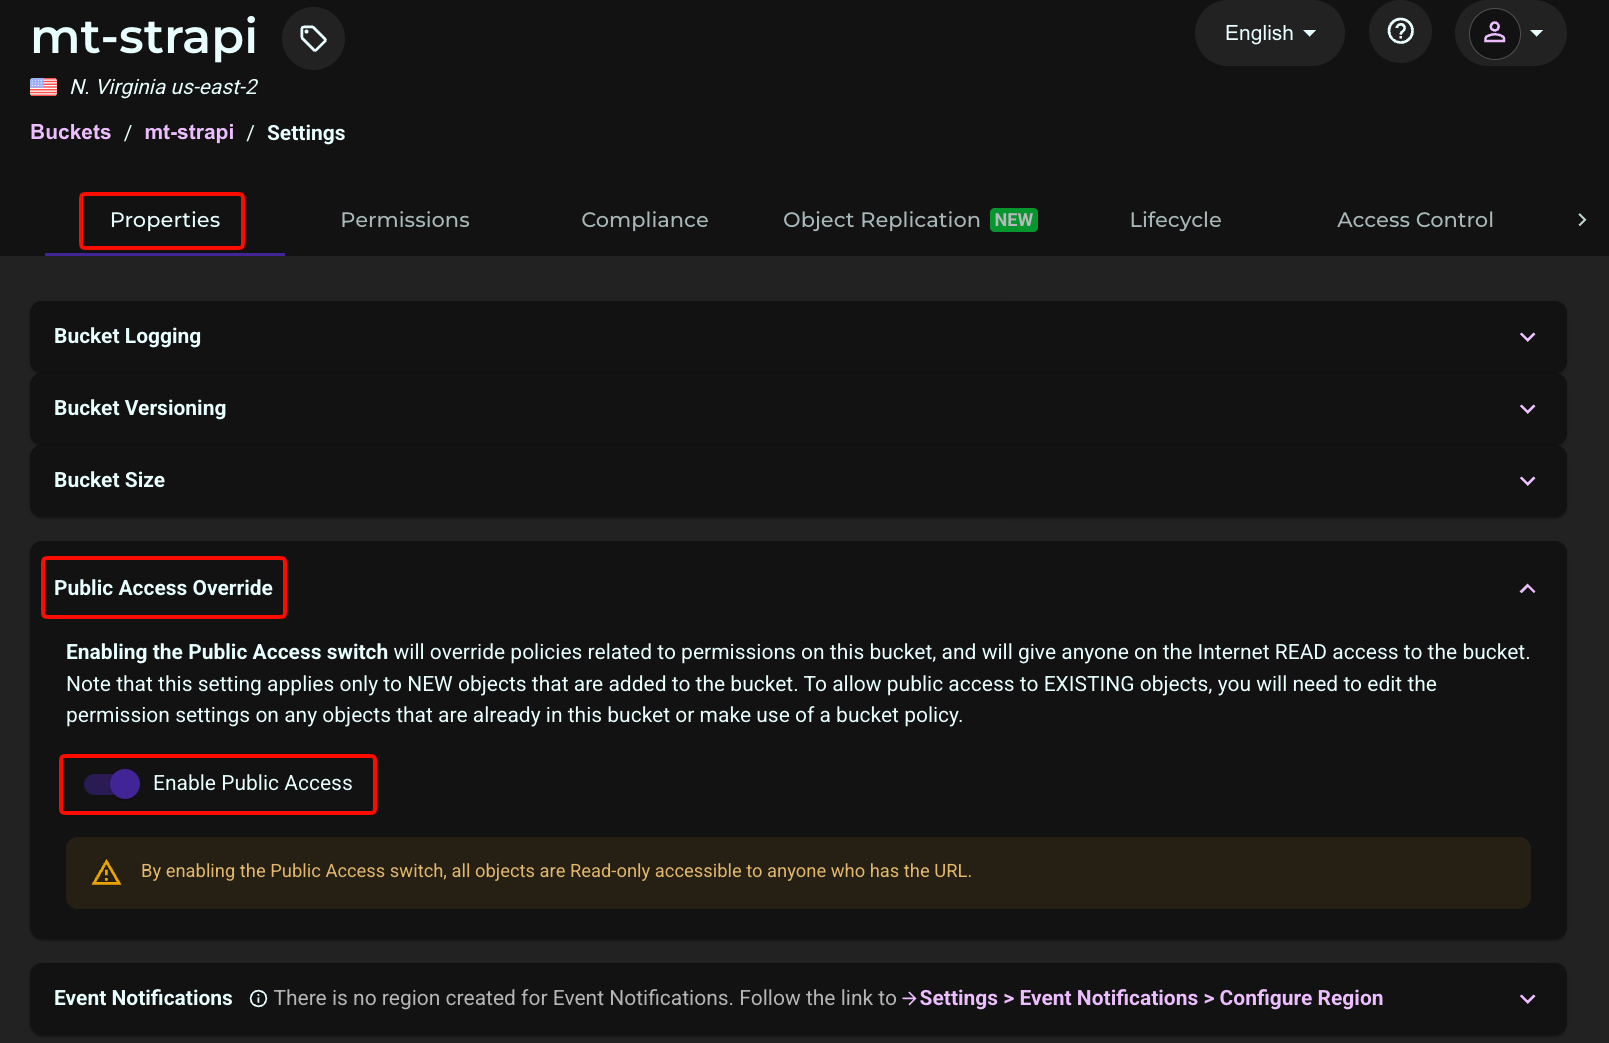
On the Properties tab, expand Public Access Override. Toggle the switch to the right to enable public access.
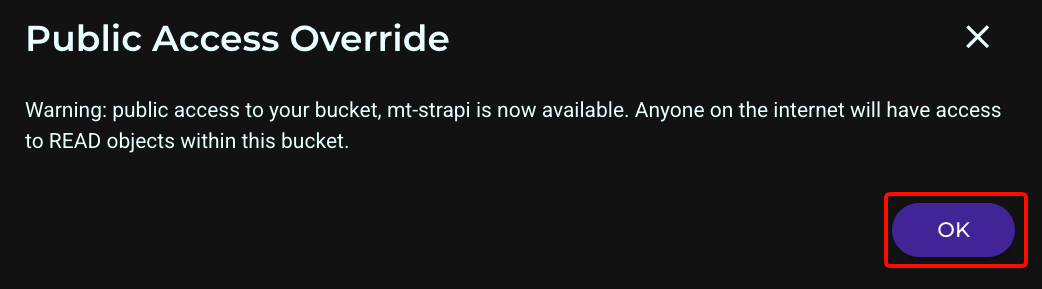
Enabling the toggle prompts a confirmation, since it grants read access to anyone on the internet with the object’s URL. Click OK.
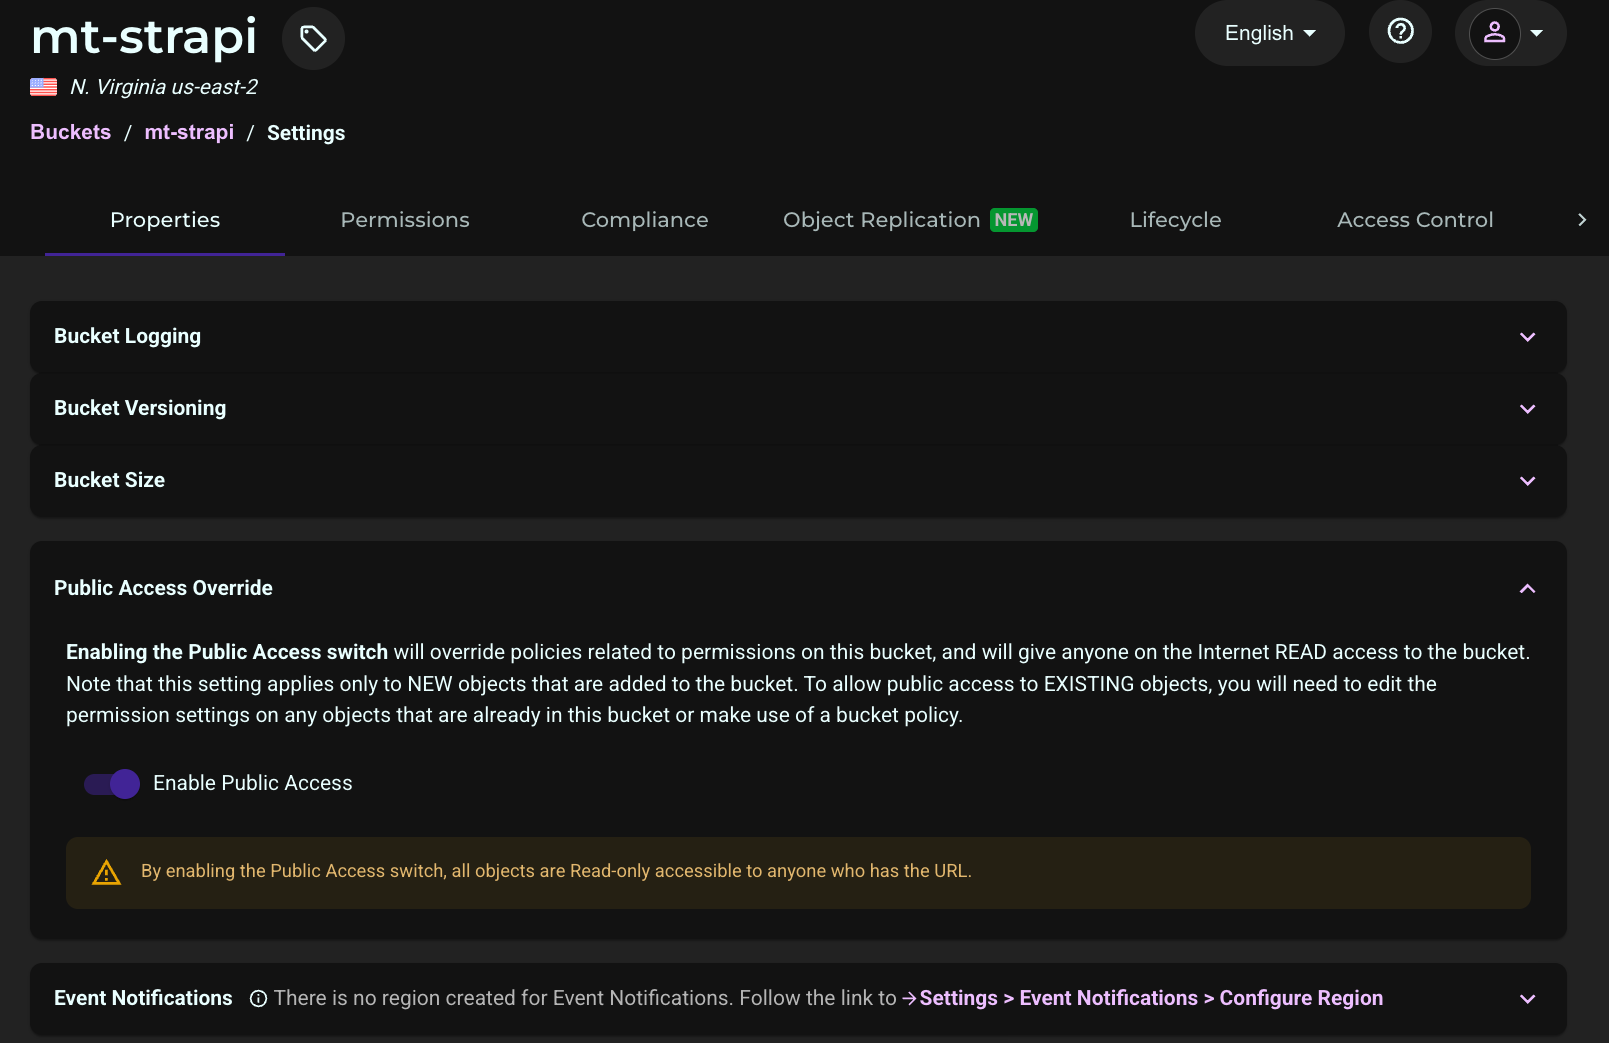
Once confirmed, the toggle switches on, and a warning banner remains visible as a reminder that all objects are now read-only accessible to anyone with the URL. Note that this switch only applies to NEW objects added after it is enabled — existing objects still need their own permissions updated, or a bucket policy applied, to become publicly readable.
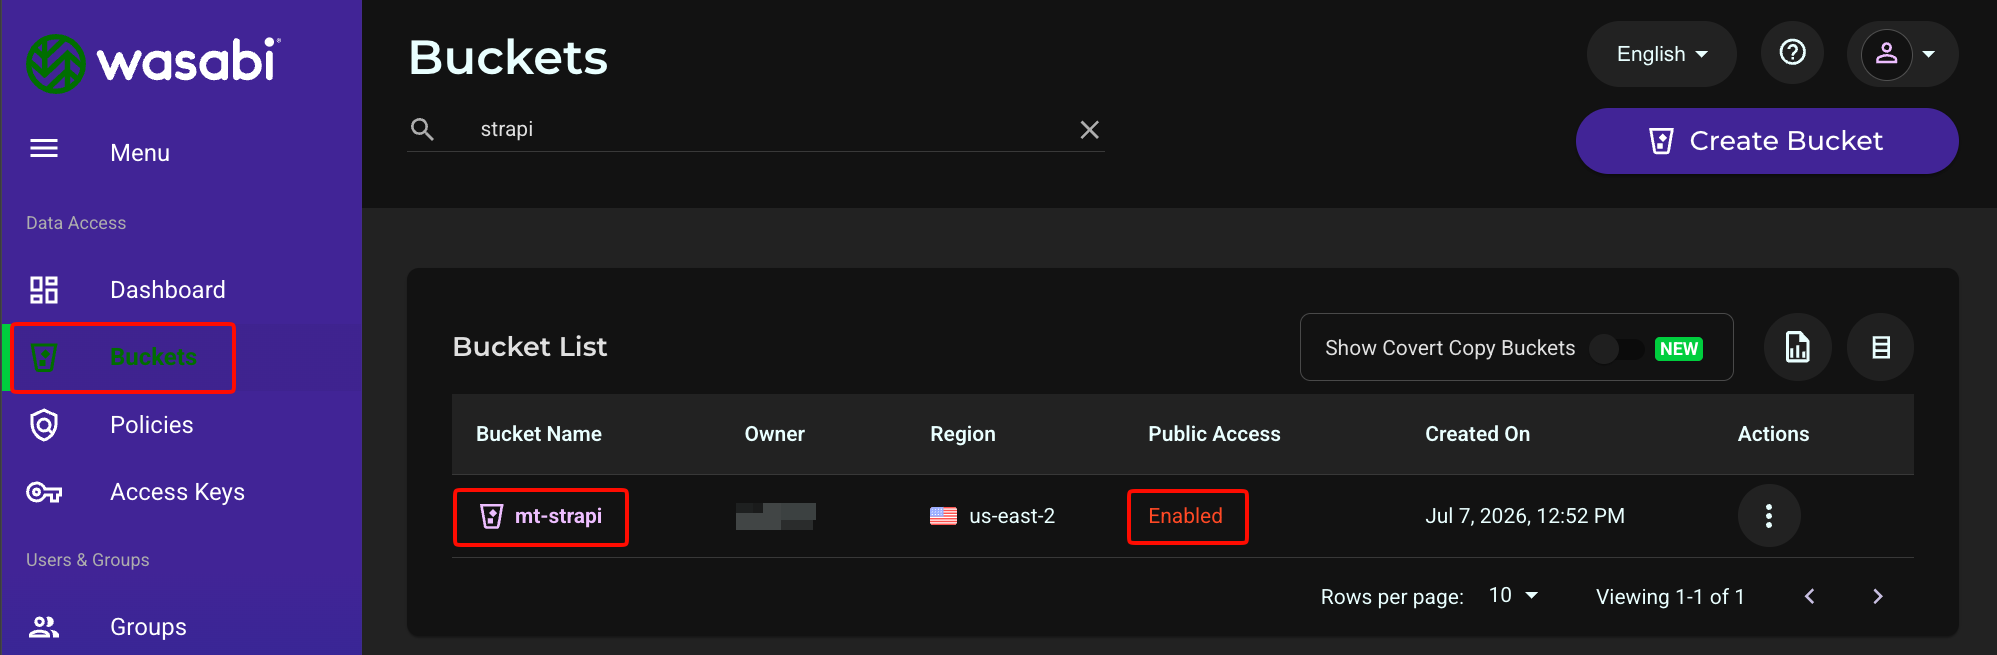
Public Access will show as enabled for the bucket in the list of buckets.
Verifying the Upload in Strapi
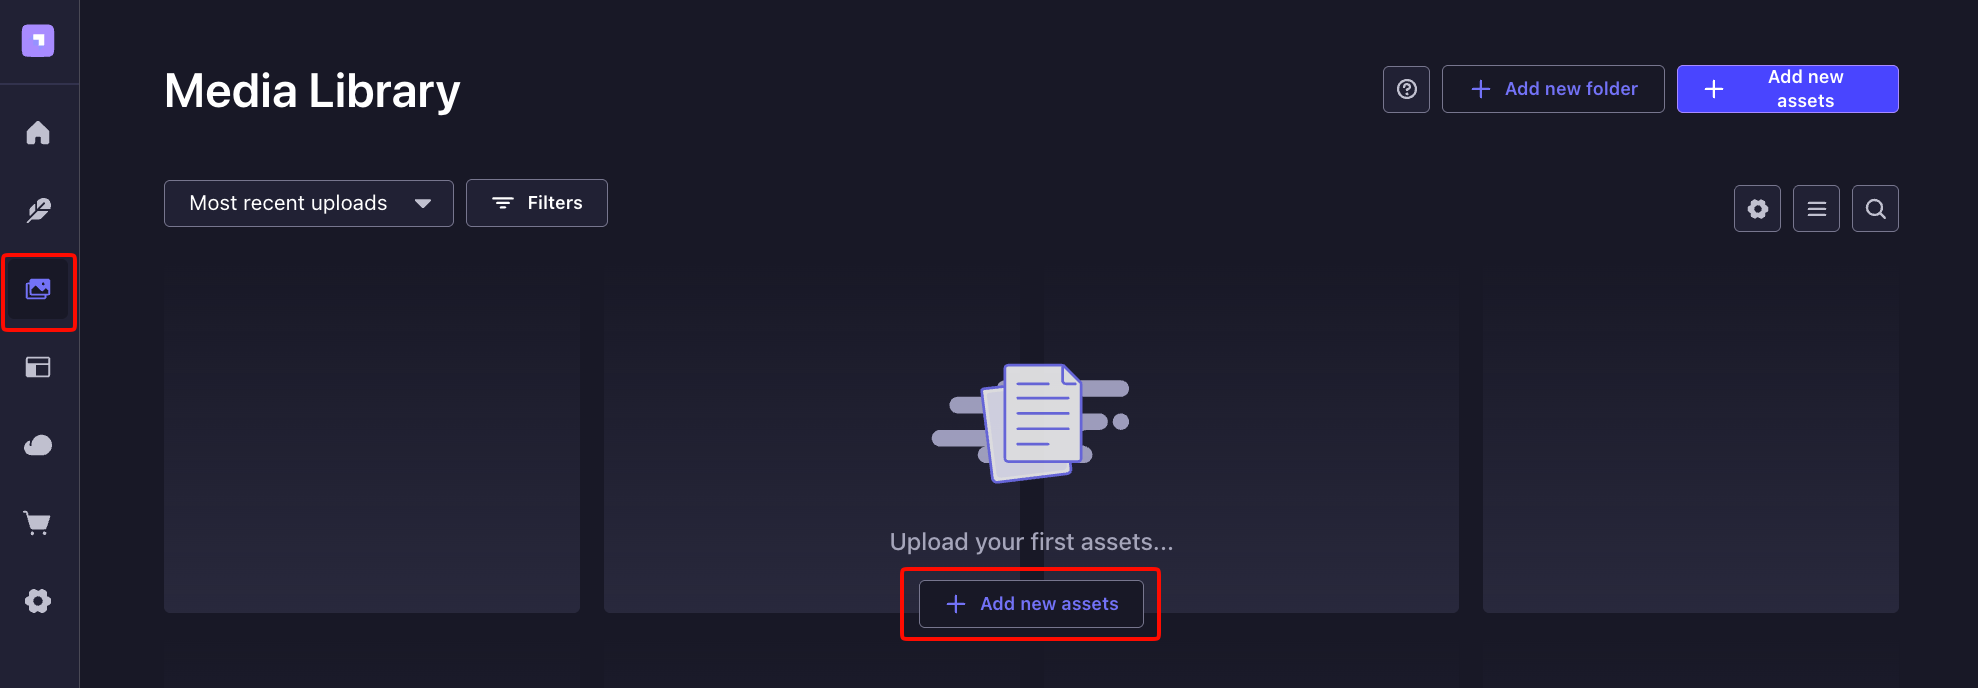
Before any files exist, the Media Library shows an empty state prompting for the first upload.
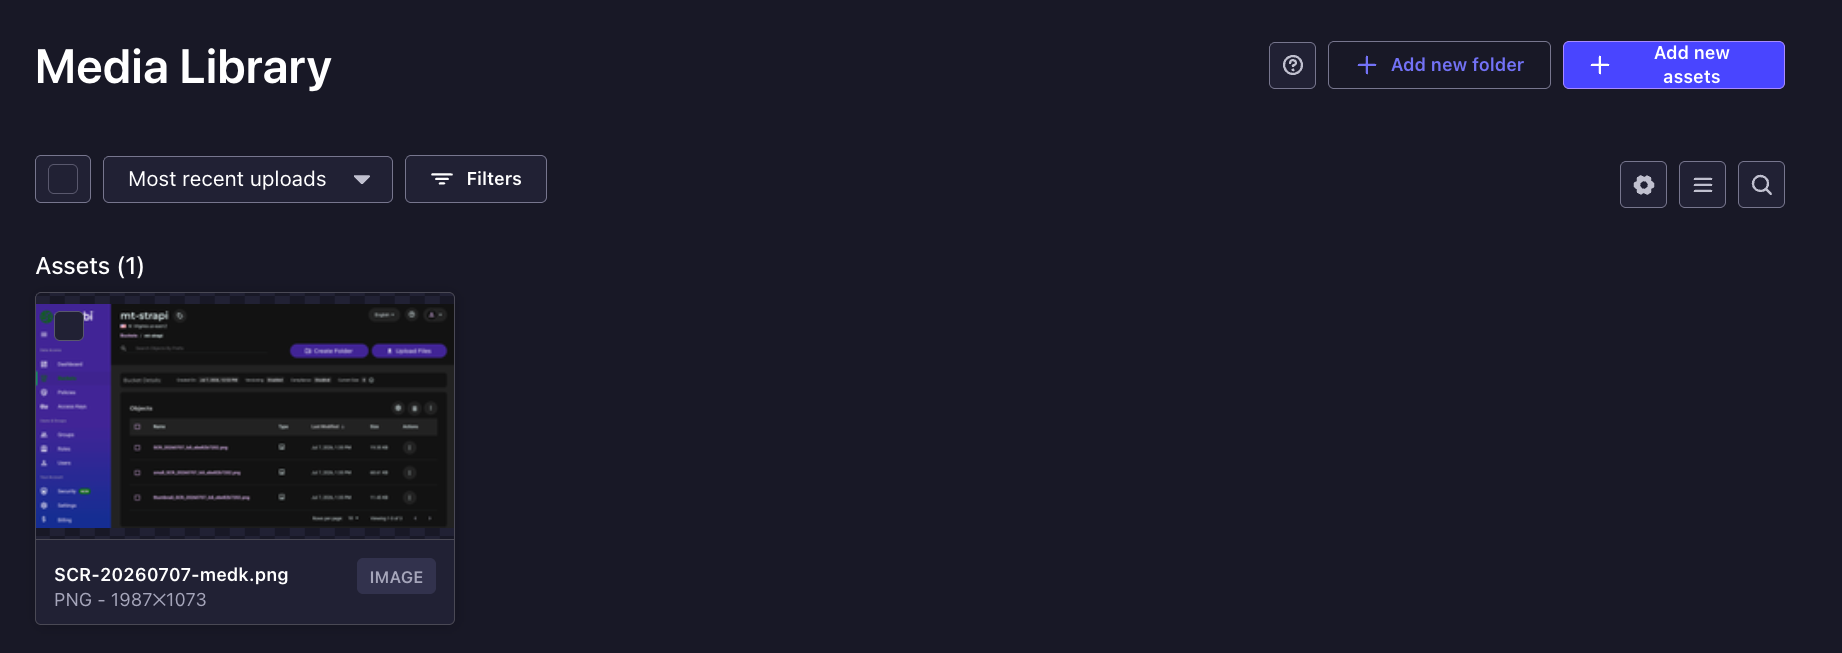
After uploading a test image and correcting the CSP and bucket-permission issues described in this article, the thumbnail renders correctly in the Media Library grid.
Reviewing Uploaded Objects in Wasabi
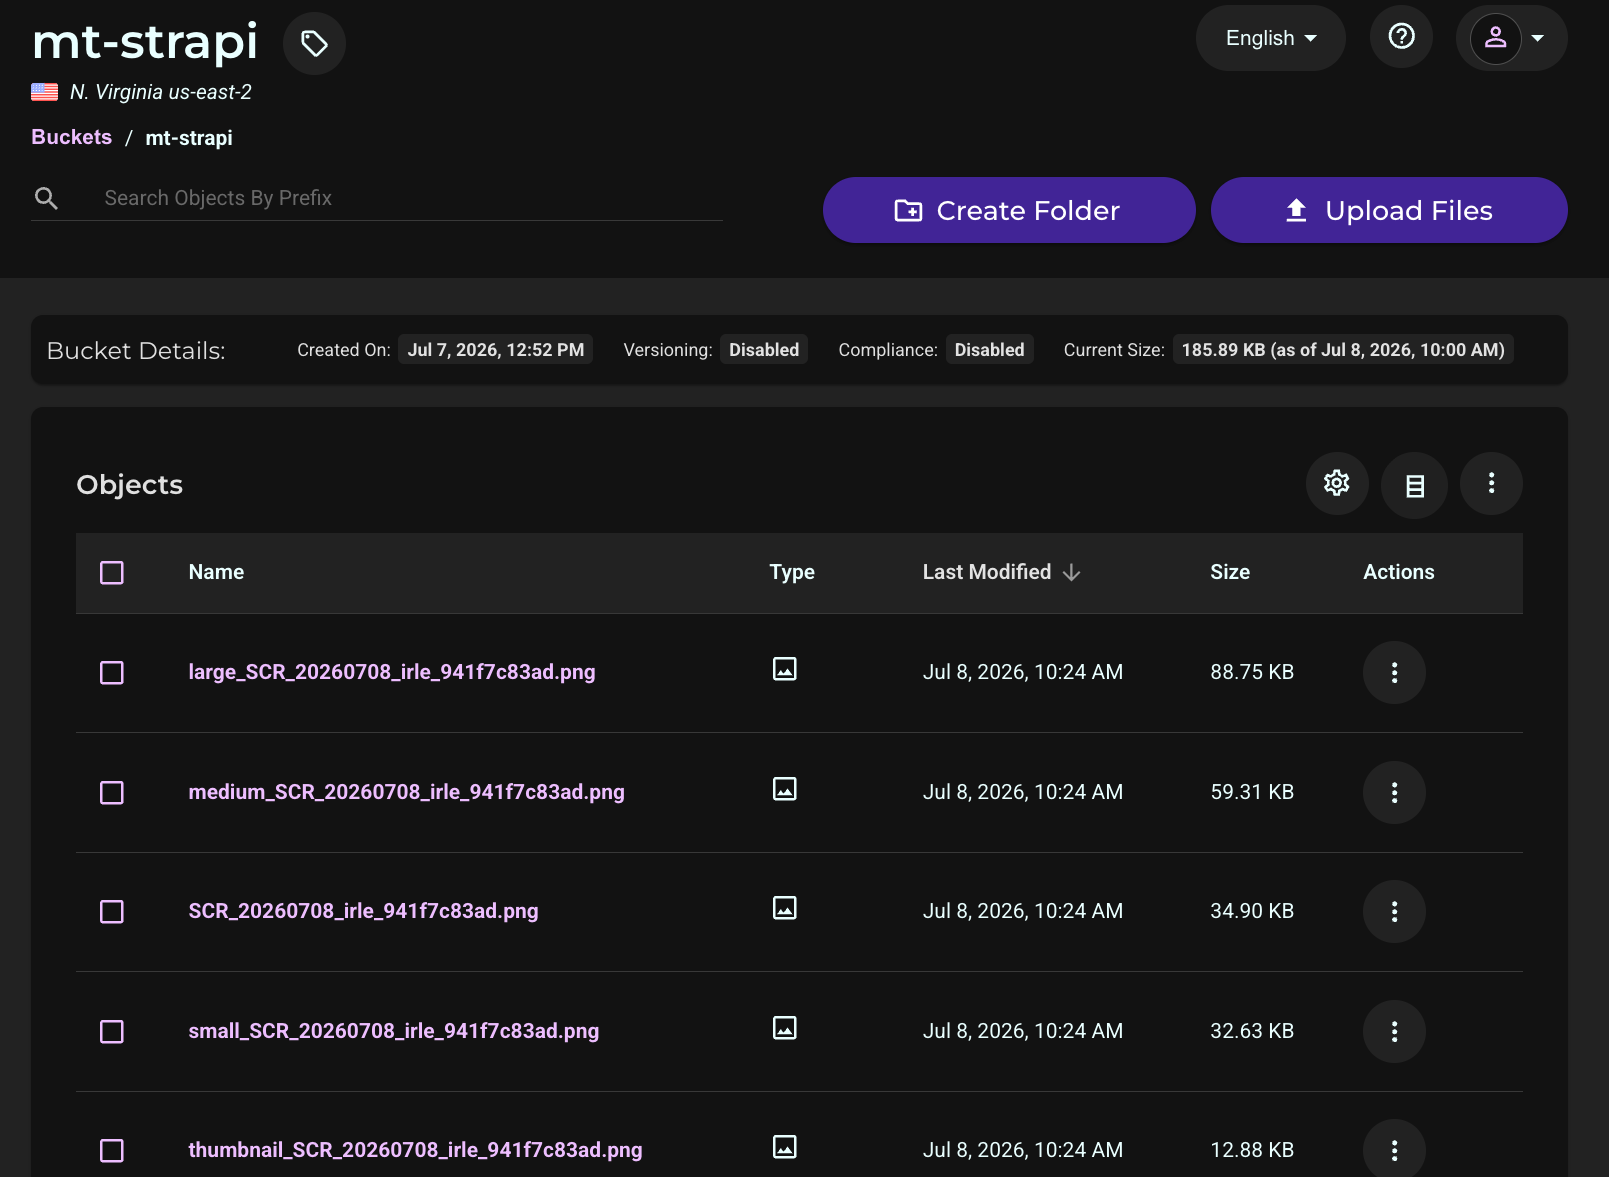
Strapi’s Upload provider generates multiple renditions of each image (thumbnail, small, medium, large, and original) and pushes them all to the bucket. These can be confirmed directly in the Wasabi console under the bucket’s Objects list.
Log in to the Wasabi Console.
Click Buckets, then click your bucket’s name.
The objects in your bucket will appear here.