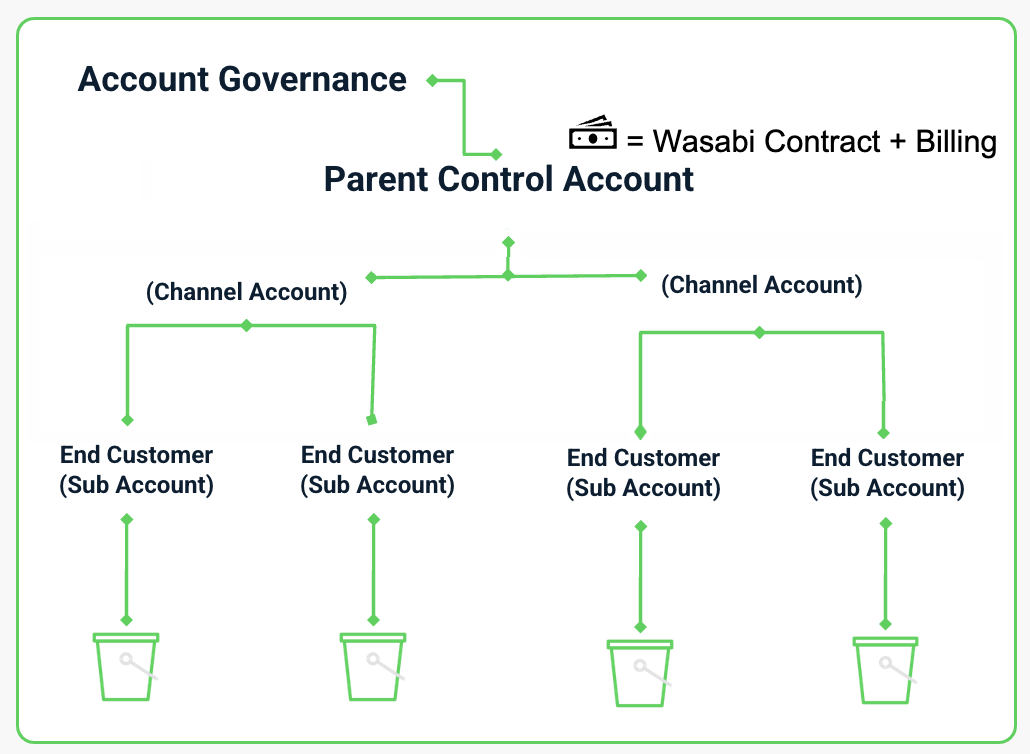
Overview
A Sub-Account is an individually provisioned storage account managed under a single Control Account or Channel Account. A Sub-Account has access to the Wasabi Console but does not have access to WACM.
Sub-Account Features
With a WACM Sub-Account, you can:
- Create and manage sub-accounts
- Search and filter sub-accounts
- View data cards containing total storage and total object metrics for sub-accounts
- View new sign-up requests for sub-accounts
- View your Control Account storage and usage information
- Select a specific date to view the sub-account utilization data
- Automatically import sub-accounts into WACM
- Export usage data to a selected file format
When you sign in to your Control Account, the Sub-Accounts page is displayed by default. 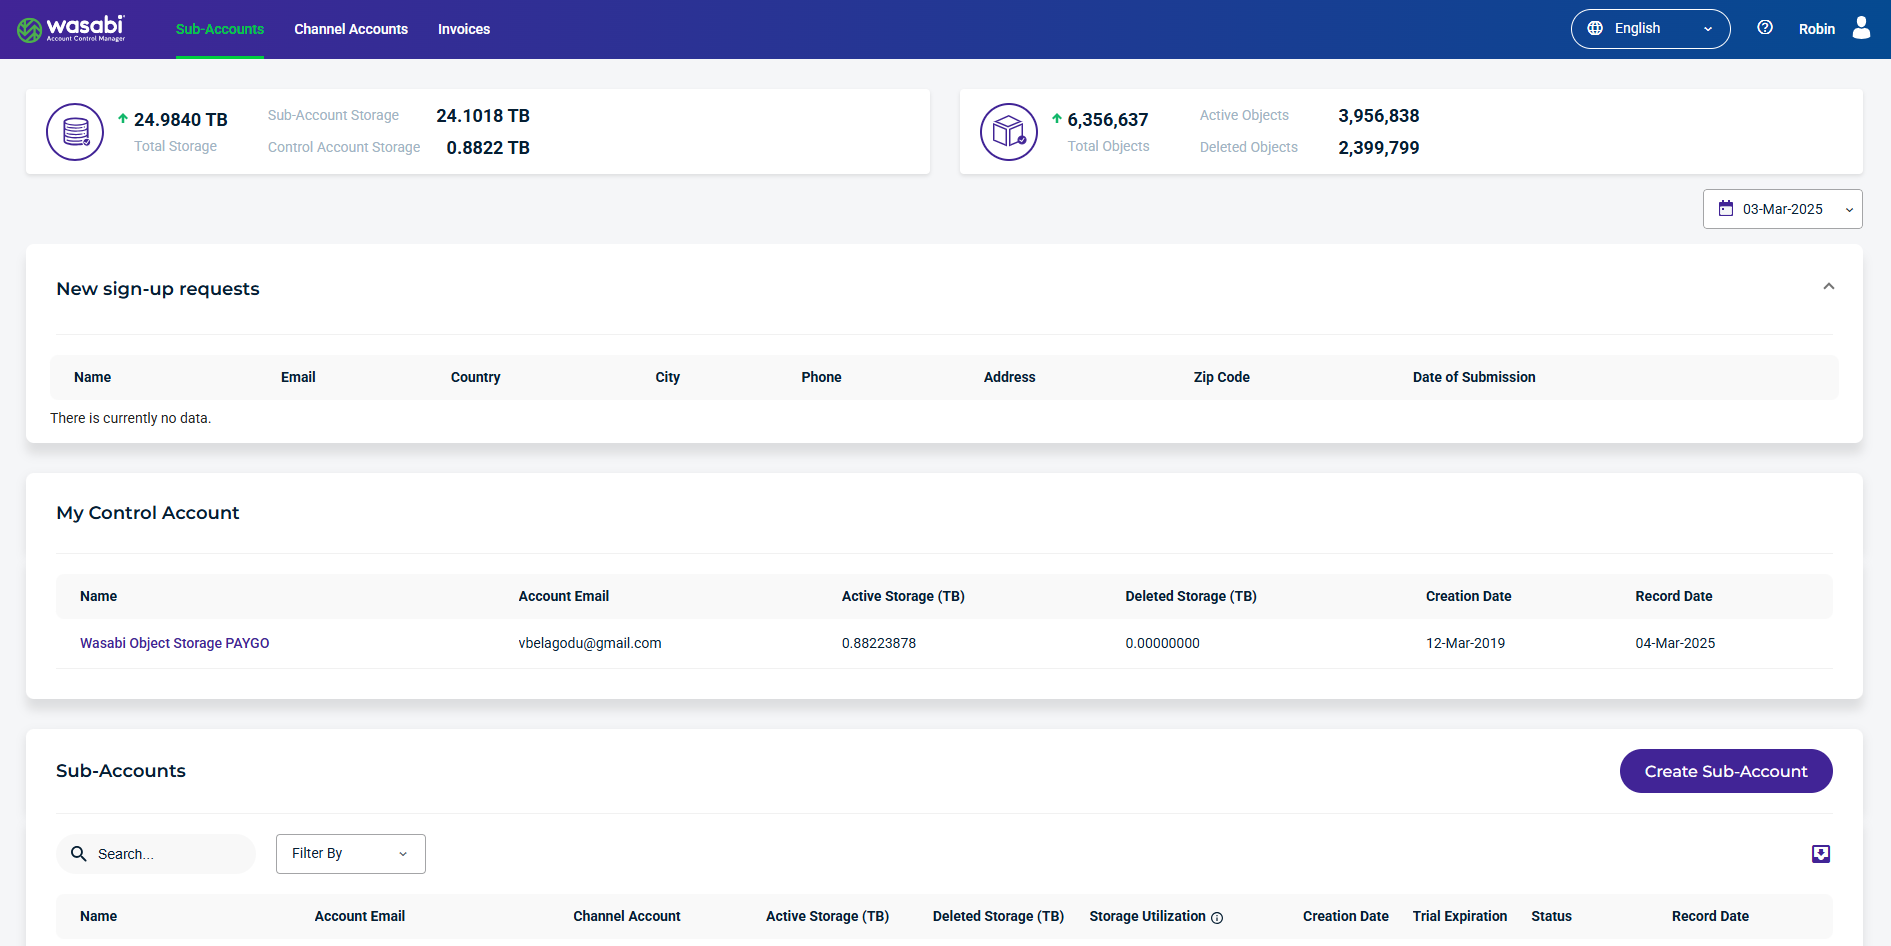
Sub-Account Details and Metrics
The following details and metrics are provided for each sub-account:
- Name — Name of the sub-account. This is based on the name you assign when filling out the Create Sub-Account field.
- Account Email — Email for the sub-account.
- Channel Account— Related to the Sub-Account.
- Active Storage — Storage comprises the objects you are currently storing.
- Deleted Storage — Storage made up of the objects you have deleted.
- Storage Utilization — Percentage of storage amount used based on the configured purchased storage value. (Sub-Account Active + Deleted Storage) / Purchased Storage
- Creation Date — The date that the sub-account was created.
- Trial Expiration — The date and time the trial expires, which is displayed if the account is On Trial.
- Status — Indicating the sub-account status as Deleted, Denied, On Trial, Paid Account, Password Pending, or Suspended. If the account is On Trial, you will see a colored countdown. If the account is paid, this column entry will be green. If the account is deleted, this column entry will be pink.
- Record Date — The date sub-account usage was recorded.
Create a Sub-Account
To create a new sub-account, refer to the article Creating a Sub-Account.
Data Cards
Sub-Account Data Cards
Sub-Account data cards provide a quick overview of important sub-account metrics based on the date selected. 
The following information is provided for sub-account data cards:
- Total Storage — The total storage of sub-accounts and control accounts.
- Total Objects — The total number of active and deleted objects.
Control Account Data Card for RCS
The Control Account data card provides details for Reserved Capacity Storage (RCS). 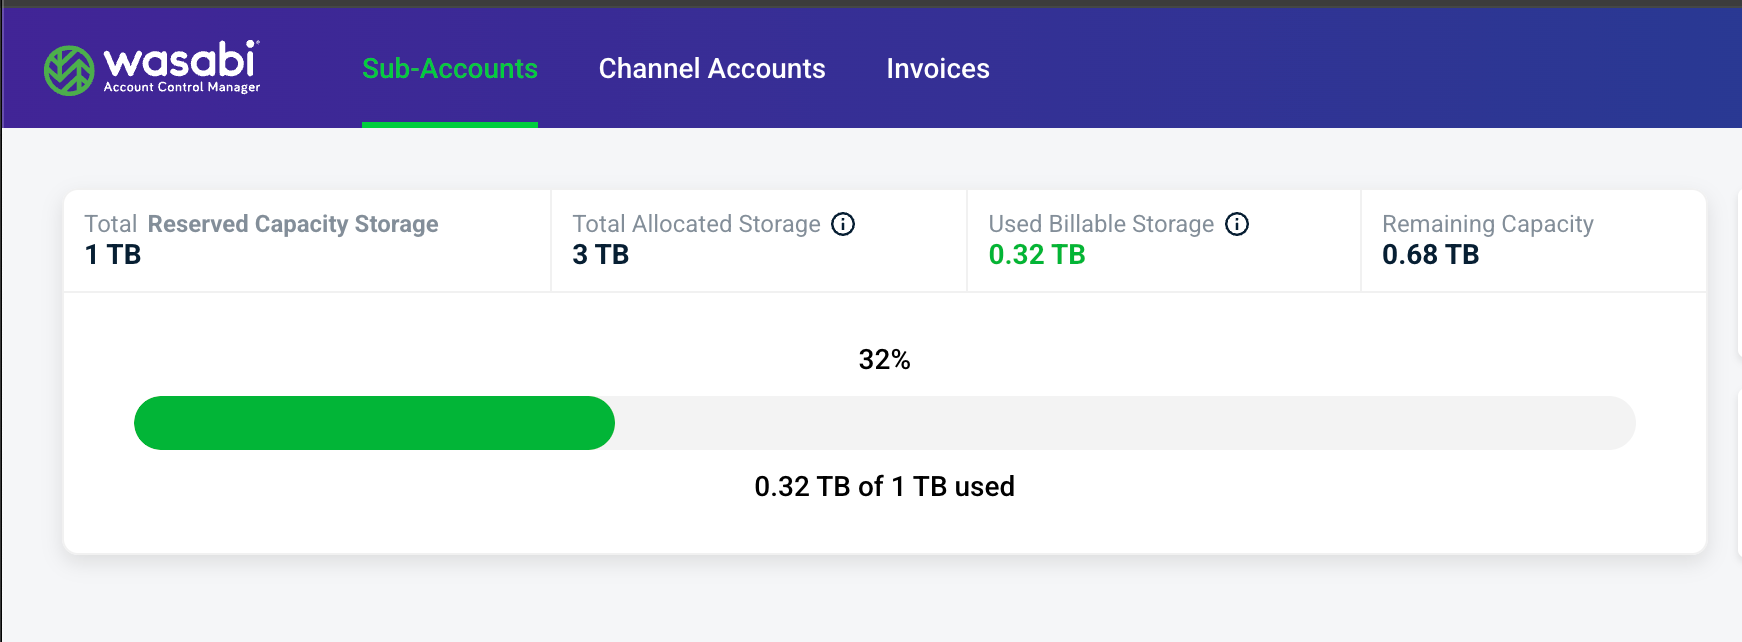
- Total Reserved Capacity Storage — The amount of RCS storage in TB that the account purchased.
- Total Allocated Storage — The amount in TB that the control account has provisioned to its direct channel and sub-accounts in the form of quotas. This number does not include quotas for sub-accounts that belong to Channel Accounts.
- Used Billable Storage — The total billable storage consumed by all sub-accounts including sub-accounts belonging to channel accounts.
- Remaining Capacity: Reserved Capacity Storage — Billable storage used across all accounts.
New Sign-up Requests
WACM allows partners to create branded sub-account sign-up forms accessible from a unique URL that they can share with their customers. The New Sign-up Requests section details the user information provided in the sub-account sign-up form.
My Control Account
The My Control Account section displays usage and bucket consumption metrics for Control Account and Account Governance users.
Single-Day Date Picker
The Single-Day Date Picker allows Control Account and Governance Account users to select a specific date to view sub-account utilization data from the main Sub-Account tab and on an individual Sub-Account's bucket tab. Governance Account users can access the Single-Day Date Picker on the Control Account tab to view Sub-Account storage per Control Account.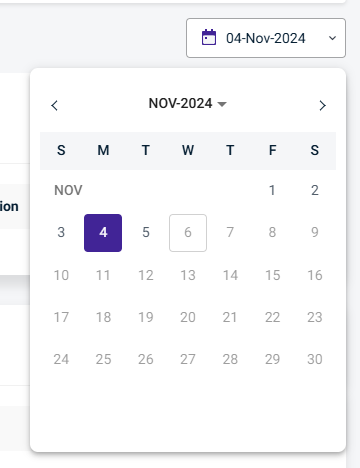
Importing Sub-Accounts into WACM
WACM automatically synchronizes accounts to import all sub-accounts. Sub-accounts and all associated data created through the Wasabi Account Control API will be synchronized into the platform each night.
If you believe your accounts are not syncing correctly from the Wasabi Account Control API, please contact support@wasabi.com.
Searching and Filtering Sub-Accounts
You can search and filter all sub-accounts.
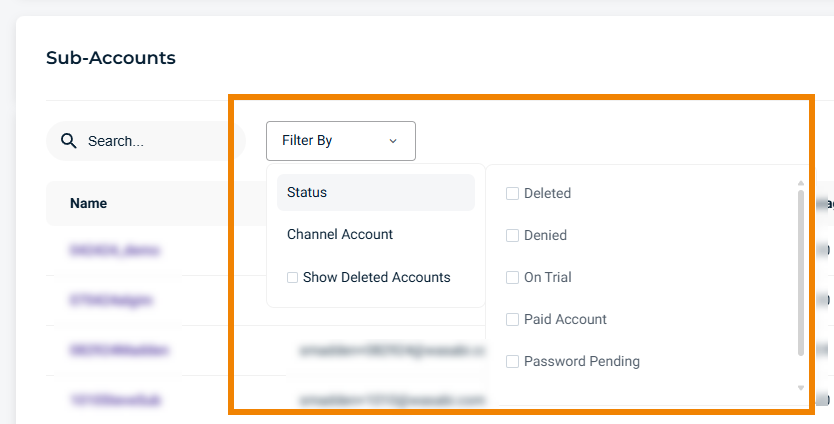
- In the Search box on the Sub-Accounts page, enter the text you want to search. The search takes place as you type.
- To further filter your search, select one or a combination of filters from the Filter By drop-down: Status (Deleted, Denied, On Trial, Paid Account, Password Pending, or Suspended), search a Channel Account, or check the Show Deleted Accounts box.
Exporting Data
To export usage data:
- Click the Export button when it is available (usually in conjunction with a search or filter):

- Select the export file format CSV, JSON, or Excel.
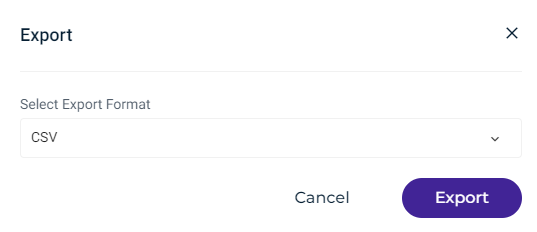
- Click Export.
Best Practices
Trial Accounts
Trial accounts are created for either 30, 60 or 90 days. The allowed WACM user can change the trial period.
When the trial expires, the trial account is automatically converted into a paid account.
- It is recommended that the WACM user deletes a trial account before it has expired, if the data stored during the trial phase is going to be used once the account is a paid account.
- There is no way to avoid this automatic conversion, except by extending the trial up to 90 days or by deleting the sub-account.
Paid Accounts
It is important to always keep in mind the status of the sub-account. This could lead to unexpected costs. If you intend to delete the sub-account, do not leave it as Suspended (see Suspending a Sub-Account). Make sure all of the data is deleted from within the account on the Wasabi Console and then proceed to delete it in WACM.
Security
It is recommended that the Password Reset Required option is selected in order to force the account holder to reset their password upon initial login. (Refer to Resetting a User Password.)
Email Alerts
Emails that contain alerts or warnings will be sent to the Admin account that receives emails (the first Admin account created).
If it is desired for sub-accounts to manage their own password reset, it is recommended that you input a legitimate email when prompted in the sub-account setup and select the option Send password reset to Sub-Account email (see Creating a Sub-Account in the Trail Phase).